Osmio EZFITPRO Series User manual

Installation Guide
This installation guide covers the complete Osmio EZFITPRO range
Installed to an existing cold tap:
Osmio EZFITPRO-100
Osmio EZFITPRO-200
Osmio EZFITPRO-300
Email : sales@reverseosmosisworld.co.uk

READ THIS BEFORE INSTALLATION
Itis very important that the following must becon-
sidered before you install this product.
Incomingwaterpressuremustbetestedbeforethe
installation. You can do this by using a pressure
gauge(availableonlineoratplumbersmerchants,
an example shown FIG1). Please note that your
standingwaterpressurecanincreaseupanaddi-
tional 2 bar at night time.
We highly recommending protecting your entire
property with a Pressure Reducing Valve (PRV - see
FIG2) which can protect all appliances and plumbing
from any increases or spikes in water pressure that
canand dohappen, which causes filter systems and
other plumbing to leak.
TOOLS & MATERIALS
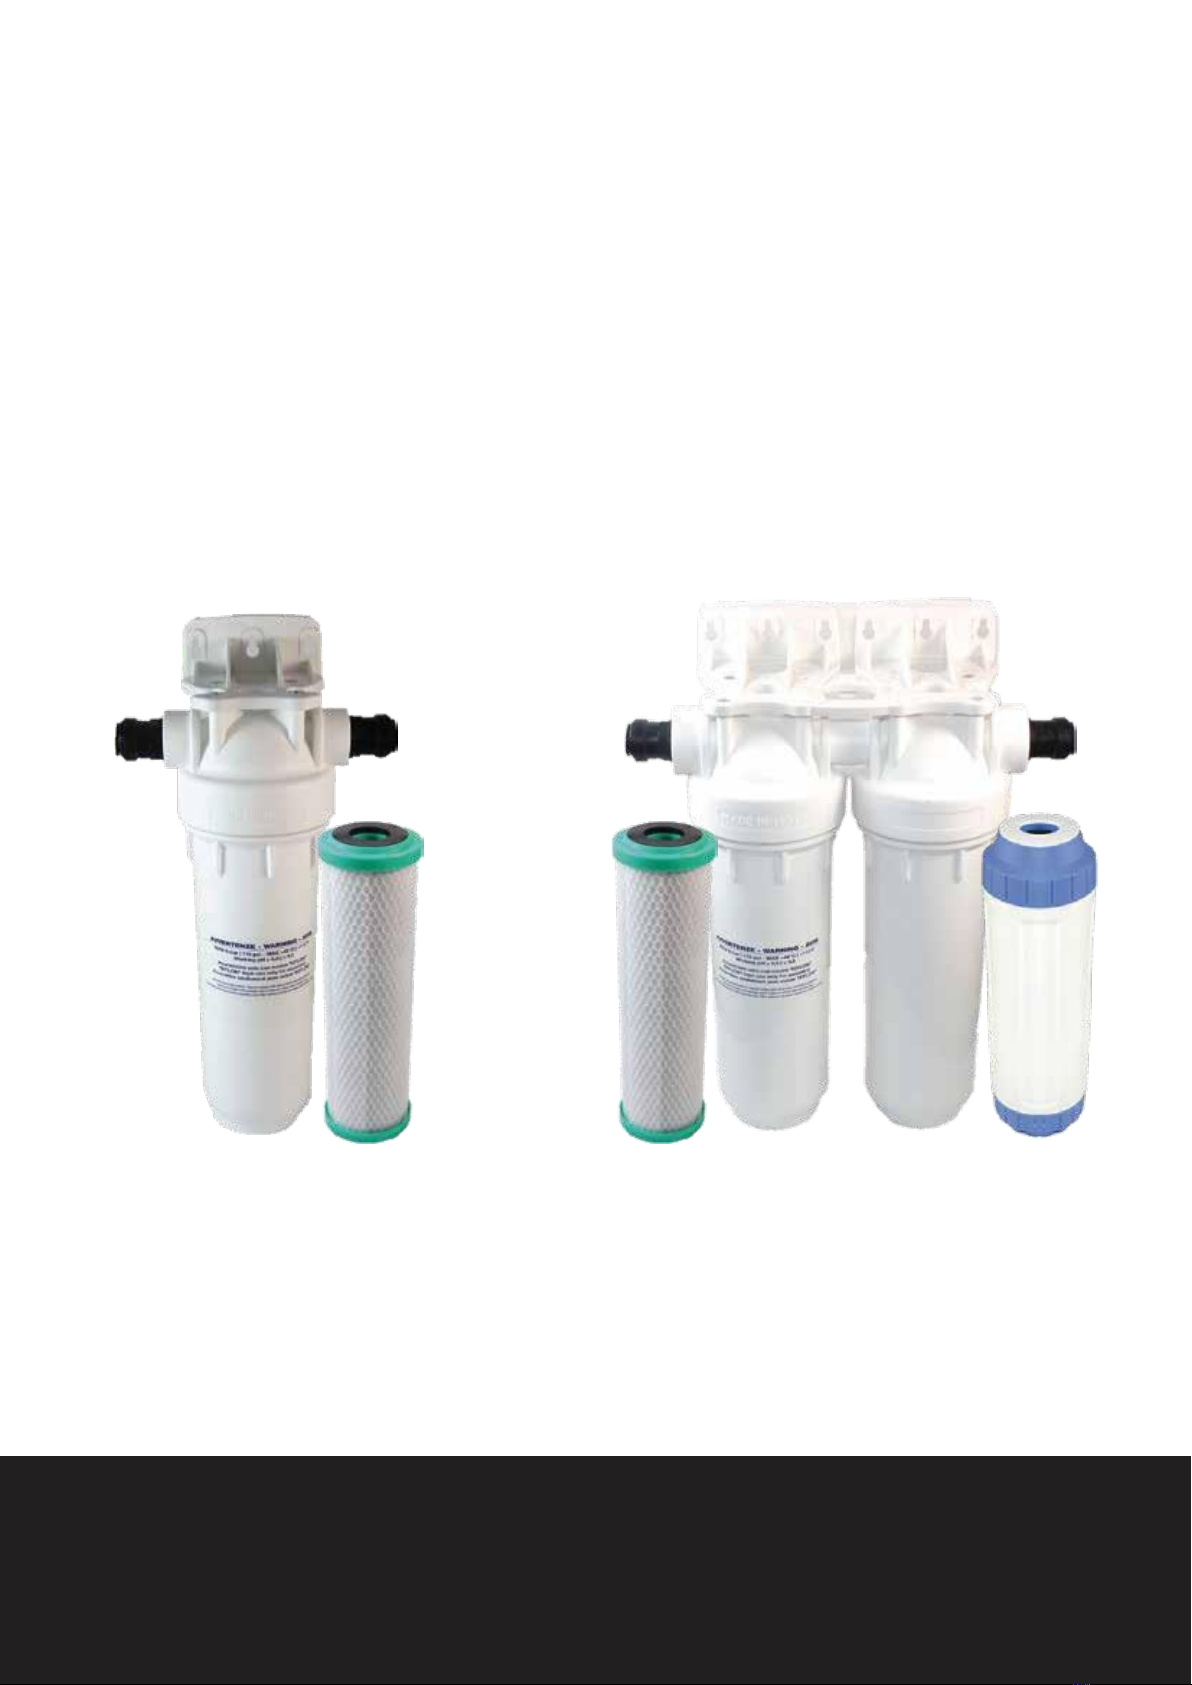
The EZFITPRO range can be installed in di"erent
ways using 15mm copper pipe, 15mm speedfit
plastic pipe or using hoses 1/2” male to 15mm
compression fitting (x2).The system comes sup
-
pliedwith15mmpushfittingswhichyou donot
have to use, you can go straight into the 1/2”
female brass. So choice of fitting is up to you and
what is easiest or most appropriate. You will need
the following parts:
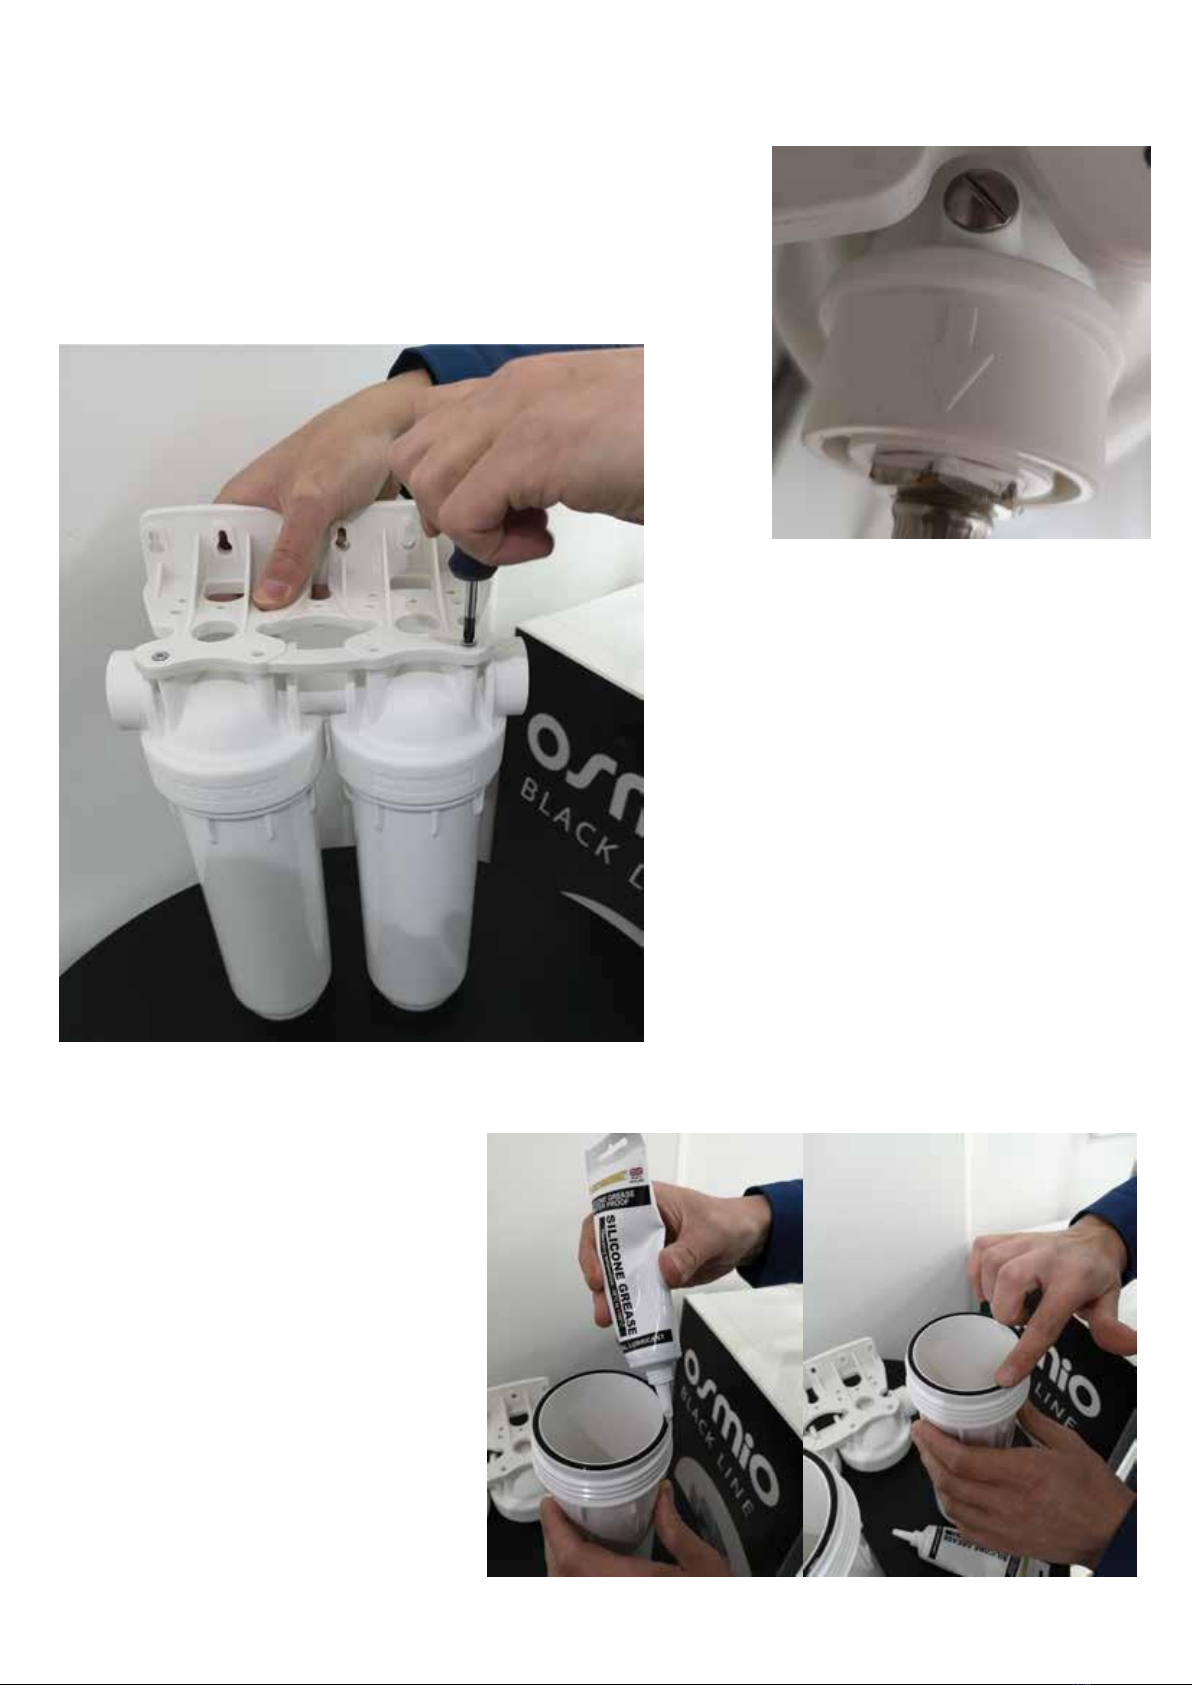
Silicone Grease (Plumber’s Grease)
PTFE tape
Spanner & Plumbers Wrench
Philips head screwdriver & Flat edge screwdriver
Pressure gauge
Electric drill
Spirit level
Marker pen
Appropriate screws to mount the filter to the verti
-
cal surface (e.g. wood screws)
Plus any other tools used for the basic plumbing
e.g. pipe cutter, elbows, copper pipe, hoses etc.
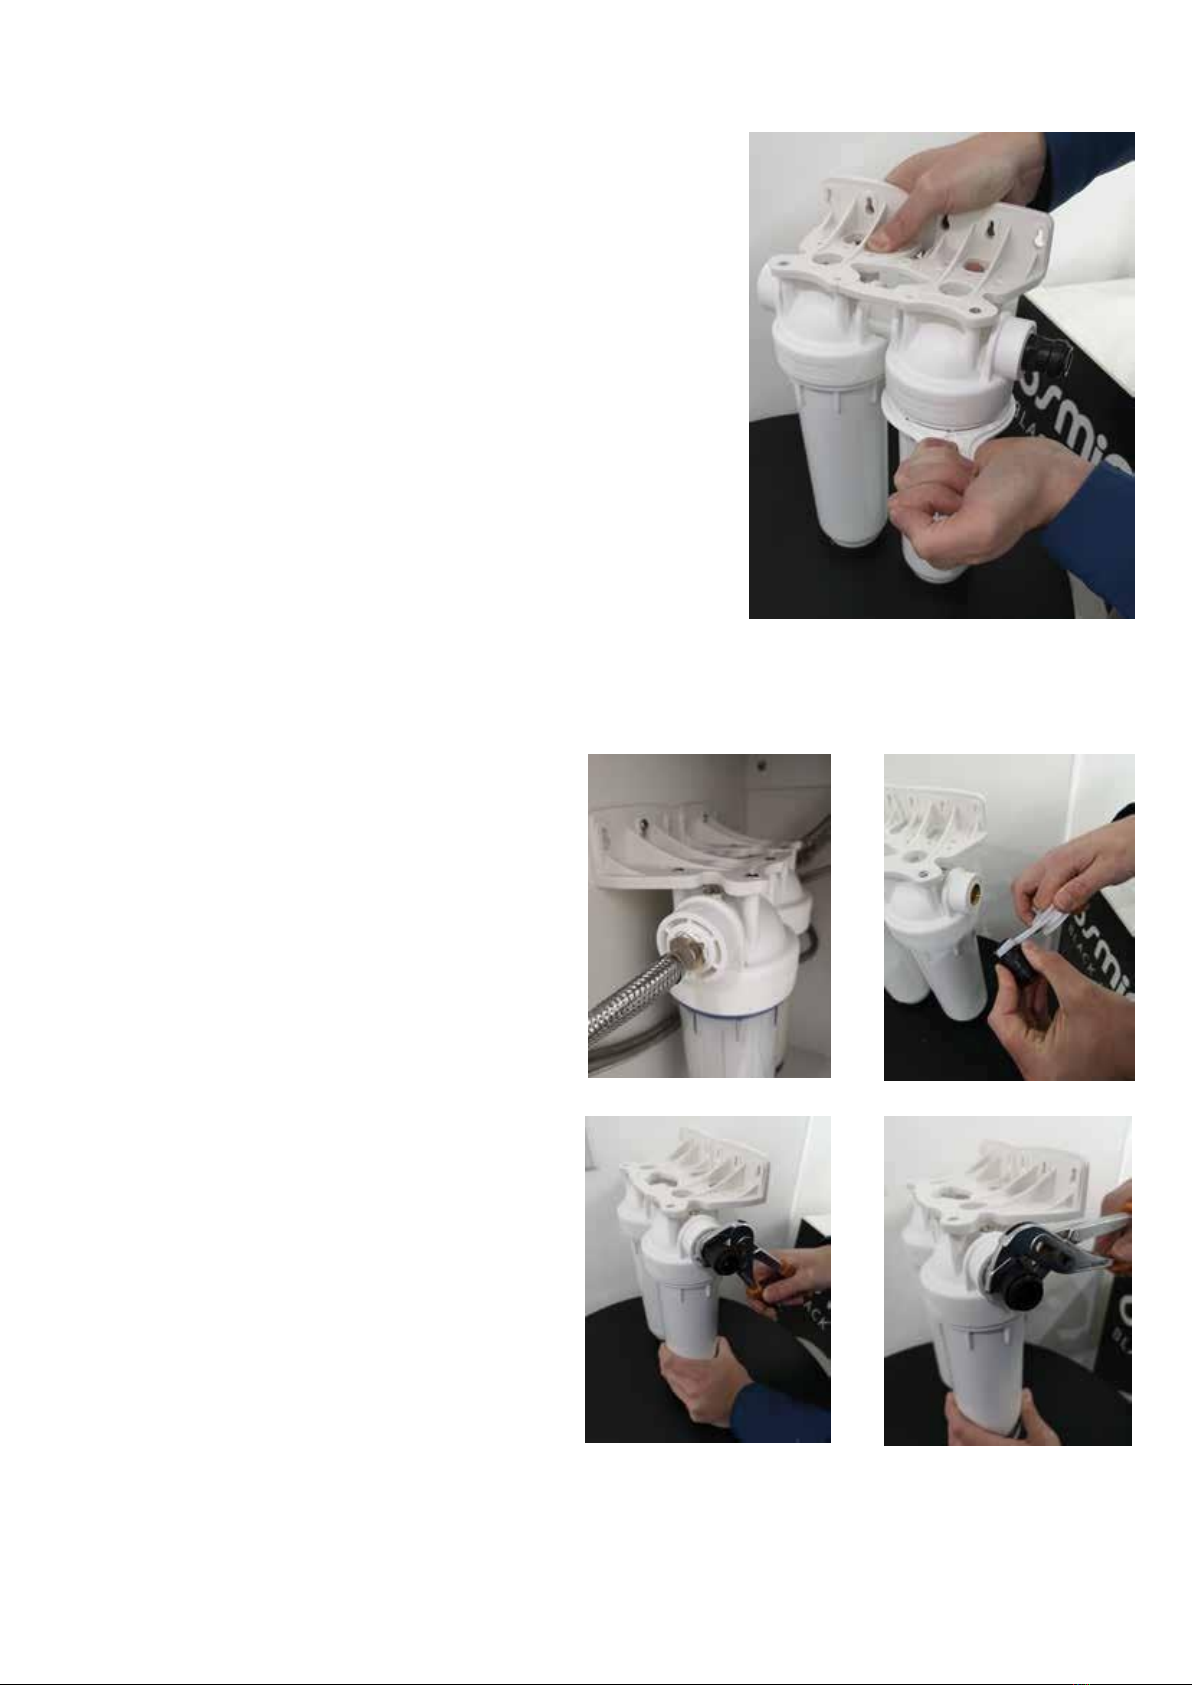
FIG1: WATER PRESSURE GUAGE
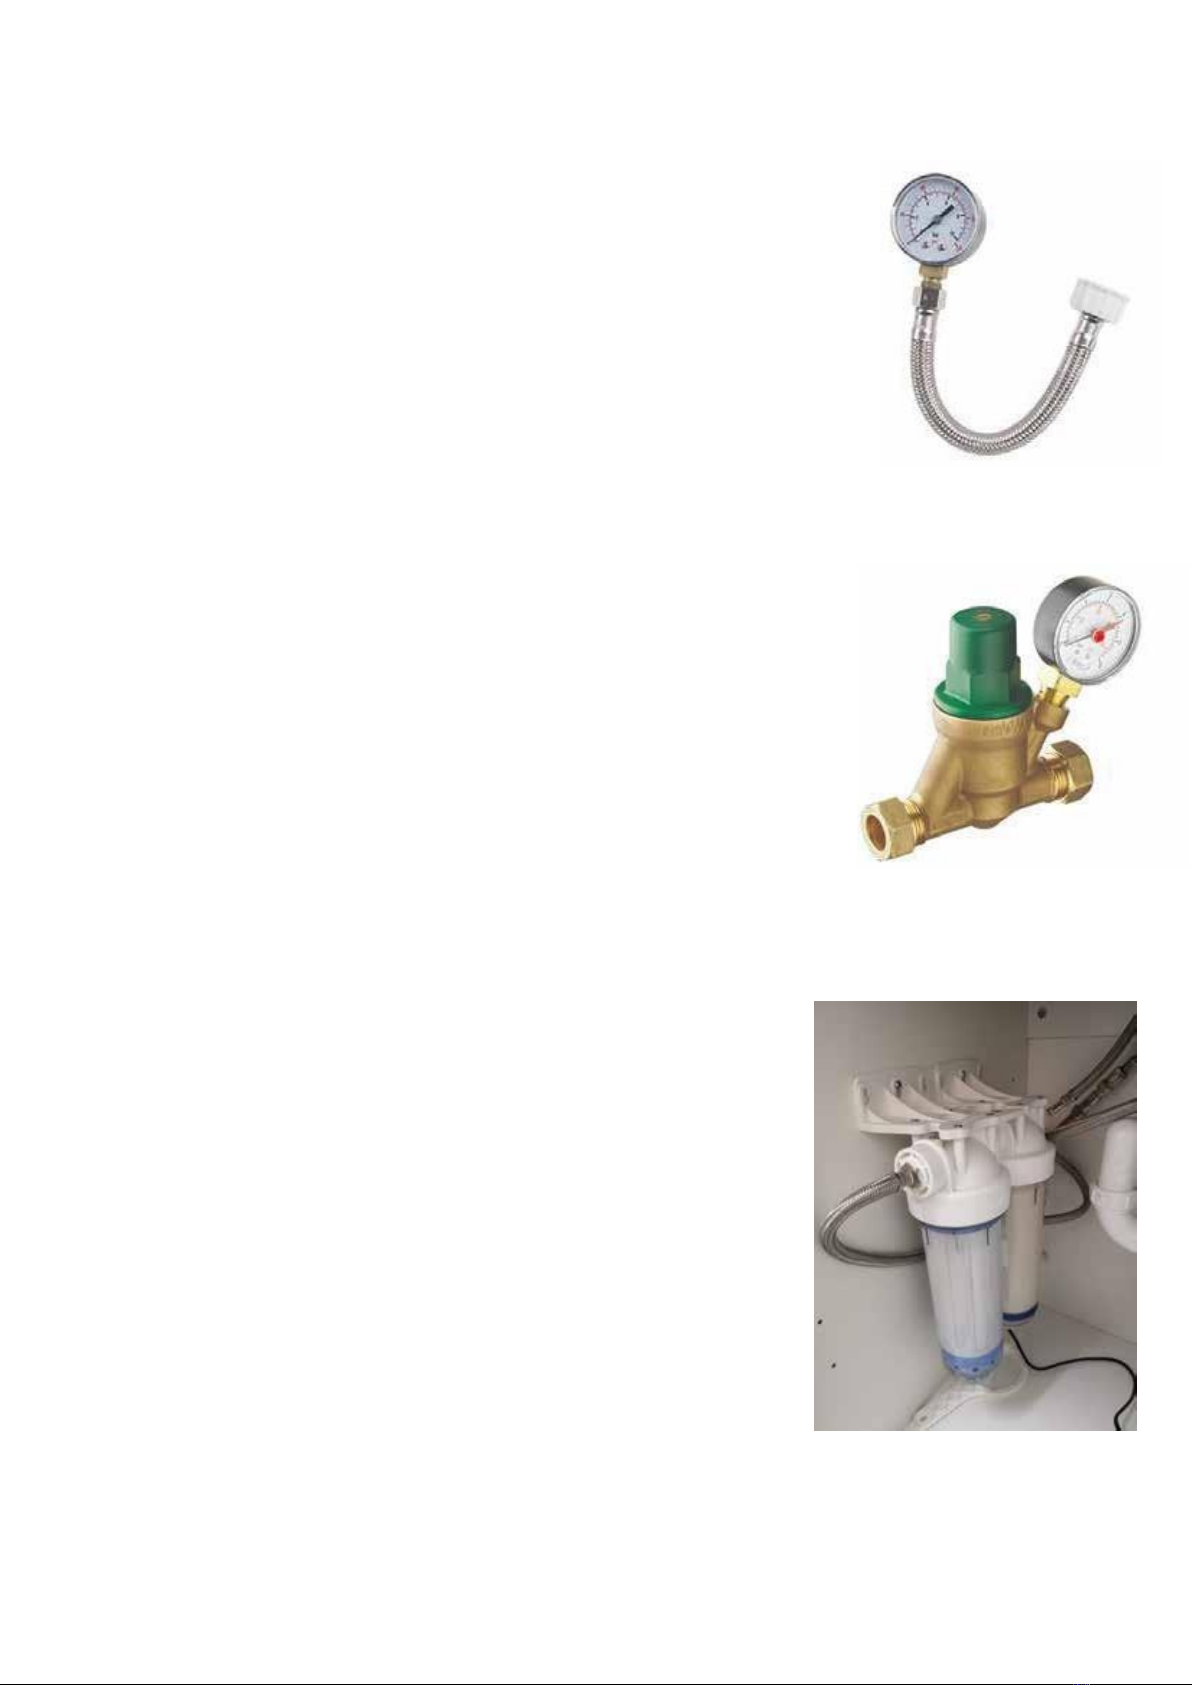
FIG2: PRESSURE REDUCING VALVE
WITH GUAGE
FIG1: OSMIO EZFITPRO-300
INSTALLED WITH HOSES. IT IS AN
EASY WAY TO DO IT IN SOME CASES
AND YOU CAN BUY THE HOSES FROM
ANY PLUMBERS MERCHANT

INSTALLATION STEPS
STEP1: MOUNTING THE BRACKET
After planning your installation, you can first
determine where you are going to mount the filter
system and using the screws supplied (4 for the
EZFITPRO-100 and 8 for the EZFITPRO-200/300).
STEP2: GREASING THE O-RINGS
The o rings must be greased
thoroughly
with silicone grease
(plumbers grease). This will
ensure the o ring will slip as the
housing bowl is screwed onto
the head and make a water tight
connection.
Fist clean your hands and then
apply the grease to the ring
generously and run your finger
around the ring as shown.
FIG3: DIRECTIONAL ARROW
OF WATER FLOW
Note the arrows showing the
direction of flow. The arrow points in
thedirectionofflowtothe tap. You
can mount the bracket either way
round according to whether you are
installing on the left or the right hand
side of the cupboard. Using the
phillips head screwdriver, screw the
bracket to the filter unit.
FIG4: GREASING THE O RINGS

STEP3: INSERTING THE FILTERS
Yourhousingunitissupplied withthehousingmanu-
facturersown manualwhichyoudonotneedtouse,
but can keep forreference.
There is also a spacing ring supplied which again you
do not need, but can keep if you plan touse
melt-blown spun sediment filters in the future or for
any other housing, as shown.
Skip to the relevant section for the product you are
installing.Please ensureyouinstallthefiltersinthe
correct order shown which is in accordance with the
flow directions.
EZFIT-PRO100
FIG5: SPACING RING ISNOTNEEDED
BUT CAN BE USED WITH SEDIMENT
FILTERS
EZFIT-PRO200
Min-Max Pressure: 1 bar - 4.5bar
Recommended flow rate; < 4 LPM
Filter 1: Osmio 2.5" x 10" Carbon Block 5 Micron Filter.
Change every ð months or 11,000 litres whichever comes first.
Remove the packaging of the Osmio 2.5" x 10" Carbon Block 5
MicronFilter.Thefilterisbi-directionalsoitdoesnotmatter
which way around you put it in. The is a loose male centring hole
andthe bottomofthe housingbowl wherethefiltersits. The
filter should be centred and level if put in correctly.
This system has two filters.
Min-Max Pressure: 1 bar - 4.5bar
Recommended flow rate; < 4 LPM
Filter 1: Osmio 2.5" x 10" Carbon Block 5 Micron Filter.
As above.
Filter 2; Osmio 2.5 x 10 Chlorine & Limescale Filter
Remove the packaging and insert this filter as shown with the
white O ring at the top of the filter bowl. The life of the filter
varies with water hardness. Capacity; 1080 Litres @ 150ppm Total
Hardness - 540 Litres
@
300ppm Total Hardness.
Replace after 6 months of installation date or before if needed.
PLEASE NOTE: Ensure the blue screw caps are fully hand tight before inserting the filter
(at the top and bottom)

EZFIT-PRO300
FIG6: THE RUBBER WASHER GOES ON
THE TOP OF THE FILER
FIG7: THE BOTTOM AND CLOSED END OF THE
FILTER
This system has two filters.
Min-Max Pressure: 2 bar - 4.5bar
Recommended flow rate; < 3 LPM
Filter1:ColdstreamCF108WCeramicWater
Filter Cartridge:
This is a 0.2 micron ceramic cartridge, a very
fine filter, and is not recommended to install if
your pressure is lower than 2 bar as it will
impact yourflow,unlessofcourse thebest
water quality is your goal, in which case we
would encourage your patience!
This filter has one end which is closed (at the
bottom and one end which is open (at the top).
The filter comes with two rubber washer, one is
spare and only one is needed to be placed at
the top end of the filter.
We recommend replacement every 11,000
litres or 6 months whichever comes first.
Filter 2; Osmio 2.5 x 10 Chlorine & Limescale
Filter:
As per previous section.

STEP4: SCREWING THE BOWLS TO THE HEAD
Holding the bowl upright, hand screw the bowl
anticlockwise with the filter inside it to the filter
unit head to screw it on.
Onceyouhavetighteneditasmuchasyoucanby
hand,then use the spanner provided inthe kit to
tighten it up.
IMPORTANT NOTE:
Do not over-tighten this. Only tighten a 1/4 turn at
a time (i.e. nip it up, don’t go crazy making it too
tight, it will be very hard or impossible to get o"
otherwise!
STEP5: CONNECTING THE FITTINGS
The system is now ready tobe
installed.
We supply two 15mm push fittings
(with 1/2” male on the end). Use these
if you wish to install it by push fitting a
15mm copper or plastic pipe to the
inlet and outlet.
The housing has brass threaded 1/2”
female (1/2” BSPP) ports so you can
install a 1/2” male hose straight in and
outofit too,oruse 1/2"malefittings
to 15mm compression if you prefer.
Ensure that you use PFTE tape when
using the supplied push fittings.
Ifyou are using brass male fittings
thenitis recommended to useLoctite
55 PFTE fibre.

STEP6: MOUNTING THE SYSTEM
The filter system can now be mounted onto the side
where you want to fit it. Use your own screws appro
-
priate to the surface you are mounting them to, i.e.
wood screws for kitchen cupboards, drywall screws
for drywall etc. Mark the holes first with your marker
pen and you can use the spirit level to ensure its
perfectly horizontal.
Pressure Release Screw
There is a flat edge screw on the top of each hous
-
ing. This is the pressure release screw and used to
release air pressure.
Turn this screw with your flat edge screwdriver to
ensure this is fully closed before you turn the water
on.
STEP7: FLUSHING THE SYSTEM
Now turn on the tap to flush the filter system for at least 5 minutes with a good flow
of water.
It is perfectly normal for the first water to come out black and this should quickly go
away but smaller fines can still be there so flush for 5 minutes.
Once this is done, you can close the tap and open the pressure release screw
to
release any air pressure
until
a
bit
of water comes out then screw it back in fully (this
is very similar
to
bleeding the valve on a radiator and something you can do
before/after new filter installation.
It is perfectly normal for the water to appear cloudy at first and this can last up to 5
days in some cases. This is air in the water and to show that you can pour a glass of
water and wait 30 seconds and see it go clear. If there is any residue at the bottom of
theglassthathassettled after 5minutes flushing, thenplease contact ourtechnical
customer care team.
Once you have finished flushing, thoroughly check all the fittings and connections for
any leaks.

FILTER CHANGES
Please refer to Step 3 for average filter durations. Due to massive variation in water
conditions, this is meant to be taken only as a guide. Filters can and do block because
of variations in the incoming water quality and situations surrounding supply zones
or private water supplies.
A very key point for healthy maintenance of your system is to take note of the follow-
ing recommendations in the filter change steps;
Step 1: Turn o" the water supply tothe system and open up the nearest tap and
leave open.
Step 2: Use the spanner provided with the housing kit turn the bowl CLOCKWISE to
unscrew it from the head. Once you have loosened it with the spanner, use both
hands to roll it o". Please note it will be full of water and have the filter inside it so
loweritdownstraight.Emptythewateroutandsetthefilterto oneside.
Step 3:
RemovetheOringinthebowlandsettingitaside.Youcanuseathinedge
stanley knife tohelp priseit outofthegrooveofthe bowl. Then you can give the bowl
acleanlikenormalwashingupbutonlywithcoldwaterandasoftsponge.Washing
upliquidisOKbutdonotuseanythingelseincludingbleachorabrasivechemicals.
Step 4:
Insert the new filters in accordance with the installation Step 3 in the installa
-
tion steps.
Step 5:
Refer to Step 7 of the previous section.
To order replacement filters, contact your dealer.

TROUBLESHOO TING
Problem:
Leak coming from between the housing bowl and filter head.
Solution:
Take the bowl o" and ensure the o ring is correctly seated. Remove the o ring
and check it for any bumps or stretches. Re-grease the o ring, thoroughly to ensure all
sides of it are nicely greased. Reseat the o-ring and apply some more grease for good
measure. Then screw the bowl back on and use the spanner to tighten it up and
re-check.If you have aproblem with theColdstream filter housing leaking, ensure that
you have not used the bottomandonlythetop rubberringon the filter itself.Ifthis
does not work, contact our technical customer care team.
Problem:
Leaking coming from pressure reducing valve screw
Solution:
Tighten the screw up. If this does not work, contact our technical customer
care team sales@reverseosmosisworld.co.uk
Problem:
Leak from inlet and outlet fittings.
Solution:
If this is coming from the push fitting side, then take out the pipe and ensure
theendiscleanandstraightandnotburredormiscut.Pushthefittingbackinthor
-
oughly to ensure the collet ring pops out. Then retest it. If this does not work, contact
our technical customer care team. If the leak is coming from the male/female threaded
side, then this is most likely because there is not enough tape on the thread or can be
because there is too much tape. Remove any tape and put 7 wraps around it. Refit the
fitting and try again. There isachancethe fitting, ifplastic has become cross threaded
and therefore will not seal. If so contact our technical customer care team for help.
Email : sales@reverseosmosisworld.co.uk
Other manuals for EZFITPRO Series
1
This manual suits for next models
3
Table of contents
Other Osmio Water Filtration System manuals
Popular Water Filtration System manuals by other brands

Bartscher
Bartscher K3600L Original instruction manual

WaterLogic
WaterLogic WL3 FX manual

Aquafine
Aquafine RBE Series Installation, maintenance and operation manual

Pentair
Pentair FLECK 2815 Service manual

Pentair
Pentair Fleck 5812 SXT user guide

Clack
Clack WS1 Series Installation, operation & maintenance manual

Apex Digital
Apex Digital RO5 instruction manual

Ecosoft
Ecosoft MO-12 instruction manual

Intewa
Intewa AQUALOOP 6 system Installation and operating instructions

Hyundai
Hyundai Poseidon user guide

Premier
Premier CT-1 Installation, operation and maintenance manual

Dustcontrol
Dustcontrol S 11000 Original instructions