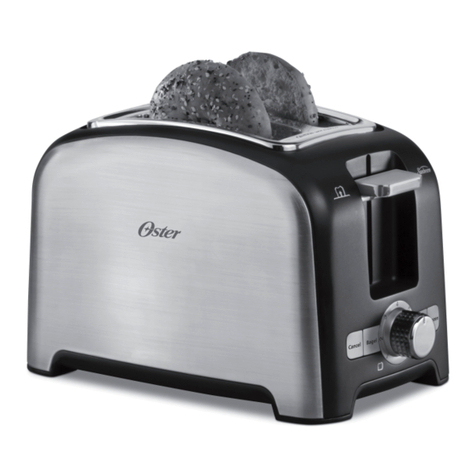
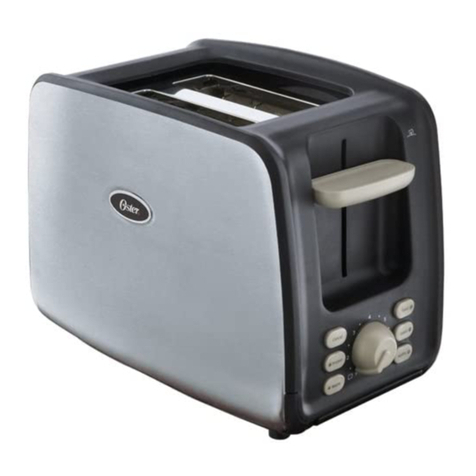
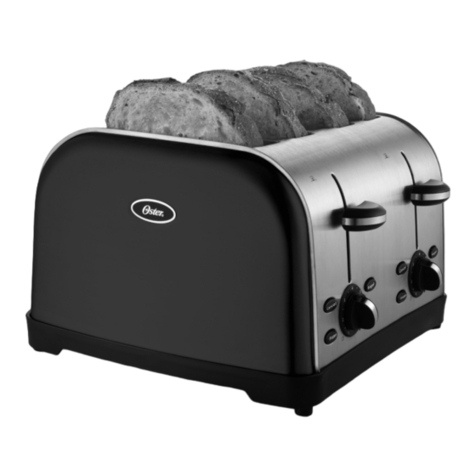
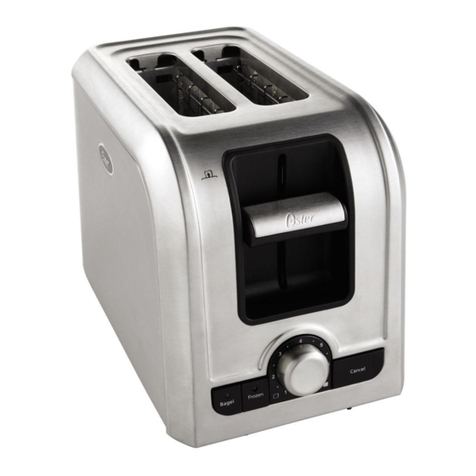
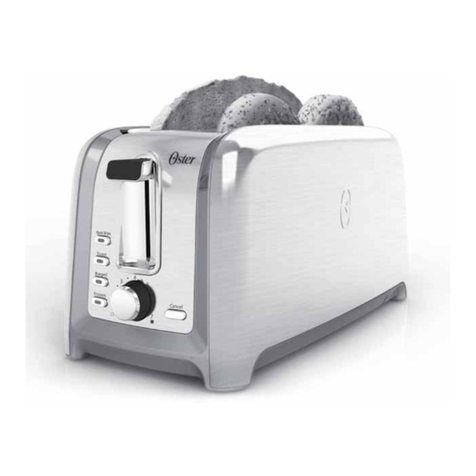
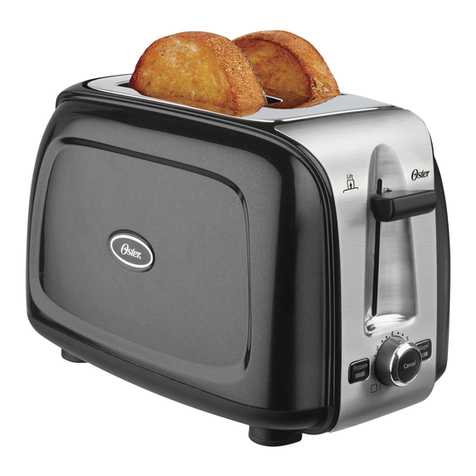
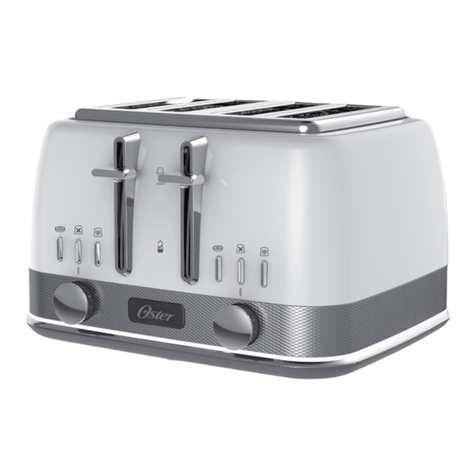
Oster TSSTTRWA2R User manual

Manual de Instruções
TORRADEIRA
LEIA TODAS AS INSTRUÇÕES ANTES DE USAR ESTE APARELHO
Instruction Manual
TOASTER
READ ALL INSTRUCTIONS BEFORE USING THIS APPLIANCE
MODELO / MODEL : TSSTTRWA2R
Bagel
1
2
Cancelar
3
4
5

Português-1
PRECAUÇÕES IMPORTANTES
Ao usar aparelhos elétricos, precauções de segurança devem ser sempre tomadas tais
como as que seguem:
LEIA TODAS AS INSTRUÇÕES, ETIQUETAS NO PRODUTO E
ALERTAS ANTES DE USAR SUA TORRADEIRA.
1. Desligue-a da fonte de energia quando o aparelho não estiver em uso e quando for
limpá-la. Deixe esfriar antes de colocar ou retirar peças da mesma.
2. Não encoste em superfícies quentes. Partes metálicas podem car quentes.
Use proteção, como luvas ou panos, para evitar queimaduras.
3. Para prevenir choques elétricos desligue-a antes de realizar qualquer tipo de
limpeza.
4. Para se proteger contra riscos elétricos não deixe com que nenhuma parte do apa-
relho, cabo de alimentação ou tomada encoste em água ou qualquer outro líquido.
5. Não deixe com que o cabo de alimentação que sobre cantos de mesa ou toque
superfícies quentes.
6. Nunca deixe de prestar atenção quando o aparelho está em uso.
7. Crianças muito pequenas ou pessoas incapacitadas não devem usar este produto.
Supervisione o uso quando uma criança estiver usando-o.
8. Não use ou coloque a torradeira em:
- Superfícies que não resistam ao calor ou superfícies amáveis.
- Próximo à fogão a gás ou forno elétrico.
- Em fornos ou aparelhos micro-ondas.
9. Para reduzir riscos de incêndios ou choques elétricos, não insira:
- Utensílios normais ou cobertos com qualquer tipo de material ou alimentos
acima do tamanho.
- Dedos ou utensílios metálicos quando o aparelho estiver ligado na tomada.
10. Não tente retirar o alimento quando o aparelho estiver em uso.
11. Não insira alimentos que possam derramar ou derreter quando aquecidos (tais
como recheios e coberturas).
Estes alimentos dentro do aparelho criam condições não-sanitárias além
de possibilidades de incêndio e mal funcionamento do aparelho. Retire os acúmulos
que venham a ser criados para evitar risco. Não utilize o aparelho se a bandeja de
despejo de resíduos não estiver colocada em seu devido local.
12. Não utilize qualquer aparelho elétrico se o cabo de alimentação estiver com danos
ou se o aparelho demonstrou qualquer tipo de incoerência quando em funcionamento
Leve o aparelho para a assistência técnica credenciada mais próxima para examinar,
reparar ou ajustar.
13. Não utilize o aparelho em ambientes externos ou para propósitos comerciais. Este
aparelho é para uso doméstico apenas.
14. Use este aparelho somente para usos como indicado neste manual. Não utilize
qualquer tipo de acessório que não seja recomendado pelo fabricante; os mesmos
podem causar danos ao aparelho.

Português-2
15. Pão ou alimentos podem causar incêndio caso a torradeira esteja coberta, tocando,
próxima ou embaixo de algum material inamável, incluindo cortinas, tapeçarias,
paredes e outros materiais semelhantes durante o funcionamento.
16. Ao conectar ou desconectar o aparelho aperte o botão cancelar antes. O expelidor
deve estar em posição normal de funcionamento (para cima) antes de conectar ou
desconectar à fonte de eletricidade.
17. Este aparelho elétrico não está destinado a ser usado por pessoas (incluindo
crianças) cujas capacidades físicas, sensoriais ou mentais estejam reduzidas ou
careçam de experiência e conhecimento necessários para utilizá-lo, a menos que
uma pessoa responsável por sua segurança tenha supervisionado ou instruído
quanto ao uso deste eletrodoméstico. As crianças deverão estar sob supervisão
para garantir que NÃO brinquem com o aparelho elétrico.
18. É necessária a estrita supervisão quando utilizar o eletrodoméstico próximo a
crianças ou pessoas incapacitadas.
19. Este aparelho não foi desenvolvido para funcionar através de um timer externo nem
um sistema de controle remoto.
20. Este aparelho foi desenvolvido para o uso doméstico ou em aplicações
semelhantes tais como: áreas de cozinha de funcionários de lojas, escritórios
e outros ambientes de trabalho, clientes de hotéis e outros ambientes do
tipo residencial assim como em ambientes de pousadas.
ESTE APARELHO FOI DESENVOLVIDO SOMENTE PARA USO DOMÉSTICO.
GUARDE ESTAS INSTRUÇÕES
INSTRUÇÕES SOBRE O CABO DE ALIMENTAÇÃO
Um cabo de alimentação curto é providenciado para reduzir riscos de enroscar ou
tropeçar sobre cabos mais longos. Um cabo de extensão se necessário pode ser
utilizado para usar o aparelho. Caso o mesmo venha ser utilizado, preste atenção para
que esteja de acordo com as especicações elétricas fornecidas no cabo original. O
cabo de extensão deve ser colocado de modo que não que pendurado sobre a bancada
ou mesa onde ele pode ser puxado por crianças ou cause tropeços.
GUARDE ESTE MANUAL DE INSTRUÇÕES

Português-3
DESCRIÇÃO DO APARELHO
1. Abertura para acomodar os pães
extralargos
2. Guias duplos, em aço inoxidável,
auto-ajustante
3. Alavanca para prender/abaixar e
elevar os pães
4. Bandeja coletora de resíduos
removível
5. Seletor De Nível De Tostagem: Gire
o seletor para escolher o nível de
tostagem desejado. Nível 1 é o
mais claro e nível 7 o mais escuro
1
2
3
4
5
Cancelar
Bagel
1
2
3
4
5
1
2
3
4
5
6
7

Português-4
PREPARANDO-SE PARA UTILIZAR A TORRADEIRA
PELA PRIMEIRA VEZ
Se você estiver utilizando este aparelho pela primeira vez, certique-se de:
1. Remover quaisquer adesivos presentes no aparelho e limpe seu exterior com um
pano seco.
2. Inserir a bandeja coletora de resíduos no local apropriado.
3. Conrmar que a alavanca está na posição totalmente para cima antes de conectar o
aparelho.
4. Selecionar um local apropriado para o aparelho. O local deve ser:
- Superfície plana, resistente ao calor e não inamável.
- Pelo menos 3 Polegadas (8 cm) de qualquer parede ou superfícies.
- Pelo menos 1 Pé (30 cm) distante de qualquer armário ou prateleiras que
possam estar sobre o aparelho.
- Longe de materiais inamáveis.
- Longe de fogões a gás ou equipamentos elétricos.
5. Conecte o cabo em uma tomada.

Português-5
USANDO SUA TORRADEIRA
INSERINDO ALIMENTOS E TOSTANDO-OS:
• A maioria dos tipos de pães e alimentos como bagel/biscoitos e bolos, podem ser
tostados. As fatias devem ser de tamanho razoáveis, não tão grossas, para que
possam ser inseridas e retiradas facilmente.
• Ao torrar duas fatias de uma só vez, certique-se de que sejam de tamanho e frescura
iguais para garantir resultados iguais em ambas as fatias.
• Quando torrar duas fatias de pão, coloque cada fatia no centro de cada abertura.
• Ao torrar uma fatia apenas, coloque-a no centro de qualquer abertura.
Após inserir o alimento:
1. Para pães normais, use as denições padrão. Se você deseja torrar pães tipo bagel/
biscoitos, aperte o botão com a função do mesmo. Caso selecionado, uma luz indi-
cando sua escolha será ativada mostrando sua seleção.
2. Selecione o nível de tostagem que você deseja girando o seletor.
3. Empurre a alavanca que para baixo até travar.
O guia de auto ajuste dos pães irá centralizá-los para garantir tostagem uniforme.
Após o nível selecionado ser atingido, o alimento será ejetado automaticamente.
A alavanca retornará para a posição original e as luzes de indicação se desligarão.
4. Remova cuidadosamente o alimento.
ATENÇÃO: Nunca coloque os dedos ou utensílios metálicos nas aberturas de pão.

Português-6
DICA
Sua torradeira foi projetada para uma tostagem uniforme. Alguns elementos internos
podem brilhar mais que outros quando em operação. Este efeito é de funcionamento
normal do aparelho.
USANDO A FUNÇÃO CANCELAR:
Pressione o botão cancelar. A torradeira irá cessar a operação e o alimento será ejetado
automaticamente.
PARA REMOVER OS ALIMENTOS PRESOS NOS
LOCAIS DE INSERÇÃO DE PÃES
Desconecte a torradeira e remova-o após o aparelho ter resfriado.
NÃO coloque alimentos sobre a torradeira enquanto a mesma esteja aquecendo.
ATENÇÃO: Limpe a bandeja coletora de resíduos frequentemente. Resíduos como
farelos irão acumular na bandeja e poderão causar incêndios quando não limpos periodi-
camente.

Português-7
LIMPANDO SUA TORRADEIRA
Após uso e antes de limpar, desconecte a torradeira da fonte de energia e espere até
que a mesma esfrie.
1. Limpe o exterior da torradeira com pano úmido e em seguida seque com outro pano
seco ou papel toalha. Não use limpadores que sejam abrasivos; eles irão danicar o
acabamento do aparelho.
2. Bata levemente nas laterais da torradeira para desalojar quaisquer resquícios de
alimento que possam ter cado presos. Remova a bandeja coletora de resíduos
e limpe-a. Limpe a bandeja com um pano úmido ou coloque-a na prateleira superior
da sua máquina de lavar.
3. Lembre-se de colocar a bandeja coletora de resíduos de volta na torradeira antes de
utiliza-la novamente.
4. Limpe a parte superior das aberturas com pano úmido e seque com outro pano ou
papel toalha.
ATENÇÃO: Após tostado, o alimento pode estar muito quente. Manuseie com cuidado.

English-1
IMPORTANT SAFEGUARDS
When using electrical appliances, basic safety precautions should always be followed
including the following:
READ ALL INSTRUCTIONS, PRODUCT LABELS AND
WARNINGS BEFORE USING TOASTER
1. Unplug toaster from outlet when not in use and before cleaning. Allow to cool
before putting on or taking off parts.
2. Do not touch hot surfaces. Metal parts can become hot. Use handles or knobs.
3. To prevent electric shock, unplug before cleaning.
4. To protect against electrical hazards, do not immerse cord, plug or toaster in
water or other liquids.
5. Do not let cord hang over edge of table or counter or touch hot surfaces.
6. Never leave appliance unattended when in use.
7. Young children or incapacitated persons should not use this appliance. Supervise
older children closely.
8. Do not operate or place the toaster:
– On non-heat-resistant or ammable surfaces.
– On or near a hot gas or electric burner.
– In a heated oven or microwave oven.
9. To reduce the risk of re or electric shock, do not insert:
– Utensils or foil-covered or oversized foods into the toaster.
– Fingers or metallic utensils into slots when toaster is plugged in.
10. Do not attempt to dislodge food when toaster is plugged in.
11. Do not use foods that will drip coatings or llings when heated.
Such accumulations inside the toaster create unsanitary conditions and the
possibility of re or toaster malfunction. Clean out accumulated crumbs
frequently to avoid risk of re or toaster malfunction. Do not operate the toaster
without the crumb tray being replaced in its correct position.
12. Do not operate any appliance with a damaged cord or plug or after the appliance
has malfunctioned or has been damaged in any manner. Return appliance to the
nearest authorized service facility for examination, repair, or adjustment.
13. Do not use the toaster outdoors or for commercial purposes; this appliance is
for household use only.
14. Use this appliance only for its intended use as described in this manual. Do
not use attachments that are not recommended by the manufacturer; they may
cause injury.
15. The bread may burn, therefore do not use the toaster near or below combustible
material, such as curtains, draperies, walls, and the like when in operation.
16. To connect or disconnect appliance, press cancel button. Toast lift lever must be
in the normal up position before attaching or disconnecting the plug from the wall outlet.
English-2
17. This appliance is not intended for use by persons (including children) with reduced
physical, sensory or mental capabilities, or lack of experience and knowledge,
unless they have been given supervision or instruction concerning use of the
appliance by a person responsible for their safety. Children should be supervised to
ensure that they do not play with the appliance.
18. Close supervision is necessary when any appliance is used by or near children, or
incapacitated individuals.
19. This appliance is not intended to be operated by means of an external timer or
separate remote-control system.
20. This appliance is intended to be used in household and similar applications such as:
staff kitchen areas in shops, ofces and other working environments; farm houses;
clients in hotels, motels and other residential type environments; and bed and
breakfast type environments.
THIS UNIT IS FOR HOUSEHOLD USE ONLY.
SAVE THESE INSTRUCTIONS
SHORT POWER SUPP LY CORD INSTRUCTIONS
A short power-supply cord is provided to reduce the risk resulting from becoming entangled
in or tripping over a longer cord. An extension cord may be used if care is exercised in its
use. If an extension cord is used, the electrical rating of the cord must be at least as great
as the electrical rating of the appliance. The extension cord should be arranged so that
it will not drape over the countertop or tabletop where it can be pulled on by children or
tripped over unintentionally.
SAVE THESE INSTRUCTIONS

English-3
DESCRIPTION OF THE APPLIANCE
1
2
3
4
5
Cancelar
Bagel
1
2
3
4
5
1
2
3
4
5
6
7
1. Extra-Wide Bread Slots
2. Dual, Auto-Adjust, Stainless Steel
Bread Guides
3. Bread Carriage Lever / Toast Lift
4. Fully Removable Crumb Tray
5. Lighter/Darker Knob:Turn the
knob to select how dark you would
like your food toasted; 1 is light-
est, 7 is darkest

English-4
PREPARING TO USE YOUR TOASTER FOR THE
FIRST TIME
If you are using your toaster for the rst time, please be sure to:
1. Remove any stickers from the surface of the toaster and wipe the outside of
your toaster with a damp cloth.
2. Insert the Removable Crumb Tray into the crumb tray slot.
3. Make certain that the Bread Carriage Lever is in the uppermost position
before plugging in the toaster’s power cord.
4. Select a location for the toaster. The location should be:
- A at, heat-resistant, non-ammable surface.
- At least three inches away from walls or the back of countertops.
- At least one foot away from any cabinet or shelving that may be above the
toaster.
- Away from ammable materials, such as curtains and wall fabric.
- Away from a gas stove ame or electric element.
5. Plug the Power Cord into outlet.
English-5
USING YOUR TOASTER
Inserting the food into the bread slots and toasting:
1. Most types of breads and pastries can be toasted, such as bagels, teacakes, thickly
sliced breads, English mufns, etc. Slices should not, however, be so thick as to jam
the bread slots.
2. When toasting two slices at a time, the slices should be of equal size and freshness to
ensure even toasting.
3. When toasting two slices of bread, place one slice in the center of each bread slot.
4. When toasting one slice of bread, place the slice in the center of either
bread slot.
After you insert the food into the bread slots:
1. Regular toast is the default setting. If you wish to toast a bagel press
the bagel button. If you select bagel, the bagel button indicator light will illuminate to
indicate your selection.
2. Select the desired darkness setting by turning the Lighter/Darker knob.
3. Press the Bread Carriage Lever down until it locks.
The Auto-Adjusting Bread Guides will automatically center the food for
even browning.
After the desired level of darkness has been reached, the food will pop up
automatically. The Bread Carriage Lever will return to its original position and the
indicator lights will turn off.
4. Carefully remove the toasted food from the bread slots.
WARNING: Never insert your ngers or metallic utensils into the bread slots.

English-6
TIP
Your toaster has been designed for optimum toast balance. Some elements on the
inside of the toaster may glow more brightly than others when in use. This is part of
normal toaster operation.
USING THE CANCEL FUNCTION
Press the Cancel button. The toaster will stop toasting immediately and the food will pop
up automatically.
TO REMOVE FOOD JAMMED IN THE
BREAD SLOTS:
Unplug the toaster and remove the food once the toaster has cooled down.
DO NOT place food on top of toaster while it is warming.
WARNING: Empty the Crumb Tray frequently. Crumbs will accumulate in the Crumb
Tray and could catch re if not emptied periodically.

English-7
CLEANING YOUR TOASTER
After use and before cleaning, unplug the toaster Power Cord from the power outlet and
wait for the toaster to cool.
1. Wipe the outside of the toaster with a damp cloth and then dry it with another cloth or
paper towel. Do not use abrasive cleaners; they will damage the toaster’s nish.
2. Lightly tap the sides of the toaster to dislodge any crumbs caught in the toast cham-
ber. Remove the Crumb Tray and empty it.
3. Wipe the tray clean with a damp cloth or place it in the top rack of your dishwasher for
cleaning. Be certain to put the Crumb Tray back into the toaster before using the
toaster again.
4. Wipe the surface on the top of the bread slots with a damp cloth and dry it
with another cloth or paper towel.
WARNING: Toasted food can be very hot. Handle with care.

© 2015 Sunbeam Products, Inc. Todos os direitos reservados. Distribuído pela Sunbeam Latin America, LLC,
5200 Blue Lagoon Drive, Suite 860, Miami, FL 33126.
Garantia limitada de um ano – para maiores detalhes, consulte o certicado.
© 2015 Sunbeam Products, Inc. All rights reserved. Distributed by Sunbeam Latin America, LLC, 5200 Blue
Lagoon Drive, Suite 860, Miami, FL 33126.
One year limited warranty – please see insert for details.
www.oster.com
Printed in China Impresso na China
P.N.183271
Electric characteristics of series models:
Características elétricas dos modelos da série:
Voltage/ Voltagem Frequency/Frequência Power/Potência
127 V 60 Hz 840 W
220 V 60 Hz 680 W
XXX where X is any number between 0 and 9 or any letter between A and Z.
XXX onde X é qualquer número entre 0 e 9 ou qualquer letra entre A e Z.
TSSTTRWA-XXX / TSSTTRWA-XXX
Table of contents
Languages:
Other Oster Toaster manuals

Oster
Oster TSSTTRWF4R User manual

Oster
Oster TSSTTRWA21 User manual

Oster
Oster TSSTTRJB0K User manual

Oster
Oster TSSTTRWF4S User manual

Oster
Oster 6331 User manual

Oster
Oster TOAST LOGIC 3808 User manual

Oster
Oster TSSTRT2SST-FB User manual

Oster
Oster TSSTTRJB29 User manual

Oster
Oster TSSTTRWF2R User manual

Oster
Oster TSSTJC5BBK User manual

Oster
Oster TSSTTRWF4Sl TSSTTRWF4S-NP User manual

Oster
Oster TSSTJCPS01 User manual

Oster
Oster TSSTTRDFL1 User manual

Oster
Oster 6335 User manual

Oster
Oster 3804 User manual

Oster
Oster TSSTTA4540B User manual

Oster
Oster OTST-IMPBK2S-GB21 User manual

Oster
Oster 3808 User manual

Oster
Oster 6595 User manual

Oster
Oster 6242-33 User manual