manuals.online logo
Brands
  1. Home
  2. •
  3. Brands
  4. •
  5. Oxford Instruments
  6. •
  7. Digital Camera
  8. •
  9. Oxford Instruments Neo User manual

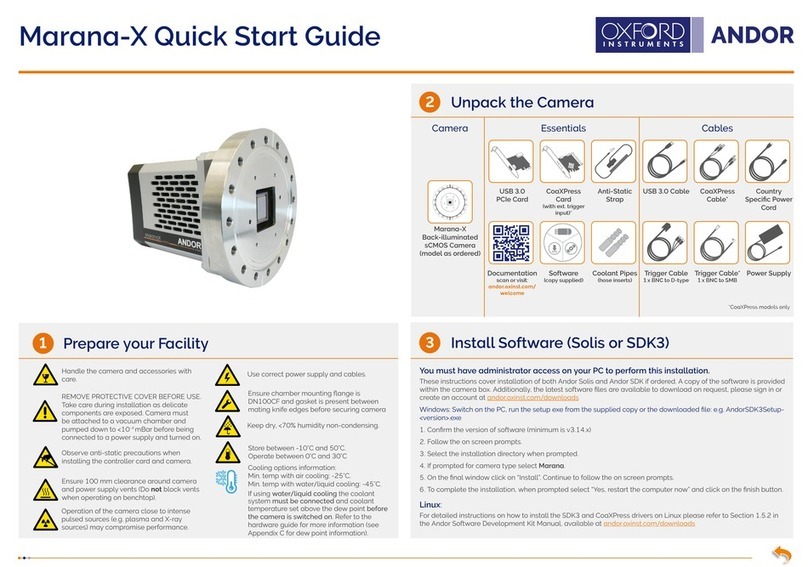
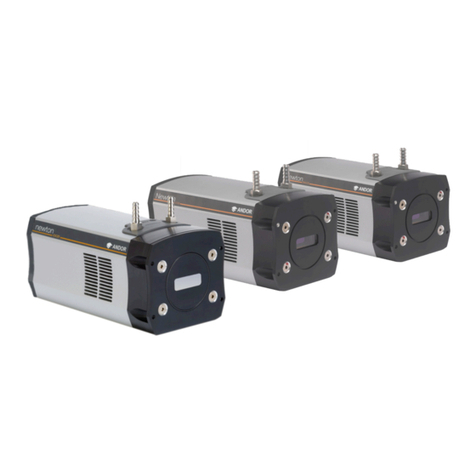
Oxford Instruments Neo User manual

Unpack the Camera
Install Software (Solis or SDK)
2
3
1Prepare your Facility
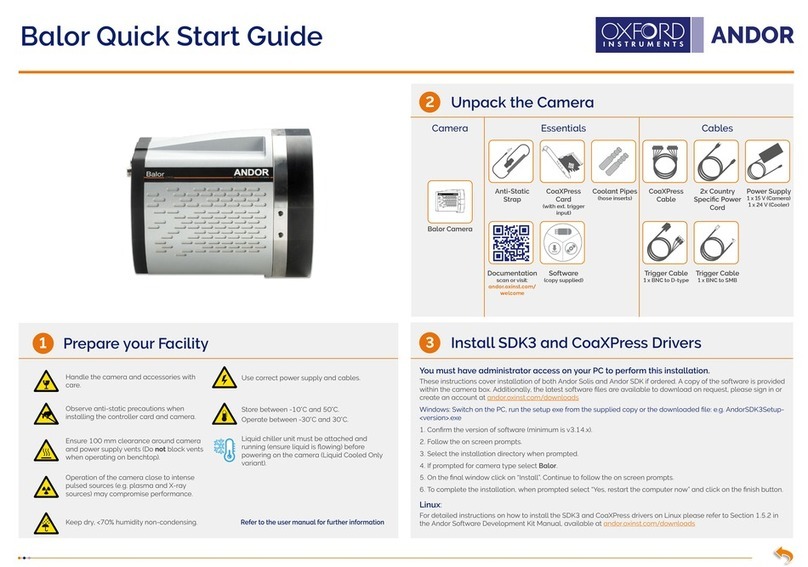
Neo Quick Start Guide
You must have administrator access on your PC to perform this installation.
These instructions cover installation of both Andor Solis and Andor SDK if ordered. A copy of the software is provided
within the camera box. Additionally, the latest software les are available to download on request, please sign in or
create an account at andor.oxinst.com/downloads
Windows: Switch on the PC, run the setup exe from the supplied copy or the downloaded le: e.g. AndorSDK3Setup-
<version>.exe.
1. Conrm the version of software (minimum is v3.14.x).
2. Follow the on screen prompts.
3. Select the installation directory when prompted.
4. If prompted for camera type select Neo.
5. On the nal window click on “Install”. Continue to follow the on screen prompts.
6. To complete the installation, when prompted select “Yes, restart the computer now” and click on the nish button.
Linux:
For detailed instructions on how to install the SDK3 drivers on Linux please refer to Section 1.5.2 in the Andor
Software Development Kit Manual, available at andor.oxinst.com/downloads.
Camera Essentials Cables
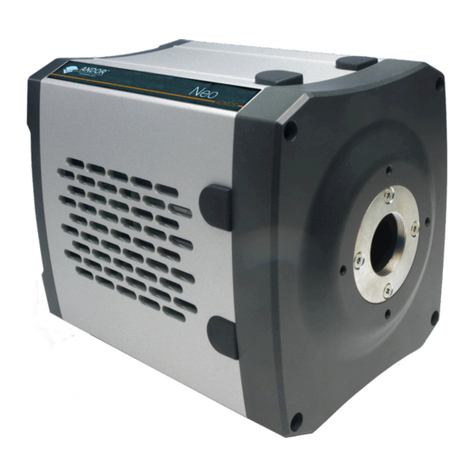
Neo sCMOS Camera
Camera Link
PCIe Card
Coolant Pipes
water cooled
models only
Anti-Static
Strap
Camera Link
Cable
Power Supply Country
Specic Power
Cord
Documentation
scan or visit:
andor.oxinst.com/
welcome
Software
(copy supplied)
Multi I/O
Timing Cable
USB 2.0 Cable
Handle the camera and accessories with
care.
Use correct power supply and cables.
Observe anti-static precautions when
installing the controller card and camera.
Store between -10°C and 50°C.
Operate between 0°C and 30°C.
Ensure 100 mm clearance around camera
and power supply vents (Do not block vents
when operating on benchtop).
For information on water cooling, please refer
to the user manual.
Operation of the camera close to intense
pulsed sources (e.g. plasma and X-ray
sources) may compromise performance.
Keep dry, <70% humidity non-condensing.
Refer to the user manual for further information
MAN-06733
NQSG 0921 R1
Install the Camera Link PCIe Card
Troubleshoot
4Connect the Camera and Switch it on
5
?
1. Unplug all cables from the rear of the computer.
2. Remove the PC enclosure so as to gain access to the expansion slots.
3. Locate a PCIe x16, x8 or x4 slot. If you are unsure which PC slot is correct,
please consult the PC user manual.
4. Remove the ller bracket corresponding to the slot you intend to use.
5. Remove the controller card carefully from its protective ESD packaging and
rmly press the card connector into the chosen expansion slot and ensure it
is securely locked in.
6. Making sure that the card’s mounting bracket is ush with any other
mounting brackets or ller brackets to either side of it, secure the controller
card in place.
7. Replace the cover of the computer and secure it with the mounting screws if applicable.
8. Reconnect any accessories you were using previously.
9. For PCs not supplied by Andor, refer to Setting & Checking BIOS options.
Notes:
• Do not connect any other device to the PCIe card as this may interfere with normal camera operation or
performance.
• Camera operation with PCIe cards not supplied by Andor cannot be guaranteed.
Mounting the Camera
• Attach the camera to lens or optical system using the camera
C-mount (or F-mount) interface as required.
Connecting the Signal and Power Cables
• Before inserting the 12 V DC power connector to the rear of the
camera, ensure the orientation is correct. Never forcibly insert
the connector.
• Securely connect the camera link cable between the CL1
connector on the rear of the unit and the appropriate port on
the PCIe card.
• If required connect the I/O expander cable to the 26 way I/O
connector.
• Switch the Camera on using the ON/OFF switch.
• Turn on the PC.
• Start your software.
• View and adjust the acquisition settings as required.
• Start acquiring data.
Camera buzzer does not sound on start-up
• The camera buzzer should be audible momentarily when the camera is switched to ON.
• If this does not occur, ensure that power is connected to the camera and the ON/OFF switch is set to ON.
Camera is not recognized by PC
• Ensure camera is switched to ON (The camera must be powered up before the software is initiated).
• Check that the camera cable(s) are securely and correctly connected between the camera head and the PCIe
card in the PC (shown in step 4).
• Check that the PCIe card and drivers have been installed properly:
Control Panel – System – Hardware – Device Manager – Imaging Devices (refer also to user manual Section
3.4 and 3.5.
Please see the Hardware Guide for further information on Troubleshooting.
Online access to technical documentation and software downloads is available at:
andor.oxinst.com/downloads
Fasten the Card
to the slot with
a screw Unused filler brackets
Gently press the
card into
the slot
PCI Slot
ISA Slot
CL2
(10-tap PCIe card only)
CL1
USB 2.0
CL1
Connector
TTL/DAC 26 DAC
26-Way D Type
Connector
ON/OFF
Switch
12 V DC
Power
Connector
Water Cooling Guidelines
• If you require ultimate cooling please refer to the Neo user manual for guidelines on installation and operation.
Note: USB A to B cable also supplied (only used when updating rmware).
Checking & Setting BIOS options (for PCs not supplied by Andor)
Enter the BIOS menu when starting PC. For Dell workstations, press F12 at start-up and select System Setup in the
One Time Boot Menu. For Dell workstations 3 options in the Performance menu of the BIOS need to be checked/
set:
• C-States Control – Disable C-States.
• Intel Speed-step – Disable Speed-step.
• Memory Node Interleaving – Set from NUMA to SMP. Note: This option is only available on larger workstations
with 2 physical processors and may have a dierent name- ensure that NUMA is disabled.
Ensure your PC is powered o.
Ensure anti-static precautions and use the anti-static strap provided to prevent
potential damage. Keep all screws safe.
Ensure that the Camera ON/OFF switch is in the OFF position AND your PC is switched OFF.

Other Oxford Instruments Digital Camera manuals

Oxford Instruments Andor Sona 4.2B-11 Installation instructions

Oxford Instruments

Oxford Instruments Andor Sona 4.2B-11 Installation instructions

Oxford Instruments ANDOR iStarsCMOS User manual

Oxford Instruments

Oxford Instruments ANDOR iStarsCMOS User manual

Oxford Instruments Andor Apogee Alta User manual

Oxford Instruments

Oxford Instruments Andor Apogee Alta User manual

Oxford Instruments Andor Apogee Alta Series Installation instructions

Oxford Instruments

Oxford Instruments Andor Apogee Alta Series Installation instructions

Oxford Instruments Andor iKon-XL Flexi User manual

Oxford Instruments

Oxford Instruments Andor iKon-XL Flexi User manual

Oxford Instruments Andor Neo User manual

Oxford Instruments

Oxford Instruments Andor Neo User manual

Oxford Instruments ANDOR iKon-M Installation instructions

Oxford Instruments

Oxford Instruments ANDOR iKon-M Installation instructions

Oxford Instruments ANDOR Sona User manual

Oxford Instruments

Oxford Instruments ANDOR Sona User manual

Oxford Instruments Andor Balor User manual

Oxford Instruments

Oxford Instruments Andor Balor User manual

Oxford Instruments Andor Apogee Aspen Series Installation instructions

Oxford Instruments

Oxford Instruments Andor Apogee Aspen Series Installation instructions

Oxford Instruments Andor Marana-X User manual

Oxford Instruments

Oxford Instruments Andor Marana-X User manual

Oxford Instruments Andor Zyla USB 3.0 Series User manual

Oxford Instruments

Oxford Instruments Andor Zyla USB 3.0 Series User manual

Oxford Instruments Andor Zyla User manual

Oxford Instruments

Oxford Instruments Andor Zyla User manual

Oxford Instruments ANDOR iXon Ultra 897 User manual

Oxford Instruments

Oxford Instruments ANDOR iXon Ultra 897 User manual

Oxford Instruments ANDOR iXon Ultra 888 User manual

Oxford Instruments

Oxford Instruments ANDOR iXon Ultra 888 User manual

Oxford Instruments ANDOR Newton CCD Installation instructions

Oxford Instruments

Oxford Instruments ANDOR Newton CCD Installation instructions

Popular Digital Camera manuals by other brands

Panasonic LUMIX DC-G9M Basic operating instructions

Panasonic

Panasonic LUMIX DC-G9M Basic operating instructions

Panasonic Lumix DMC-GF1 C Specifications

Panasonic

Panasonic Lumix DMC-GF1 C Specifications

Sony a7 III instruction manual

Sony

Sony a7 III instruction manual

Minox DC 3311 user guide

Minox

Minox DC 3311 user guide

Sony DSLR-A5OO instruction manual

Sony

Sony DSLR-A5OO instruction manual

Minolta MN24Z user manual

Minolta

Minolta MN24Z user manual

PhaseOne XF IQ4 user manual

PhaseOne

PhaseOne XF IQ4 user manual

Philips KEY0079 quick start guide

Philips

Philips KEY0079 quick start guide

Canon PowerShot G1 Software starter guide

Canon

Canon PowerShot G1 Software starter guide

Samsung Digimax U-CA 4 Specifications

Samsung

Samsung Digimax U-CA 4 Specifications

ENER-J SHA5209 quick start guide

ENER-J

ENER-J SHA5209 quick start guide

Nikon Z 6II Reference manual

Nikon

Nikon Z 6II Reference manual

Kodak Smile user manual

Kodak

Kodak Smile user manual

Steren CAM-130 quick start guide

Steren

Steren CAM-130 quick start guide

Olympus Stylus 1050SW Manuel d'instructions

Olympus

Olympus Stylus 1050SW Manuel d'instructions

Samsung SDC-33 user guide

Samsung

Samsung SDC-33 user guide

Samsung SAMSUNG EX2F Manual Del Usuario

Samsung

Samsung SAMSUNG EX2F Manual Del Usuario

Ricoh RDC-5300 quick start

Ricoh

Ricoh RDC-5300 quick start

manuals.online logo
manuals.online logoBrands
  • About & Mission
  • Contact us
  • Privacy Policy
  • Terms and Conditions

Copyright 2025 Manuals.Online. All Rights Reserved.