manuals.online logo
Brands
  1. Home
  2. •
  3. Brands
  4. •
  5. Ozark Trail
  6. •
  7. Tent
  8. •
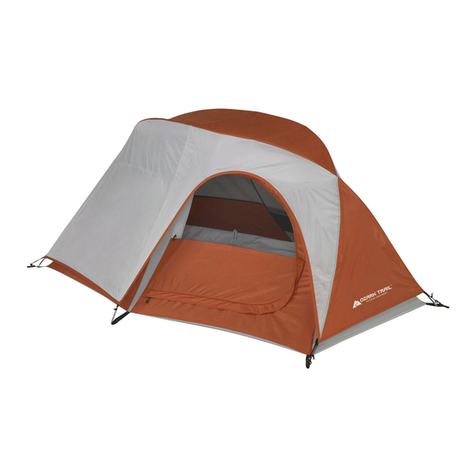
  9. Ozark Trail W947.REC User manual

Ozark Trail W947.REC User manual

Other Ozark Trail Tent manuals

Ozark Trail WMT-9900 User manual

Ozark Trail

Ozark Trail WMT-9900 User manual

Ozark Trail WT192117 User manual

Ozark Trail

Ozark Trail WT192117 User manual

Ozark Trail WMT-9920 User manual

Ozark Trail

Ozark Trail WMT-9920 User manual

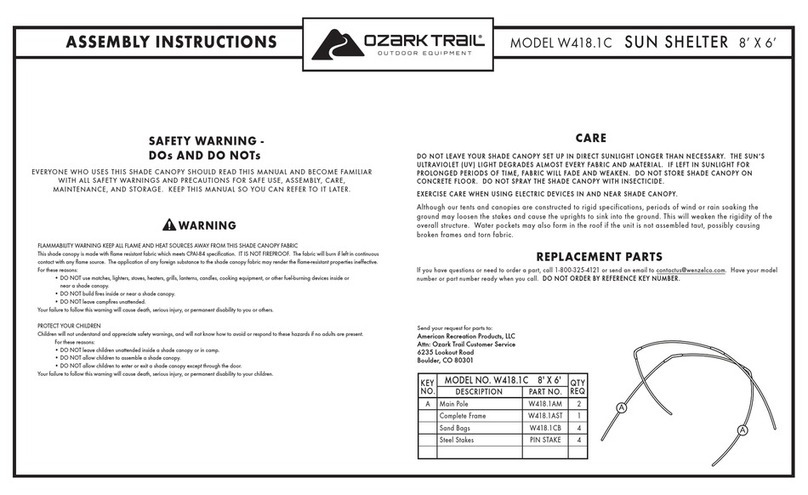
Ozark Trail W418.1C User manual

Ozark Trail

Ozark Trail W418.1C User manual

Ozark Trail W418.1S User manual

Ozark Trail

Ozark Trail W418.1S User manual

Ozark Trail WF-151284P User manual

Ozark Trail

Ozark Trail WF-151284P User manual

Ozark Trail WF-1414V User manual

Ozark Trail

Ozark Trail WF-1414V User manual

Ozark Trail W790 User manual

Ozark Trail

Ozark Trail W790 User manual

Ozark Trail WF-20984 User manual

Ozark Trail

Ozark Trail WF-20984 User manual

Ozark Trail W804 User manual

Ozark Trail

Ozark Trail W804 User manual

Ozark Trail W203 User manual

Ozark Trail

Ozark Trail W203 User manual

Ozark Trail W790S.3 User manual

Ozark Trail

Ozark Trail W790S.3 User manual

Ozark Trail WT191207POP User manual

Ozark Trail

Ozark Trail WT191207POP User manual

Ozark Trail W785.1 User manual

Ozark Trail

Ozark Trail W785.1 User manual

Ozark Trail WMT14168.1D User manual

Ozark Trail

Ozark Trail WMT14168.1D User manual

Ozark Trail WMT-1390S-1 User manual

Ozark Trail

Ozark Trail WMT-1390S-1 User manual

Ozark Trail WMT-1960 User manual

Ozark Trail

Ozark Trail WMT-1960 User manual

Ozark Trail W660.2 User manual

Ozark Trail

Ozark Trail W660.2 User manual

Ozark Trail ConnecTent W531 User manual

Ozark Trail

Ozark Trail ConnecTent W531 User manual

Ozark Trail W532 User manual

Ozark Trail

Ozark Trail W532 User manual

Ozark Trail W883 User manual

Ozark Trail

Ozark Trail W883 User manual

Ozark Trail W731 User manual

Ozark Trail

Ozark Trail W731 User manual

Ozark Trail W796.1 User manual

Ozark Trail

Ozark Trail W796.1 User manual

Ozark Trail WMT922.4A User manual

Ozark Trail

Ozark Trail WMT922.4A User manual

Popular Tent manuals by other brands

Nordcap Easy Up 400 Build-up instructions

Nordcap

Nordcap Easy Up 400 Build-up instructions

Zempire Neo Series instructions

Zempire

Zempire Neo Series instructions

CampTrails Grand Manan Assembly instructions

CampTrails

CampTrails Grand Manan Assembly instructions

Maanta ULISSE 90 Instructions and warnings

Maanta

Maanta ULISSE 90 Instructions and warnings

OZTENT JV SIGNATURE EDITION owner's manual

OZTENT

OZTENT JV SIGNATURE EDITION owner's manual

GigaTent Summer Chalet Mini Tent owner's manual

GigaTent

GigaTent Summer Chalet Mini Tent owner's manual

Outsunny 84C-230 manual

Outsunny

Outsunny 84C-230 manual

Crivit Outdoor 96716 instruction manual

Crivit Outdoor

Crivit Outdoor 96716 instruction manual

Reimo Marina instructions

Reimo

Reimo Marina instructions

Outsunny 84C-063 Assembly instruction

Outsunny

Outsunny 84C-063 Assembly instruction

EuroTrail ATLANTIS PRO manual

EuroTrail

EuroTrail ATLANTIS PRO manual

TiiTENT TB300 manual

TiiTENT

TiiTENT TB300 manual

Coleman 2000033134 Assembly & instruction manual

Coleman

Coleman 2000033134 Assembly & instruction manual

SlingFin CrossBow 2 instructions

SlingFin

SlingFin CrossBow 2 instructions

Coleman 9600-141 instructions

Coleman

Coleman 9600-141 instructions

Palram Arizona 5000 Wave - WINGS manual

Palram

Palram Arizona 5000 Wave - WINGS manual

COVERPRO 56184 Owner's manual & safety instructions

COVERPRO

COVERPRO 56184 Owner's manual & safety instructions

Vango Zenith 100 instructions

Vango

Vango Zenith 100 instructions

manuals.online logo
manuals.online logoBrands
  • About & Mission
  • Contact us
  • Privacy Policy
  • Terms and Conditions

Copyright 2025 Manuals.Online. All Rights Reserved.

A
B
ASSEMBLY INSTRUCTIONS
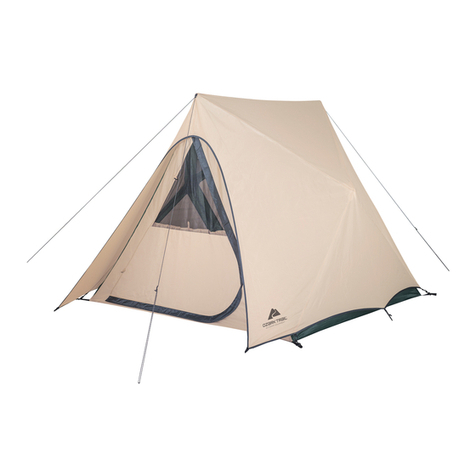
MODEL W947.REC, 2P Hiker Tent
Spread out tent. Pull oor out evenly and tightly and stake to the
ground. Hammer stakes in at a 45 degree angle.
Flex poles and insert into grommets.
For additional set up help, please refer to our Assembly Video on Walmart.com.
Verify Package contents
A
B
DESCRIPTION PART NO. QTYNO.
A1001
PIN STAKE
2
1
1
4
10Steel Stake
Guy Rope
Ridge Pole
Complete Frame
Main Pole W947RM
W947RR
W947RST
Step 1 Step 3Step 2
SAFETY WARNING
EVERYONE WHO USES THIS SHELTER SHOULD READ THIS AND BECOME
FAMILIAR WITH ALL SAFETY WARNINGS AND PRECAUTIONS FOR SAFE USE.
DANGER
PROTECT YOUR CHILDREN
•DO NOT leave children unattended inside a
shelter
or in camp.
•DO NOT allow children to assemble a
shelter
.
•DO NOT allow children to enter or exit a shelter except through the door.
•DO NOT allow children to remain in a closed-up tent on hot days.
Your failure to follow this warning will cause death, serious injury, or
permanent disability to your children.
DANGER
CARBON MONOXIDE GAS WILL KILL YOU
Stoves, heaters, grills, lanterns, candles, and other fuel-burning devices
that burn propane, natural gas, charcoal, kerosene, coal, or other fuels
produce a toxic gas called carbon monoxide. Because carbon monoxide
gas is invisible, odorless, and colorless, a dangerous level of carbon
monoxide gas can accumulate in a shelter which cannot be detected
by
sight, smell or taste. For these reasons:
•DO NOT use matches, lighters, stoves, heaters, grills, lanterns, candles,
cooking equipment, or other fuel-burning devices inside or near a shelter.
•DO NOT build res inside or near a
shelter
.
•DO NOT leave campres unattended.
Your failure to follow this warning will cause death, serious injury, or
permanent disability to you or others.
Extend the poles and lay the two longer poles across the tent forming an X.
REPLACEMENT PARTS
If you have questions or need to order a part, call 1-800-325-4121
or send an email to contactus@wenzelco.com. Have your model
number or part number ready when you call.
Please do NOT
return product
to store. Call us
at1-800-325-4121
for assistance.
WARNING
FLAMMABILITY WARNING KEEP ALL FLAME AND HEAT SOURCES AWAY
FROM THIS SHELTER FABRIC. This shelter is made with ame resistant
fabric which meets CPAI-84 specication. IT IS NOT FIREPROOF. The fabric
will burn if left in continuous contact with any ame source. The application
of any foreign substance to the shelter fabric may render the ame-resistant
properties ineective. Your failure to follow this warning will cause death,
serious injury, or permanent disability to you or others.
DO NOT...
1. Do not use other than recommended water repellent compounds
on your shelter.
2. Do not spray the shelter with insecticide.
3. Do not store shelter on concrete oor.
DO...
1. Always extinguish campre before leaving area.
2.
Exercise care when using electricity and lighting in and near shelter.
3.
Make certain your shelter is properly ventilated in all weather conditions.
In extreme weather conditions, snow could obstruct airow and cause
asphyxiation unless cleared frequently.
4. Anchor your shelter securely to provide additional security from
changing climatic conditions.
45
0
angle.
A
A
ASSEMBLY INSTRUCTIONS
MODEL W947.REC, 2P Hiker Tent
Flex pole and place
into grommet.
Folding Instructions
For additional set up help, please refer to our Assembly Video on Walmart.com.
Step 4
Step 7
Step 5 Step 6
Use the slider to
adjust the guy rope.
Clip the hooks to the poles. Slide remaining pole (B) thru yellow sleeve and OVER the other poles. Place rainy over tent so yellow webbing on the y lines up with
yellow webbing at base of tent.
Stake down the vestibules and guy ropes.
Helpful Tip: For star-gazing, unzip zippers on both vestibules and
unclip the y.
Roll the y to the Ridge pole (B) and secure with toggles.
45
0
Connect the buckles.
Yellow
Yellow
A
Lay pole bag, stakes and accessories on top of
folded shelter at the end opposite the door.
Tightly roll shelter around pole bag toward the
door allowing air to escape.
Secure with ties and place in carry bag.
Spread shelter out at.
Fold into equal
parts toward
center of shelter
to distribute
the bulk.
The width of the
folded shelter
(dimension A)
should be the
length of the
pole bag.
Pole bag
Secure y to the
poles using Velcro.