manuals.online logo
Brands
  1. Home
  2. •
  3. Brands
  4. •
  5. Ozito
  6. •
  7. Saw
  8. •
  9. Ozito SCMS-10STANDU User manual

Ozito SCMS-10STANDU User manual

This manual suits for next models

1

Other Ozito Saw manuals

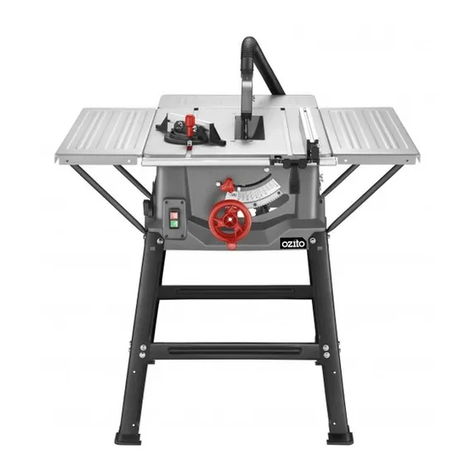
Ozito TBS-2000 User manual

Ozito

Ozito TBS-2000 User manual

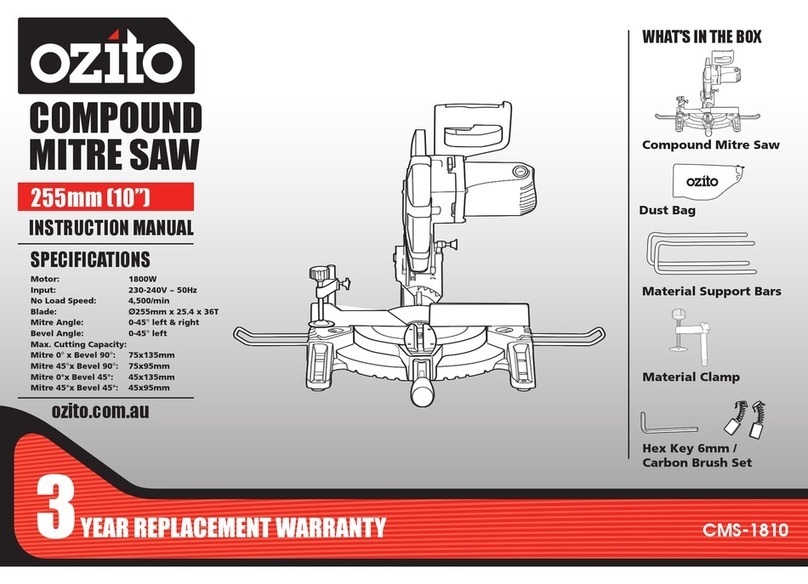
Ozito CMS-1621S User manual

Ozito

Ozito CMS-1621S User manual

Ozito XPXC PXBRSS-018 User manual

Ozito

Ozito XPXC PXBRSS-018 User manual

Ozito CSL-018 User manual

Ozito

Ozito CSL-018 User manual

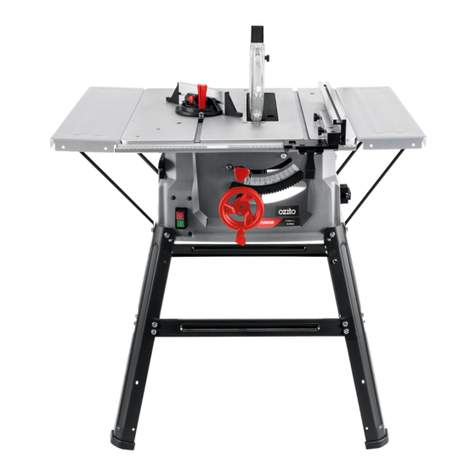
Ozito TSF-1211U User manual

Ozito

Ozito TSF-1211U User manual

Ozito TSB-1208 User manual

Ozito

Ozito TSB-1208 User manual

Ozito SCMS-2125U User manual

Ozito

Ozito SCMS-2125U User manual

Ozito JSC-2000 User manual

Ozito

Ozito JSC-2000 User manual

Ozito CCS-1200 User manual

Ozito

Ozito CCS-1200 User manual

Ozito TSB-0808U User manual

Ozito

Ozito TSB-0808U User manual

Ozito MSW-3000U User manual

Ozito

Ozito MSW-3000U User manual

Ozito ZLRSS-012 User manual

Ozito

Ozito ZLRSS-012 User manual

Ozito SSB-406 User manual

Ozito

Ozito SSB-406 User manual

Ozito CMSB-1421 User manual

Ozito

Ozito CMSB-1421 User manual

Ozito TBS-2010 User manual

Ozito

Ozito TBS-2010 User manual

Ozito PXCMSS-210U User manual

Ozito

Ozito PXCMSS-210U User manual

Ozito RSW-5200U User manual

Ozito

Ozito RSW-5200U User manual

Ozito RSW-5100 User manual

Ozito

Ozito RSW-5100 User manual

Ozito UMS-1810 S User manual

Ozito

Ozito UMS-1810 S User manual

Ozito JSW-8100 User manual

Ozito

Ozito JSW-8100 User manual

Ozito SCMS-8MSS User manual

Ozito

Ozito SCMS-8MSS User manual

Ozito OZCS1800WA User manual

Ozito

Ozito OZCS1800WA User manual

Ozito JSW-6100 User manual

Ozito

Ozito JSW-6100 User manual

Ozito SCMS-10STAND User manual

Ozito

Ozito SCMS-10STAND User manual

Popular Saw manuals by other brands

General 90-125 M1 Setup & operation manual

General

General 90-125 M1 Setup & operation manual

Scheppach sd1600v instruction manual

Scheppach

Scheppach sd1600v instruction manual

Skil 5750 Operating/safety instructions

Skil

Skil 5750 Operating/safety instructions

Black & Decker Sawcat 3027-10 owner's manual

Black & Decker

Black & Decker Sawcat 3027-10 owner's manual

Uni-Vent PS-COS12 manual

Uni-Vent

Uni-Vent PS-COS12 manual

Bosch GKS 190 Professional Original instructions

Bosch

Bosch GKS 190 Professional Original instructions

Black & Decker KS999E user guide

Black & Decker

Black & Decker KS999E user guide

Ingco CS18528 instruction manual

Ingco

Ingco CS18528 instruction manual

IMET BS 300/60 SHI Instructions for use

IMET

IMET BS 300/60 SHI Instructions for use

Scheppach Deco-flex instruction manual

Scheppach

Scheppach Deco-flex instruction manual

CMi C-KGS-1450/210 Original instructions

CMi

CMi C-KGS-1450/210 Original instructions

Bosch GCO 14-2 operating instructions

Bosch

Bosch GCO 14-2 operating instructions

Clarke CCS185B Operation & maintenance instructions

Clarke

Clarke CCS185B Operation & maintenance instructions

Makita 2107F instruction manual

Makita

Makita 2107F instruction manual

Holzmann DKS 21PRO user manual

Holzmann

Holzmann DKS 21PRO user manual

RIDGID BS1400 owner's manual

RIDGID

RIDGID BS1400 owner's manual

Optimum OPTisaw CS 275 operating manual

Optimum

Optimum OPTisaw CS 275 operating manual

Makita BPB180 instruction manual

Makita

Makita BPB180 instruction manual

manuals.online logo
manuals.online logoBrands
  • About & Mission
  • Contact us
  • Privacy Policy
  • Terms and Conditions

Copyright 2025 Manuals.Online. All Rights Reserved.

x2
x4
x2
x2
x2
ASSEMBLY OF STAND
SLIDING
COMPOUND MITRE
SAW & STAND
254mm (10”)
STAND ASSEMBLY
STAND
FASTENERS
The stand is constructed by assembling each half of the structure and
then joining them together.
6 Bolt Small - 24 pc
7 Spring Washer Small - 24 pc
8 Washer Small - 24 pc
9 Nut Small - 24 pc
10 Rubber Foot - 4 pc
11 Saw Mounting Bolts - 4 pc
1 Short Upper Support - 2 pc
2 Long Upper Support - 2 pc
3 Short Lower Support - 2 pc
4 Long Lower Support - 2 pc
5 Leg - 4 pc
1086 9
ONLINE MANUAL
Scan this QR Code with your
mobile device to take you to
the online manual.
12 3 4 5
x2
x2
x2
x2
x2
x4
x2
x2
x2
1 Remove the stand components
from the box and group matching
pieces together. Check that you
have all the contents listed in this
manual.
2 Lay two legs on the ground and
one long lower support in between
the legs aligning the bolt holes.
The side support should have its
lip on the high side (facing up)
and should sit inside the legs.
3 Once aligned, insert small bolts
into the 2 aligned holes at both
sides of the lower support. Insert
the bolt from the outside and t a
small washer, spring washer and
nut onto each bolt to secure (only
hand tight at this initial stage).
4 Place one long upper support on
the inside of the legs at the top
Insert a bolt from the outside into
the aligned holes at either side
of the upper support and hand
tighten a small washer, spring
washer and nut onto each.
5 At this stage your frame should
look like this.
117
SCMS-10STANDU
Art.-No.: 30.004.09 I.-No.: 11018
WARNING! ONLY USE THIS STAND WITH THE PROVIDED
MITRE SAW OZITO SCMS-10STAND. THE STAND MUST
NOT BE USED WITH OTHER PRODUCTS OR FOR OTHER
APPLICATIONS.
SCMS-10STANDU
11 Once all of the members are
joined together and all fasteners
are assembled, place the 4
mounting bolts into the holes
at the top of the stand. This
will ensure the mounting holes
align correctly while the stand is
tightened.
Tighten all nuts and bolts rmly.
Note: We recommend that the stand
is mounted to a stable surface
for additional stability.
12 The Rubber Feet can now be
tted.
13 Remove the mounting bolts that
you inserted prior to tightening
the stand, then place the saw on
the stand. The supplied mounting
bolts, spring washers, washers
and nuts should be used to
secure the saw to the top of the
stand.
6 Align one short lower support
inside the legs at the same height
as the long lower support. Ensure
that the lip of the side support is
facing up.
Insert 2 small bolts in the aligned
holes from the outside and
attaching a small washer, spring
washer and nut (only hand tight at
this initial stage).
7 On the same side as Step 6,
assemble one short upper support
to the top of the upper leg using
small bolts, washers, spring
washers and nuts.
One half of the frame is now
complete.
8 Repeat the same process for the
other side, which should leave
you with 2 identical halves.
10 Align the holes of each opposing
member. Bolts, washers, spring
washers and nuts can be inserted
& tightened with hand force only.
9 These halves can now be aligned
together to complete the frame.
Note: Nuts & bolts should only be
nger tight at this stage.