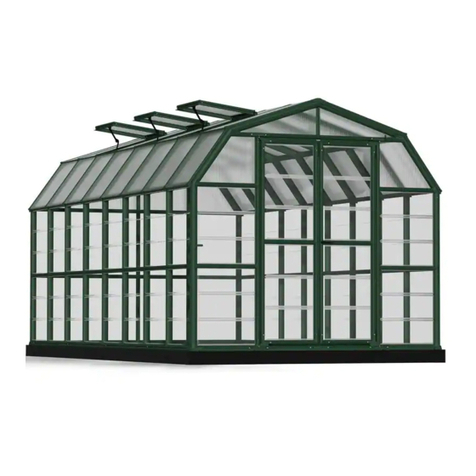
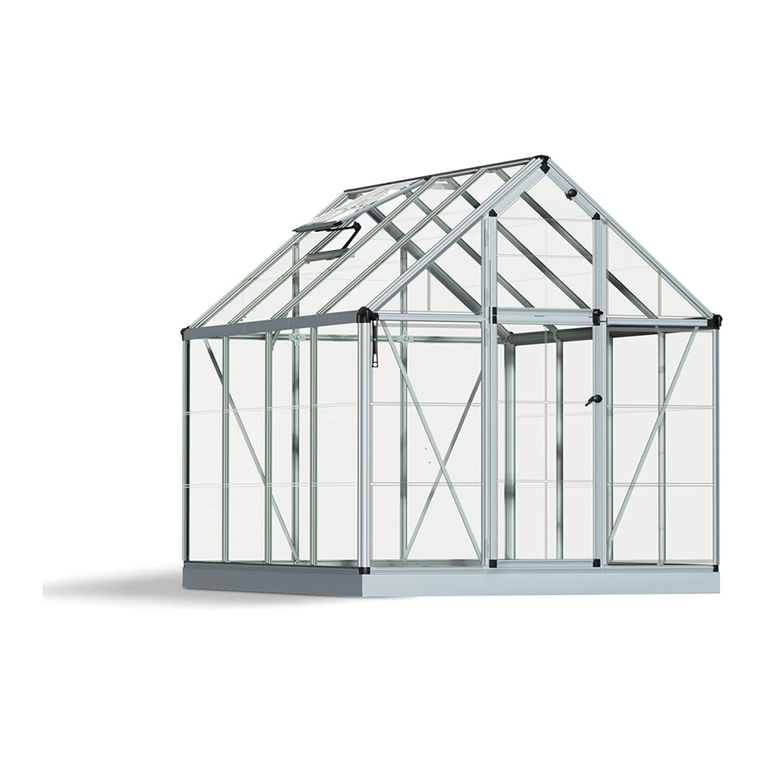
Palram Applications Harmony 6x8 User manual

Footprint Products Limited
Corporate Headquarters
1700 Courtneypark Dr. East, Unit 2
Mississauga, ON L5T 1W1
Canada
Phone / Téléphone : 905-564-6007
Fax / Télécopieur : 905-564-0059
E-mail: Support@footprintproducts.com
In the case of missing or damaged parts, do not return product to store . Please contact:
En cas de pièces manquantes ou endommagées, ne pas retourner le produit au magasin. Veuillez communiquer avec :
En caso de que falten piezas o alguna esté dañada, no devuelva el producto a la tienda. Por favor, contacte con:
For All Customer Services Please Call:
Pour le service à la clientèle, veuillez composer le :
1-800-866-5749
18.05_86543
After Sales Service
Toll Free: (877) 627-8476
M-F 8-4:30 Central Time
E-mail: [email protected]
For Sales And Other Questions
E-mail: customer.ser[email protected]
USA
* Technical Questions
* Missing Parts
* Assembly Questions
Or Scan
CANADA
www.palramapplications.com

HarmonyTM 6’x8’
87768_Split_19.05_MV-1.1
x2
10 mm
13/32”
Wind Resistance
90km/hr
56ml/hr
Light Transmission
Roof - 90%
Walls - 90%
Snow Load
15.4lbs/ft2
75kg/m2

IMPORTANT
Please read these instructions carefully before you start to assemble this product .
Please carry out the steps in the order set out in these instructions.
Keep these instructions in a safe place for future reference.
Safety Advice
For safety purposes we strongly recommend the product to be assembled by at least two people.
Some parts may have sharp edges. Please be careful when handling components. Always wear
gloves, eye protection, and long sleeves when assembling or performing any maintenance on your
product.
Do not attempt to assemble the product in windy or wet conditions.
Do not attempt to assemble the product ifyou are tired, have taken drugs,
medications or alcohol, or if you are prone to dizzy spells.
Dispose ofall plastic bags safely - keep them away from children's reach.
Keep children away from the assembly area.
When using a stepladder or power tools, make sure that you are following
the manufacturer's safety advice.
Keep roof and gutters clear of snow, dirt & leaves.
Heavy snow load on the roof can make it unsafe to stand belowor nearby.
Do not lean against or push the product during construction.
Hot items such as recently used grills, blowtorches etc. must not be stored inside the product.
Heavy or sharp articles should not be leaned against the wall panels.
Make Sure there are no hidden pipes or cables in the ground before inserting the pegs (not
supplied)
Do not touch overhead power cables with the aluminum profiles.
If color was scratched during assembly it can be fixed.
Note:This product must be anchored on to a leveled surface and solid foundation to ensure its
stability.
Make sure that screws and anchors are compatible with foundation type. Make sure that there are
no obstructions between the assembly area and the final position.
Cleaning Instructions
In order to clean the product, use a mild detergent solution and rinse with cold clean
water.
Do not use acetone, abrasive cleaners, or other special detergents to clean the panels.
Clean the product once assembly is complete.
Before Assembly
Choose your site carefully before beginning assembly.
The ground surface must be perfectly flat and leveled.
Choose a sunny area, away from overhanging trees.
Do not position your product in an area exposed to excessive winds.
The product must be positioned and fixed onto a flat leveled surface.
We strongly recommendto secure this product directly onto a solid foundation.
Use the pre-drilled holes in the steel base.
Complete site preparation before unpacking parts and beginning assembly.
Sort the parts and check against the content parts list.
Parts should be laid out close at hand. Keep all small parts (screws etc.) in a bowl so they
do not get lost.
Please consult your local authorities ifany permits are required prior to constructing the
product.

During Assembly
Attention
• During assembly use a soft surface below the parts to avoid scratches and damages.
Steps
Step 6: Determines the front side of the greenhouse.
Steps 10, 16, 19: The oval hole in the crossbars. 256 should always be assembled to the base of
the greenhouse.
Steps 12-13, 57: In order to insert prole #8378 in between two #7310 & 7311 proles, please
apply silicone lubricant.
Door assembly (Steps 14, 57-65)
Door can be installed as a left hand door or right hand door to your decision. These instructions
show a right hand door assembly.
Step 14 Door Assembly: Determines door direction. Part 7311 is the side that the door hinges
will be located. The door can be installed either as a left or right hand door. These instructions
show a right hand door assembly.
When encountering the information icon, please refer to the relevant
assembly step for additional comments and assistance.
This icon indicates that
the installer should be
outside the product.
This icon indicates
that the installer should
be inside the product.
• Make sure the base is square by measuring the diagonals and level by using a spirit level.
• You may use silicone lubricant spray in order to help you slide the panels into the proles.
• Do not spray the polycarbonate panels.
• Use a rubber mallet if necessary.
Steps 57-65: Door assembly should be done according to this decision.
Window assembly (Steps 39, 56)
Step 39: Decide on the window’s location before assembly. Window can be installed in one of
the indicated options.
Steps 39, 40: Once the window location is chosen, please turn part 7316 into the correct
position accordingly.
Step 56: If the window doesn’t close properly, please release the screws, adjust the prole
and re-tighten the screws.
* Please tighten all screws when completing assembly.
Note: Firmly connect the product to a level surface immediately after completion of
the assembly.
Anchoring this product to the ground is essential to its stability and rigidity. It is
required to complete this stage in order for your warranty to be valid.
412
&
466
•Screws 411 and nuts 412 & 466 are used throughout the assembly process.
•
Screws 411 are to be assembled from the outside and nuts 412 & 466 from the inside of
the greenhouse.
•If not specied otherwise, do not fasten screws and nuts (411, 412 & 466) more
than 2-3 turns only. Do not tighten them until completion of the panels’ assembly.
These 2 icons indicate if screws’tightening is required or not.
•
However, in some steps, temporary tightening of a few screws may be needed to
prevent a prole from falling.
EN

I M PORTANTE
Le rogamos lea con atencion las siguientes instrucciones antesde empezar a montar este producto.
Siga los distintos pasos en el mismo orden de las instrucciones.
Guarde las instrucciones en un lugar seguro para poder consultarlasen el futuro.
Consejos de cuidado y seguridad
Por motivos de seguridad, recomendamos encarecidamente que el producto sea montado al menos
por dos personas.
Algunas piezas pueden tener bordes afilados. Por favor, tenga cuidado al manipular los
componentes. Lleve siempre guantes, protecci6n ocular y mangas largas al montar o realizar
cualquier mantenimiento de su producto.
No intente montar el producto en condiciones de viento o humedad.
Tire todas las bolsas de plastico can seguridad; mantengalas fuera del alcance de los ninos
pequenos.
Mantenga a los ninos lejos del area de montaje.
No intente montar el producto si esta cansado, ha tornado drogas, medicamentos o alcohol o si es
propenso a ataques de mareo.
Cuando utilice una escalera de mano o herramientas electricas, asegurese de seguir los consejos
de seguridad
del fabricante.
Mantenga el tejado y el canal& sin nieve, suciedad ni hojas.
No es seguro pararse debajo o cerca cuando hay gran cantidad de nieve sobre el techo.
No se apoye ni empuje el producto durante la construccion.
Articulos calientes, como parrillas recientemente usadas, sopletes, etc. no deben ser almacenados
dentro del producto.
Los articulos pesados o afilados no deben apoyarse contra los paneles de la pared.
Asegurese de que no haya tuberfas o cables ocultos en el suelo antes de insertar las estacas (no
suministradas).
No toque cables electricos en altura con los perfiles de aluminio.
Si se rayo el acabado de colordurante el montaje, el mismo puede ser arreglado.
Nota: Este producto debe estar anclado a una superficie nivelada y a una base solida.
Asegurese de que los tornillos y los anclajes sean compatibles con el tipo de base.
Asegurese de que no haya obstrucciones entre el area de ensamblaje y la posicion final.
Instrucciones de limpieza
Limpie el producto una vez terminado el montaje.
Cuando necesite limpiar su producto, use una solucion de detergente suave y aclarelo
con agua limpia fria.
No utilice acetona, limpiadores abrasivos ni otros detergentes especiales para limpiar
los paneles.
Antes de empezar:
Elija su sitio cuidadosamente antes del ensamblaje inicial.
La superficie del terreno debe ser perfectamente plana y estar nivelada.
Elija un area soleada, lejos de arboles que puedan cubrir la estructura.
No coloque su producto en un area expuesta a vientos excesivos.
El producto debe colocarse y fijarse sobre una superficie plana y nivelada.
Recomendamos encarecidamente asegurar este producto directamente sobre una base
solida. Utilice los orificios pre-perforados en la base de acero.
Complete la preparacion del sitio antes de desempacar las piezas y comenzar el
ensamblaje.
Las partes deben disponerse al alcance de la mano.
Mantenga todas las piezas pequenas (tornillos, etc.) en un recipiente para que no se
pierdan.
Consulte las limitaciones, requisitos, permisosy a las autoridades locales para la
construcci6n de este cobertizo de jardin.

ES
Durante la instalación
Atención
• Durante el montaje, ponga algo suave por debajo de las piezas, para evitar que se rayen
o estropeen.
Pasos
Paso 6: Determina el lado frontal del invernadero.
Los pasos 10, 16, 19: el agujero ovalado en las barras transversales. 256 siempre debe ser montado
en la base del invernadero.
Pasos 12-13, 57: para introducir el perl 8378 entre los dos perles 7310 & 7311, por favor, aplique
silicona paralubricarlo. Montaje de Ia puerta
Montaje de la puerta Pasos 14, 57-65: La puerta puede ser instalada a la izquierda o a la derecha
segim su decision. Estas instrucciones muestran montaje de una puerta a derecha.
Paso 14: Determina la direccion de la puerta al lado 7311es donde se encuentran las bisagras de la
puerta.
Cuando encuentre el ícono de información, por favor lea con cuidado dicho
paso con comentarios y asistencia adicionales.
Este ícono indica que el
instalador debe estar fuera
del producto.
Este ícono indica que el
instalador debe estar dentro
del producto.
• Asegúrese de que la base es cuadrada, midiendo las diagonales y el nivel mediante el uso de un
nivel de burbuja.
• Es posible utilizar un aerosol lubricante de silicona con el n de ayudar a deslizar los paneles en los
perles.
• No pulverice los paneles de policarbonato.
• Utilice un martillo de goma si es necesario.
Pasos 57-65: Montaje de la puerta se debe hacer de acuerdo con esta decision.
Montaje de Ia ventana (Pasos 39, 56)
Paso 39: decida la ubicacion de la ventana antes del montaje. La ventana puede instalarse
en una de las opciones indicadas.
Paso 39, 40: Una vez que se elija la ubicacion de la ventana, por favor, gire la pieza 7316 en
la posicion correcta en el mismo modo.
Paso 56: en el caso de que la ventana no cierre adecuadamente, por favor, extraiga los
tornillos, Paso 42 ajuste el perl y apriete los tornillos.
* Apriete todos los tornillos una vez esté completado el montaje.
Note: Inmediatamente después de completar el ensamblaje, vincule rmemente el
producto a una supercie nivelada.
Ancle rmemente el producto a una supercie nivelada inmediatamente después de
nalizar el ensamblaje.
Los tornillos 411 y las tuercas 412 & 466 son usados durante todo el proceso de
montaje.
• Los tornillos 411 deben ser montados desde el exterior y las tuercas 412 & 466 desde el
interior del invernadero.
• No apriete los tornillos y tuercas (411, 412 & 466) más de 23- vueltas. No los apriete
hasta terminar el montaje de los paneles, a menos que orientado de otra manera.
• Sin embargo, en algún paso puede ser necesario apretar de forma temporal algunos
tornillos para evitar que se caiga un perl.
412
&
466

Contents
Item Qty. Item Qty.
983
993 1
7309
7311
7310
t
1- ,
... .0
2
2
976 -- "
981
999 I'
L ,
.0
... "" -
i
4
2
2
)
4
8
5

Contents
Item
991
989 I,
Qty. Item
2
1
1
1
986
7596
Qty.
2
8447
7602
955 O o0
C
8549
4
4
1
08
8710
07 1
1
956 1

Contents
Item
7011
7010
567
553 )570 /\559
560
Qty. Item
20
2
2
1
1
2
2
3017
Qty.
2
3016 1
Item
318 PVC
(N)-
7009
292
344 L
344 R
]2
2
Item Qty.
343
328
1
8797
8798
8801
8799
8800
2
19(+8)
1
1
ft 1
1
1

Contents
Item Qty.
464 4
1)--.
Q)
462
465
422 Gil
2
8(+1)
8(+1)
463 2
0 )
4037 1
Item Qty. Item
4045
7442
L-
I 4043
Qty.
410 1
461 2
466 2
Item Qty.
7086
7085
7084
7083
7088
423
I
IN
M4x5Omm
1
1
1
1
1
1

1"ft
vvv 144v
- -
[ 185cm /73"
I
r"' V v
P.. v vv
v v v
vvvvvv
vvvvvvv
V V V V V V V V V
V V V V V V V V V V V
V V V V V V V V V V V V
VVVVVVVVVVVVVV
V V V V V V V V V V V V V V V
VVVVVVVVVVVVVV
V V V V V V V V V V V V V
V V V V V V V V V V
V V V V V V V V V
V V V V V V V
V V V V V
V V VV
V V
Vim.
vvvv4v v v v v
UltoZt.:
v a 245cm/96.5"
v v 71
94.

1
7596
7597
2 8447
2 7602
2
4
7442 24
0
-
"""'"'"..... 7596

../
2
7597 4 8447 2 7442 24
_

3
328 19
e
e

4
411 8 412 8 996
11
2
r
Ili'14
14%.011
110.111.11.1.1111.1

1
5
411 10 412 C 10

1
6
[ 993
.. ......... ...
I

7
955 1 956 1
411
412
4
4
'411111 NE _w
-.4.
I

1
8
7314 2 411 8 412 8
Liu

C' %
1
0
I )
0
Table of contents
Other Palram Applications Greenhouse Kit manuals

Palram Applications
Palram Applications BeIIa 8x8 User manual

Palram Applications
Palram Applications Grand Gardener Prestige 8x8 User manual

Palram Applications
Palram Applications Snap & Grow 8x8 User manual

Palram Applications
Palram Applications Crystal Clear Plant Inn User manual

Palram Applications
Palram Applications Harmony 6x4 User manual
Popular Greenhouse Kit manuals by other brands

Hunkin Garden
Hunkin Garden Titan 79 EB Assembly instructions

Eden Halls Greenhouses
Eden Halls Greenhouses Birdlip Instruction booklet

Palram
Palram CANOPIA HARMONY 6x4 / 2x1.3 How to assemble

Palram
Palram Snap & Grow 8x8 manual

Grandio
Grandio 2015 EARTH & GRASS L-BOLT ANCHORING KIT quick start guide

Greenhouse
Greenhouse GH349 user manual