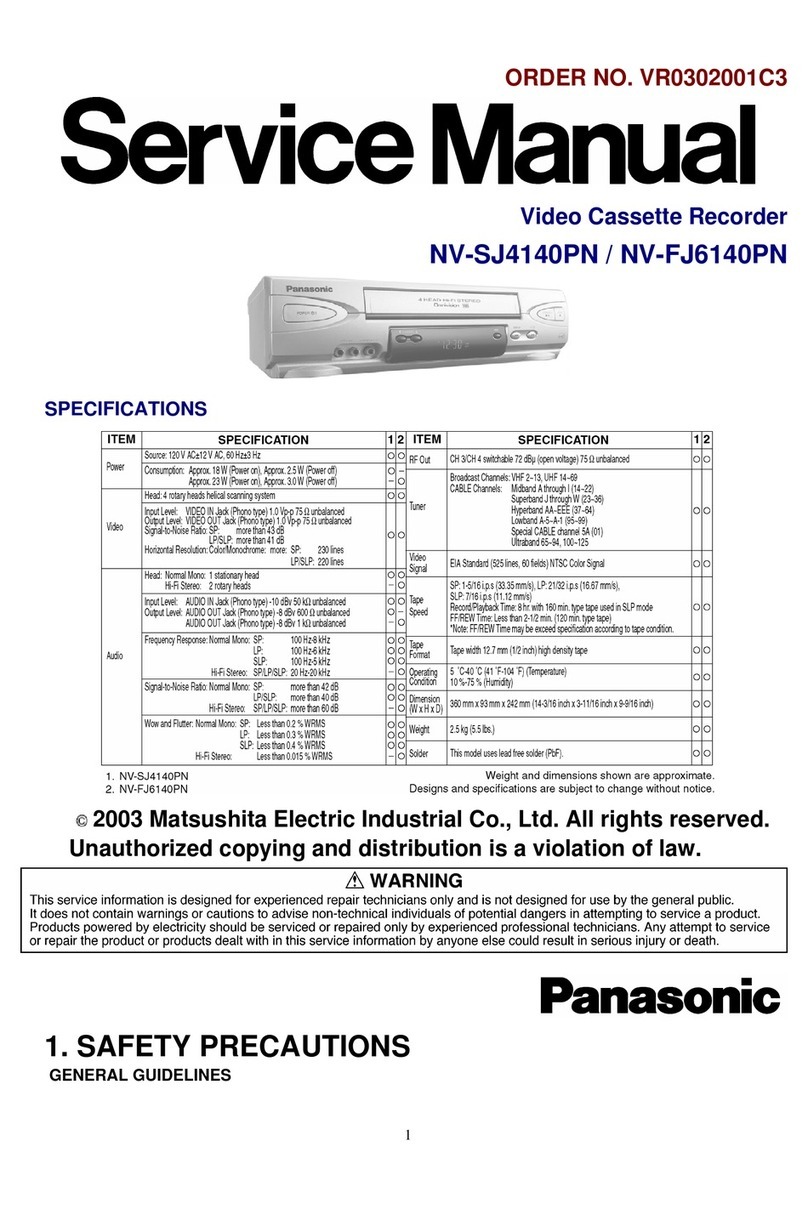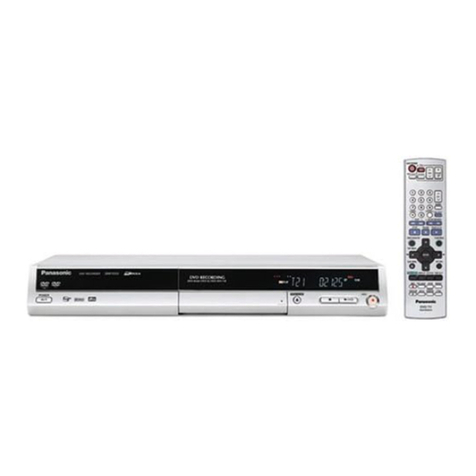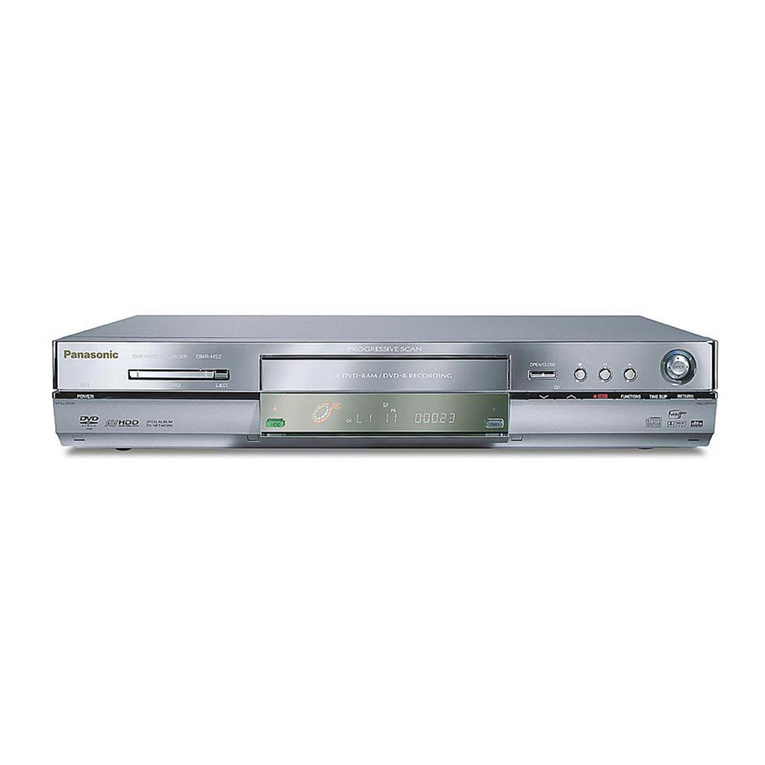
1 Safety precautions 5
1.1. General guidelines 5
1.2. Caution for fuse replacement 5
2 Prevention of Electrostatic Discharge (ESD) to Electrostatic
Sensitive (ES) Devices 6
3 Precaution of Laser Diode 7
4 How to replace the Lithium Battery 8
5 Handling the Lead-free Solder 8
5.1. About lead free solder (PbF) 8
6 Each Buttons 9
7 New Features 12
7.1. Function of Power Circuit (IC11150) 12
8 (DVD) Taking out the Disc from RAM-Drive Unit when the
Disc cannot be ejected by OPEN/CLOSE button 15
8.1. (DVD) Forcible Disc Eject 15
8.2. (DVD) When the Forcible Disc Eject can not be done. 15
9 (VHS) Removing Cassette Tape manually 16
9.1. (VHS) Removal by compulsory unloading. 16
9.2. (VHS) Removal by manual operation by rotating the
Loading Motor with the batteries. 16
9.3. (VHS) Take out Cassette Tapemanually after removing the
mechanism 17
10 (DVD) Service Explorer 18
11 (DVD) Self-Diagnosis and Special Mode Setting 21
11.1. (DVD) Self-Diagnosis Functions 21
11.2. (DVD) Special Modes Setting 22
11.3. (DVD) Service Modes 24
12 (VHS) Self-Diagnosis and Special Mode Setting 29
12.1. (VHS) Self-Diagnosis Functions 29
12.2. (VHS) Special Modes Setting 30
12.3. (VHS) Service Modes 30
12.4. (VHS) Self-Diagnosis History Memory Function 31
12.5. (VHS) Description of Self Diagnosis Memory 33
13 Assembling and Disassembling 35
13.1. Disassembly Flow Chart 35
13.2. P.C.B. Positions 36
13.3. Cation with inserting cassette tape when disassembling
the unit 36
13.4. Top Case 37
13.5. Front Panel 37
13.6. Front Jack P.C.B. & FL Drive P.C.B. 38
13.7. Rear Panel & Fan Motor 38
13.8. I/O P.C.B. 39
13.9. VTR Mechanism Unit 39
13.10. Main P.C.B. 40
13.11. DVD-RAM Drive 40
13.12. Digital P.C.B. 41
13.13. Power & Digital I/F P.C.B. 42
14 Service Fixture and Tools 43
15 Service Positions 44
15.1. Checking and Repairing of Power & Digital I/F P.C.B. 44
15.2. Checking and Repairing of Main P.C.B. 45
15.3. Checking and Repairing of Digital P.C.B. 46
15.4. Checking and Repairing of I/O P.C.B. 47
15.5. Checking and DVD-RAM Drive 48
16 (DVD) Caution after parts replacing parts 49
16.1. (DVD) After replacing the RAM Drive with new one 49
16.2. (DVD) When the unit does not operate normally after
replacing the Timer Microprocessor with new one 49
17 (VHS) Caution after replacing parts 50
17.1. (VHS) Adjustment Procedures after replacing DD Cylinder,
VHS Microprocessor or Main P.C.B. 50
17.2. (VHS) X-VALUE & LINEARITY (P2 and P3 Posts)
ADJUSTMENT 51
17.3. (VHS) Caution after replacing VHS Microprocessor
(IC6001) 53
18 (DVD) Standard Inspection Specifications after Making
Repairs 53
19 Voltage and Waveform Chart 54
19.1. Power & Digital I/F P.C.B. 54
19.2. Main P.C.B. 55
19.3. I/O P.C.B. 57
19.4. FL Drive P.C.B. 58
19.5. Front Jack P.C.B. 58
19.6. P9001 Connector 58
19.7. Waveform 59
20 Abbreviations 61
20.1. DVD 61
20.2. VHS 63
21 Block Diagram 67
21.1. Power Supply Block Diagram 67
21.2. Digital I/F Regulator Block Diagram 68
21.3. Digital I/F Timer Block Diagram 69
21.4. System Control, Servo & Timer Block Diagram 70
21.5. Audio Block Diagram 71
21.6. Video Block Diagram 72
21.7. Digital Block Diagram 74
21.8. Digital Block IC Pin Terminal Chart 75
22 Schematic Diagram 77
22.1. Interconnection Schematic Diagram 77
22.2. Power Supply Section (Power & Digital I/F P.C.B.(1/2))
Schematic Diagram (P) 79
22.3. Digital I/F Section (Power & Digital I/F P.C.B.(2/2))
Schematic Diagram (D) 80
22.4. Syscon/Servo/Timer Section (Main P.C.B.(1/3)) Schematic
Diagram (S) 83
22.5. Hi-Fi Audio Section (Main P.C.B.(2/3)) Schematic Diagram
(A) 85
22.6. Video Section (Main P.C.B.(3/3)) Schematic Diagram (V)
87
22.7. Glue Net Section (Digital P.C.B.(1/4)) Schematic Diagram
(GN) 90
CONTENTS Page Page
3
DMR-E75VP
