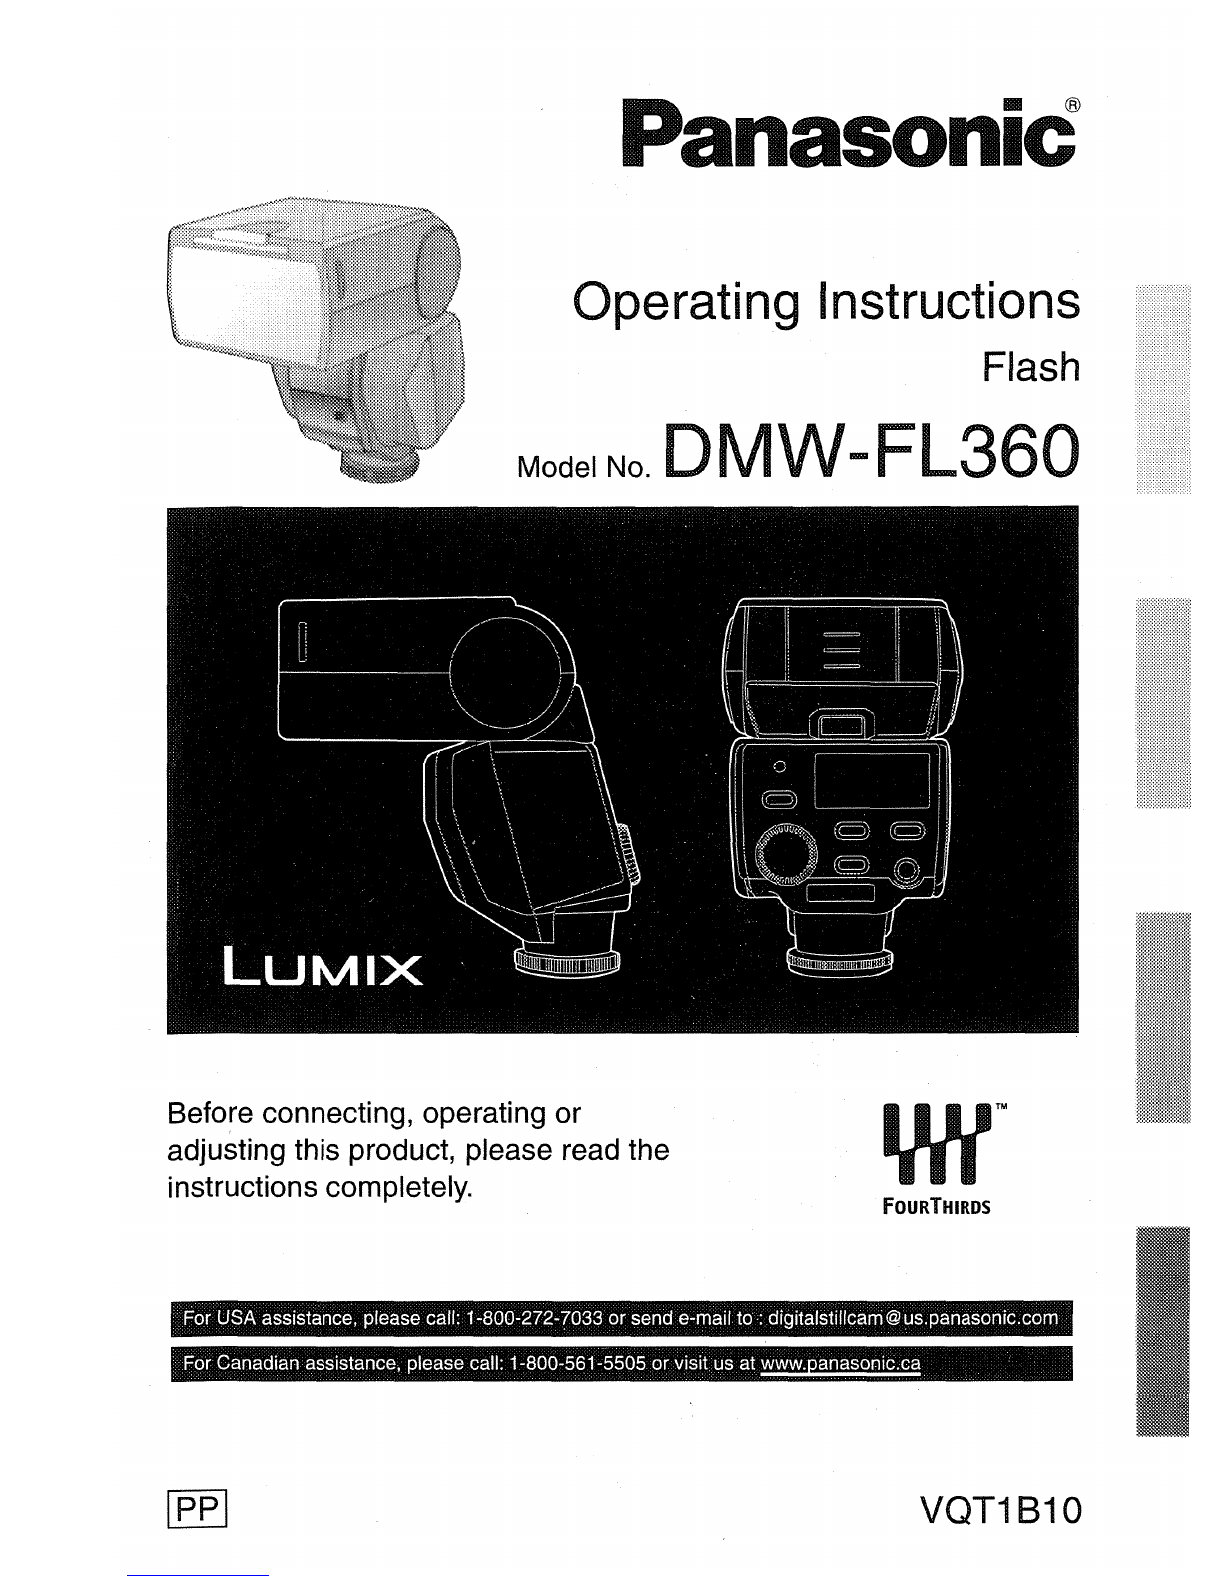
Panasonic FL360 - DMW - Hot-shoe clip-on Flash User manual

Panasonic
Operating Instructions
Flash
Model No. DMW-FL360
Before connecting, operating or
adjusting this product, please read the
instructions completely.
FOURTHIRDS
For USA assistance, please call: 1-800-272-(033 or send a-mail to·: digitalstillcam@
~s.panasonic.com
For Canadian assistance, please call: 1-800-561-5505 or visit us at
~
VQT1810

Contents
Information for Your Safety 3
Precautions 6
Supplied accessories 7
Names
of
the Components 7
Displays Appearing on the Display Panel 9
Concerning the batteries 10
Inserting and Removing the Unit's Batteries (optional)
15
Checking the Flash's Remaining Battery Charge 16
Mounting the Unit onto the Digital Camera, and Removing it
17
Taking Pictures using aDigital Camera with Communication
Functions
~ ~
19
How to select the flash mode 19
[TTL AUTO]
21
[AUTO] 22
[MANUAL]
23
[FP TTL AUTO] 24
[FP MANUAL]
.'
.'
.'
25
Taking Pictures using aDigital Camera without Communication
Functions
28
How to select the flash mode
28
[AUTO] 29
[MANUAL]
~
~.32
Other Applications 34
Taking pictures with bounce lighting
..
I.
I
'"
I I 34
Taking pictures
at
close range 35
Selecting the lighting angle manually 36
How to use the Wide Panel 37
Many choices for different flash photography applications 38
Functions 39
Concerning Continuous Firing 42
.Table
of
Guide Numbers (GN)
43
Troubleshooting 46
Cautions for Use 48
Specifications 50
Limited Warranty 52
Spanish Quick Use Guide/Gufa rapida en espanol 57
2
VQT1810

Information
for
Your Safety
IMPORTANT SAFETY
INSTRUCTIONS
When using your photographic equipment, basic
safety precautions should always
be
followed,
including the following:
•Read and understand all instructions before using.
•Close supervision is necessary when any appliance
is used
by
or near children. Do not leave appliance
unattended while
in
use.
eCare must be taken as burns can occur from
touching hot parts.
eDo not operate
if
the appliance has been dropped or
damaged -until it has been examined by qualified
service personnel.
•Let appliance cool completely before putting
away_
•
To
reduce the risk of electric shock, do not immerse
this appliance
in
water or other liquids.
•
To
reduce the risk of electric shock, do not
disassemble this appliance, but take it to qualified
service personnel when service or repair work is
required. Incorrect reassembly can cause electric
shock when the appliance
is
used subsequently.
•The use of an accessory attachment not
recommended by the manufacturer may cause arisk
of fire, electric shock, or injury to persons.
SAVE THESE
INSTRUCTIONS 3
VQT1B10

4
VQT1B10
FCC Note: (U.S. only)
This equipment has been tested and found to comply with the limits
for aClass Bdigital device, pursuant
to
Part 15 of the FCC Rules.
These limits are designed
to
provide reasonable protection against
harmful interference
in
aresidential installation. This equipment
generates, uses, and can radiate radio frequency energy and, if not
installed and used
in
accordance with the instructions, may cause
harmful interference to radio communications. However, there
is
no
guarantee that interference will not occur
in
aparticular installation. If
this equipment does cause harmful interference to radio or television
reception, which can be determined by turning the equipment off and
on, the user
is
encouraged to try to correct the interference
by
one or
more of the following measures:
-Reorient or relocate the receiving antenna.
-Increase the separation between the equipment and receiver.
•Connect the equipment into an outlet
on
acircuit different from that
to
which the receiver is connected.
-Consult the dealer or an experienced radiolTV technician for help.
FCC Caution:
To
assure continued compliance, follow the
attached installation instructions.
Any changes or modifications not expressly approved by the party
responsible for compliance could void the user's authority to operate
this equipment.
This device complies with Part
15
of the FCC Rules. Operation
is
subject
to
the following two conditions: (1) This device may not cause
harmful interference, and
(2)
this device must accept any interference
received, including interference that may cause undesired operation.
(Canada only)
This Class 8digital apparatus complies with Canadian ICES-DD3.

eThis flash
is
designed to be
used with digital cameras made
by
Panason
ic.
Jt
is
compatible with DMC-FZ50,
.DMC-L1K (with communication
functions: P19
to
27),
DMC-FZ30 etc. (without
communication functions: P28
to
33). (as of September 2006)
•The digital camera illustrations
in these operating instructions
show DMC-FZ50 as an
example.
•Four Thirds™
is
atrademark.
WARNING
TO
REDUCE THE RISK OF
FIRE OR SHOCK HAZARD
AND ANNOYING
INTERFERENCE, USE ONLY
THE RECOMMENDED
ACCESSORIES AND DO NOT
EXPOSE THIS EQUIPMENT
TO
RAIN, MOISTURE,
DRIPPING OR SPLASHING.
DO NOT REMOVE THE
COVER (OR BACK); THERE
ARE
NO
USER
SERVICEABLE PARTS
INSIDE. REFER SERVICING
TO
QUALIFIED SERVICE
PERSONNEL.
-If you see this symbol-
Information on Disposal
in
other Countries outside the
European Union
This symbol
is
only valid
in
the
European Union.
If
you wish to discard this
product, please contact your
local authorities or dealer and
ask for the correct method of
disposal.
5
VQT1810

•Handling the unit
•Do not subject the unit to
strong vibration or impact.
Doing so may cause not only the
unit to malfunction but also the
flash head to break.
•Before carrying the unit around
with you, ensure that the wide
panel is properly retracted.
(P37)
•Sand and dirt may cause the
unit to malfunction. When
using the unit
in
an
environment such as abeach,
take steps to protect
it
from
sand and dirt.
•When taking photos
on
rainy
days
or
on abeach, take care to
keep the unit dry.
•The unit is not waterproof. If
rain or drops of water splash
onto the unit, wipe off the
water with adry cloth. If the
unit does not operate
normally, consultthe dealer or
your nearest servicenter.
•Read the operating instructions
for your digital camera.
6
VQT1B10
•When the unit is not going to
be used for aprolonged
period
•Be absolutely sure to remove
the batteries from the unit.
•If the batteries are left inside the
unit, afaint current will flow
continuously, even when the
unit's power is off, gradually
discharging the batteries. (For
details on nickel metal hydride
batteries, refer to P13.)
•Store the batteries
in
acool,
moisture-free location where the
temperature is kept as constant
as possible.
[Recommended temperature
range:
15°C
to 25 °C
(59
OF
to
77
OF);
recommended humidity range:
40%
to 60%]
•
If
you plan to store the unit and/
or its batteries inside acloset or
cupboard, it is recommended
that you put adesiccant (silica
gel)
in
with them.

Supplied
accessories
[Inspection
to
be performed
when you unpack the
unit]
When removing the unit from its
packing box, check that the main
unit and its supplied accessory is
there and also check their external
appearance and functions to verify
that they have not sustained any
damage during distribution and
transportation.
If you discover any trouble, contact
your vendor before using the
product.
For
this
flash, use
only
the flash
case
shown
below.
Flash case
VFC4230
•The batteries are optional.
Names
of
the
Components
1 2
3
4
---5
1Wide panel (P37)
2Flash head
3AF assist lamp (P40)
•
In
dark locations where it is
difficult to bring the subject
into focus, you can direct
light onto the subject to
facilitate focusing.
(The AF assist works only
when this flash is used
in
combination with
Panasonic's "Four
ThirdsTM" digital single-
lens reflex camera: it will
not work with other
cameras.)
4Flash sensor
5
Lo<ck
ring (P17)
6Lock pin (P17)
7Terminal area (P17)
7
VQT1B10

18 [TEST/CHARGE] button
(P16,
19,28)
19
[AUTO CHECK] lamp
(P16,21,22,24,29)
20 Display panel (P9)
8
VQT1810
8Bounce unlock button
(up/down direction) (P17, 34)
9Bounce up/down angle
display (P34)
10 Bounce unlock button
(left/right direction) (P17, 34)
11
Bounce left/rightangle display
(P34)
12 [MODE] button (P19, 28, 39)
13 [LIGHT] button
•The display panel will light
for about
15
seconds.
It
also may light depending
on
the operation
on
the
digital camera with
communication functions.
14 [POWER] button
(P16, 19, 28, 39)
15 Battery cover (P15)
16 [ZOOM] button
(P29, 32, 36, 37)
17 Select dial
(P23,26,29,
32,
39)

Displays Appearing on the Display Panel
1 2 3
~
.....
ID........
1...
iP
.•••••.•.
•.·
.•.
·
.••.••.•.•.
M
.•.••.•...•.•.
1
.•..
:
..•..•.•.•.
1
.••.•.•.•.•.•.•.•.••.•.••.•.
·
.•.
1
.•.••.•.•.•.•.•
·.:
.••.•.•.••.••.
·
•.•.•.•.•
:.:.........................
I
I=BI
••
I.I.~Mm·illi.
I
13
--)11I:) rz:+;l
····~···.···i"!l'1"I.·.·.···.·.····~,
,t·
..
tt
•••....•
12 1."..;16
~
.•
·L
!
.•..•
·
•.
·.·.t
•..•..
:
..•.
~.:
..
::
·•·.·
.•
~.:'.
t.:.··
••.•..
~I
•.
:.·.:.:
..
::
.••..
y._.'.·:·
..
-.·
..
•
•..
·
•.
•
•.
•
•.
•
•.•···
..
·.·
••.
•
••.
•
•.
L.··.·
.•..
·
..
:
..
r.I.·.··
..
:.·.·.·
..
:.·.·~.:···.·
..
:
..
··:.··
.••..•..•.••.•••.
~..........................
I
I -
...........I~?i._'
_I
"""'
II}III
11GIJI...
••
<'I·t·>············
·······rl·i
ir-,
····rl·········ii···········rl··t·rli········
'···I·I···
10 9
5
6
7
1
FP
firing (P24, 25)
2Flash intensity adjustment
(P26)
3Flash mode (P19, 28)
4Lighting angle display (P40)
•[FOURTHIRDS]:
The lighting angle
is
displayed by the focal
length of the "Four Thirds"
digital camera format lens.
•[135]:
The lighting angle
is
converted into the focal
length of the 135 camera
(35
mm
film conversion)
and displayed.
5ZOOM mode (P36)
6ZOOM value (P36)
7Aperture
8Distance display (P40)
9Setting displays
(guide number, ISO
sensitivity, aperture, flash
working range, correct
distance, flash intensity
adjustment)
10 ISO sensitivity
11
Guide number (GN) (P43)
12 Close-up flash (P35)
13 Wide panel display (P37)
9
VQT1810

10
VQT1810
Concerning the
batteries
II
Types
of
batteries
that
can be
used
AA Alkaline dry batteries (LR6)
AA Rechargeable nickel metal
hydride batteries (Ni-MH)
•The use of batteries made by
Panasonic
is
recommended.
•The performance of the
batteries used may significantly
differ depending on which '
battery brand is used, how long
the batteries have been stored
since they were manufactured
and how they have been stored.
•The performance of the
batteries decreases temporarily
at low temperatures [below
10°C
(50
OF)],
but will be
restored when the temperature
returns to room temperature.
•Malfunctioning may occur under
certain ambient temperatures
and operating conditions.
However, this
is
not indicative of
trouble.
•
In
order to ensure that the
batteries will function for as long
as possible, it
is
recommended
that you turn off the unit's power
during the intervals between
taking photos. If the unit
is
to be
used for prolonged periods, the
use of rechargeable nickel metal
hydride batteries
is
recommended.
•Once spent, batteries may
recover their performance when
left standing for awhile, but they
will quickly become unusable
again. For this reason, always
make apoint of replacing spent
batteries with fresh ones.
III
Types
of
batteries
with
which
operation
is
not
guaranteed
AA Ni-Cd batteries
AA Nickel-manganese batteries
(ZR6)
AA Lithium batteries (FR6)
AA Manganese batteries (R6)
AA Oxyride (oxy-nickel-hydroxide)
dry batteries
CR-V3 Lithium battery packs
•Panasonic offers no guarantees
that the unit will operate properly
when any of the batteries listed
above are used. Furthermore,
use of these batteries may result
in
electrolyte leakage, power
failure etc.

II
Batteries with shapes that
cannot be used
•Installing batteries with irregular
shapes
in
the unit may cause
electrolyte leakage, heat
generation and even rupturing of
the batteries themselves.
•Some batteries sold
on
the
market have part or all of their
jackets missing: Under
no
circumstances should such
batteries be used. (Refer to the
figure below.)
•Batteries (bare batteries) with
no external jackets or batteries
with parts of their jackets
missing
•Batteries whose 8electrode
is
flat
II
Handling the batteries
Mishandling of batteries may
cause electrolyte leakage, heat
generation and even rupturing of
the batteries themselves. Heed
with the following cautions.
•Do not expose batteries to
water or seawater or allow their
terminal areas to become wet.
•Do not remove their external
jackets or damage them
in
any
way.
•Do not drop the batteries,
knock them into other objects
or subject them to any other
kind of strong impact.
•Stop using the batteries as
soon as you notice any
electrolyte leakage,
deformation, discoloration or
any other such trouble.
•Do not store batteries
in
locations where the
temperature and/or humidity
levels are high.
•Keep batteries out of the reach
of infants and small children.
•Always use 2new batteries of
the same type when replacing
batteries.
11
VQT1B10

12
\/QT1810
•Remove the batteries from the
unit when you do not intend to
use the unit for aprolonged
period.
•Batteries may be hot
immediately after the unit has
been used. Before removing
them from the unit, turn off the
unit's power and wait until the
temperature of the batteries
has dropped.
.. At low temperatures [under
10°C
(50
OF)],
the performance
of batteries will deteriorate and
the number of flashes fired by
the unit will be sharply
reduced. The operating
duration of batteries tends to
be
shorter particularly when
alkaline dry batteries are used
so warm them
in
your pocket
before use. When warming
batteries
in
your pocket, avoid
direct contact with cigarette
lighters and other metal objects
as well as with pocket/body
warmers.
.. The number of flashes fired by
the unit may also be sharply
reduced
if
the
EB
and 8
electrodes of the batteries are
exposed to oils from the skin or
other forms of dirt. Before
installing the batteries, wipe the
EB
and 8electrodes carefully
using asoft, dry cloth.
If electrolytes should leak from
the batteries, wipe away all
traces of the electrolyte
in
the
battery compartment, and then
insert fresh batteries or fully
charged nickel metal hydride
batteries.
If
you should get electrolyte
on
your hands or clothes, rinse
it
off
thoroughly with water.
If
you
should get electrolyte
in
your
eyes, you risk losing your sight.
In
such acase, do not rub your
eyes but immediately wash them
with clean water, and then seek
medical advice.

II
Rechargeable nickel metal
hydride batteries
Nickel metal hydride batteries can
be made ready for use by
recharging them using adedicated
charger. However, mishandling
may cause electrolyte leakage,
heat generation, the ignition of
flames and even rupturing of the
batteries themselves. Heed the
following precautions.
•
It
may not be possible to
properly recharge batteries
with dirty
EB
and 8
electrodes. Use asoft, dry
cloth to carefully wipe the
EB
and 8electrodes as well as
the terminal areas of the
charger.
•Either when they are
purchased or when they have
not been used for aprolonged
period, nickel metal hydride
batteries may not have a
sufficient charge. This
is
due
to their characteristics and
is
not indicative of trouble. Their
regular performance will be
restored after they have been
charged anumber of times.
•
It
is recommended that the
batteries
be
recharged only
after their existing charge has
been used
up.
If
they are
repeatedly charged without
their existing charge first
having been used
up,
it may
be
difficult for them to sustain their
capacity. (A phenomenon
referred to as the memory
effect.)
•
If
the memory effect has
occurred, use up the existing
charge
in
the batteries until the
unit cannot fire and then
recharge them fully anumber
of times. This will restore their
capacity.
•When nickel metal hydride
batteries are not being used,
their capacity will diminish due
to the effects of natural
discharging.
•
Do
not continuously charge
nickel metal hydride batteries
which already have acharge.
eDo not remove their external
jackets or damage them
in
any
way.
•Read the instructions
accompanying the charger
used when recharging the
batteries.
13
VQT1810

Flash
interval
Batteries used IFlash interval
Approx. 8 s
Approx. 7.5 s
Alk:alinedry
batteries
(LR:6)
. I Number
of
Batteries used flashes
Alk:aline
dry
Approx.
batterjes
(L.RG)
120 flashes
.
...:
.;,...;..,;.,;.;.~..,;.;.;.;.;.;.;.;.;.;.;.;.;.;.;.;.;.;.;.;.;
Niokel
:metaJ
hydtid:e Approx.
b·atted·es
200 flashes
(Nl~·MH)
III
Service
life
of
batteries
Number
of
flashes
(number
of
full
flashes
in
MANUAL
mode
at
intervals
of
30
seconds)
Photo
taking
conditions
•Temperature:
23°C
(73.4
OF)
Nickel
me:tal
hydride
batteries :
(NHMH)I
Wv.,.;
••
,.;,.;".;.;.;.;",,,.;.;.:
..
:.;.:.:.:
•.•
:
....l....-.
---'
•The number of flashes and flash
interval differ slightly depending
on the storage status of the
batteries and the operating
conditions.
Nickel metal hydride batteries have
aspecific service life. As they are
increasingly used or as time goes
by,
their capacity will diminish
gradually. When the length of time
during which the unit can be used
has dropped drastically, the
batteries may have reached the
end of their service life. Obtain
fresh batteries.
•The length of the service life of
batteries differs depending on
their storage method, operating
conditions and the environment
in
which they are used.
II
When
the
unit
is
not
going
to
be
used
for
a
prolonged
period
•If the batteries are left inside the
unit, afaint current will flow
continuously, even when the
unit's power is off, gradually
discharging the batteries. If they
are left like this, they may
overdischarge and may become
unusable even when recharged.
•When storing the batteries for a
prolonged period, it is
recommended that they be
charged once ayear and that
after their remaining charge has
been used up, they be removed
from the unit and stored again.
14
VQT1810

Inserting and
Removing the Unit's
Batteries (optional)
•Check that the unit's power
is
off.
•Use alkaline dry batteries or
rechargeable nickel metal
hydride batteries.
1Slide the batterycover
to
open it.
•There is tape adhered to the
battery cover the first time that
you use the unit. Peel it off.
2When
inserting
the
batteries, ensure
that
the
®and 8poles
of
the
batteries are aligned
correctly.
3Close the battery
cover
by
sliding
it
back
firmly
as far as
it
will
go.
•After using the unit, take out the
batteries.
15
VQT1810

TEST/CHARGE
c=:>
More
than 30 s
A·f.kaU:ne
batteries
••••••
""
;.;•.•
;.;.;.;.;.;.w~.
..""'
•••••••••••••••••
,~
..........,
•If it takes as long for the [TEST/
CHARGE] button to light as the
period indicated
in
the table
below, it means that the
batteries are nearly worn out.
Replace them with fresh
batteries as soon as possible.
.;.;.;.;.;.;.;.;.;.;.;.;.;.;.;.;.;.;.:
:
'"",,,,,,,,,,,,,,,,.,,,,,,:J--------!
•If the [TEST/CHARGE] button
and [AUTO CHECK] lamp both
flash at the same time, it means
that the batteries are almost
completely worn out and should
be replaced with fresh batteries
as soon as possible.
3Press
the
[POWER]
button
to
turn
off
the
unit's
power.
(my
I
:::::::::::::::::;:::;:::::::::::::;:::::;:::;:;;:;:;:;:::;:;:;:;:;:;:;:;:::;:;:;:;:;::;;;::;::::.::::::::::::::::::;:;.::;:;:;:;:;::::::;:::::::::;:;;::;::::::::;::;:;:::;::::;:::::::::::::::::::
•When the [TEST/CHARGE]
button
is
pressed, the unit may
fire.
•Turn off the power
in
the
following situations:
•When mounting the unit onto,
or disengaging it from, the
digital camera
•When you do not want the
unit to fire
•When you are not going to
use the unit
POWER
fI>
Checking the
Flash's Remaining
Battery Charge
•After the batteries have been
fully charged, the [TEST/
CHARGE] button lights.
•
..
Charging now starts.
2
Check
that
the
[TEST!
CHARGE]
button
lights.
•Install the batteries and then
turn on the unit and check the
battery remaining power.
1Press
the
[POWER]
button.
16
VQT1810

Mounting
the
Unit
onto
the
Digital
Camera, and
Removing
it
•Check that the power of the
digital camera and unit
is
off.
(Mounting the unit onto, or
disengaging it from, the camera
while the power
is
on
may cause
trouble and
is
not
recommended.)
II
Mounting the
unit
1Secure
the
flash head at
the horizontal
front
position.
/
..
:;:.;;::
~
®-~
@:
Bounce unlock button
•If the flash head is at the lock
position, rotate
it
while pressing
the bounce unlock button.
2Loosen
the
lock
ring.
•If the lock pin
is
protruding, turn
the lock ring
in
the opposite
direction from
[~LOCK]
and
retract the pin.
e
Do
not apply more force than is
necessary to the lock ring.
•
Do
not touch the terminal areas
with your fingers, metal objects,
etc.
•Do not mount the unit onto the
digital camera while the lock pin
is
protruding. Otherwise you
may damage the unit.
17
VQT1810

18
VQT1810
3Slide the
unit
firmly
toward the back
of
the
hot
shoe until a
clicking
sound
is
heard.
4Turn the
lock
ring in the
[~LOCK]
direction until
it
stops
turning.
II
Removing
the
unit
Completely loosen the
lock
ring, and
slide
the
unit
off
from the
hot
shoe.

Taking Pictures
using aDigital
Camera with
Communicati'on
Functions
•For details
on
each flash mode,
turn to
P21
to 25.
1Turn on the power of the
digital camera.
2Press the [POWER]
button on the unit.
POWER
~
•The [TEST/CHARGE] button
lights after the batteries have
been fully charged.
3Press the shutter button
of
the digital camera
halfway down.
•The ISO sensitivity, aperture,
shutter speed and other photo
taking information are sent
between the digital camera and
the unit.
4Press the [MODE]
button, and select the
flash mode.
r®
T{tJi'f>!rO",~Ii~-.r~
•.•
~~~m~lI~r~
..
>.;rc
::
MODE
.~~
.....
t~
••.•
rlu~~~~J
0··.;1>
@: Flash mode
•The flash mode is shown
on
the
display panel.
•The mode is changed each time
the [MODE] button is pressed.
19
VQT1810

II
Concerning
the
flash
modes
~~""·.~V~~
~
~""""""'.'.'.'.'.'.'.'.'.'.'.w.'.'.'.'.w.'.'.'.'.'.'
.·.·.·.,,·N.w
,,·.~'''''~M
,
..
w
•.•.....••............
,."
•••
;
••.••.•••
;
••••
:
•••••.•••.••••••••••••••••••••
·.·.·.w.·.·.·.·.·.·.·.·.·.·.··.w.·.w.·.·.·.·.·.·.·.·
w.w
.•...
w.•.•
m-"'V
l
Itefn Delails
o:f
~l:etUn:g.s
.
"""'",
,
,",
wuu
••
~u
.•
~
••
~.wu~u.w
•••••
·.·.·.·.·.·.;.;.;.;.;.".,",,':':':"""""
.".:."".;.;u;.;.;.;Av:...~'"
.........,...
..
·.:.,.....;.:..
.:
.." ·
W"...,.,..,...UNNNN.W.·.·.·.·.·.·.·.·.·.·.·.·.·.·
~
..
~
..
""
•.
~
....•.•.•.....•...•.•.•.•.•.•...•.•.•.•.•.•.•.•.•.•.•.•.•.•.•.•.•.•.•.•
;
•.•.•.•.•
;
•.•
;
•.
,
..
"""'".;.;.;.;.;.;.".;.;.;.:.;.;.;.".".:.;...;,,;.;
..•
;,
[TTL
AUTO] After measuring the appropriate flash intensity by
discharging apre-flash, the unit fires again for
photo taking. (P21)
[AUTO]
[MANUAL]
[FP
TTL
AUTO]
[FP
MANUAL]
The unit senses the light by its flash sensor in
accordance with the aperture of the lens, and it
adjusts the flash intensity. (P22)
•This mode can be used only for digital camera
models with communication functions which
support the [AUTO] mode.
The unit fires at the guide number
(GN)*
which
has been set. (P23)
This mode enables flash photo taking even at the
high shutter speeds of the digital camera by FP
firing (repeatedly firing the flash
at
high speed).
(P24)
The unit initiates
FP
firing at the flash intensity set
in the [FP MANUAL] mode. (P25)
20
VQT1810
*The guide number (GN) is avalue which indicates the light quantity of
aflash. The higher the value, the greater the quantity of light emitted
by the unit.
•
You
may not be able to use some modes depending on the type of
digital camera.
(0:
Available,
-:
Not available)
-~-~-,---.w·-Ti~~~~~O]T~'r~u~~]--··r
[M;;~~~]T"t~~iJf"~~~~~~;-
.;
..•.•.•.•...•...•.•.•.•.•.•
".;...;..
..
.;..~.~
..
~
...
'"""""~"",
....
~.~.WN~
...
WN~l.N
..
~.W.w
..........•.........•.•.•.•
·.·.·.·.·.·.·.·.·.;.;.;.".;.1"'.;.:.;.".:.;"'''''''.:.:.:''''''''',,'''''''0;...;0;...;·
I
"M~"""
~N.·~·.W.,.,.,~N.WN.·N.W.·.·N
DMC-L1K 0
DMC-FZ50 0I
•It is not possible to select amode which cannot be used.
Other manuals for FL360 - DMW - Hot-shoe clip-on Flash
4
Table of contents
Other Panasonic Flashlight manuals

Panasonic
Panasonic EY3793B User manual

Panasonic
Panasonic EY3796-U1 User manual

Panasonic
Panasonic EY3740 User manual

Panasonic
Panasonic YT-30TSW User manual

Panasonic
Panasonic EY3760 User manual

Panasonic
Panasonic BF-541A/K User manual

Panasonic
Panasonic EY37C1B57 User manual

Panasonic
Panasonic FL500 - DMW - Hot-shoe clip-on Flash User manual

Panasonic
Panasonic EY3795B User manual

Panasonic
Panasonic EY37C1 User manual