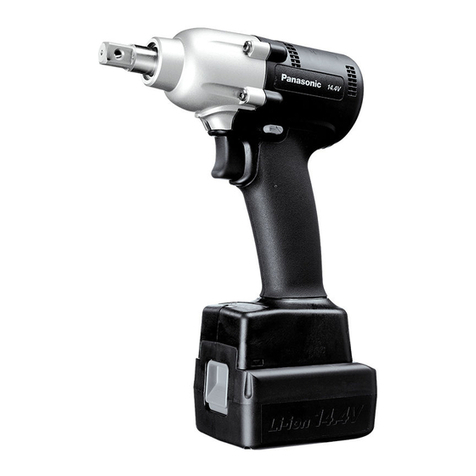
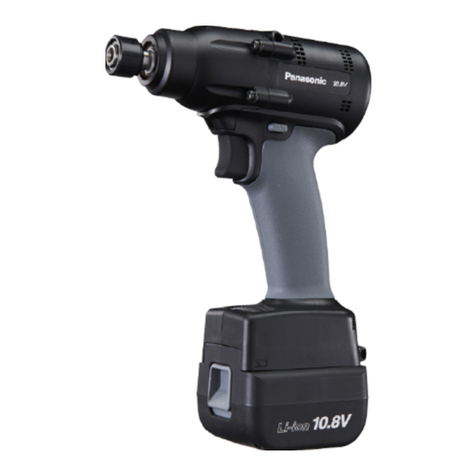
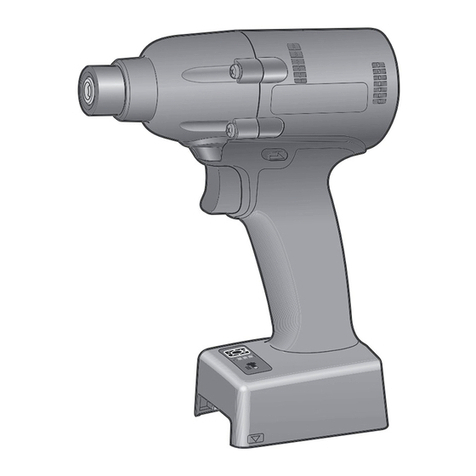
Verify Panasonic Mechanical Pulse Tools On Applications
1. Application Specifications –Record to Worksheet
•Specs –Obtain the target torque, tolerance, extensions and sockets for the application.
•Joint Type –Determine the joint type (Hard 30°, Medium-Hard 60°, Medium-Soft 180°, Soft 360°(degrees are
calculated by rotating the fastener from the flush point (snug torque) to final torque))
•Dry Loctite, Lock Nuts, etc. will possibly cause a medium-soft or soft joint.
2. Determine The Tool –Record to Worksheet
•Look Up The Tool –Use the torque curve graphs to select the tool and be sure to use the joint type
determined above.
•Select Tool –Locate the target torque on the left column; follow the line to the right to select the tool.
Follow the chart directly down to obtain an estimated starting point to program the tool.
•Suggestion –If more than one tool can be used in the torque range then consider using a
larger tool on Medium-Soft/Soft joints and a smaller tool on Hard/Medium Hard joints.
3. Program The Tool Settings –Record to Worksheet
•Flush Point Mode –If the tool pulses before achieving the flush point, set the tool to “L2 Flush Point”
otherwise leave the tool in the default “L1 Flush Point”mode.
•Setting Torque –Adjust the tools shut-off setting “Program Setting” (1~30) to the desired torque from the set
up torque curves.
4. Run The Tool On The Application –Record to Worksheet
•Run The Tool - Run the tool on the application and be sure to hold the trigger until the tool shuts off.
•Audit The Fastener - Conduct a static/residual audit of the fastener to verify accuracy.
•Adjust Torque - If the torque is out of specification, adjust the tool’s Program Setting (1-30) to increase or
decrease the torque until the residual audit is within specification.
•If unable to achieve the required specifications, consider using a larger tool on Medium-
Soft/Soft joints and a smaller tool on Hard/Medium Hard joints.
5. Record / Tool History
•Worksheet –Document the above information on the “Panasonic Assembly Tool Set Up Worksheet”.
•Save Data –Record the Tools Model, Program Setting, Flush Point (L1/L2), Joint Type, Analyzer Settings,
Sockets and Extensions.
6. Verify The Tool In The Calibration Lab –Record to Worksheet
•Set Up Transducer –Set up the Analyzer/Software per manufacturers suggested settings.
•Adjust Simulator –Adjust the Joint Simulator per the transducer quick start guide.
•Transducer –Warm up the Joint Simulator and Tool before testing. Run 10 cycles on the joint simulator to get
the components warmed up and grease moving.
•Run The Tool –Run the tool on the Transducer with the Joint Simulator.
•Wait 5 seconds in between rundowns.
7. Record / Tool History
•Worksheet –Document the above information on the “Panasonic Assembly Tool Set Up Worksheet”.
•Save Data –Record the Tools Model, Program Setting, Flush Point (L1/L2), Joint Type, Analyzer Settings,
Sockets and Extensions. Panasonic Assembly
ToolsSet Up Worksheet
Panasonic Life Solutions Company of America Assembly Tools Division
2 Riverfront Plaza 5th Floor Newark, NJ 07102
www.panasonic.com/assemblytools