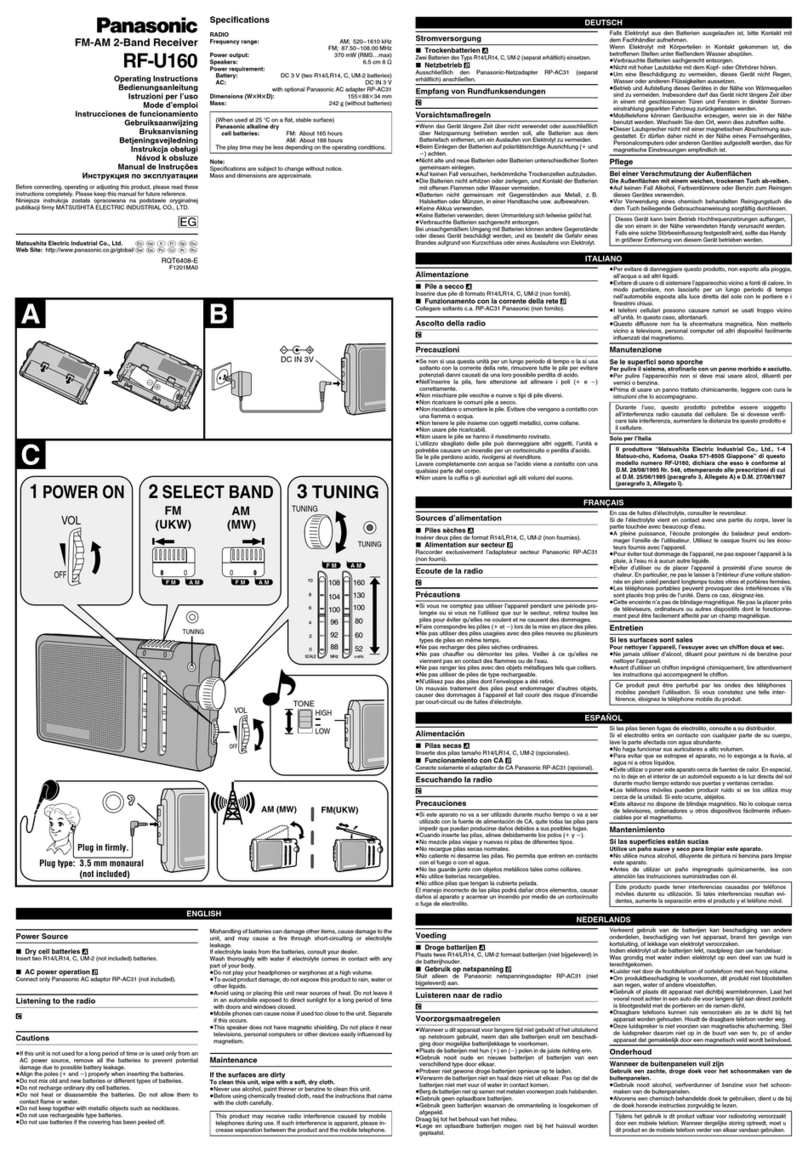
Hold
Slide up 8 to prevent accidental operation
(“”lights). Release before operation.
Setting the time
1. Press 7.
2. Press 6.
3. 1Push 6up or down to set the hour.
2Press 6.
4. 1Push 6up or down to set the minute.
2Press 6.
Use outside of Japan
Preparation: Change the AM steps and FM
range.
1. Press 1 to turn the unit on.
2. Press and hold 6until “J”(or “AM 10”or
“AM 9”) flashes on the display.
3. Push 6up or down to select the step. J for
Japan, AM 10 for North and South America and
parts of South East Asia, AM 9 for South East
Asia and Europe.
4.
Press and hold 6until the display stops flashing.
Tuning
1. Pull out the earphones.
2. Press 1to turn the unit on.
3. Press
6
to select the band.
4. Push
6
up or down to select the frequency of
the station.
Hold in place to start auto tuning.
5. Adjust the volume.
Using the earphone “#”and speaker “!”
Switch ;.
Reducing noise
Switch < to “入”for clearer reception.
Presetting
ASetting
Set ten stations each in “”and “”.
1. Press 7.
2. 1Push
6
up or down so “選局モード”flashes.
2Press 6.
3. 1Push
6
up or down either “”or
“”flashes.
2Press 6.
4. Tune to the station you want to preset (see
above).
5. Press and hold the numbered button 2you
want to set the station in.
Repeat 4 and 5 to set other stations.
BListening
1. Do steps 1 to 3 to select “”or “”.
2. Press a numbered button 2to select a station.
Use in Japan
AREA
AREA numbers contain preset stations for
different areas in Japan. Set the AREA to make
tuning simple.
ASetting
1. Pull out the earphones.
2. Press 1to turn the unit on.
3. Press and hold 7for about 2 seconds.
The unit takes a few seconds to set the AREA
and then tunes to AM.
BListening
1. Press 6to change the band.
2. Press a numbered button 2to select a station.
3. Adjust the volume.
Using the Timer and Alarm
Alarm: a buzzer sounds at the set time.
1. Press 7.
2. 1Push 6up or down so “アラーム”flashes.
2Press 6.
3. 1Push 6up or down to select “On”.
2Press 6.
4. 1Push 6up or down to set the hour.
2Press 6.
5. 1Push 6up or down to set the minute.
2Press 6.
The buzzer sounds for 3 minutes at the set time.
Press any button to shut it off.
Timer: a buzzer sounds between 1 and 180
minutes later.
1. Press 7.
2. 1Push 6up or down so “タイマー”flashes.
2Press 6.
3. 1Push 6up or down to select “On”.
2Press 6.
4. 1Push 6up or down to select the minutes.
2Press 6.
The buzzer sounds for 2 to 3 minutes when the
time elapses. Press any button to shut it off.
Auto off
Turns the set off after 30, 60, 90, or 120 minutes.
1. Press 7.
2. 1Push 6up or down so “オートオフ”flashes.
2Press 6.
3. 1Push 6up or down to select the time.
2Press 6.
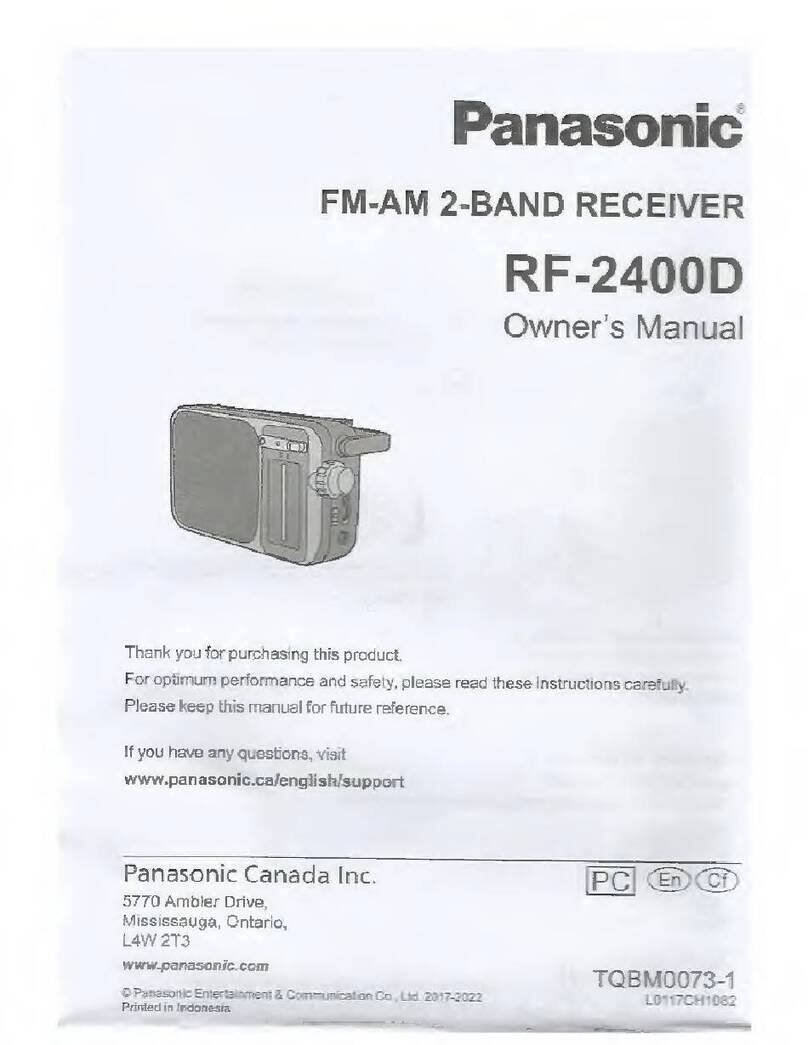
Operating Instructions
(Refer to the illustration on page 2 for the location of the controls.)
<無料修理規定>
1.取扱説明書、本体貼付ラベル等の注意書に従った使用状態で保証期間内に故障
した場合には、無料修理をさせていただきます。
(イ)無料修理をご依頼になる場合には、商品に取扱説明書から切り離した本
書を添えていただき、お買い上げの販売店にお申しつけください。
(ロ)お買い上げの販売店に無料修理をご依頼にならない場合には、お近くの
ご相談窓口にご連絡ください。
2.ご転居の場合の修理ご依頼先等は、お買い上げの販売店またはお近くのご相談
窓口にご相談ください。
3.ご贈答品等で本保証書に記入の販売店で無料修理をお受けになれない場合には、
お近くのご相談窓口へご連絡ください。
4.保証期間内でも次の場合には原則として有料にさせていただきます。
(イ)使用上の誤り及び不当な修理や改造による故障及び損傷
(ロ)お買い上げ後の取付場所の移設、輸送、落下などによる故障及び損傷
(ハ)
火災、地震、水害、落雷、その他天災地変、及び公害、塩害、ガス害(硫化ガス
など)、異常電圧、指定外の使用電源(電圧、周波数)などによる故障及び損傷
(ニ)車両、船舶等に搭載された場合に生ずる故障及び損傷
(ホ)一般家庭用以外(例えば業務用など)に使用された場合の故障及び損傷
(ヘ)本書のご添付がない場合
(ト)本書にお買い上げ年月日、お客様名、販売店名の記入のない場合、ある
いは字句を書き替えられた場合
(チ)
持込修理の対象商品を直接修理窓口へ送付した場合の送料等はお客様の負担とな
ります。また、出張修理等を行った場合には、出張料はお客様の負担となります。
5.本書は日本国内においてのみ有効です。
6.本書は再発行いたしませんので大切に保管してください。
7.お近くのご相談窓口は取扱説明書の保証とアフターサービス欄をご参照ください。
※この保証書は、本書に明示した期間、条件のもとにおいて無料修理をお約束する
ものです。従ってこの保証書によって、お客様の法律上の権利を制限するもので
はありませんので、保証期間経過後の修理についてご不明の場合は、お買い上げ
の販売店またはお近くのご相談窓口にお問い合わせください。
※保証期間経過後の修理や補修用性能部品の保有期間については取扱説明書の「保
証とアフターサービス」をご覧ください。
※ThiswarrantyisvalidonlyinJapan.
修理メモ
