manuals.online logo
Brands
  1. Home
  2. •
  3. Brands
  4. •
  5. Panasonic
  6. •
  7. Remote Control
  8. •
  9. Panasonic CZ-RD516C User manual

Panasonic CZ-RD516C User manual

Other Panasonic Remote Control manuals

Panasonic CZ-RTC4 User manual

Panasonic

Panasonic CZ-RTC4 User manual

Panasonic 060-2331 User manual

Panasonic

Panasonic 060-2331 User manual

Panasonic CZ-01ESM11P User manual

Panasonic

Panasonic CZ-01ESM11P User manual

Panasonic CZ-RTC4 User manual

Panasonic

Panasonic CZ-RTC4 User manual

Panasonic EUR501453 User manual

Panasonic

Panasonic EUR501453 User manual

Panasonic EUR511502 User manual

Panasonic

Panasonic EUR511502 User manual

Panasonic WV-RC35 User manual

Panasonic

Panasonic WV-RC35 User manual

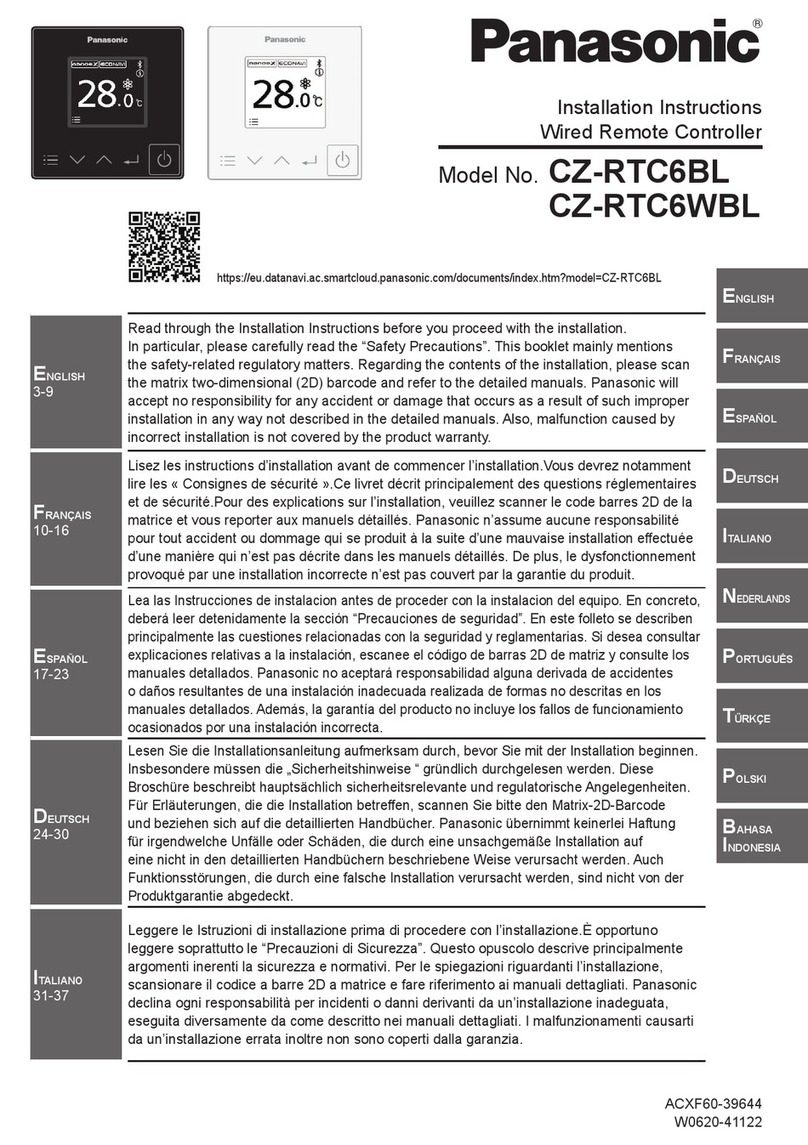
Panasonic CZ-RTC6WBLW User manual

Panasonic

Panasonic CZ-RTC6WBLW User manual

Panasonic EUR501375 User manual

Panasonic

Panasonic EUR501375 User manual

Panasonic EUR7722X80 User manual

Panasonic

Panasonic EUR7722X80 User manual

Panasonic EUR511155 User manual

Panasonic

Panasonic EUR511155 User manual

Panasonic AW-HE870E User manual

Panasonic

Panasonic AW-HE870E User manual

Panasonic CZ-RTC2 User manual

Panasonic

Panasonic CZ-RTC2 User manual

Panasonic AK-HRP1000G User manual

Panasonic

Panasonic AK-HRP1000G User manual

Panasonic CZ-02RT11P User manual

Panasonic

Panasonic CZ-02RT11P User manual

Panasonic CZ-RWSU2 User manual

Panasonic

Panasonic CZ-RWSU2 User manual

Panasonic EUR7622KB0 User manual

Panasonic

Panasonic EUR7622KB0 User manual

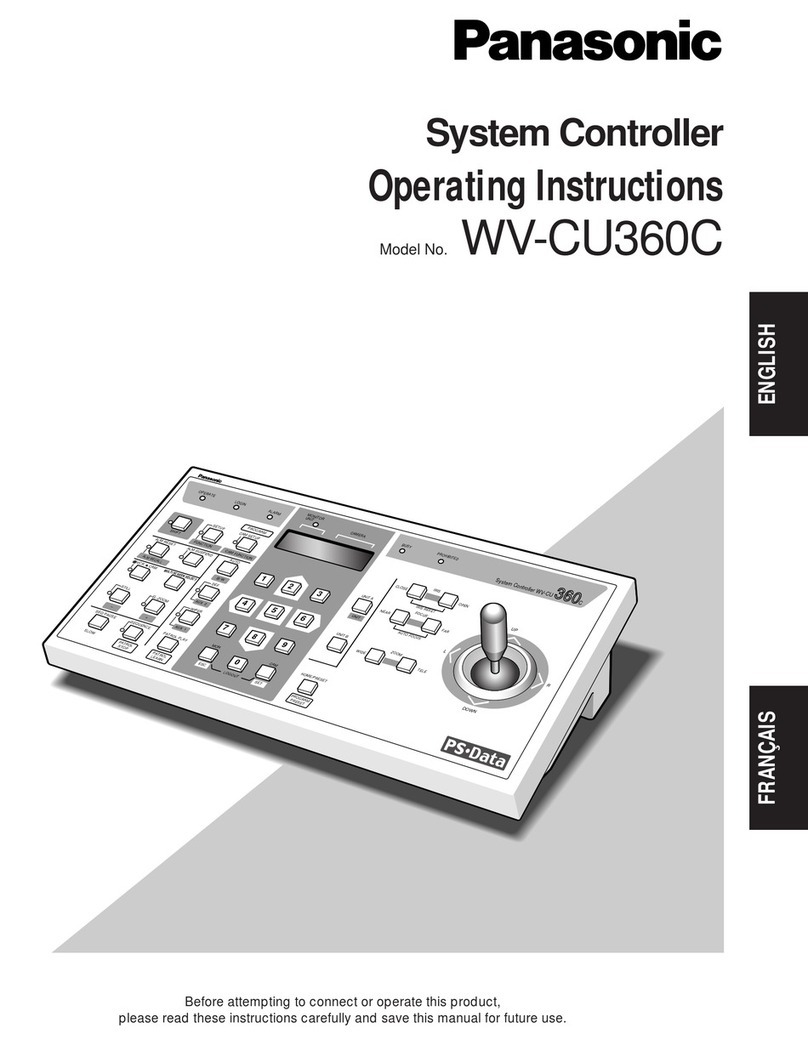
Panasonic WVCU550B - SYSTEM CONTROLLER User manual

Panasonic

Panasonic WVCU550B - SYSTEM CONTROLLER User manual

Panasonic WVCU550CJ - SYSTEM CONTROLLER User manual

Panasonic

Panasonic WVCU550CJ - SYSTEM CONTROLLER User manual

Panasonic CZ-RTC6 User manual

Panasonic

Panasonic CZ-RTC6 User manual

Panasonic AK-HRP200G User manual

Panasonic

Panasonic AK-HRP200G User manual

Panasonic TY-RM50VW User manual

Panasonic

Panasonic TY-RM50VW User manual

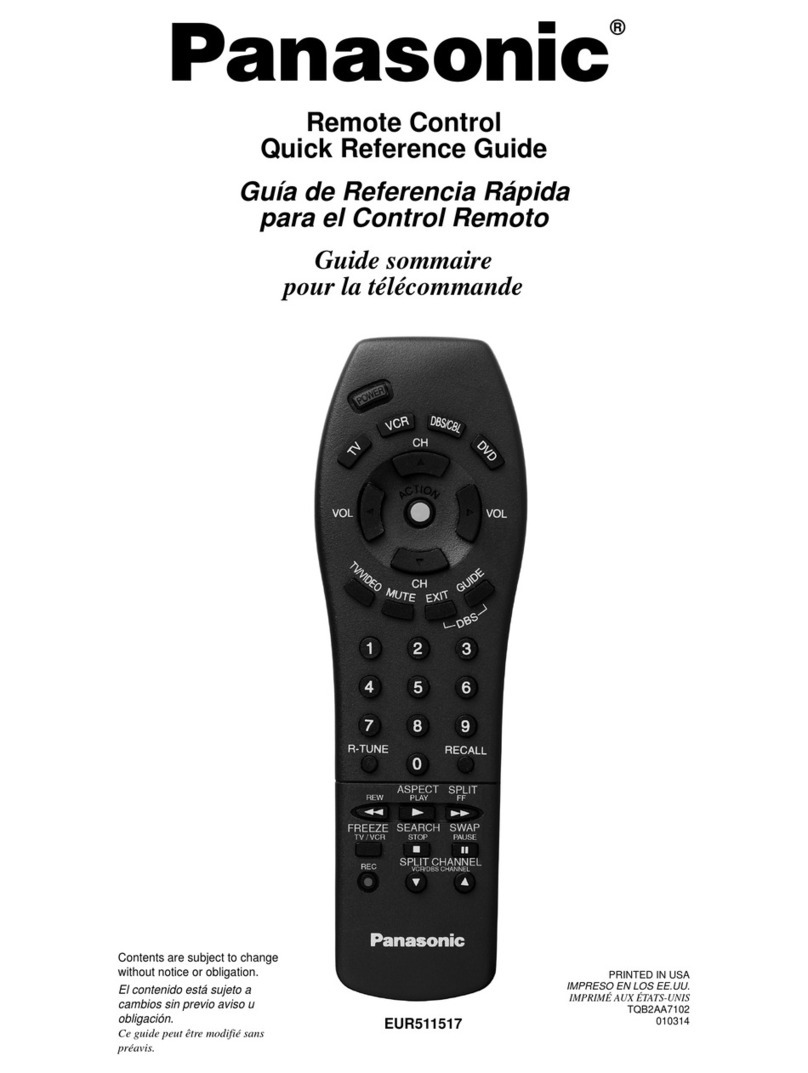
Panasonic EUR511517 User manual

Panasonic

Panasonic EUR511517 User manual

Panasonic CZ-RWSU2 User manual

Panasonic

Panasonic CZ-RWSU2 User manual

Popular Remote Control manuals by other brands

Bircher Reglomat RC Duo 2 user guide

Bircher Reglomat

Bircher Reglomat RC Duo 2 user guide

Emerson RCBT100 owner's manual

Emerson

Emerson RCBT100 owner's manual

BILDA Element-6 user manual

BILDA

BILDA Element-6 user manual

Absima CR7P manual

Absima

Absima CR7P manual

Mitsubishi Electric PAR-32MAAG Instruction book

Mitsubishi Electric

Mitsubishi Electric PAR-32MAAG Instruction book

RCA RCRTBL08BE1 quick start guide

RCA

RCA RCRTBL08BE1 quick start guide

US Electronics NOVARI user guide

US Electronics

US Electronics NOVARI user guide

Bang & Olufsen Beo4 user manual

Bang & Olufsen

Bang & Olufsen Beo4 user manual

Marantz RC101 user guide

Marantz

Marantz RC101 user guide

FUTABA 9ZAP - PART2 manual

FUTABA

FUTABA 9ZAP - PART2 manual

HR Matic HR MULTI 3 quick start guide

HR Matic

HR Matic HR MULTI 3 quick start guide

Anritsu MP1777A Operation manual

Anritsu

Anritsu MP1777A Operation manual

Niles WVC100 Installation & operating guide

Niles

Niles WVC100 Installation & operating guide

Bang & Olufsen BEO6 Getting started

Bang & Olufsen

Bang & Olufsen BEO6 Getting started

GE 94901 instruction manual

GE

GE 94901 instruction manual

FUTABA R7108SB Full manual

FUTABA

FUTABA R7108SB Full manual

Invacare G91S user manual

Invacare

Invacare G91S user manual

JR Racing XR2 user manual

JR Racing

JR Racing XR2 user manual

manuals.online logo
manuals.online logoBrands
  • About & Mission
  • Contact us
  • Privacy Policy
  • Terms and Conditions

Copyright 2025 Manuals.Online. All Rights Reserved.

F568357
OFF/ON
ENGLISH
User Manuals
Wired Remote Control
CZ-RD516C
F568357-SS1011-0_EN.indd 1F568357-SS1011-0_EN.indd 1 10/17/2011 12:40:22 PM10/17/2011 12:40:22 PM
PANTONE 293 CPANTONE 293 C
2
OFF/ON
TEMP
TIMER/CLOCK
MODE
CHECK RESET
OFF/ON
CANCELCLOCK
SET
SELECTUP
DOWN
AC RC
MODE
FAN SPEED
AIR
SWING
WIRED REMOTE CONTROL
DAILY TIMER SETTING
WEEKLY TIMER SETTING
Press the remote control’s button
1TO TURN ON OR OFF THE UNIT
• Please be aware of the OFF indication on the remote
control display to prevent the unit from starting/stopping
improperly.
2TO SET TEMPERATURE
• Selection range: 60°F ~ 86°F.
3TO SELECT OPERATION MODE
AUTO mode - For your convenience
• Unit selects operation mode during startup according to
temperature setting and room temperature.
HEAT mode - To enjoy warm air
• Unit takes a while to warm up. The power indicator blinks
during this operation.
COOL mode - To enjoy cool air
• Use curtains to screen off sunlight and outdoor heat to
reduce power consumption during cool mode.
DRY mode - To dehumidify the environment
• Unit operates at low fan speed to give a gentle cooling
operation.
4TO SELECT FAN SPEED (5 OPTIONS)
FAN SPEED
• ForAUTO, the indoor fan speed is automatically adjusted
according to the operation mode.
5TOADJUST AIRFLOW DIRECTION
• Keeps the room ventilated.
• In COOL/DRYmode, ifAUTO is set, the louver swing
left/right and up/down automatically.
• In HEAT mode, ifAUTO is set, the horizontal louver fix at
predetermined position. The vertical louver swing left/right
after the temperature rises.
• For Hide-Away models,AIR SWING buttons are not in
use.Airflow direction can not be adjusted.
6Press and hold for approximately 10 seconds to
show temperature setting in °C or °F.
7Press and hold for 5 seconds to dim or restore the
unit’s indicator brightness.
8Press to restore the remote control’s default setting.
9Not used in normal operations.
10 Retrieve error code.
• During operation, the unit stops and both aand bis
OFF indicates abnormality occurs.
1.Ensure ais OFF, press
CHECK
for 5 seconds.
2.Press or . If error code and abnormality can be
identified, awill be ON continuously, then write down
the error code.
3.Press
CHECK
for 5 seconds to quit checking.
4.Turn the unit off and reveal the error code to authorized
dealer.
Remote Control Display
aOPERATION LED
bOFF INDICATOR
cOPERATION MODE SELECTION INDICATOR
dTIMER/CLOCK SETTING DISPLAY
Lights up if Timer operation is selected
6 different programs can
be set in a day (1 ~ 6)
Time to be selected
(10 minutes step)
ON Timer. To automatically switch “ON” the unit.
OFF Timer. To automatically switch
“OFF” the unit.
Day to be selected
Indicates the selected day
Indicates the next timer
operation day
eFAN SPEED DISPLAY
fTEMPERATURE SETTING DISPLAY
gERROR CODE DISPLAY
Remote Control Preparation
1. Press
CLOCK
2. Press
UP
or
DOWN
to select current day.
3. Press
SET
to confirm.
4. Repeat steps 2 and 3 to set the current time.
d
a
g
3
5
1
4
2
f
6 10
b
c7 9 8
e
F568357-SS1011-0_EN.indd 2F568357-SS1011-0_EN.indd 2 10/17/2011 12:41:10 PM10/17/2011 12:41:10 PM
PANTONE 293 CPANTONE 293 C
3
OPERATION DETAILS
OPERATION DETAILS
The timer setting will shown at wired remote control
only but not at indoor unit’sTIMER indicator.
Check Current Timer Program
Perform the step below to check the timer program for
a particular day.
1. Press Timer
MODE
to enter timer mode.
2.Press
SELECT
to enter day setting.
3. Press Timer
UP
or
DOWN
until your desired day is
shown, press
SELECT
to confirm your selection.
4. Press Timer
UP
or
DOWN
to check the set programs.
Modify Current Timer Program orAdd New Timer
Program
1. Press Timer
MODE
to enter timer mode.
2.Press
SELECT
to enter day setting.
3. Press Timer
UP
or
DOWN
until your desired day is
shown.
4.Perform steps 4 to 7 of “WEEKLYTIMER SETTING”
to modify existing timer program, or add any timer
program.
Cancel Current Timer Program
Perform the step below to cancel the timer program for
a particular day.
1.Press
SELECT
to enter day.
2. Press Timer
UP
or
DOWN
until your desired day is
shown.
3.Press
SELECT
to enter program setting.
4. Press Timer
UP
or
DOWN
until your desired program is
shown.
Press
CANCEL
to cancel the program, will
disappear.
Disable & Enable Weekly Timer
• To disable weekly timer setting, press
MODE
, then
press
CANCE
L
.
• To enable previous weekly timer setting, press
MODE
,
then press
SET
.
DAILY TIMER SETTING
DAILY TIMER SETTING
• To turn ON or OFF the unit at a preset time.
TIMER/CLOCK
MODE
OFF/ON
CANCELCLOCK
SET
SELECTUP
DOWN
1• Press once to change the
display from Clock to Timer
or vice-versa.
• Press for more than 4
seconds to change the
display from Daily Timer to
WeeklyTimer or vice-versa.
3Set the time
4Confirm
2Select ON or
OFF timer
• To cancel ON or OFF timer, press
CANCEL
.
• Timer operation is based on the clock set in the
remote control and repeats daily once set.
• The timer closest to the current time will be activated
first.
• If timer is cancelled manually or due to power failure,
you can restore the previous setting by pressing
SET
.
WEEKLY TIMER SETTING
• Daily timer and weekly timer could not be set at the
same time.
• Promotes energy saving by allowing you to set up to
6 programs in any given day.
1. Press Timer
MODE
for 4 seconds to change display to
weekly timer.
2. Press Timer
UP
or
DOWN
to select your desired day.
3.Press
SELECT
to confirm your selection.
4.“1” will be blinking, press
SELECT
to set program 1.
5. Press Timer
OFF/ON
to select ON or OFF timer.
6. Press Timer
UP
or
DOWN
to select your desired time.
If you want to set the timer together with your desired
temperature, press
TEMP
to select the temperature.
7.Press
SET
to confirm program 1. The selected day will
be highlighted with .
• After 2 seconds, the display will move to the next
program. Repeat steps 4 to 7 to set programs 2 to 6.
• Same timer program cannot be set in the same day.
• During timer setup, if no button is pressed within 30
seconds, or if the
SET
button is pressed, the setting at
that moment is confirmed and timer setup is ended.
NOTE
NOTE
• POWERFUL, QUIET operation setting could be
operate according to wireless remote control.
• When wired remote control is in operation, the timer
setting from wireless remote control will be cancelled.
F568357-SS1011-0_EN.indd 3F568357-SS1011-0_EN.indd 3 10/17/2011 12:42:01 PM10/17/2011 12:42:01 PM
PANTONE 293 CPANTONE 293 C
Federal Communications Commission Interference Statement
This device complies with part 15 of the FCC Rules. Operation is subject to the following two conditions: (1) This device may
not cause harmful interference, and (2) this device must accept any interference received, including interference that may
cause undesired operation.
This equipment has been tested and found to comply with the limits for a Class B digital device, pursuant to part 15 of
the FCC Rules. These limits are designed to provide reasonable protection against harmful interference in a residential
installation. This equipment generates, uses and can radiate radio frequency energy and, if not installed and used in
accordance with the instructions, may cause harmful interference to radio communications. However, there is no guarantee
that interference will not occur in a particular installation. If this equipment does cause harmful interference to radio or
television reception, which can be determined by turning the equipment off and on, the user is encouraged to try to correct
the interference by one or more of the following measures:
• Reorient or relocate the receiving antenna.
• Increase the separation between the equipment and the receiver.
• Connect the equipment to an outlet on a circuit different from that to which the receiver is connected.
• Consult the dealer or an experienced radio/TV technician for help.
FCC Caution: To assure continued compliance, follow the attached installation instructions.Any changes or modifications not
expressly approved by the party responsible for compliance could void the user’s authority to operate this equipment.
Industry Canada Notice
This Class B digital apparatus complies with Canadian ICES-003.
Panasonic Corporation
Website: http://panasonic.net/
For inquiries, please call 1-800-851-1235
Printed in China F568357
SS1011-0
F568357-SS1011-0_EN.indd 4F568357-SS1011-0_EN.indd 4 10/17/2011 12:43:14 PM10/17/2011 12:43:14 PM
PANTONE 293 CPANTONE 293 C