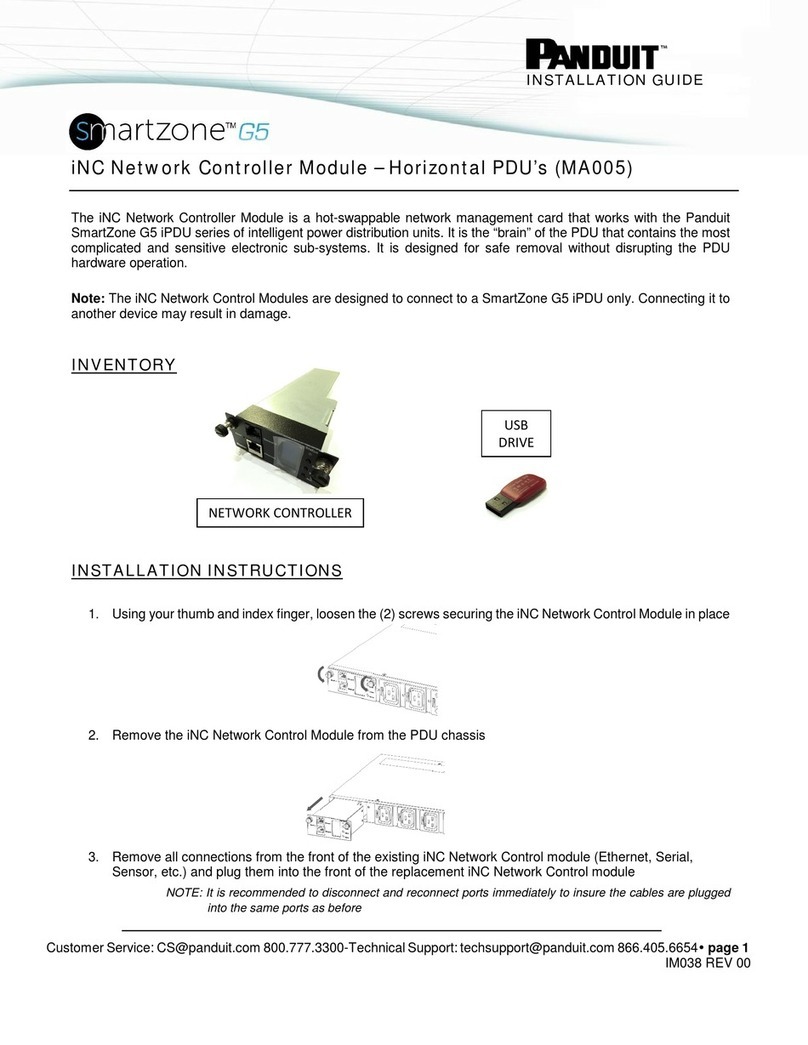
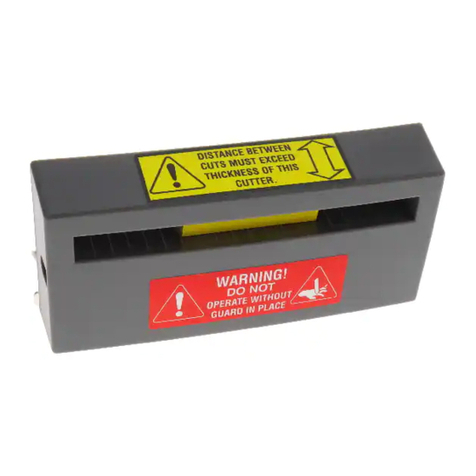
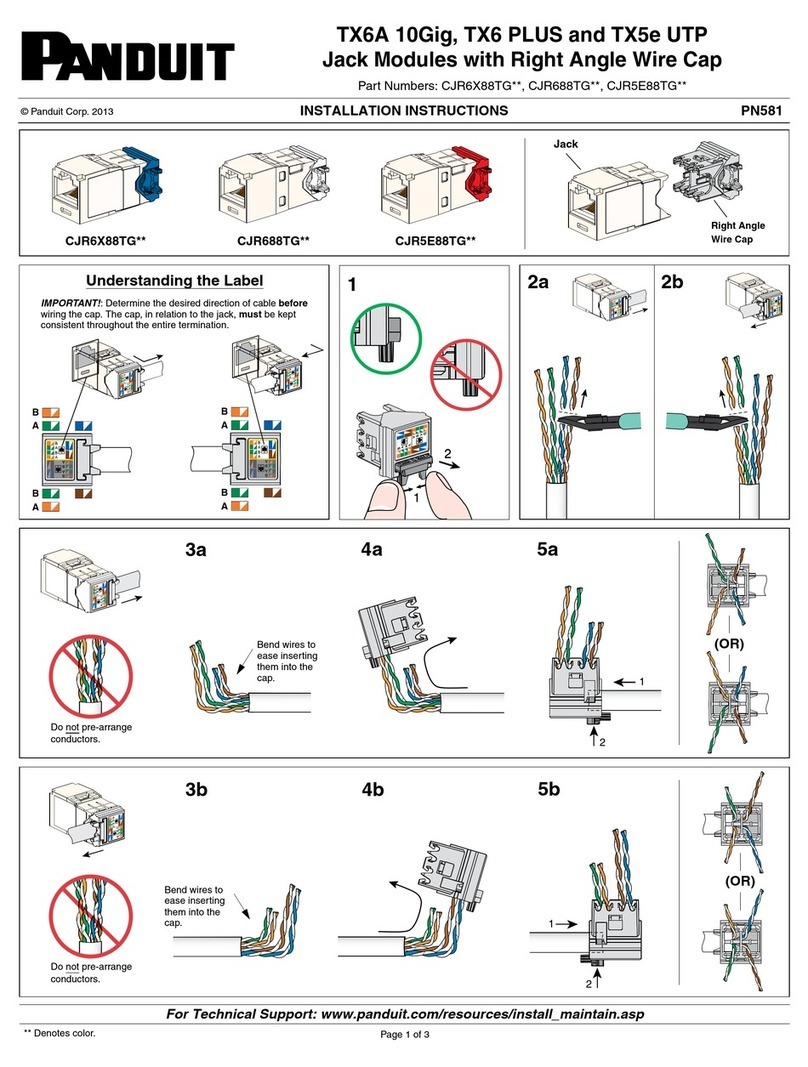
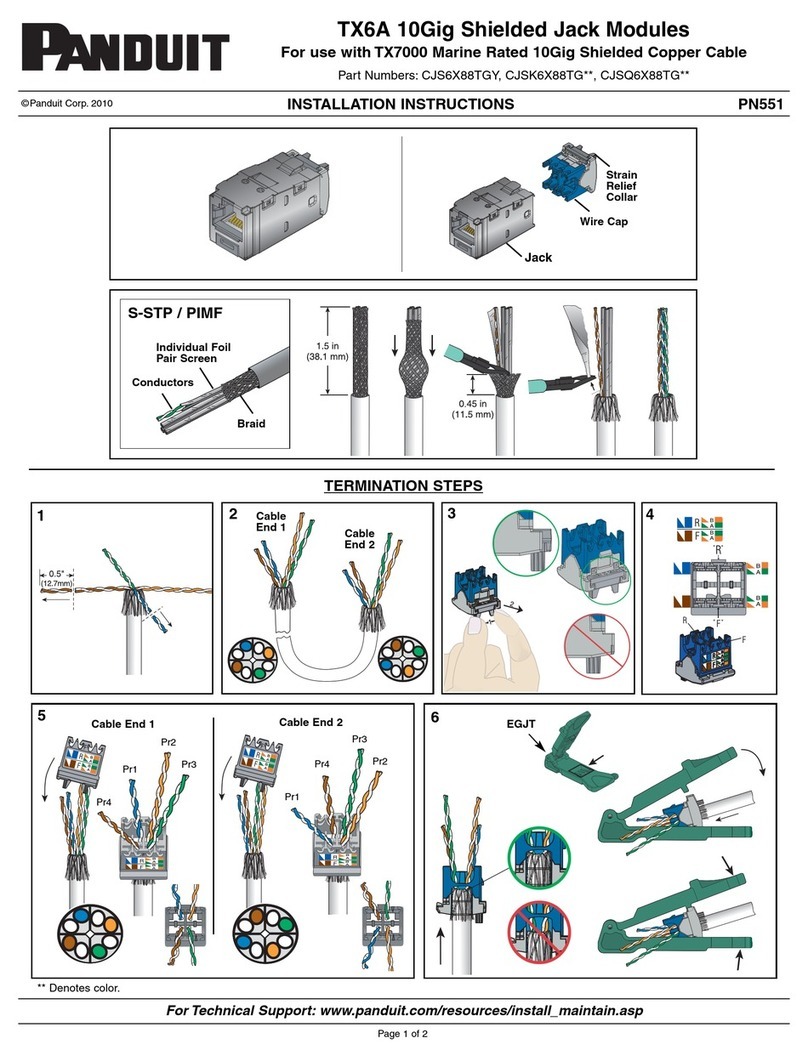
Panduit CJRR Series User manual
Other Panduit Control Unit manuals
Panduit
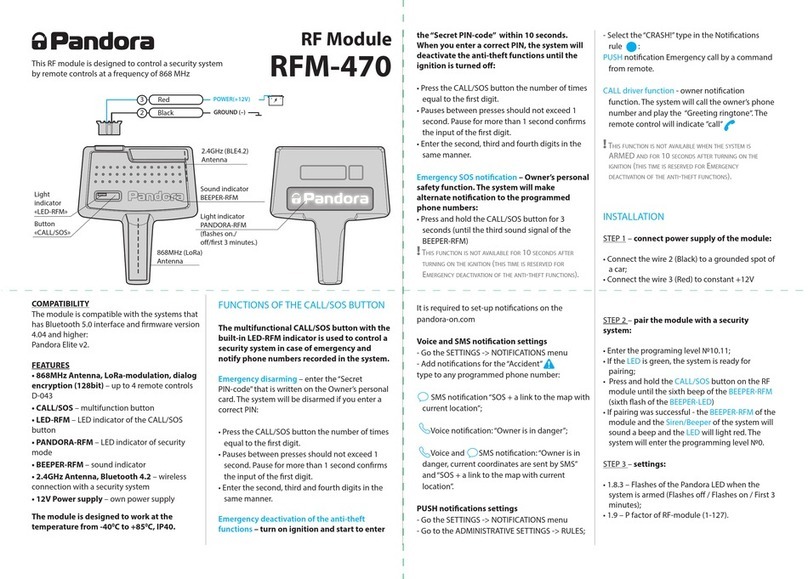
Panduit RFM-470 User manual
Panduit
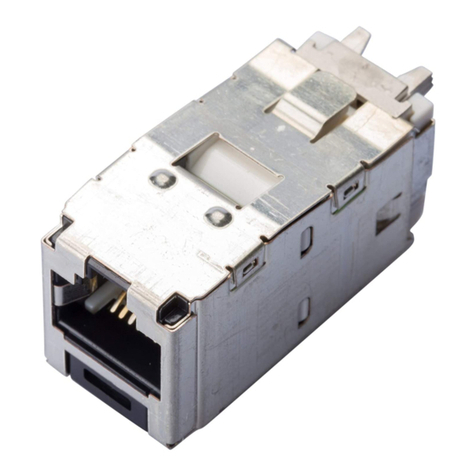
Panduit TX6 PLUS User manual
Panduit
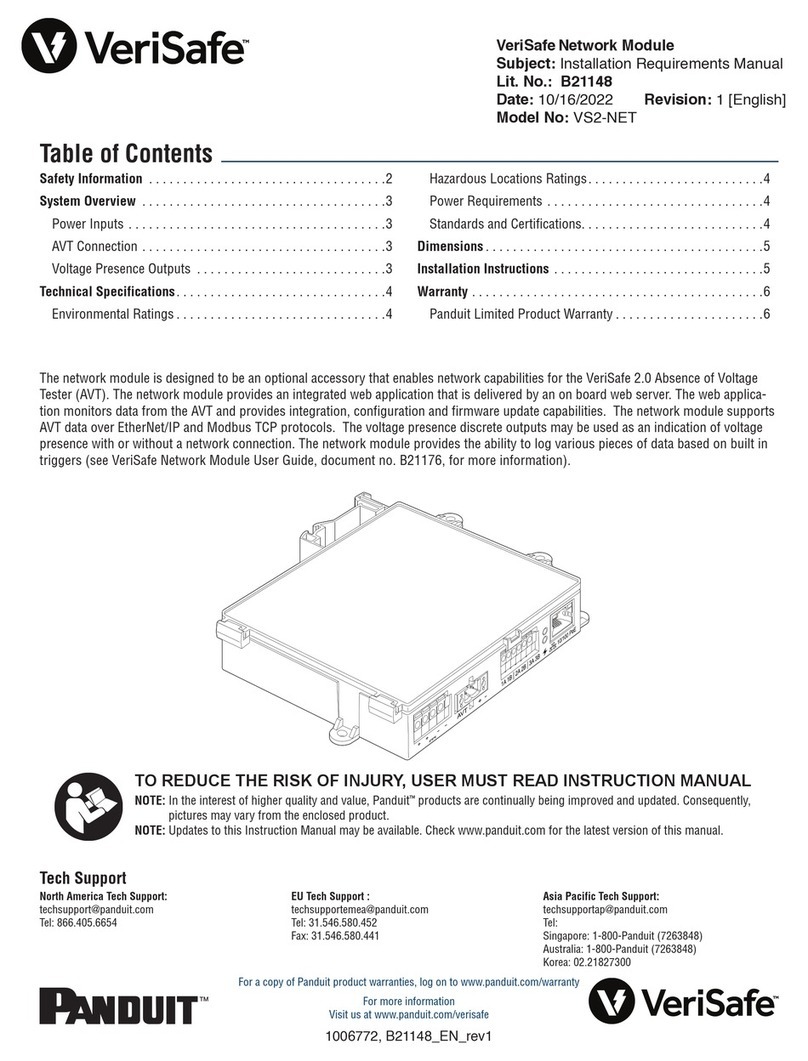
Panduit VeriSafe VS2-NET User manual
Panduit
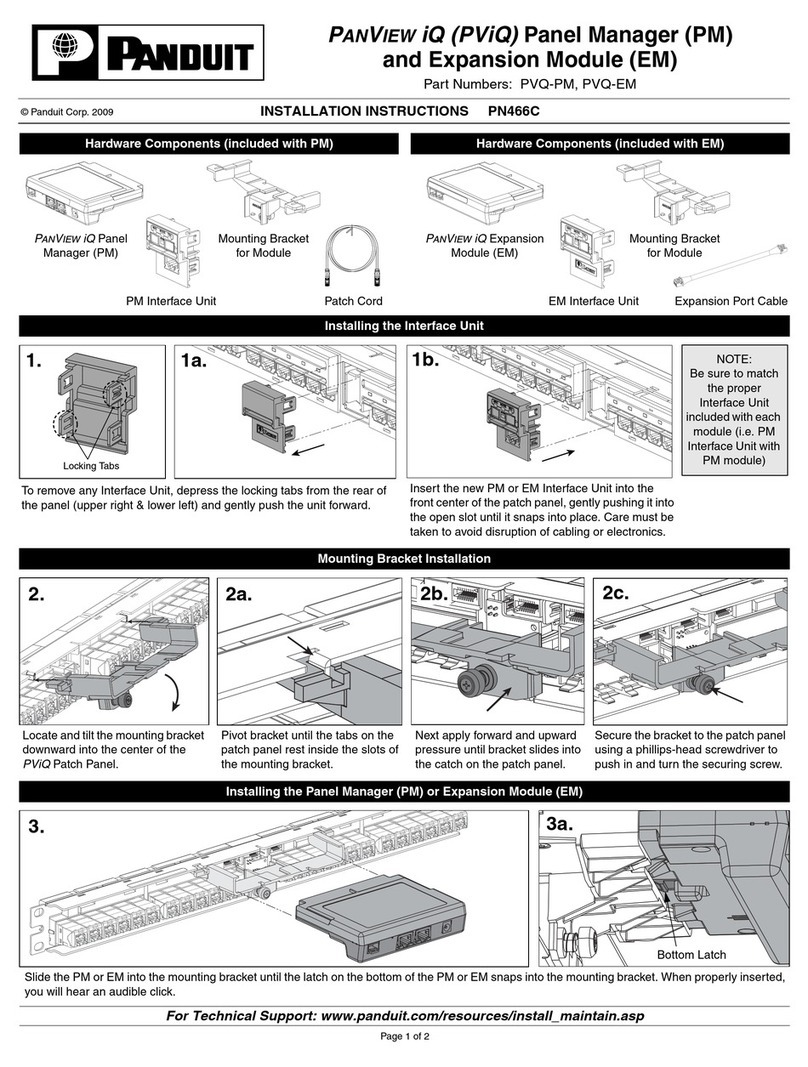
Panduit PVQ-PM User manual

Panduit
Panduit VeriSafe VS2-NET User manual

Panduit
Panduit IndustrialNet IAEBHUSBAA User manual

Panduit
Panduit TX6 PLUS User manual
Panduit
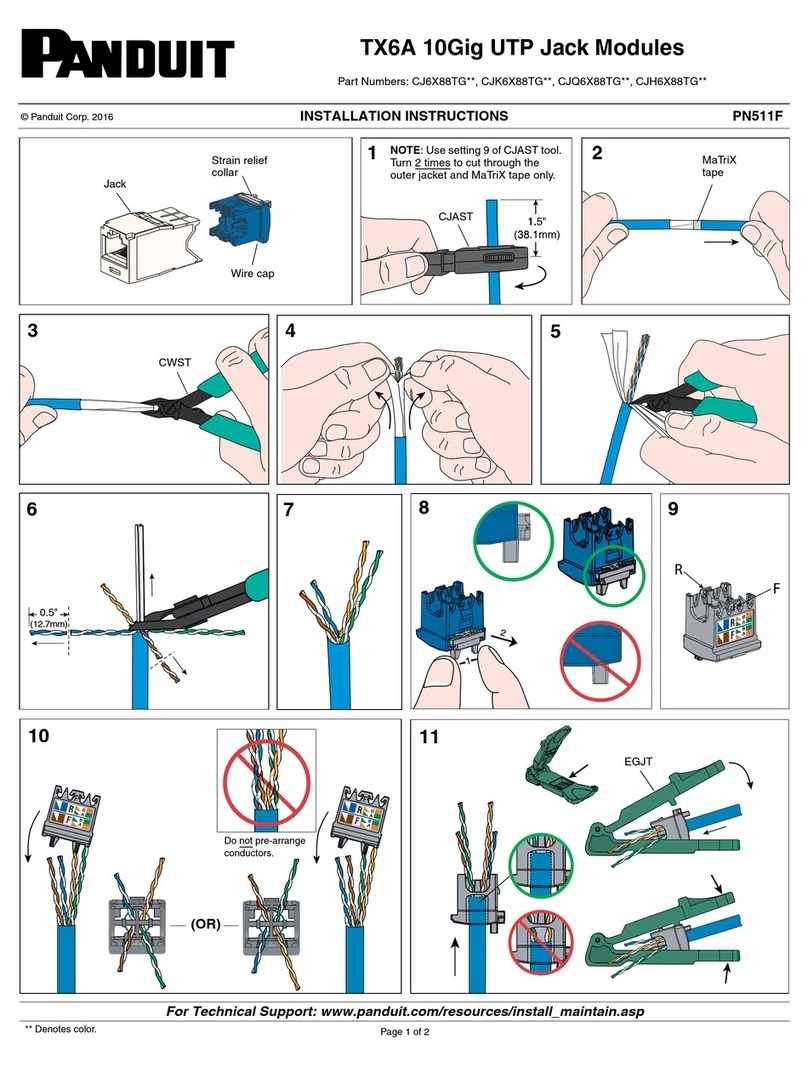
Panduit CJ6X88TG Series User manual

Panduit
Panduit VeriSafe VS2-NET User manual

Panduit
Panduit CJSK6X88TG Series User manual
Popular Control Unit manuals by other brands

Seitz
Seitz 14A80 user manual

Wilo
Wilo RS485 Installation and operating instructions

Becker
Becker CentralControl CC41 Commissioning Instruction

SICK
SICK CDB650 operating instructions

MX
MX Options Concentric Petite Fitting instructions

Clean Water Systems
Clean Water Systems Fleck 2510 Installation & start?up guide
