© Panduit Corp. 2016
Page: 1 of 2
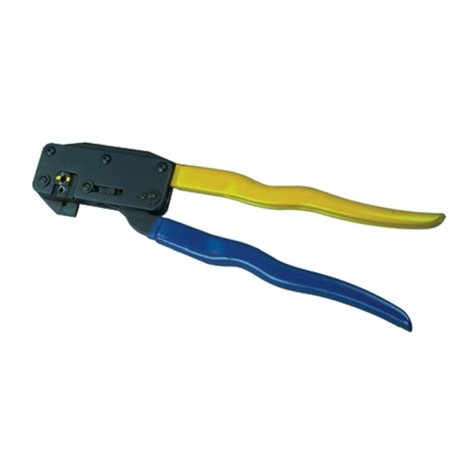
CONTROLLED CYCLE FERRULE CRIMPING TOOL
OPERATION, INSPECTION and MAINTENANCE INSTRUCTIONS
1. With the handles in the open position, insert the ferrule
into the crimp pocket. Make sure that the ferrule is
inserted fully into the crimp die (see Figure 2).
2. Insert the stripped wire into the ferrule until the wire
stops. efer to product packaging for wire strip length.
3. Crimp the ferrule by closing the handles until the
controlled cycle mechanism releases. Upon release,
the handles will open automatically and the crimped
ferrule can be removed.
NOTE: Crimp entire uninsulated ferrule length. This may
require additional crimps.
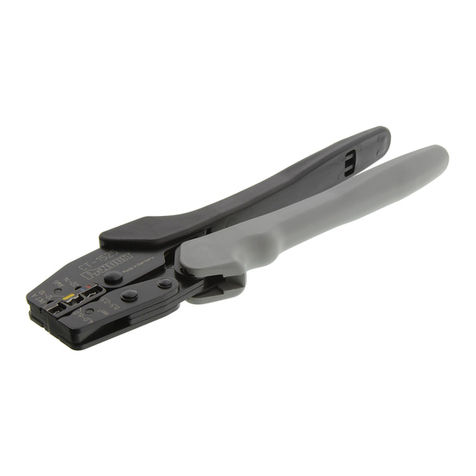
CT-1090 TOOL
Fig. 1
Fig. 2
Stripped
Wire
Crimp Die
Controlled cycle mechanism
prevents tool from opening
before crimp cycle is completed.
Manual release lever, push
forward in the event that
controlled cycle mechanism
must be released.
Cushioned handle grips
C IMP POCKETS for Ferrule
terminals. efer to product
packaging for wire range and
proper crimp pocket. Crimp
pockets are identified with
applicable wire range.
Ferrule - Wire
crimp section
Ferrule Insulated
section
CT-1090
PA28190A01
EV: 00 9-2016
E-mail:
For Technical Support:
1-800-777-3300
www.panduit.com
CAUTION:
Verify power is “OFF” before working on
wiring with these tools.
The plastic grips are for the user’s
comfort, and are not intended
to insulate against electrical shock while
working on li e electrical circuits.
INSPECTION / MAINTENANCE
NEW TOOLS -
BEFORE PLACING INTO SER ICE:
All Panduit crimping tools are inspected before they are
shipped from the factory. All new tools should be
inspected before being used.
New tools are shipped, factory lubricated, in protective
packaging. After inspection, simply clean any excess oil
from the crimping dies and place into service.
When the tool is not in use, keep the handles closed to
prevent objects from becoming lodged in the crimping
area. Store the tool in a clean, dry area.
