Parkmate MCPK-043BT User manual

Bluetooth Mirror & Camera Pack
MCPK-043BT
www.parkmate.com.au
Quick Start Guide
Bluetooth Wireless Technology
Bluetooth wireless technology is an international standard for
short-range wireless communication.
It allows you to establish a wireless connection within a range
between your Bluetooth Mirror and a compatible device.
The Bluetooth Mirror is intended for use with any mobile phone
that supports the Bluetooth Hands free Profile (Bluetooth HFP).
The wireless connection between the compatible devices
established using Bluetooth technology is free of charge for the
user.
“The Bluetooth® word mark and logos are registered trademarks
owned by Bluetooth SIG, Inc. and any use of such marks is under
license.
Other trademarks and trade names are those of their respective
owners.”
Important Notice
Rear-view systems help to provide assistance when reversing.
This rear-view mirror monitor system is designed as a driver’s aid
and should be treated as such.
The area into which the vehicle is to be reversed must be constantly
visually monitored while parking.
We do not guarantee or assume liability for collisions or damages
while reversing your vehicle

1
Brief Introduction
The following is the introduction to the camera
Camera bracket
0
110
0
170
The following is the introduction to the Mirror
external high sensitive microphone
green busy indicator
4.3 inch high-brightness
auto adjust LCD screen
High sensitive ambient light sensor
multi-function button
Welcome to your brand new Parkmate Bluetooth rearview mirror monitor and
Camera. Parkmate's MCPK-043BT was developed for installation in motor vehicles to
enable hands free operation of mobile phones and as a driver’s aid with the rear view
image displayed in the monitor when reversing your vehicle.
A special emphasis is placed on quick and easy installation. Your mobile phone can be
connected to the mirror over a Bluetooth wireless connection.

Hanging Up
Voice Dial
In standby mode a short press of the centre button will activate the voice dial
mode. Within 3 seconds you will hear a beep, now say the contact or number you
would like to call.
(This feature is phone dependent and is not supported by all phones)
When you are on a call you can simply hang up by 1 short press of the
centre button. You can reject incoming calls by 1 long press of the center
button.
Successfully Connected
After the password has been entered, a Bluetooth icon will appear on the
monitor. This icon indicates your phone is now successfully connected to your
mirror monitor. The monitor will now enter standby mode and the LCD will turn
off. The Bluetooth system enters a standby state awaiting instruction.
First Time Start Up or Connecting a New Phone
32
For the first time when setting up your mirror, “PIN:1234” will display. Ensure your
Bluetooth phone is in “Pairing” mode and search for “Rearview Monitor”. Click on
the "Rearview Monitor" displayed in your phone's Bluetooth device connection
menu and enter the pin “1234”. Your phone should now be paired to the mirror. In
future, the mirror will search for the last paired Bluetooth device first and connect
to it. To pair a new phone, simply unpair the current phone and pair the new
phone using the steps above.
short press
5
5
5
P
L
A
D
Y
5
M
R
USI
5
C
5
A
5
0
H
4
1
1
C
I
R
L
L
A
C
Hang up
Long press
reject incoming call
Short press

With a Rear View Camera installed, place the vehicle in reverse, and the image from
the back-up camera will be automatically displayed on the monitor. Once the
camera image is displayed you can manually adjust the monitors' brightness by a
short press of the centre button. The brightness can be adjusted from 10 to 100.
Once you have reached the desired brightness wait 5 seconds and the OSD menu
will disappear.
Backup Camera Display & Brightness Adjustment
Turning Video Input On/Off
With one short press of the centre button you can switch the active video signal,
On or Off.
BRIGHT
Short press adjusts the
screen’s brightness
5
If your phone supports Bluetooth music streaming then your mirror can stream
your music and sounds directly from your phone and play them via the
loudspeaker in the mirror. (This feature is phone dependent and is not supported
by all phones)
4
Answering
During an incoming call, the caller ID will be displayed on the screen. A short
press of the button will answer the incoming call.
Bluetooth Music
Short press
Answering
Short press
turn on /off video input

Please see below a list of brackets for various vehicles. Please choose the appropriate
bracket for your vehicle and change the base accordingly.
Please note that the base is designed to fit most vehicle manufacturer’s models,
however in some cases the manufacturer can change the design and may not be an
instant fit.
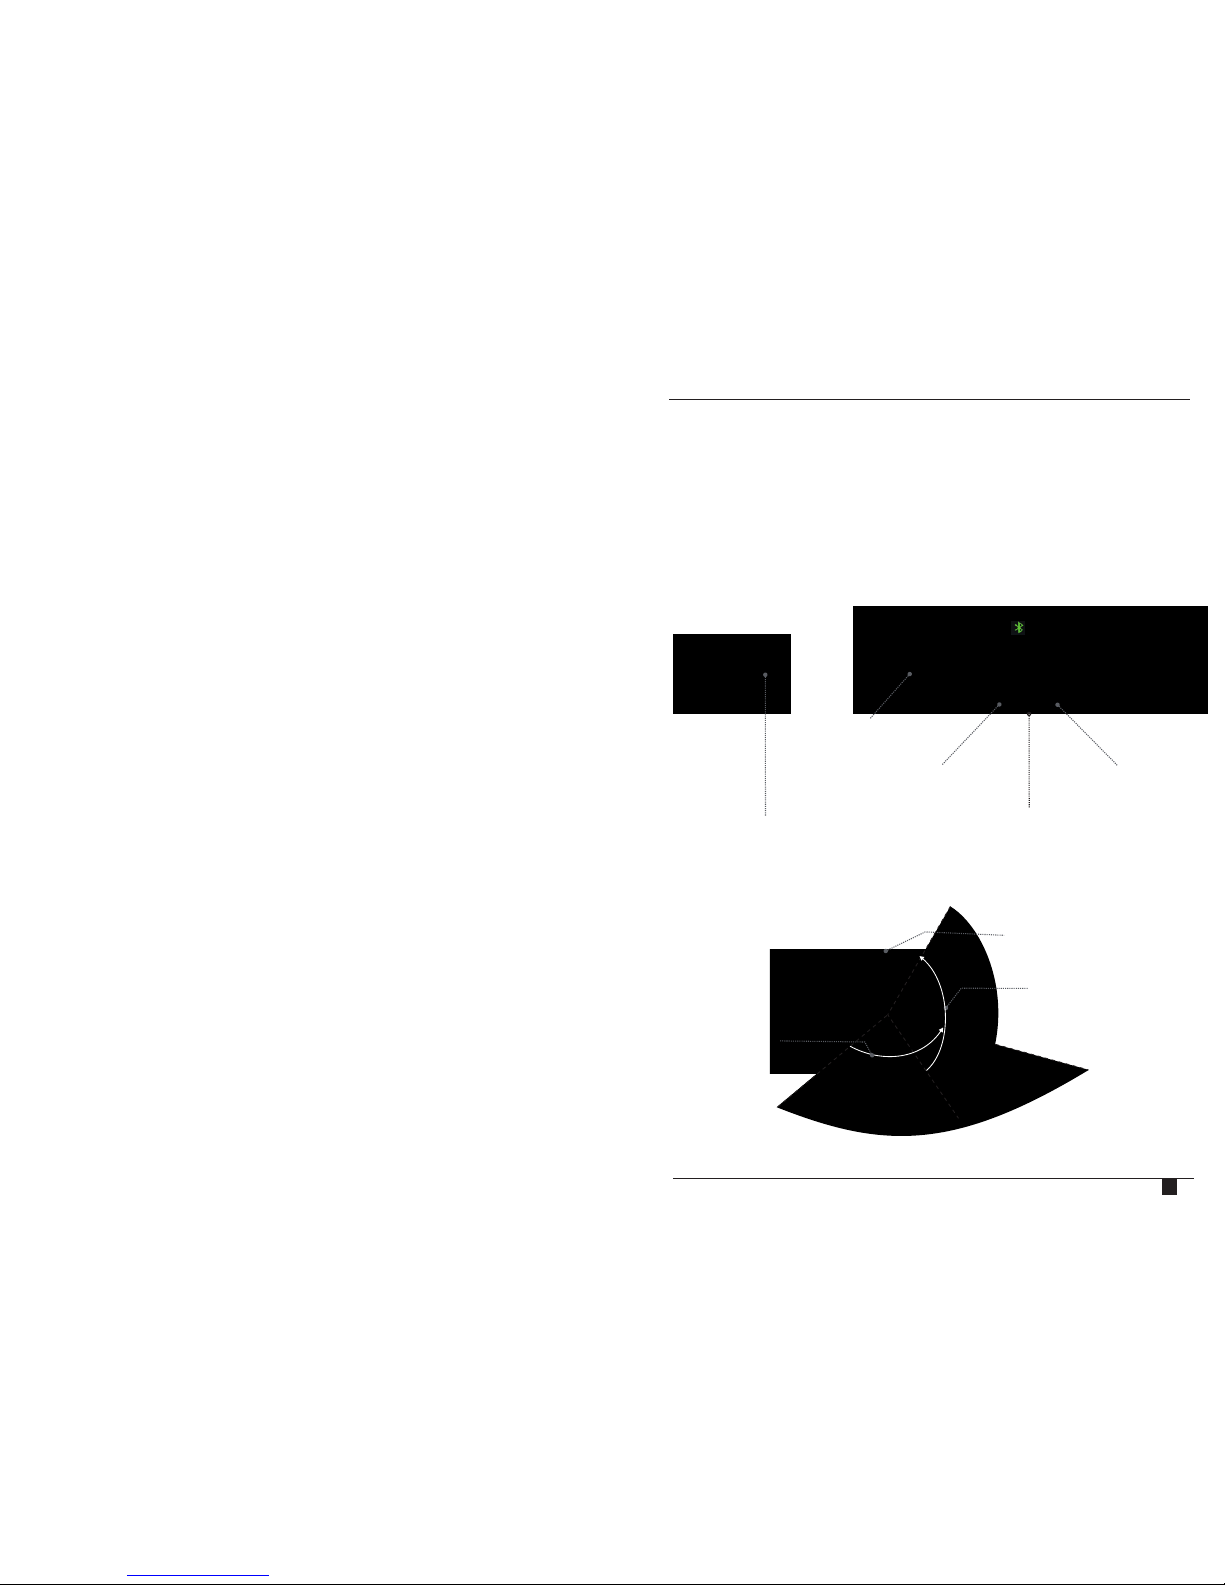
How To Change The Base
1 2 3
4 5 6
7
7
Remove the original mirror
1 2
How to install Mirror
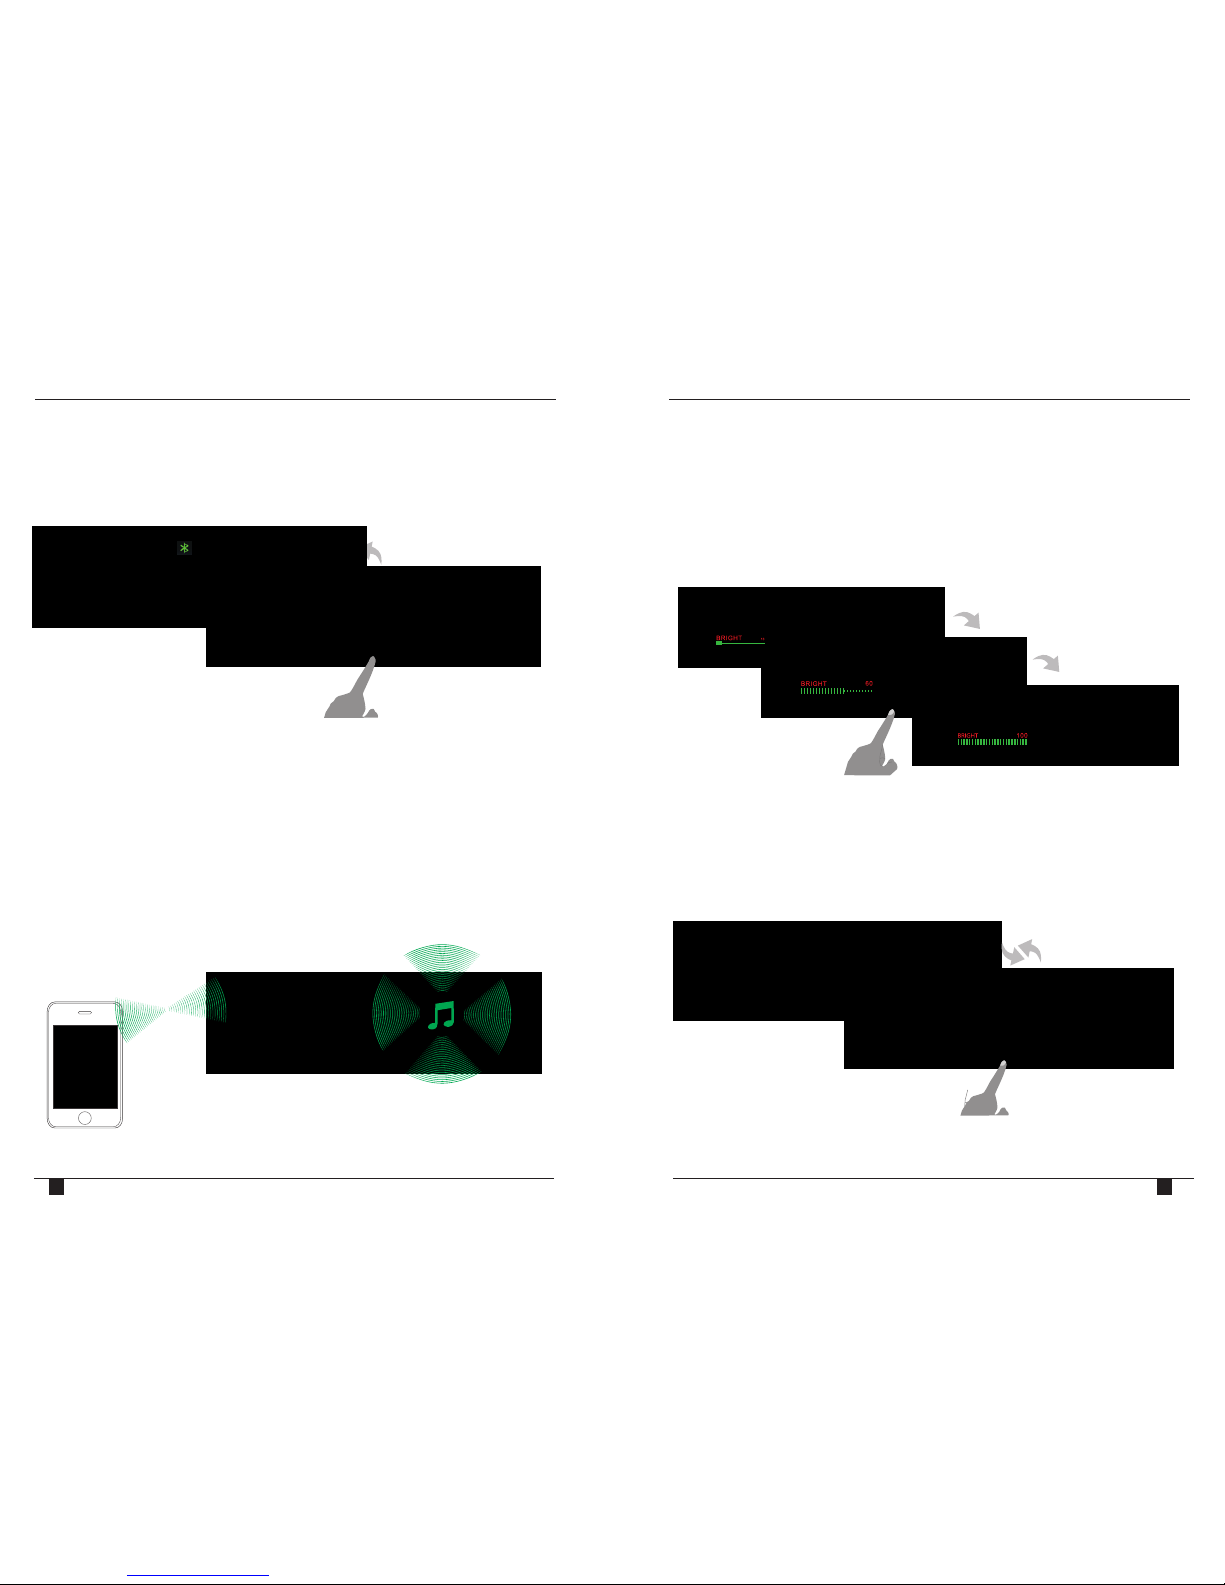
If your phone is not connected to the mirror, one long press of the
center button on the monitor will re-connect a previously paired device. The
Bluetooth icon will display on the monitor once connection is made.
6
Manual Bluetooth Connection
Super High Brightness screen With Auto Adjustment
weak light
super bright
Long press
Reconnect bluetooth
When an image is displayed on the monitor, the screen will automatically adjust
the brightness with the ambient light. In low light, the monitor will automatically
dim, in sunlight the monitor will automatically brighten.
Different cars have different brackets, depending on your vehicle make
and manufacturer.
There are many methods for removing the original rear-view mirror, however
please don’t force the mirror off the bracket. The manufacturer will not be
responsible for damage caused to your vehicle as a result of installation of this
mirror monitor.
This pack includes a number of multi brackets and options to assist you with the
installation of the new mirror.

Rearview mirror monitor
1BAM 2XX
camera
License Plate
General installation location
1
3
7
7
3
5
8
How to wire
After the mirror is mounted, run the cable along the interior roof lining and
down the A pillar and connect to Power and the rear view camera.
Careful selection of the Microphone location will ensure better operation.
Place the Microphone in a good high position, at least 50cm away from the
driver’s head, ideally next to the rear view mirror or sun visor.
1
3
7
7
3
5
8
1
5
6
2
4
3
3
1
7
2
4
5
98
9
Reversing cameras are installed at the rear of vehicle, in many cases at the top of
the license plate under a ledge.
How to Install Reverse Camera
1
5
3
4 6
2
No.1 Fits Most TOYOTA/MAZDA/FORD/NISSAN
No.2 Fits Most HONDA/SUBARU/SUZUKI
No.3 Fits Most VW/AUDI
No.6 Fits Most CHEVROLET No.7 FITS FOR HYUNDAI/KIA No.33 Fits Most FIAT
No.35 Fits Most BMW No.42 Fits Most PEUGEOT / RENAULT No.46 Fits Most OPEL
Install Bluetooth mirror monitor on the base
8
Special Bracket

Screen Size
Display Screen
Display Resolution
Aspect Radio
Color Depth
Pixel Pitch (mm)
Power Consumption
Working Voltage
Video Input
Signal System
4.3”
TFT-LCD
400(H)×234(V)
16 : 9
16.7M dithering
0.219X0.219
8W
DC 12V
AUTO/PAL/NSTC
PAL/NTSC
11
Wiring Connection for Mirror
Wiring Connection for Camera
BLACK Wire (GND) to be connected to body of vehicle or Ground point.
RED (+12V) Wire should be connected to a +12V Reverse Power signal
This can be found in the rear of vehicle at tail lights.
Specification for Mirror and Camera
Mirror specification
This unit is designed for installation in vehicles with 12VDC only.
Please install this unit in a professional manner, route the wiring harness away
from heat sources or electrical components.
Avoid high temperature and voltage points when running the harness through
the vehicle.
Wired connection points should be soldered for effective and
secure operation. Please ensure that all connection points are insulated
perform a test once installation is completed
Video in
Blue Mute Wire
connect microphone
3
29
4
56
10
Wiring Connections
6
5
BLACK Wire (GND) to be connected to body of vehicle or Ground point.
RED (+12V) Wire should be connected to a switched +12V Power source. Ex.
Accessory Wire.
GREEN Wire to be connected to a +VE Reverse Signal. (Only required to be
connected if 2nd Video source is used)
BLUE Wire to be connected to car stereo to mute during call or reverse
Right sound output
Left sound output

Technical term Technical Parameters
Images sensors CMOS
Power Supply(DCV) DC12V±1V
Current Consumption 100mA(MAX)
Power 1.2W(MAX)
Effective pixels 384,768
Minimum illumination 0.5Lux
Resolution(TV Lines) 480
TV System PAL/NTSC
Lens Angle(Deg.) 170°
Video output 1.0vp-p,75ohm
IP rating Ip67
Operating Temperature(Deg.C) -30c°~+70c°(RH95%MAX)
Problem Reason Ways to solve
Image Shaking Camera Bracket
Not Stable Adjust and Stabilize
No image
Plugs have not been
inserted well or system
connections are loose
or broken
Image Blurring Cameras lens is dirty Clean the camera lens
with dry cloth
Image Slanting or
Upside down
Camera is not installed
correct way up or straight
Adjust the bracket of
camera and ensure
it is in correct position
12
General troubleshooting
Camera specification
Check that the plugs have
been inserted correctly.
Ensure that all
connections are in place.
Check power connections
Table of contents
Other Parkmate Automobile Accessories manuals