PartySpace DELUXE PLUS User manual

6 M DELUXE PLUS
& GRONDFRAME & CADRE DE SOL
& GROUND BARS & BODENRAHMEN


NL .............................................................................................................................................................. 4 - 13
Belangrijke informatie...................................................................................................................................................................4 - 5
Onderdelenlijst ................................................................................................................................................................................... 6-7
Montage.............................................................................................................................................................................................. 8 - 11
EN............................................................................................................................................................. 12 - 19
Important information ...............................................................................................................................................................12 - 13
Parts list ............................................................................................................................................................................................14 - 15
Assembly...........................................................................................................................................................................................16 - 19
FR ............................................................................................................................................................20 - 27
Informations importantes........................................................................................................................................................20 - 21
Liste des pièces............................................................................................................................................................................ 22 - 23
Montage.......................................................................................................................................................................................... 24 - 27
DE............................................................................................................................................................28 - 35
Wichtige Informationen ..........................................................................................................................................................28 - 29
Teileliste ...........................................................................................................................................................................................30 - 31
Montage.......................................................................................................................................................................................... 32 - 35
INHOUD

BELANGRIJKE INFORMATIE
Gefeliciteerd met de aankoop van deze partytent met buizenframe van Partyspace. Wij of
onze officiële verdeler geven graag antwoord op al uw vragen.
Wij verzoeken u zich te houden aan onderstaande aanwijzingen. Hierdoor kunt u uw tent
langer gebruiken.
BELANGRIJKE AANWIJZING
Lees de montagehandleiding voor gebruik aandachtig door en bewaar hem goed, zodat u
hem later indien nodig nog eens kunt raadplegen.
VEILIGHEID
De tent is, behalve wanneer uitdrukkelijk vermeld door de producent, niet getest op wind-
en sneeuwbelasting. Deze vormen van belasting zijn daarom niet gedekt door de garantie.
Houd in dergelijke gevallen de weersverwachtingen in de gaten en zorg voor tijdige extra
verankering of demontage van de tent.
WAARSCHUWINGEN
• Tenten zijn bedoeld als tijdelijke beschutting en moeten bij slechte weersomstandigheden
gedemonteerd worden.
• Zorg steeds voor een aangepaste afstand tot slangen en gas- en elektriciteitsleidingen
zodat deze niet beschadigd raken. Verzoek de lokale toeleveranciers om informatie over
de loop van de diverse leidingen, zodat u tijdens het opzetten van de tent beschadigingen
ervan kunt voorkomen.
• Bij gebruik van een geschikt verwarmingsapparaat (verkrijgbaar bij Partyspace of in de
vakhandel) moet een afstand van minstens 1,2 m tot het tentzeil worden aangehouden.
Open vuur en verwarmingsapparaten met open vlam mogen in geen geval worden
gebruikt.
• De persoon die de tent opzet is verantwoordelijk voor de juiste verankering en daarmee
voor de veiligheid van de tent. Controleer de verankering van de tent op de ondergrond
regelmatig om de veiligheid van de tent te verzekeren, beschadiging aan de tent te
voorkomen en andere gebruikers te beschermen. Correcte bevestiging van de tent op de
ondergrond vergroot de duurzaamheid van zijn onderdelen en de constructie van de tent
als geheel.
• Bij sneeuwval moet u regelmatig en snel de sneeuw van het tentzeil verwijderen. Dit geldt
ook bij hevige regenval en belasting van het tentzeil met andere materialen.
• Kinderen mogen niet spelen met de reserveonderdelen van de tent. Zorg dat deze
onderdelen goed zijn opgeborgen.
• Zet de tent op een vlak en egaal gedeelte van het terrein op. Gebruik uitsluitend materialen
die zijn meegeleverd met de tent. Let erop dat de ondergrond geschikt is voor het doel
waarvoor u hem wilt gebruiken.
4HANDLEIDING DELUXE PLUS
NL

• U kunt de tent ook gebruiken bij lichte vorst. De tentzeilen moeten daarvoor echter
voldoende lang bij een temperatuur van minimaal 10 °C zijn bewaard en bij diezelfde of
een hogere temperatuur worden uitgevouwen. Anders kunnen de zeilen barsten op de
plaats van de vouwen.
• De elastieken zijn onderdelen die kunnen verslijten. Vervang ze wanneer ze versleten zijn.
• In elk land gelden andere voorschriften voor verplaatsbare (tenten) en niet-verplaatsbare
bouwsels. Vraag bij de lokale autoriteiten na of voor het opzetten van de tent een vergunning
nodig is. In sommige landen hangt dit af van de afmetingen van de tent.
VOOR DE INGEBRUIKNAME
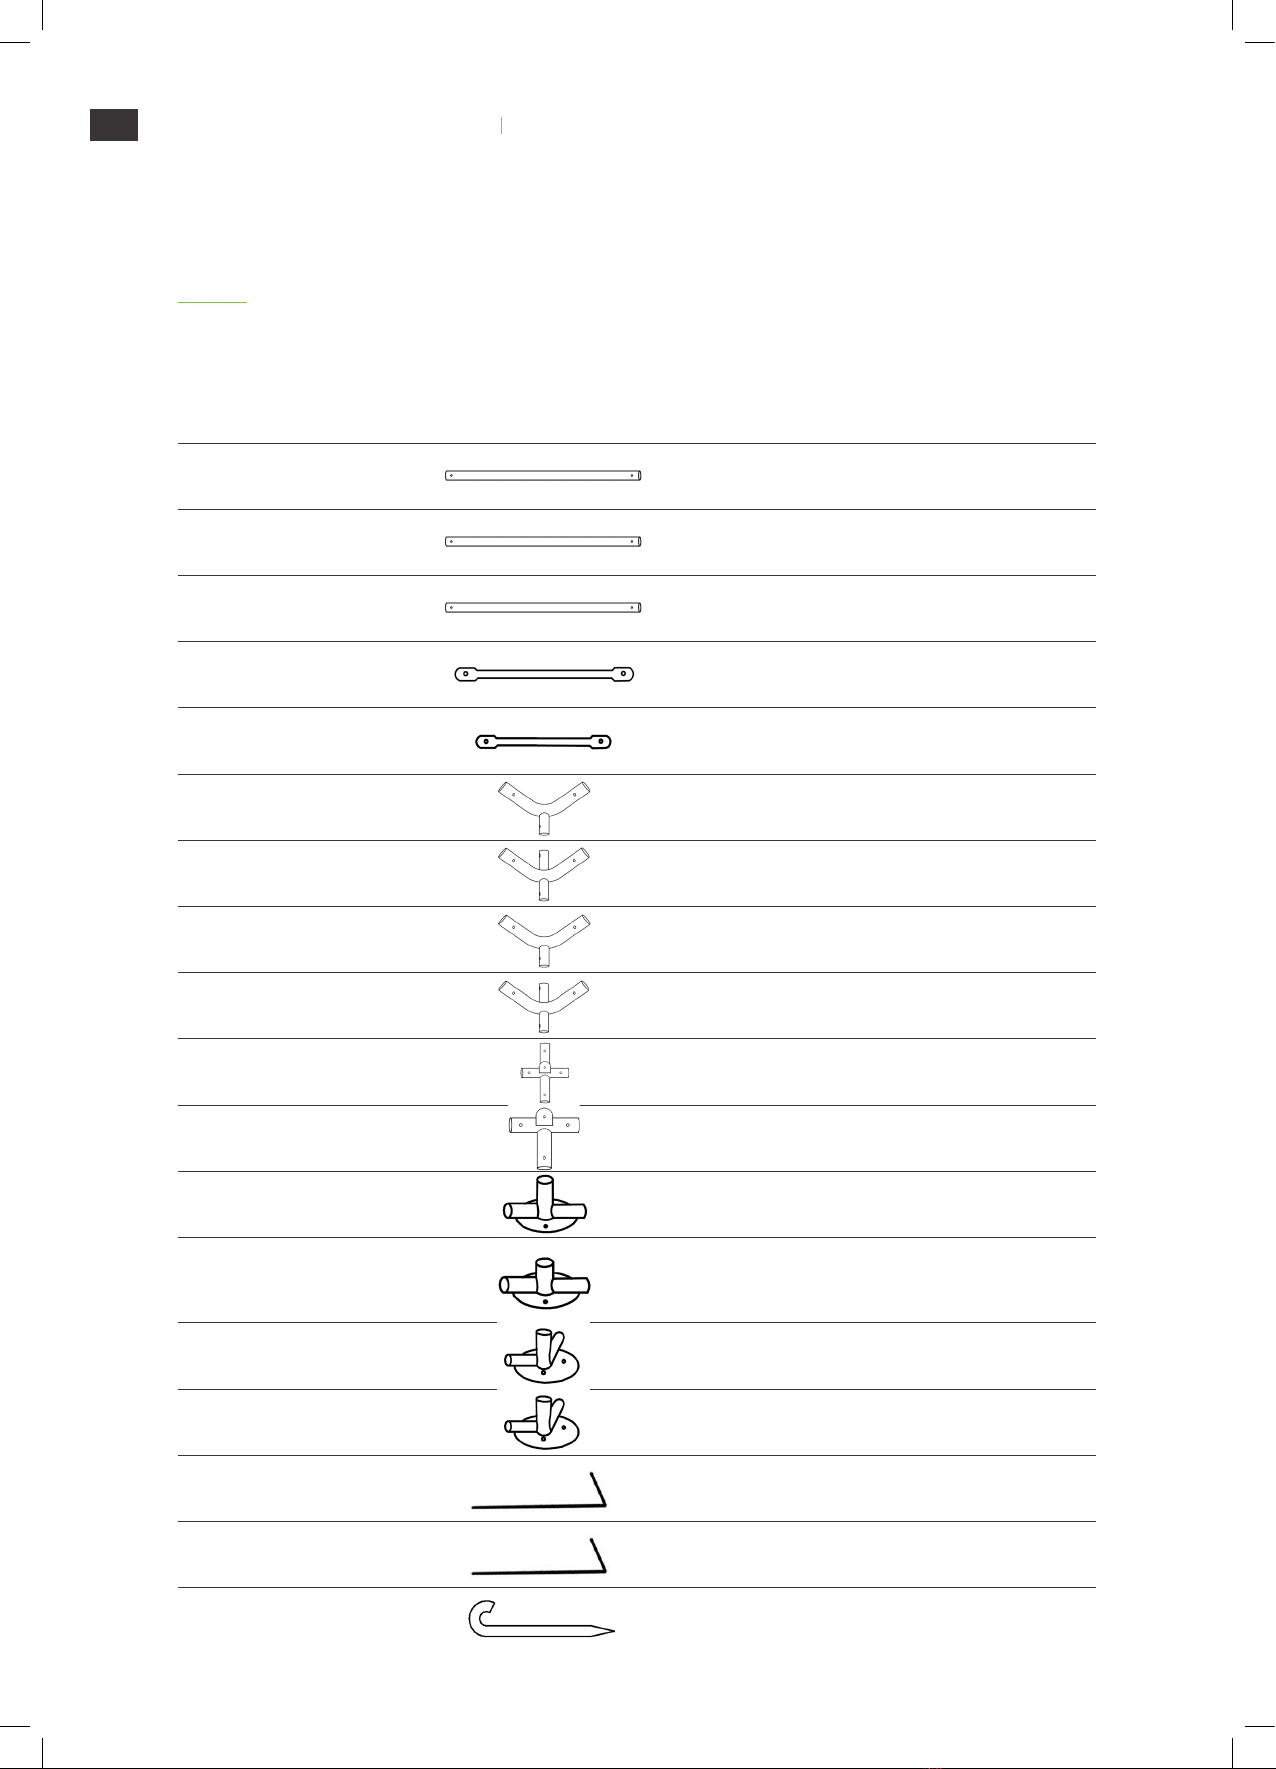
• Pak de dozen uit en controleer op basis van de bijgevoegde paklijst of alle onderdelen zijn
geleverd.
• De metalen onderdelen zijn bedekt met een dun laagje smeermiddel. Er kan zich soms
iets te veel smeermiddel op een onderdeel bevinden. Verwijder in dat geval het overtollige
smeermiddel met een doekje. Excuses voor dit ongemak.
• Voorzie iets meer tijd wanneer u de tent voor de eerste keer opzet.
• Span de bouten en moeren aan met de hand, met behulp van een inbussleutel of met een
automatische schroevendraaier die maximaal op niveau 2 is ingesteld. Hiermee voorkomt
u slijtage van het metaal.
REINIGING EN OPSLAG
• Gebruik geen agressieve schoonmaakmiddelen voor de reiniging van de tentzeilen.
Gebruik hiervoor gewoon een milde zeepoplossing. Vouw de tent niet op en pak de tent
niet in wanneer hij vochtig is. Laat de tentzeilen eerst drogen en sla de tent droog op.
• Het is niet toegestaan om wijzigingen aan te brengen in de metalen constructie van
de tent, bv. door er extra belasting aan te koppelen en/of lassen, inkepingen of andere
vervormingen van het materiaal te maken.
• Behandel alle onderdelen van de tent voorzichtig. Maak bij het afbreken opnieuw gebruik
van de paklijst en controleer of de tent compleet is. Hiermee voorkomt u problemen
wanneer u de tent de volgende keer opzet.
• Leg tijdens de opslag op een droge plaats geen andere voorwerpen op de tent.
MILIEU
Gooi de tent of onderdelen ervan na afloop van de gebruiksperiode niet bij het gewone
huisvuil. Breng hem naar een officieel inzamelpunt voor recycling. Neem bij twijfel contact op
met de producent of de geautoriseerde dealer. Wij helpen u graag bij de juiste verwijdering
van de tent en dragen daarmee bij aan de bescherming van het milieu.
GARANTIE EN KLANTENSERVICE
Als u meer informatie of ondersteuning nodig hebt, kunt u mailen naar
customer.service@partyspace.eu.
Wij verlenen u als klant een garantie voor verborgen gebreken in de producten gedurende
twee jaar. Na het verstrijken van deze termijnen zijn wij geen vrijwaring voor verborgen
gebreken in de producten meer verschuldigd.
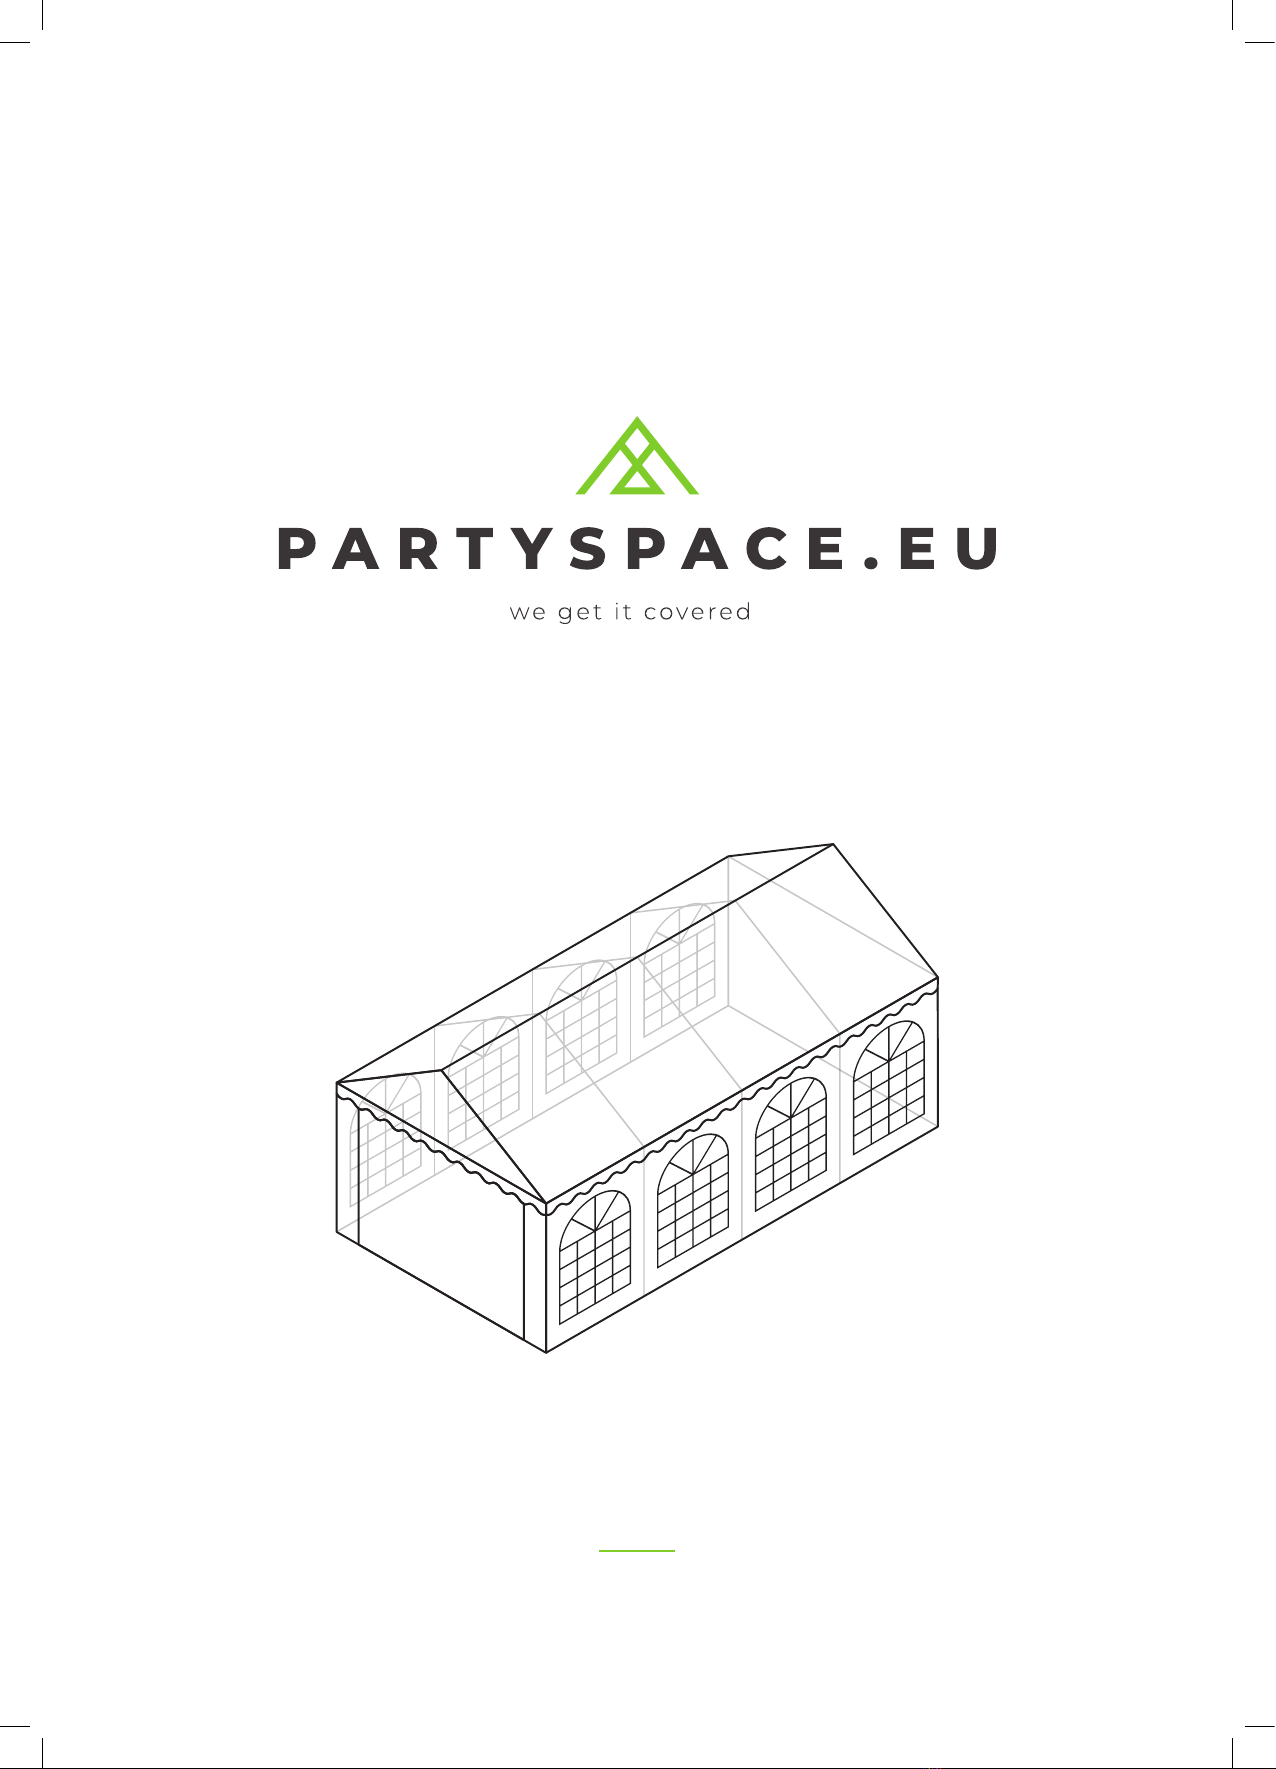
NL
5HANDLEIDING DELUXE PLUS

ONDERDELENLIJST
NR. ONDERDEEL AFBEELDING 6 X 6 6 X 8 6 X 10 6 X 12 6 X 14
1Buis Ø 38
16 20 24 28 32
2Buis Ø 38 27 34 41 48 55
3Buis Ø 38 810 12 14 16
4Buis Ø 25 810 12 14 16
5Buis Ø 25 4 5 6 7 8
6110° drieweg
verbindingsstuk 44444
7110° vierweg
verbindingsstuk 4 6 8 10 12
8140° drieweg
verbindingsstuk 22222
9140° vierweg
verbindingsstuk 2 3 4 5 6
10 Vierweg
verbinding plat 4 6 8 10 12
11 Drieweg
verbinding plat 44444
13 Voetplaat
zijkant 4 6 8 10 12
14
Drieweg
verbinding voor
eindwanden
44444
15 Voetplaat hoek
links 22222
16 Voetplaat hoek
rechts 22222
Haring 300 mm 810 12 14 16
Haring 180 mm 36 42 48 54 60
Haring Ø 12
300 mm 44444
NL 6HANDLEIDING DELUXE PLUS

NR. ONDERDEEL AFBEELDING 6 X 6 6 X 8 6 X 10 6 X 12 6 X 14
Elastiek met
balletje - lang 112 132 152 172 192
Touw 44444
Bout
Ø 8 x 50 mm 102 128 154 180 206
Bout
Ø 6 x 25 mm 16 20 24 28 32
Vlindermoer
M8 102 128 154 180 206
Vlindermoer
M6 16 20 24 28 32
Dakzeil 11111
Zijwand 6 8 10 12 14
Eindwand 22222
De nummering van de onderdelen voor deze tent kan op het eerste gezicht onlogisch
en inconsistent overkomen, maar er is weldegelijk een achterliggende logica. Tijdens
de productie krijgt elk afzonderlijk onderdeel een nummer. Sommige tenten omvatten
bepaalde onderdelen niet, waardoor het kan lijken alsof er een onderdeel of nummer in
de lijst ontbreekt.
NL
7HANDLEIDING DELUXE PLUS

MONTAGE
Kies een vlakke ondergrond om de tent op te zetten, pak alle onderdelen uit en controleer of
alle onderdelen (buizen, zeilen en accessoires) volledig zijn volgens de onderdelenlijst.
Monteer de dakstructuur door de buizen (onderdeel 1 en 2) te verbinden met behulp van de
connectoren (onderdeel 6, 7, 8, 9, 10, 11). Span de schroeven met vlindermoer voldoende aan.
Monteer de dakversteviging (onderdeel 4 en 5).
Monteer de verticale buizen (onderdeel 3) aan één zijde van de tent met behulp van de
connectoren (onderdeel 6 en 7).
NL 8HANDLEIDING DELUXE PLUS

Monteer het dakzeil op de structuur en maak het vast met de elastieken met bolletjes. Let
erop dat de elastieken niet te hard aangespannen worden, zodat je ze aan de andere kant van
de tent later ook gemakkelijk kan monteren.
NL
9HANDLEIDING DELUXE PLUS

Monteer de verticale buizen (onderdeel 6) aan de andere zijde van de tent met behulp van de
connectoren (onderdeel 6 en 7). Gebruik de lange smalle haringen om elke paal in de grond te
verankeren en maak de flappen aan het dakzeil vast aan de poten met behulp van het haakje.
Monteer het grondframe (onderdelen 1, 2, 14).
Monteer de zij- en eindwanden in de tent met de elastieken met bolletjes. Gebruik telkens
slechts één elastiek om het dakzeil, de structuur en de wand samen te binden. Gebruik de
korte haringen om de wanden aan de grond vast te maken.
NL 10 HANDLEIDING DELUXE PLUS

Monteer de stormriemen in elke bovenhoek van de tent en maak het ander uiteinde vast aan
de grond met de grote haringen.
NL
11 HANDLEIDING DELUXE PLUS

IMPORTANT INFORMATION
Congratulations on the purchase of your new Partyspace party tent. Our customer service
department or authorised dealers will be happy to answer your questions and give any valuable
instructions.
Please observe the instructions provided below in order to extend the useful life of your tent.
IMPORTANT
Please read these assembly instructions before usage of the tent and keep it for future
reference.
SAFETY
The tent was not tested for wind and snow loads, unless that is clearly indicated by the
manufacturer. Therefore, these loads are not covered by guarantee. Please watch the weather
forecasts to be able to properly protect or disassemble the tent before problems appear.
WARNINGS
• Tents are intended for temporary accommodation and should be taken down in adverse
weather conditions.
• Always be sure to keep sufficient distance to hoses as well as gas and power lines to avoid
possible damage. Please check the area for power cables and gas lines. Ask your local
dealer for further information to avoid damages.
• When using suitable heaters, keep a minimum distance of 1.2 m to tarp material. Open fire
or heaters with open flames should not be used in any case.
• The person setting up the tent is responsible for adequately securing it to ensure its safety.
Please check the anchoring constantly to avoid damages. A stable anchoring can extend
the endurance of the tent.
• Please wear head protection, gloves and solid shoes. The heavy metal parts could have
sharp edges and could be oily because of rust prevention treatment.
• Please make sure that there is no permanent snow load. Snow should be removed right
away. The same applies for rain and other forms of load.
• Children should not play with the spare parts of the tent. These components must be
adequately protected.
• Please find a flat and even ground base to pitch the tent. Only those materials provided
with the tent can be used. Please check whether the ground base is suitable for your
purpose.
• The tent can be used also during temperatures a few degrees below zero. However, prior to
such use, the tarp material must be stored in temperature of at least 10 °C for a sufficiently
long time, and then unwrapped at such, or higher temperature. Otherwise, the material
may break at points of folds.
• Each country has separate regulations regarding movable structures (tents) and unmovable
structures. Please ask your local authorities whether a permission should be obtained to
pitch the tent. In some countries this depends on the size of the tent.
EN 12 MANUAL DELUXE PLUS

BEFORE FIRST USAGE
• Please unpack the cartons and check against the packing list enclosed whether all parts
have been delivered.
• Metal parts have been covered by a thin film of lubricant in the manufacturer‘s plant.
Some parts may have more than the ordinary amount of lubricant on them. In such case,
use a cloth to remove excessive lubricant. Please excuse us for that.
• The screws joining the pipes with connectors must be tightened manually, using a hexagon
key or an automatic screw driver, set at a max. level 2, to avoid material wear.
CLEANING AND STORAGE
• Please do not use aggressive chemicals to clean the tarp material. The best cleaning agent
is water with slightly alkaline reaction. The tent should not be folded and packed when
wet. First dry it thoroughly.
• Do not make any modifications of the metal structure of the tent, such as for example,
connecting and/or welding additional loads, making grooves and/or any deformations.
• Please be careful when handling individual components of the tent. During disassembly,
please use the packing list again to check the possible missing parts, so as to avoid
problems with next assembly.
• Do not store other goods on top of the stored tent.
ENVIRONMENT
After the end of usage, please do not dispose of the tent or any of its components with ordinary
garbage, but recycle it. If in doubt, please ask the manufacturer or an authorised dealer. We will
be happy to help you recycle the tent correctly, at the same time preserving the environment.
GUARANTEE AND CUSTOMER SERVICES
If you wish to receive more information or need support, you can send an e-mail to
customer.service@partyspace.eu.
We grant you as a client/customer a warranty of two years for hidden defects in our products.
When this term has expired, we do not owe the client/customer any warranty for hidden
defects in our products anymore.
EN
13 MANUAL DELUXE PLUS

PARTS LIST
NR. PART IMAGE 6 X 6 6 X 8 6 X 10 6 X 12 6 X 14
1Tube Ø 38
16 20 24 28 32
2Tube Ø 38 27 34 41 48 55
3Tube Ø 38 810 12 14 16
4Tube Ø 25 810 12 14 16
5Tube Ø 25 4 5 6 7 8
6110° 3-way
connector 44444
7110° 4-way
connector 4 6 8 10 12
8140° 3-way
connector 22222
9140° 4-way
connector 2 3 4 5 6
10 Flat 4-way 4 6 8 10 12
11 Flat 3-way 44444
13 Sidewall
foot base 4 6 8 10 12
14 3-way connector
for end walls 44444
15 Left corner
foot base 22222
16 Right corner
foot base 22222
Peg 300 mm 810 12 14 16
Peg 180 mm 36 42 48 54 60
Ground peg Ø 12
300 mm 44444
EN 14 MANUAL DELUXE PLUS

The numbering of the parts for this tent can seem illogical and inconsistent, but in fact
it is not. During production every part is given a number. Some tents don’t include some
parts, so it may seem as if a part or number is missing.
NR. PART IMAGE 6 X 6 6 X 8 6 X 10 6 X 12 6 X 14
Bungee ball
long 112 132 152 172 192
Rope 44444
Screw
Ø 8 x 50 mm 102 128 154 180 206
Screw
Ø 6 x 25 mm 16 20 24 28 32
Lock nut
M8 102 128 154 180 206
Lock nut
M6 16 20 24 28 32
Roof 11111
Sidewall 6 8 10 12 14
Endwall 22222
EN
15 MANUAL DELUXE PLUS

ASSEMBLY
Attach the support poles (part 3) at one side to the joints (parts 6 and 7).
Select a flat ground for the tent, unpack the carton and check if all the parts including tubes,
tent and accessories etc. are present as stated on the above part list.
Assemble the framework of rooftop by joining the poles (parts 1 and 2) using the connectors
(parts 6, 7, 8, 9, 10, 11). Make sure the screws are fixed tightly using the lock nuts.
Attach the roof reinforcement bars (parts 4 and 5) to the frame.
EN 16 MANUAL DELUXE PLUS

Install the roof on the frame and attach it properly using the bungee balls. Pay attention to
the tension of the bungees. If you tension them too hard on one side of the tent, it may be very
hard to tie them at the other side.
EN
17 MANUAL DELUXE PLUS

Attach the support poles (part 4) to the joints (parts 6 and 7) at the other side of the tent and
build up the framework. Use the long pegs to fix each pole into the ground and use the hook
to fix the leg cover to the leg. Install the ground bars (parts 1, 2 and 14).
Attach the side and end walls to the framework by using the bungee cords. Use one bungee
cord to clasp the frame and the wall together. Use the short pegs to fix the walls to the ground.
EN 18 MANUAL DELUXE PLUS

Fix the storm belts to each upper corner of the tent and fix the other end to the ground using
the ground pegs.
EN
19 MANUAL DELUXE PLUS

INFORMATIONS IMPORTANTES
Nous vous félicitons pour l‘achat d’une tente de Partyspace. Notre service client ou le revendeur
vous fourniront avec plaisir des réponses à vos questions et des indications précieuses.
Nous vous prions de respecter les indications énumérées ci-après. Cela vous permettra de
profiter plus longtemps de votre tente.
IMPORTANT
Avant de commencer à utiliser la tente, veuillez lire attentivement la notice de montage et la
garder en vue d‘en profiter ultérieurement.
SÉCURITÉ
La tente n‘a pas été testée par rapport aux charges causées par le vent et la neige, si ce n‘est
pas manifestement indiqué par le fabricant. En conséquence, la garantie ne couvre pas ce
type de charges. Veuillez suivre les prévisions météo et en cas de besoin protéger la tente
convenablement plus tôt ou la démonter.
ADVERTISSEMENTS
• Les tentes sont destinées à des usages de loisirs temporaires et elles doivent être démontées
en cas de conditions atmosphériques défavorables.
• Veuillez respecter une distance appropriée par rapport aux tuyaux, aux conduites de gaz
ou aux lignes électriques afin d‘éviter de les endommager. Veuillez vous renseigner auprès
des fournisseurs locaux où se trouvent tous les conduits afin d‘éviter de les endommager
lors du montage de la tente.
• En cas d‘utilisation des appareils de chauffage adaptés, respectez une distance minimale
de 1,2 m par rapport à chaque matériau de bâche. Les feux ouverts ne peuvent en aucun
cas être utilisés.
• L‘installateur de la tente est responsable de son ancrage adéquat au sol et donc de la
sécurité de la tente. Il convient de régulièrement contrôler l‘ancrage de la tente au sol
pour assurer la sécurité de la tente, éviter son endommagement et protéger d‘autres
utilisateurs. L‘ancrage convenable de la tente permet de prolonger la vie de ses éléments
composants et de la construction de la tente en tant que l‘ensemble.
• En cas de chutes de neige il convient d‘enlever régulièrement et rapidement la neige
couvrant la bâche. Cela concerne aussi d‘intenses chutes de pluie et d‘autres matériaux
chargeant la bâche.
• Les enfants ne peuvent pas jouer avec les éléments de rechange pour la tente. Il faut
convenablement protéger ces éléments.
• Pour installer la tente veuillez trouver un fragment de terrain plat et régulier. Veuillez
utiliser seulement les éléments fournis avec la tente. Veuillez vérifier si le sol peut vous
servir à réaliser le but prévu.
20 MODE D’EMPLOI DELUXE PLUS
FR
This manual suits for next models
5
Table of contents
Languages:
Other PartySpace Tent manuals

PartySpace
PartySpace bonbo User manual

PartySpace
PartySpace Bonga User manual

PartySpace
PartySpace DELUXE User manual

PartySpace
PartySpace AIRSPACE ZODIAC User manual

PartySpace
PartySpace Casa Africa SAVANNA LODGE CARBET User manual

PartySpace
PartySpace ELITE 2.3 User manual

PartySpace
PartySpace AIRSPACE GLOBE User manual

PartySpace
PartySpace VEGA User manual

PartySpace
PartySpace bonbo PAGODA User manual

PartySpace
PartySpace VEGA User manual