manuals.online logo
Brands
  1. Home
  2. •
  3. Brands
  4. •
  5. PASCO
  6. •
  7. Measuring Instrument
  8. •
  9. PASCO PS-3237 User manual

PASCO PS-3237 User manual

'$*"%,* 2 
Quick Start Guide
012-16881A
Note: Additional information on how to use the Polarimeter can
be found in the SPARKvue or PASCO Capstone Help.
!,+&$-
Polarimeter Sample Cell USB Cable
)-"*,%+
• SPARKvue or PASCO Capstone Software
,-*+
234
1
6
5
7
!* ,!,,*1
The Polarimeter contains a rechargeable battery that lasts an entire
school day when fully charged. It is also possible to collect data while
the battery is charging. Charge the battery before using the Polarimeter
for the first time since it is not shipped with a full charge.
To charge the battery:
1. Connect the USB cable to the USB port on the Polarimeter.
2. Connect the other end of the USB cable to a USB charger or
powered USB port.
The battery status light will be solid yellow while the battery is charging
and will change to solid green when the battery is fully charged.
&+,$$'*(,',/*
The latest update of PASCO Capstone or SPARKvue is required to use
the Polarimeter. Download the software at the locations provided below.
.-
Windows/macOS
Go to pasco.com/sparkvue then click Downloads.
iOS/Android/Chromebook
Search for SPARKvue in your device's app store.
(+,'&
Windows/macOS
Go to pasco.com/capstone then click Downloads.
'&&,,'',/*
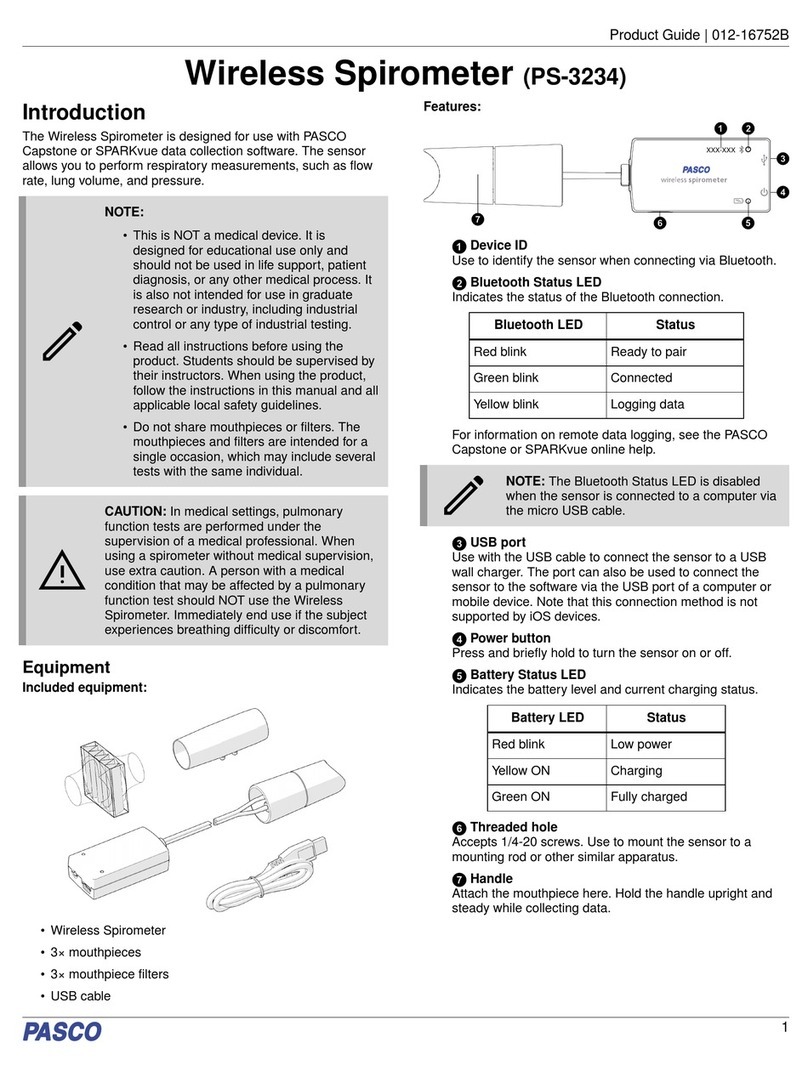
The Polarimeter can be connected to PASCO Capstone or SPARKvue
with a USB or Bluetooth connection.
Note: USB is not supported for iOS and some Android devices.
Important: After connecting the Polarimeter, a notification may
appear asking to install a firmware update. Click Yes to update the
firmware if prompted.
.-
1. Turn on the Polarimeter.
2. Open SPARKvue then click Sensor Data .
3. Connect the Polarimeter to SPARKvue:
◦ USB: Connect the Polarimeter to your device using the USB
cable.
◦ Bluetooth: Select the Polarimeter that matches its device ID.
4. Select the measurements you want to display.
5. Select Intensity vs Angle under Quick Start Experiments.
6. Click Start to begin data collection.
(+,'&
1. Turn on the Polarimeter.
2. Open Capstone then click Hardware Setup .
3. Connect the Polarimeter:
◦ USB: Connect the Polarimeter to your computing device using
the USB cable.
◦ Bluetooth: Select the Polarimeter that matches its device ID.
4. Click Data Summary then click and drag a measurement to a
display, such as a Graph .
5. Click Record to begin data collection.
Lid
Keep closed during data
collection to block out
ambient light.
1
Power Button
Press and hold for one second
to turn the Polarimeter on or
off.
2
Battery Status Light
Red (blink) Low charge
Green (solid) Full charge
Yellow (solid) Charging
3
Bluetooth Status Light
Red (blink) Ready to pair
Green (blink) Paired
4
USB Port
For connecting to a USB
charger or computer USB
port using the USB cable.
5
Analyzer Wheel
Turn to rotate the polarization
disk analyzer.
6
Chamber
For holding the sample cell
while collecting data.
7
*(*,!%($$$
The Sample Cell holds the substance to be analyzed. To prepare the
sample cell:
1. Remove the cap from one end of the sample cell by rotating it
counterclockwise. Proceed to pull off the quartz window holder then
the quartz window under the cap.
2. Fill the sample cell to the top with the substance to be analyzed.
3. Replace the quartz window on the sample cell with the rubber ring
facing away from the cell then place the holder on top of the quartz
window. Place the cap on top of the holder and rotate clockwise until
finger-tight.
4. Gently tap the sample cell so that any bubbles in the sample move
into the protuberance then place the sample cell in the Polarimeter
chamber (the direction does not matter).
+-*,!(,"$& $'',,"'&
The Polarimeter is used to measure the rotation of plane-polarized light
by optically active chiral compounds. The angle of rotation can be
measured by finding the angle at which the maximum amount of light
passes through the sample and comparing that angle to an optically
inactive substance such as distilled water.
1. Connect the Polarimeter to SPARKvue or Capstone.
2. Select the Intensity vs. Angle Quick Start Experiment.
3. Prepare the sample cell with distilled water.
4. Start data collection then slowly rotate the analyzer to collect data
between 0° and 360°. Stop data collection when finished.
5. Use a Gaussian fit to determine the first angle of maximum intensity:
.-
a. Go to and switch to .
b. Draw a box over the peak of maximum intensity. Move or resize
the box as needed.
c. Click the selection box then click .
d. Select Gaussian Fit then click OK.
e. The angle of the peak is indicated by the cparameter in the
Gaussian equation. Record this value.
(+,'&
a. Go to the graph tool bar and click .
b. Move and resize the selection box to highlight the peak of
maximum intensity.
c. Click the selection box then click then select Gaussian.
d. The angle of the peak is indicated by the xoparameter in the
Gaussian equation. Record this value.
6. Repeat steps 3 to 5 with your test substance.
7. Calculate the difference between the two recorded angles.
The difference between the angles is the angle of rotation of the sample.
It is recommended to find the angle of rotation for a solution at multiple
different concentrations. See the experiment worksheets available on the
PASCO website for further details.
0(*"%&,+
Print-ready experiment worksheets are available to download from the
PASCO website. Go to pasco.com/freelabs and enter PS-3237 in the
Part No. field to access all experiments related to the Polarimeter.
',/*$(
Additional information on how to use the Polarimeter can be found in
the PASCO Capstone and SPARKvue Help.
.-
Click then select Help.
(+,'&
In the menu bar, click Help then select PASCO Capstone Help.
*'-$+!'',"&
Reset the sensor if you are experiencing any connection issues. To reset
the sensor, press and hold the power button for 10 seconds then release.
Try connecting the sensor again when the Bluetooth indicator light is
blinking red.
("3,"'&+
LED Wavelength 589 nm
Encoder Resolution 0.09°
Sample Cell Path Length 100 mm
!&"$-(('*,
Contact PASCO Technical Support for assistance with this or any other
PASCO product.
Phone 1-800-772-8700 (USA)
1-916-462-8384 (International)
Chat www.pasco.com
email [email protected]
 -$,'*1&'*%,"'&
*'-,&'""+('+$&+,*-,"'&+
This electronic product is subject to disposal and recycling regulations that vary by country and
region. It is your responsibility to recycle your electronic equipment per your local environmental
laws and regulations to ensure that it will be recycled in a manner that protects human health and
the environment. To find out where you can drop off your waste equipment for recycling, please
contact your local waste recycle or disposal service, or the place where you purchased the product.
The European Union WEEE (Waste Electronic and Electrical Equipment) symbol and on the
product or its packaging indicates that this product must not be disposed of in a standard waste container.
,,*1"+('+$&+,*-,"'&+
Batteries contain chemicals that, if released, may affect the environment and human health. Batteries should
be collected separately for recycling and recycled at a local hazardous material disposal location adhering to
your country and local government regulations. To find out where you can drop off your waste battery for
recycling, please contact your local waste disposal service, or the product representative. The battery used in
this product is marked with the International symbols to indicate the need for the separate collection and
recycling of batteries.
,,%&,
This device has been tested and found to comply with the essential requirements and other relevant
provisions of the applicable EU Directives.
,,%&,
This Class A digital device complies with part 15 of the FCC Rules. Operation is subject to the following two
conditions: (1) This device may not cause harmful interference, and (2) this device must accept any
interference received, including interference that may cause undesired operation.
**&,1'(1*" !,&*%*#+
"%",**&,1
For a description of the product warranty, see the Warranty and Returns page at www.pasco.com/legal.
'(1*" !,
This document is copyrighted with all rights reserved. Permission is granted to non-profit educational
institutions for reproduction of any part of this manual, providing the reproductions are used only in their
laboratories and classrooms, and are not sold for profit. Reproduction under any other circumstances, without
the written consent of PASCO scientific, is prohibited.
*%*#+
PASCO and PASCO scientific are trademarks or registered trademarks of PASCO scientific, in the United
States and/or in other countries. All other brands, products, or service names are or may be trademarks or
service marks of, and are used to identify, products or services of, their respective owners. For more
information visit www.pasco.com/legal.
Other PASCO Measuring Instrument manuals

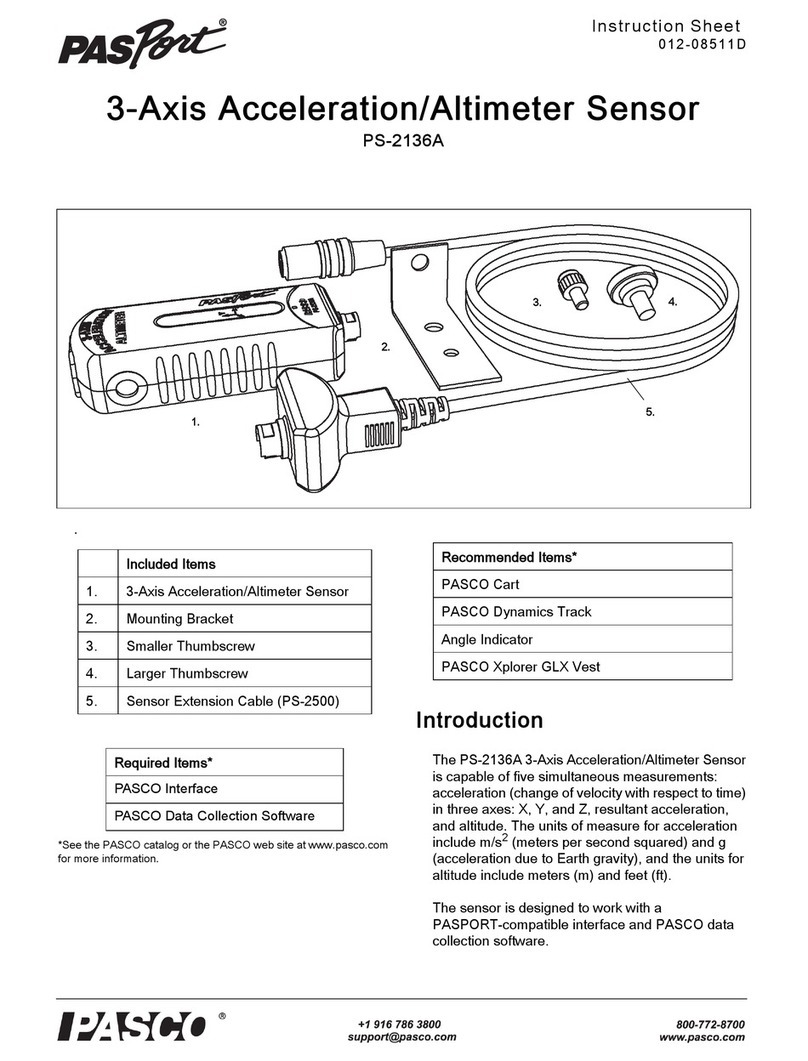
PASCO Pasport PS-2136 User manual

PASCO

PASCO Pasport PS-2136 User manual

PASCO PS-3234 User manual

PASCO

PASCO PS-3234 User manual

PASCO PS-3238 User manual

PASCO

PASCO PS-3238 User manual

PASCO OS-8458B User manual

PASCO

PASCO OS-8458B User manual

PASCO PS-3518 User manual

PASCO

PASCO PS-3518 User manual

PASCO ME-9837 User manual

PASCO

PASCO ME-9837 User manual

PASCO EM-3556 User manual

PASCO

PASCO EM-3556 User manual

PASCO PS-3214 Guide

PASCO

PASCO PS-3214 Guide

PASCO Wireless Smart Gate User manual

PASCO

PASCO Wireless Smart Gate User manual

PASCO SF-9500A User manual

PASCO

PASCO SF-9500A User manual

PASCO PS-3521 User manual

PASCO

PASCO PS-3521 User manual

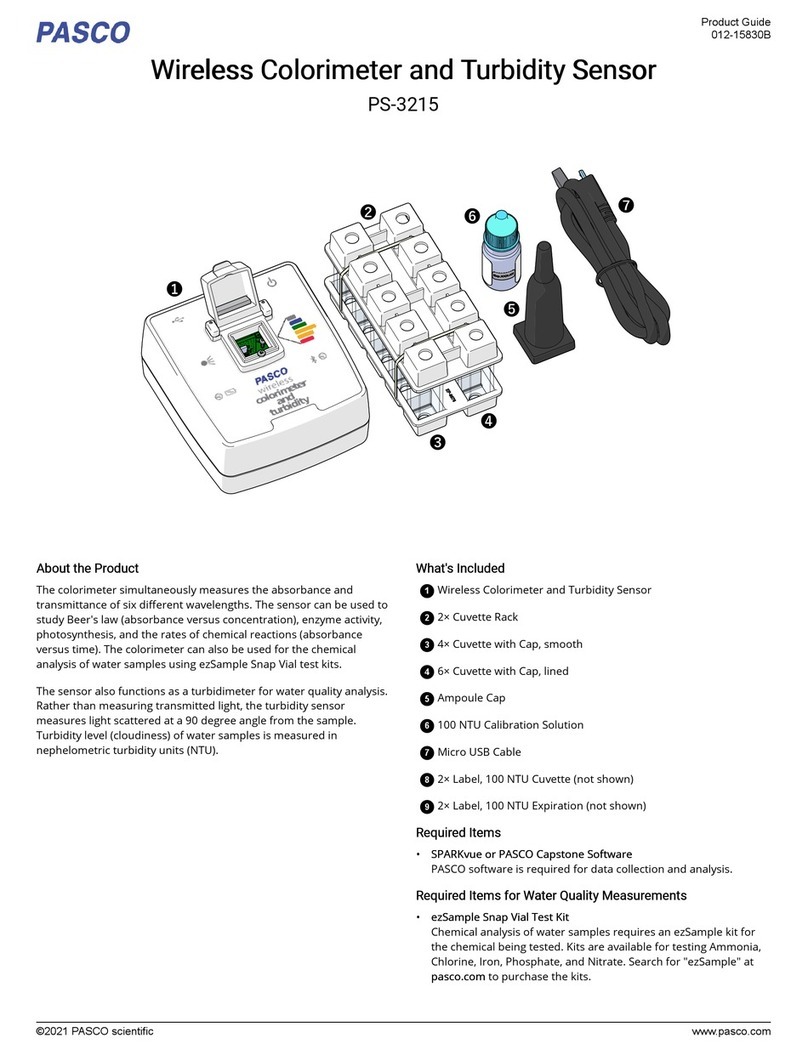
PASCO PS-3215 Use and care manual

PASCO

PASCO PS-3215 Use and care manual

PASCO PS-3229 User manual

PASCO

PASCO PS-3229 User manual

PASCO PASPort Xplorer PS-2000 User manual

PASCO

PASCO PASPort Xplorer PS-2000 User manual

PASCO PASPORT PS-2174 User manual

PASCO

PASCO PASPORT PS-2174 User manual

PASCO PASPORT PS-2204 User manual

PASCO

PASCO PASPORT PS-2204 User manual

PASCO SF-9568A User manual

PASCO

PASCO SF-9568A User manual

PASCO PS-3216 User manual

PASCO

PASCO PS-3216 User manual

PASCO PS-2600 Use and care manual

PASCO

PASCO PS-2600 Use and care manual

PASCO OS-9171 User manual

PASCO

PASCO OS-9171 User manual

PASCO OS-8516A User manual

PASCO

PASCO OS-8516A User manual

PASCO PASPORT PS-2152 User manual

PASCO

PASCO PASPORT PS-2152 User manual

PASCO OS-7053 User manual

PASCO

PASCO OS-7053 User manual

PASCO SP-9285 User manual

PASCO

PASCO SP-9285 User manual

Popular Measuring Instrument manuals by other brands

Endress+Hauser Proline Promag 50P technical information

Endress+Hauser

Endress+Hauser Proline Promag 50P technical information

Ansul WOM-3 Installation, operation & maintenance manual

Ansul

Ansul WOM-3 Installation, operation & maintenance manual

Projoy Electric PEEM Series Installation and operation instruction

Projoy Electric

Projoy Electric PEEM Series Installation and operation instruction

Saunia 46304 Installation and operation guide

Saunia

Saunia 46304 Installation and operation guide

Dinamica Generale AgriNIR W Operator's manual

Dinamica Generale

Dinamica Generale AgriNIR W Operator's manual

Teledyne Lecroy AP015 Operator's manual

Teledyne Lecroy

Teledyne Lecroy AP015 Operator's manual

Fluke Datapaq Food Tracker user manual

Fluke

Fluke Datapaq Food Tracker user manual

Apera Instruments SX811-PW instruction manual

Apera Instruments

Apera Instruments SX811-PW instruction manual

SIGRIST OilGuard Ex M instruction manual

SIGRIST

SIGRIST OilGuard Ex M instruction manual

SENSIRION SLF3 Series Operating guidelines

SENSIRION

SENSIRION SLF3 Series Operating guidelines

Agilent Technologies E8364BPNA Series Service note

Agilent Technologies

Agilent Technologies E8364BPNA Series Service note

Dr.Muller SUPER GL speedy instruction manual

Dr.Muller

Dr.Muller SUPER GL speedy instruction manual

Orion 20400 manual

Orion

Orion 20400 manual

GE DigitalFlow GF868 Programming manual

GE

GE DigitalFlow GF868 Programming manual

Stanley Fatmax TLM165S user manual

Stanley

Stanley Fatmax TLM165S user manual

Jelight JEL-2400 operating instructions

Jelight

Jelight JEL-2400 operating instructions

Reed Instruments HT-6510A instruction manual

Reed Instruments

Reed Instruments HT-6510A instruction manual

Measurlogic DTS 310 quick start guide

Measurlogic

Measurlogic DTS 310 quick start guide

manuals.online logo
manuals.online logoBrands
  • About & Mission
  • Contact us
  • Privacy Policy
  • Terms and Conditions

Copyright 2025 Manuals.Online. All Rights Reserved.