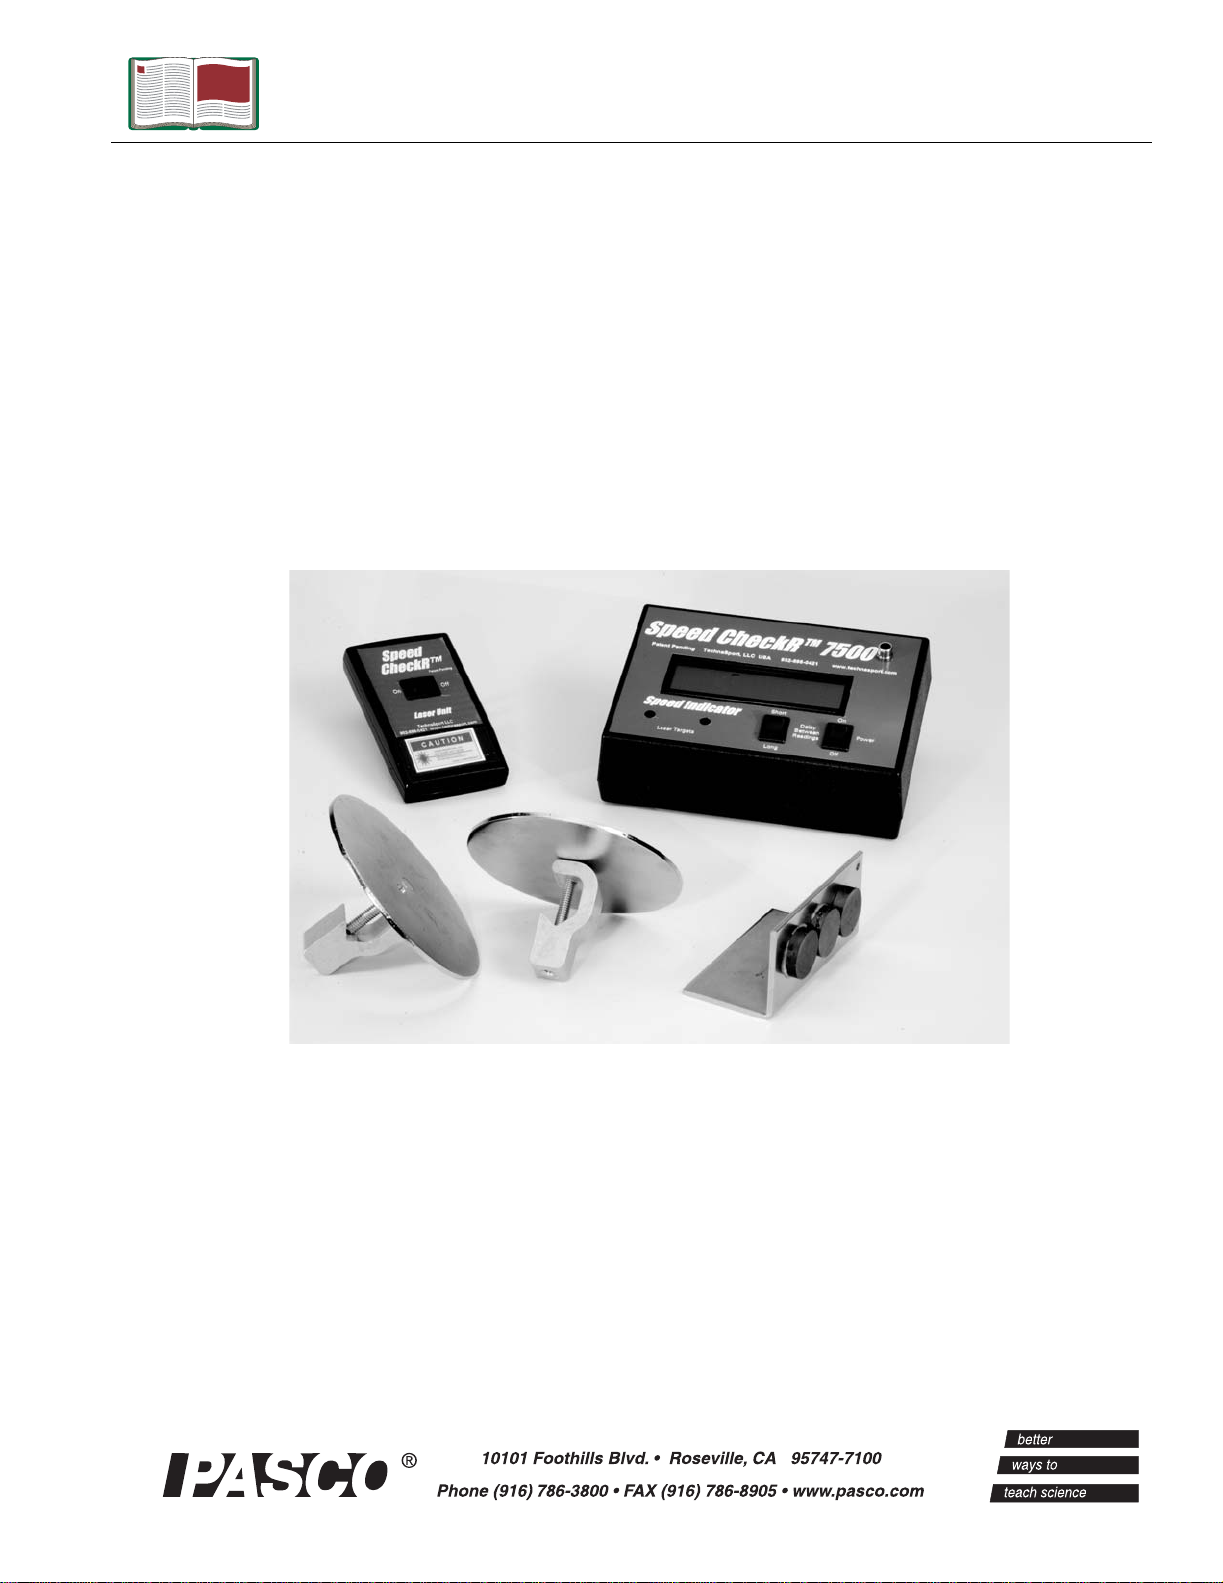
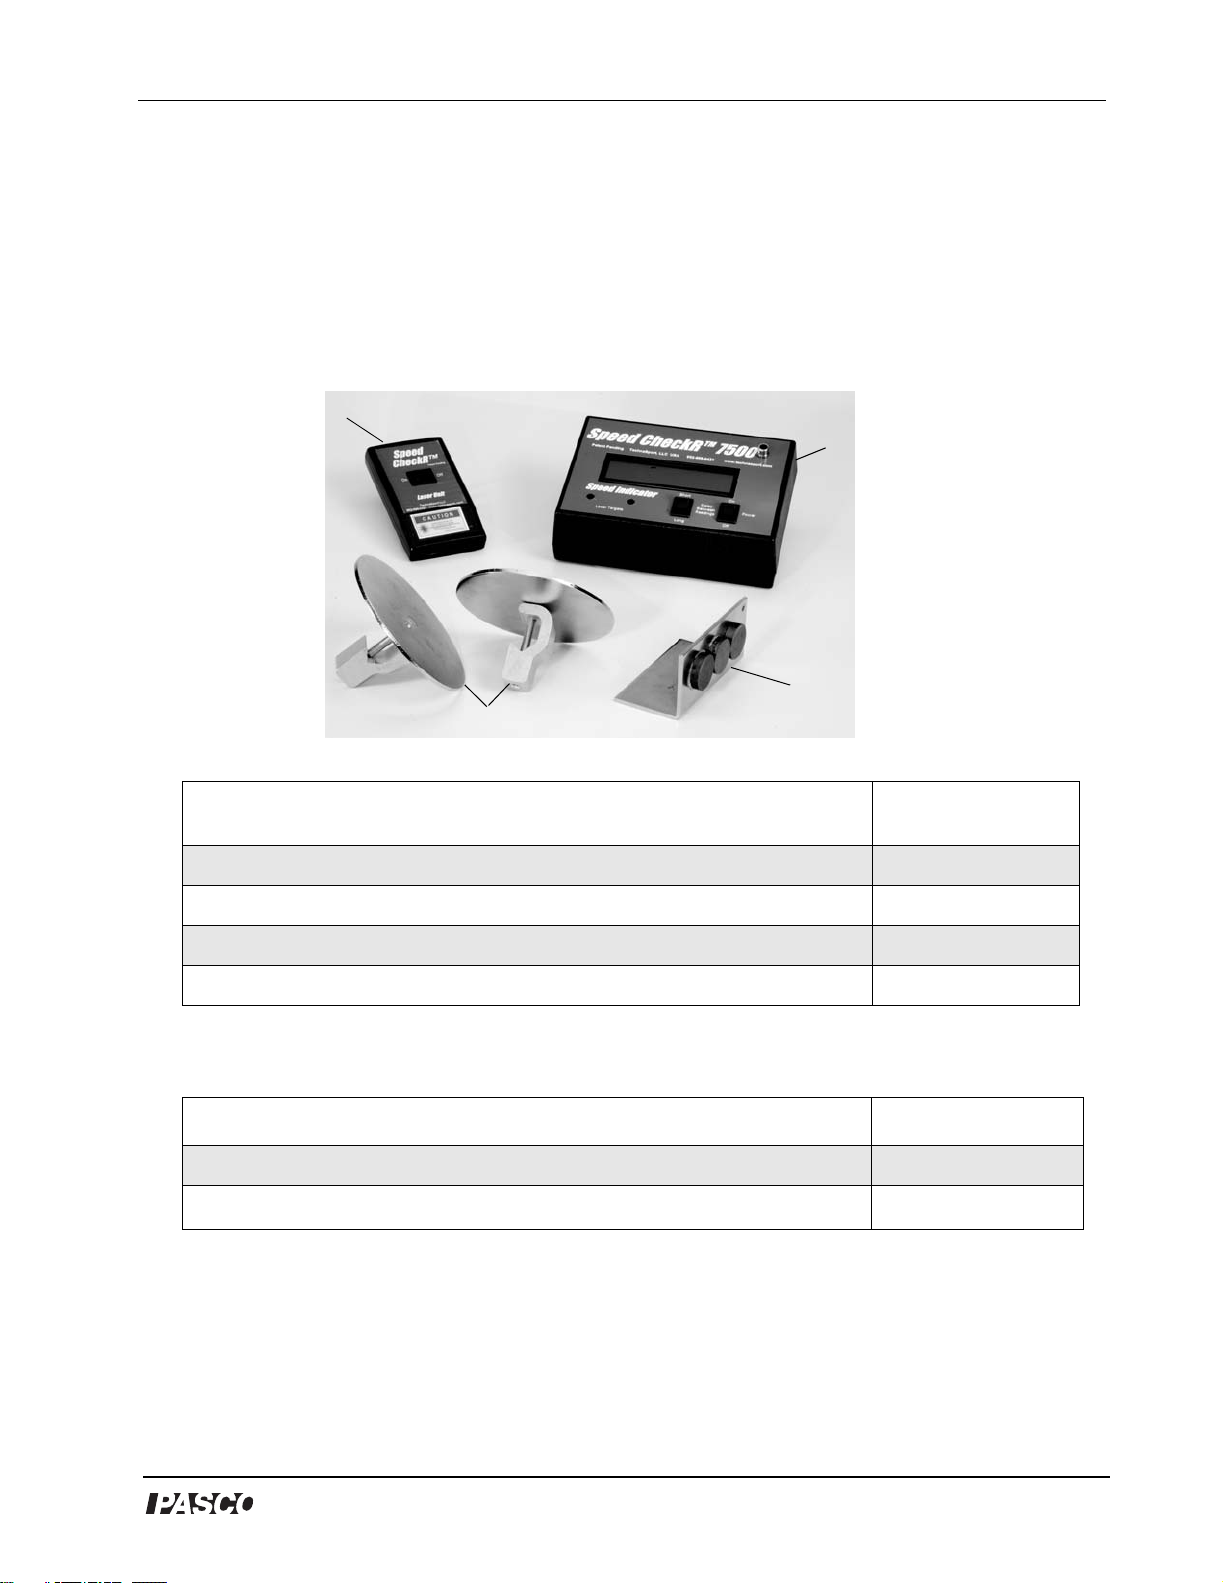
®
Model No. SE-7576
5
IMPORTANT PRECAUTIONS
WARNING!
To reduce the risk of injury to persons, or injury from laser light, read
the following important precautions and information before operating
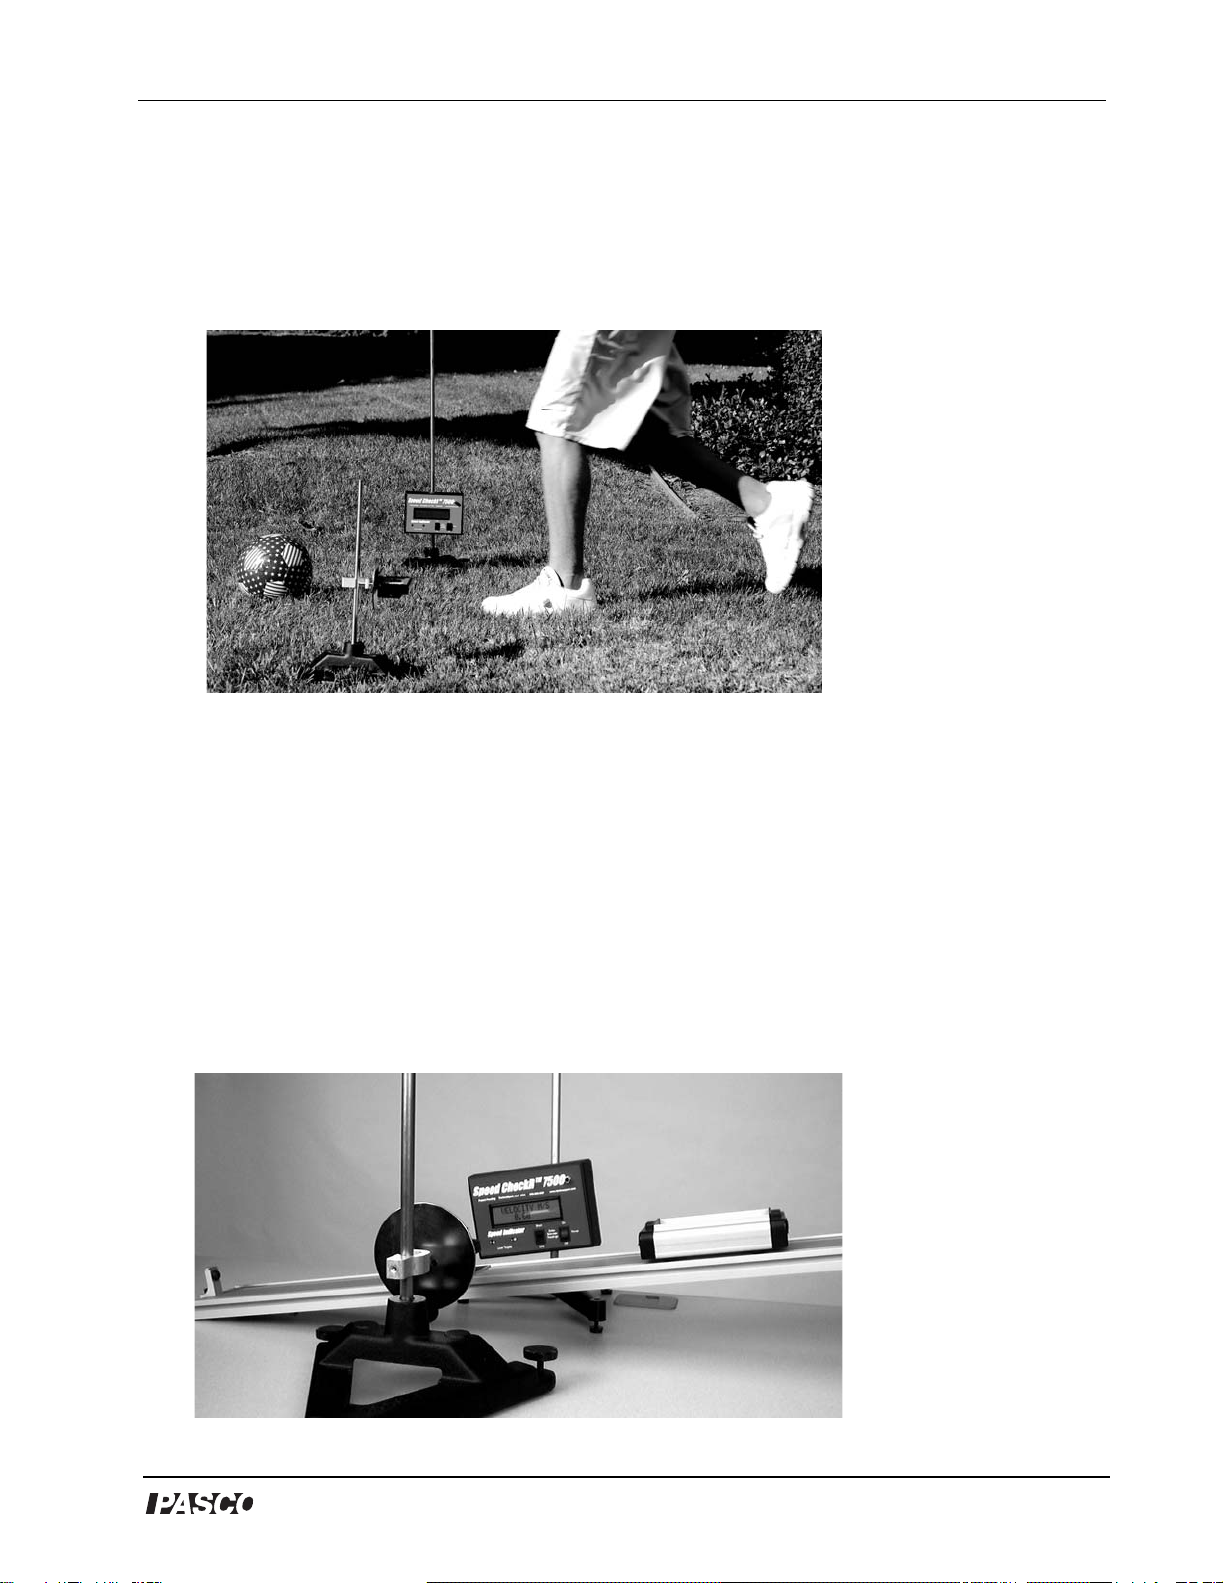
the SpeedCheckR 7500.
1. It is the responsibility of the owner to ensure that all users of the
SpeedCheckR 7500 are adequately informed of all warnings and
precautions.
2. Use the SpeedCheckR 7500 only as described.
3. Do not use the SpeedCheckR as a toy or for other purposes than
what it is designed for.
4. There are no user-serviceable items on the SpeedCheckR 7500.
Contact Pasco for repair or service.
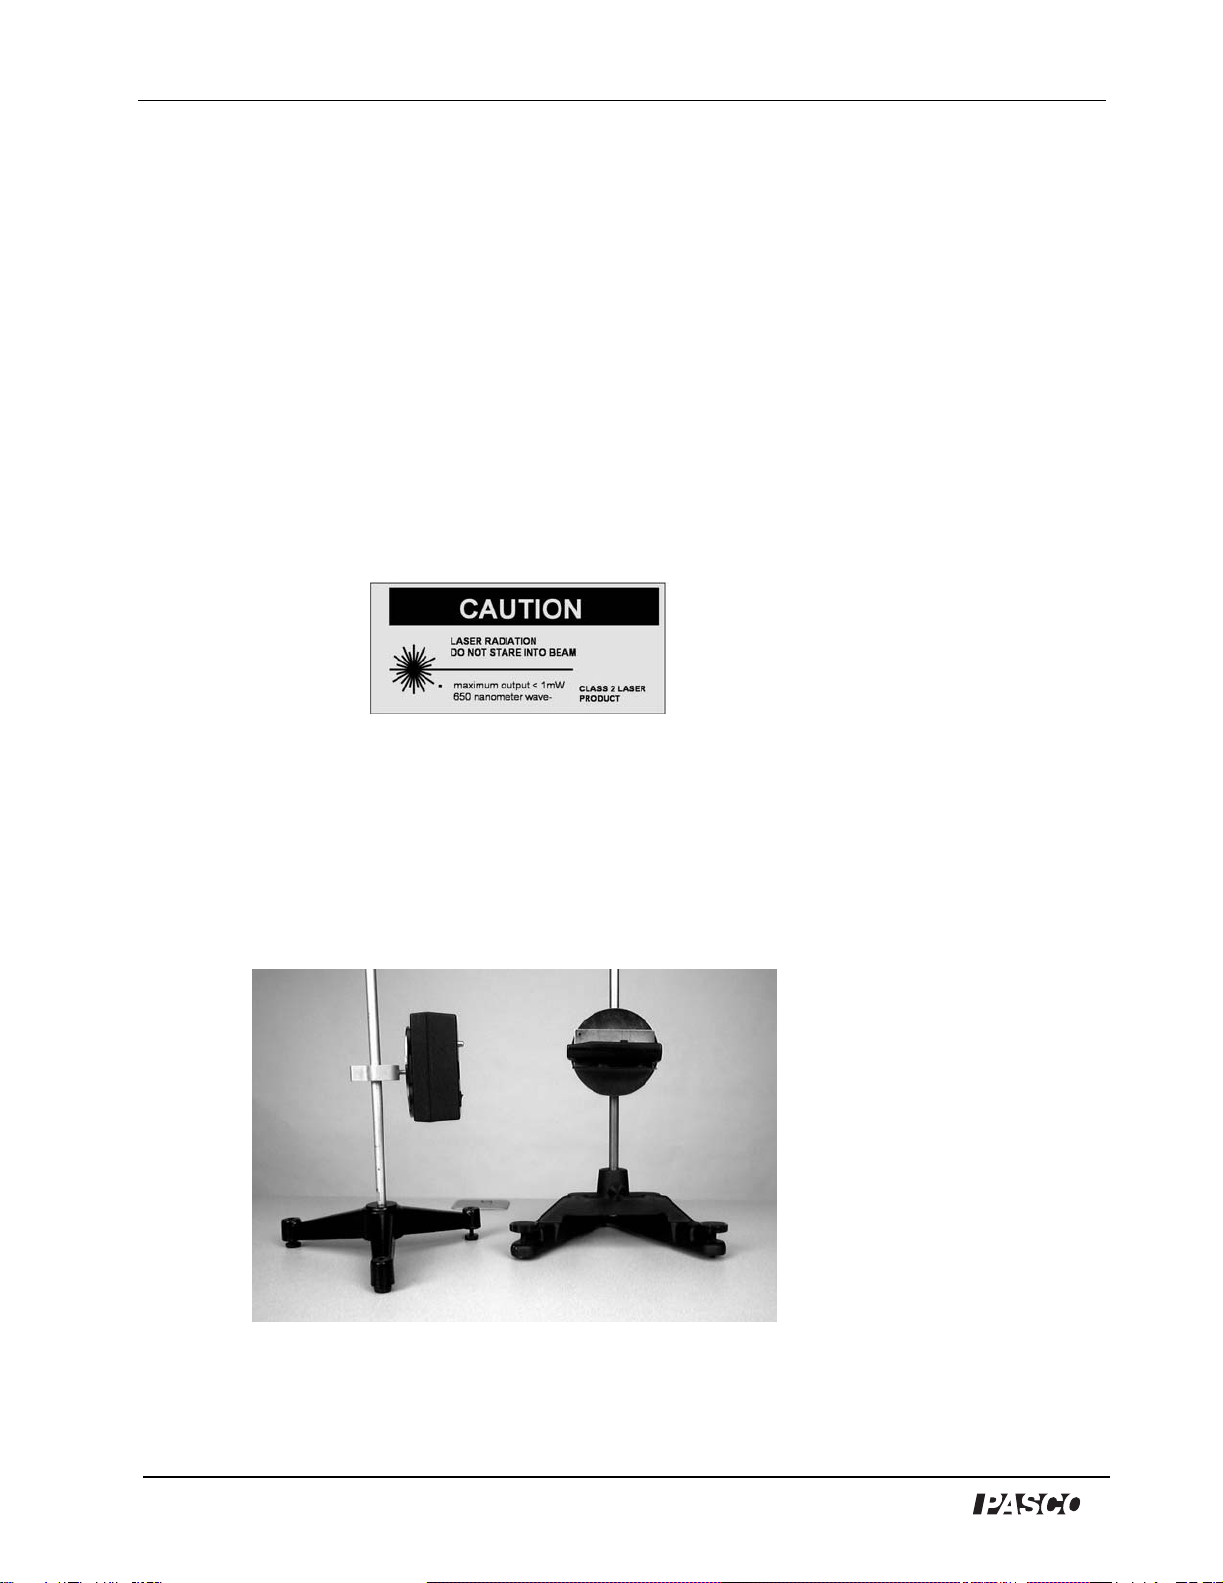
A Few Words About Laser Safety
Research studies, along with an understanding of the hazards of
sunlight and conventional man-made light sources, have permitted
scientists to establish safe exposure limits for nearly all types of laser
radiation. These limits are generally referred to as Maximum
Permissible Exposures (MPE's). In many cases it is unnecessary to
make use of MPE's directly. The experience gained in millions of
hours of laser use in the laboratory and industry has permitted the
development of a system of laser hazard categories or classifications.
Manufacturers of lasers and laser products are required to certify that
the laser is designated as one of four general classes, or risk categories,
and label it accordingly. This allows the use of standardized safety
measures to reduce or eliminate accidents depending on the class of
the laser or laser system being used. The lasers used in the
SpeedCheckR 7500 are Class 2 lasers with emission levels similar to
commonly available laser pointers found throughout the country.