manuals.online logo
Brands
  1. Home
  2. •
  3. Brands
  4. •
  5. Patriot Lighting
  6. •
  7. Outdoor Light
  8. •
  9. Patriot Lighting DJ2394 BLACK User manual

Patriot Lighting DJ2394 BLACK User manual

Questions, problems, missing parts?
Before returning to your retailer, call our customer service at 1-800-887-6326
Monday – Friday 9:00 a.m. – 5:00 p.m. CST
SKU Number: 356-1323
LED Outdoor Motion Sensing Wall Light
Model Number: DJ2394 BLACK
PACKAGE CONTENTS
231102
Mounting Strap Unit
X1 Bolt Nut
X2
Rubber Pad
X2
AA BB
CC DD
EE
Anchor
X5
Drywall Screw
X5
HARDWARE CONTENTS Note: Hardware not shown actual size.
A
B
Page 2 of 4
231102
SAFETY INFORMATION
Please read and understand this entire manual before attempting to assemble, operate or install the product.
WARNING
● Do not expose the light fixture to fire or intense heat.
● Do not submerge in water.
● Your light fixture and solar panel are both weather-resistant.
● Do not dispose battery in a fire, for they may leak and explode. Do not dispose battery in water. Do not open, short
circuit, or destroy battery. Dispose of battery in accordance with Local, State, and Federal regulations.
Before beginning assembly, installation or operation of product, make sure all parts are present. Compare parts with
package contents list and diagram on previous page. If any part is missing or damaged, do not attempt to assemble,
install or operate the product. Contact customer service for replacement parts.
Tools Required for Assembly (not included): Phillips Screwdriver, Safety Glasses, Ladder, Electrical Drill.
PREPARATION
ASSEMBLY INSTRUCTIONS
Important to Know
● This product includes one built-in Lithium Rechargeable Battery.
● For best results, position the solar panel in a location where it will receive maximum sunlight. Ideally, the
location should be free from cover or shade. You should avoid positioning the light sources, as this may
cause the lights to flicker.
1. Unscrew the two bolt nuts (BB).
Remove the two rubber
pads (CC) and the mounting
strap unit (AA) from the
backplate (A).
1
AA
A
CC BB
2. Fix the mounting strap unit (AA)
to the wall:
2a. For wooden outdoor surfaces:
Attach the mounting strap
unit (AA) to the wall by using
the two drywall screws (EE)
through the set holes on the
mounting strap unit (AA) into
the wall.
Set Hole
Fixture Mounting Screw
2a
Wooden
AA EE
Set Hole
Drywall
2b
Fixture Mounting Screw
AA EE
DD
2b. For cement and drywall surfaces:
Attach the mounting strap unit (AA) to the wall and mark the two set holes on the wall
surface for drilling. Remove the mounting strap unit (AA) and drill two set holes. Insert
the anchors (DD) into the set holes. Then, attach the mounting strap unit (AA) to the wall,
secure the drywall screws (EE) through the holes on the mounting strap unit (AA) into
the anchors (DD).
Note: Make sure that the fixture mounting screws are lined up horizontally to make
the fixture level.
3. Attach the backplate (A) of the fixture to the mounting strap unit (AA) by aligning and
inserting the two fixture mounting screws from the mounting strap unit (AA) into the open
holes on the backplate, then place the two rubber pads (CC) over the exposed fixture
mounting screws before screwing the two bolt nuts (BB).
Note: With silicone caulk compound, caulk completely around where the backplate
meets with the wall surface to prevent water from seeping into the outlet box.
3
AA
A
CC BB
Fixture
Mounting
Screw
Page 3 of 4
231102
ASSEMBLY INSTRUCTIONS (continued)
5. Connect the cable from the
solar panel (B) to the bottom of
backplate (A) (Fig.5). Only use
solar panel (B) to charge the
light, other external charger
may damage the light fixture.
5a
B
Solar Panel Adjustable
B
5b
4. Fix the solar panel bracket to
the wall:
4a. For wooden outdoor
surfaces:
Attach the solar panel
bracket to the wall by using
the drywall screws (EE)
through the set holes on the
solar panel bracket into the
wall.
Note: The solar panel is equipped with a 9ft.(2.7M)
can connecting wire,so the light fixture and solar
panel be installed up to 9ft.(2.7M) apart.
4b. For cement and drywall
surfaces:
Attach the solar panel bracket
to the wall and mark the set
holes on the wall surface for
drilling. Remove the solar
panel bracket and drill the
set holes. Insert the
anchors (DD) into the set
holes. Then, attach the solar panel bracket to the wall,
secure the drywall screws (EE) through the holes on
the solar panel bracket into the anchors (DD).
Set Hole
Solar Panel
Bracket
4a
Wooden
EE
Set Hole
Solar Panel
Bracket
4b
EE
Drywall
DD
Power switch setting:
a.) Set the toggle switch to "OFF" position: The power will turn off. (Fig.A)
b.) Set the toggle switch to "AUTO" position: The light warms up for 10 seconds, then it will turn to sensor mode. At
dusk, the light will stay off and will turn on automatically when motion is detected. It will remain on 20 seconds
motion is no longer detected, and then turn off automatically. (Fig.A)
FUNCTION AND OPERATION
Notes:
1. The sensitivity of the motion sensor will increase as the environmental temperature gets cooler. For best
performance, gently clean the lens with a soft cloth every 1 or 2 months to ensure maximum sensitivity.
2. The fixture will provide a detection distance of up to 30 feet. (See Fig.7)
3. The sensor detects movement across a detection range of 120 degrees. (See Fig.8)
4. The sensor will be more sensitive to motion across its detection path than motion directly towards it. (See Fig.9)
5. To reduce possible nuisances, do not mount the fixture near a heat source like an air conditioner, vent or furnace
exhaust, or in a direction facing any reflecting object or other light source.
Fig.6
Battery
Battery
Cover
Rubber
Pad-a
Screw
A
To Replace The Battery
1. Remove the four screws and four rubber pads-a
located on the battery cover. (Fig.6)
2. Carefully remove old batteries from battery compartment and replace with one
new 18650 3.7V 1200mAh Li-ion battery. Make sure polarity is correct. (Fig.6)
3. Restore the battery cover.
A
5B
Fig.A
OFF / AUTO
View Fig.A
Page 4 of 4
231102
Spare Parts List:
Assembly Kit
6750MM (1 SET)
The following parts are available for reorder if damaged or missing. Call our toll free at 1-800-887-6326.
5′
6′
8′
30′
Fig. 7 Fig. 8
Where you install your fixture is important:
Be sure the light is mounted straight on the wall
otherwise, the detection distance may be limited.
˚
120
Motion
Least sensitive
Motion
Most sensitive
Sensor
Fig.9
FUNCTION AND OPERATION (continued)
Mounting Strap Unit
X1 Bolt Nut
X2
Rubber Pad
X2
AA BB
CC DD
EE
Anchor
X5
Drywall Screw
X5
●From time to time, ensure the plug between the solar panel and light is securely connected.
●The solar panel should be cleaned with a damp cotton cloth on a regular basis.
This will ensure optimal performance and battery charging.
●Never let any abrasive material come into contact with the solar panel.
CARE AND MAINTENANCE
TROUBLESHOOTING
If unable to fix any of the above issues, please consult a certified electrician.
Questions, problems, missing parts?
Before returning to your retailer, call our customer service at 1-800-887-6326
Monday – Friday 9:00 a.m. – 5:00 p.m. CST
TWO-YEAR LIMITED WARRANTY: If, during normal use, this PATRIOT LIGHTING lighting fixture breaks or fails
due to a defect in material workmanship within two (2) years from the date of original purchase, simply bring this
lighting fixture with the original sales receipt back to your nearest MENARDS retail store. At its discretion, PATRIOT
LIGHTING agrees to have the product or any defective part(s) repaired or replaced with the same or similar PATRIOT
LIGHTING product or part free of charge, within the stated warranty period, when returned by the original purchaser
with original sales receipt. This warranty; (1) excludes expendable parts including but not limited to light bulbs; (2) does
not cover damage that has resulted from abuse or misuse; and (3) does not cover any losses, labor, injuries to
persons/property or costs. This warranty does give you specific legal rights and you may have other rights, which vary
from state to state.
R
R
R
R
The light does not work.
● Check if the power switch is in Auto position.
● Check the battery and make sure that it has contact to the metal plate and the polarity is correct.
● Replace with a new battery.
● Check if the solar panel stays away from cover and shade.
The light flashes or blinks.
● Check if the solar panel stays away from cover and shade.
If the light stays on at daytime.
● Check if
the
solar panel
is installed in shaded area or if wire is plugged in.

This manual suits for next models

1

Other Patriot Lighting Outdoor Light manuals
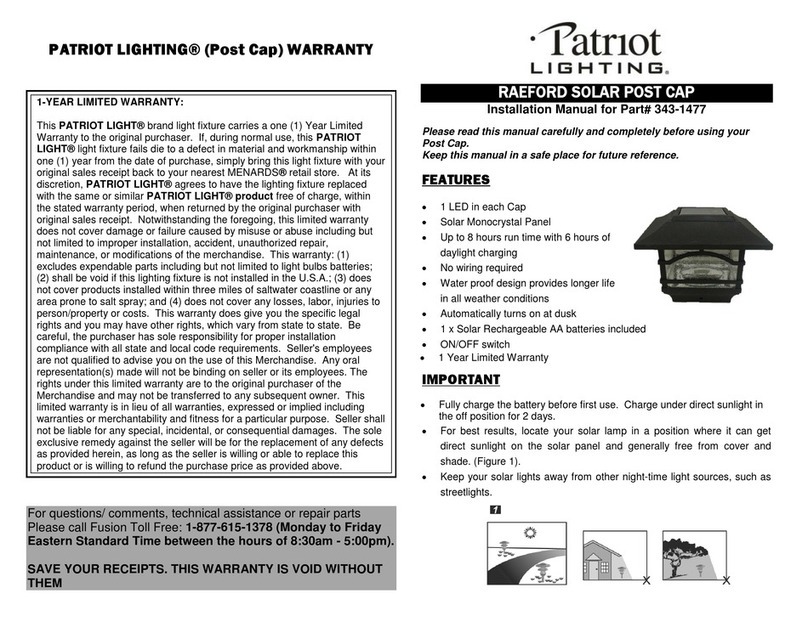
Patriot Lighting OW2826WBZ User manual

Patriot Lighting

Patriot Lighting OW2826WBZ User manual

Patriot Lighting 356-9231 Instruction manual

Patriot Lighting

Patriot Lighting 356-9231 Instruction manual

Patriot Lighting 24444 User manual

Patriot Lighting

Patriot Lighting 24444 User manual

Patriot Lighting 9074 User manual

Patriot Lighting

Patriot Lighting 9074 User manual

Patriot Lighting SL0420B User manual

Patriot Lighting

Patriot Lighting SL0420B User manual

Patriot Lighting SL2002 BLK User manual

Patriot Lighting

Patriot Lighting SL2002 BLK User manual

Patriot Lighting L8012 User manual

Patriot Lighting

Patriot Lighting L8012 User manual

Patriot Lighting ow9235w User manual

Patriot Lighting

Patriot Lighting ow9235w User manual

Patriot Lighting BREVARD 2PK SOLAR STAKE LIGHTS User manual

Patriot Lighting

Patriot Lighting BREVARD 2PK SOLAR STAKE LIGHTS User manual

Patriot Lighting DH8090 User manual

Patriot Lighting

Patriot Lighting DH8090 User manual

Patriot Lighting LV1807 User manual

Patriot Lighting

Patriot Lighting LV1807 User manual

Patriot Lighting 343-0421 Parts list manual

Patriot Lighting

Patriot Lighting 343-0421 Parts list manual

Patriot Lighting DJ4918 User manual

Patriot Lighting

Patriot Lighting DJ4918 User manual

Patriot Lighting E4140 User manual

Patriot Lighting

Patriot Lighting E4140 User manual

Patriot Lighting ELI1433G User manual

Patriot Lighting

Patriot Lighting ELI1433G User manual

Patriot Lighting MND2523C User manual

Patriot Lighting

Patriot Lighting MND2523C User manual

Patriot Lighting MH190 User manual

Patriot Lighting

Patriot Lighting MH190 User manual

Patriot Lighting E9200-2BZ User manual

Patriot Lighting

Patriot Lighting E9200-2BZ User manual

Patriot Lighting Waterdrop-24FT-SL User manual

Patriot Lighting

Patriot Lighting Waterdrop-24FT-SL User manual

Patriot Lighting DJ2003 User manual

Patriot Lighting

Patriot Lighting DJ2003 User manual

Patriot Lighting 29145 User manual

Patriot Lighting

Patriot Lighting 29145 User manual

Patriot Lighting L730 User manual

Patriot Lighting

Patriot Lighting L730 User manual
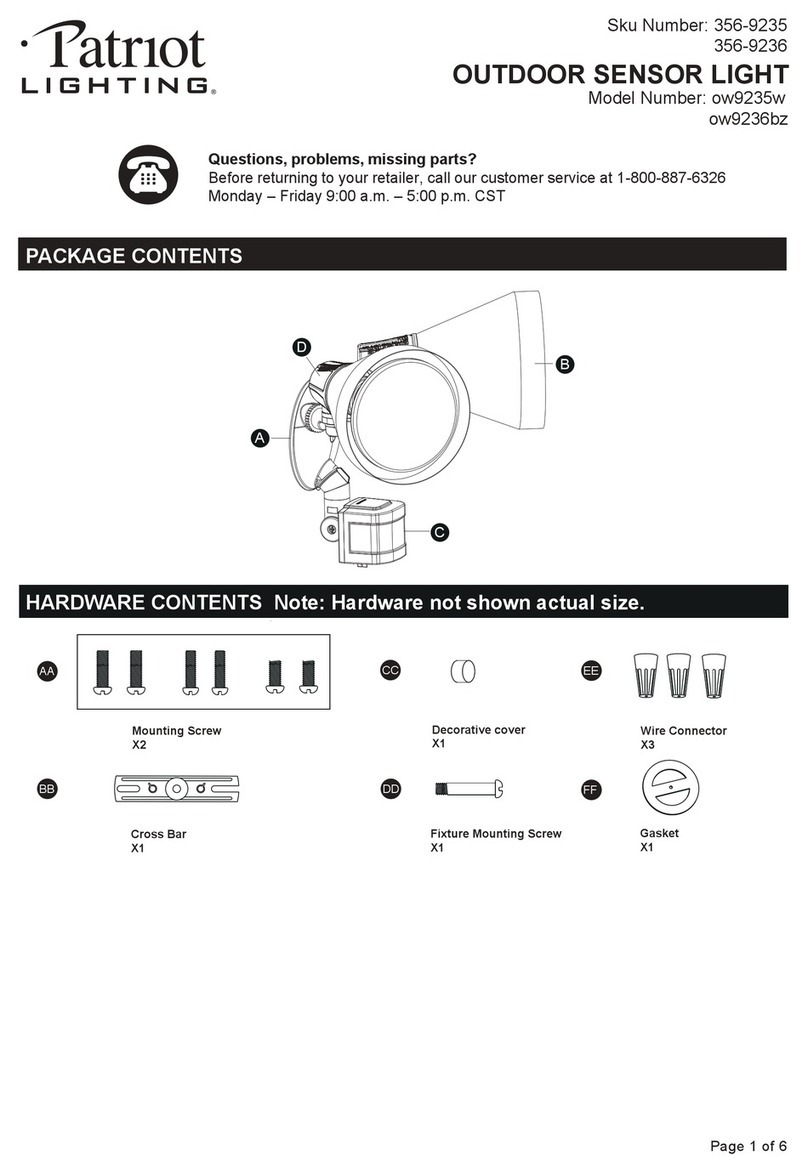
Patriot Lighting 343-4172 User manual

Patriot Lighting

Patriot Lighting 343-4172 User manual

Patriot Lighting E4145 User manual

Patriot Lighting

Patriot Lighting E4145 User manual

Popular Outdoor Light manuals by other brands

Sense-Ware TC-169/1 user guide

Sense-Ware

Sense-Ware TC-169/1 user guide

BEGA 77 138 Instructions for use

BEGA

BEGA 77 138 Instructions for use

FOSCARINI o-space Assembly instructions

FOSCARINI

FOSCARINI o-space Assembly instructions

Halo AL4850LPC Series instruction manual

Halo

Halo AL4850LPC Series instruction manual

Xmart Landscape Series user manual

Xmart

Xmart Landscape Series user manual

Portfolio WL132MBK manual

Portfolio

Portfolio WL132MBK manual

Adesso Savannah Assembly instruction

Adesso

Adesso Savannah Assembly instruction

Fulham FireHorse FHEX21 General installation guidelines

Fulham

Fulham FireHorse FHEX21 General installation guidelines

urban ambiance UQL1130 installation instructions

urban ambiance

urban ambiance UQL1130 installation instructions

Enchanted Garden 343-2002 instruction manual

Enchanted Garden

Enchanted Garden 343-2002 instruction manual

Daewoo DASL0580 user manual

Daewoo

Daewoo DASL0580 user manual

Vaxcel T0698 Assembly and installation instructions

Vaxcel

Vaxcel T0698 Assembly and installation instructions

Gemmy 111577 instructions

Gemmy

Gemmy 111577 instructions

HAMPTON BAY 5284002012 Use and care guide

HAMPTON BAY

HAMPTON BAY 5284002012 Use and care guide

SACKit Lamp Intelligent user manual

SACKit

SACKit Lamp Intelligent user manual

HAMPTON BAY HD22601 manual

HAMPTON BAY

HAMPTON BAY HD22601 manual

SACKit Light 250 user manual

SACKit

SACKit Light 250 user manual

Delta Light KIX 3011 installation instructions

Delta Light

Delta Light KIX 3011 installation instructions

manuals.online logo
manuals.online logoBrands
  • About & Mission
  • Contact us
  • Privacy Policy
  • Terms and Conditions

Copyright 2025 Manuals.Online. All Rights Reserved.