manuals.online logo
Brands
  1. Home
  2. •
  3. Brands
  4. •
  5. PB TEEN
  6. •
  7. Indoor Furnishing
  8. •
  9. PB TEEN Store-It Bed User manual

PB TEEN Store-It Bed User manual

www.pbteen.com
Store-It Bed
Parts Included:
A - Top Panel (2) B1 - Left Panel (2)
B2 - Right Panel (2) C - Center Panel (2)
D - Back Panel (2) E - Bottom Panel (2)
F - Foot Part (1) G - Center Platform (1)
Hardware Included:
H - Screw (3.5 x 12 mm) (Twin and Full Bed 40 pcs,
Queen 44 pcs) I - Flat Washer (8)
J - Lock Washer (8) K - Allen Head Bolt (M6 x 32 mm) (8)
L - Allen Key (1) M - Cam Bolt (16)
www.pbteen.com
N - Cam Lock (16) O - Screw (4 x 20 mm) (Twin and Full - 24 pcs, Queen -
27pcs )
Tools Required:
Phillips Head Screwdriver (not included)
Assembly Instructions:
Find a carpeted or scratch-free surface to do the assembly
1. Attach the Left Panel (B1) and Right Panel (B2) into the Bottom Panel (E). Make sure all pre-attached wood
dowels on both Side Panels (B1 & B2) are inserted into the pre-drilled holes on the Bottom Panel. Secure both
Side Panels (B1 & B2) to the Bottom Panel (E) by using Allen Head Bolt (K), Lock Washer (J), and Flat Washer (I).
Turn clockwise to tighten with Allen Key (L). (See Picture 1)
Picture 1
2. Carefully lay the Bottom Panel (E) facing down with the Side Panels (B1 & B2) facing up. (See Picture 2). Insert 2
Cam Bolts (M) into 2 inside pre-drilled holes at the center of Bottom Panel (E). (Outside pre-drilled holes on this
panel are for the wooden dowels to fit into).
3. Lay the Center Panel (C) down on the Bottom Panel (E). Align 2 exposed Cam Bolts (M) from the Bottom Panel
(E) with 2 inside pre-drilled holes on Center Panel (C) and then 2 pre-attached wooden dowels on Center Panel
(C) will fit into 2 outside pre-drilled holes on Bottom Panel (E).
4. Insert 2 Cam Locks (N) into pre-drilled holes on Center Panel (C) then turn to tighten. See Picture 2.
www.pbteen.com
Picture 2
5. Insert 6 remaining Cam Bolts (M) into 6 inside pre-drilled holes on Top Panel (A). (Outside pre-drilled holes on this
panel are places for wood dowels fit into.
6. Continue by placing the Top Panel (A) down on the Left, Right and Center Panel that has just been assembled.
See Picture 3. Align 6 exposed Cam Bolts (M) on the Top Panel (A) with 6 inside pre-drilled holes on Left, Center
and Right Panels and then the 6 pre-attached wood dowels on Left, Right and Center Panel will also fit into 6
outside pre-drilled holes on Top Panel.
7. Insert 6 remaining Cam Locks (N) into pre-drilled holes – 2 Cam Locks (N) on Left Panel-B1, 2 Cam Locks (N) on
Center Panel-C and 2 Cam Locks (N) on Right Panel-B2, then turn to tighten. (See Picture 3)
Picture 3
Notes:
Insert these Cam Bolts (M) into the inside pre-drilled holes on Top Panel (A)
before placing the Top Panel down on Left (B1), Center (C) and Right (B2) Panel.
www.pbteen.com
8. Attach the Back Panel (D) to the part just assembled by inserting Screws (H) into the pre-drilled holes. Use
Phillips Head Screwdriver to tighten all. (See Picture 4)
Picture 4
Repeat Steps 1-8 to create another piece that’s exactly the same.
9. Slowly lay the two side parts (that have just been assembled in the previous steps) next to the Foot Part (I). See
Picture 5. Align the outside of these parts to ensure they are equal and fit. Lay the Center Platform (G) down on
top of the Foot Part (I) and the Left and Right panels that have just been assembled. Secure with screws (O) in
the pre-drilled holes on the center platform (G).
10. Assembly is complete
Picture 5
Care Instructions:
Dust often using a soft, dry cloth.
To protect the finish, do not apply abrasives or household cleaners.
www.pbteen.com
Store-It Bed Corner Unit
Part Included:
A - Top Part – 1 pc B – Leg – 4 pcs
C1 - Side Panel (With V-Groove) – 1 pc C2 - Side Panel – 1 pc
D - Top Panel – 1 pc
Hardware Enclosed:
E - Flat Washer φ6.5 – 8 pcs F - Lock Washer φ6.5 – 8 pcs
G - Carriage Bolt (M6 x 70mm) – 8 pcs H - Allen Key – 1 pc
Assembly Instructions:
www.pbteen.com
Step 1: Attaching Legs
•Carefully lay the Top Part (A) upside down
on a carpet or scratch-free surface.
•Insert the exposed bolt on each Leg (B) into
the pre-drilled holes on the Top Part (A).
Turn clock wise to tighten. Make sure the
pre-drilled holes with inserted nuts on each
Leg (B) face out.
•Turn the assembly upright. (Fig. 1)
These holes on t he leg must faceout
A
B
(Fig. 1)
Step 2: Attaching Side Panel (C-1)
(has V-Groove at one side)
•Attach the Side Panel (C1) to
the Top Part (A) by aligning
the two pre-drilled holes at the
top corners of the back side of
the Side Panel (C1) with the
two, pre-attached wood
dowels on the left side of the
Top Part (A).
•Secure with (4) Flat Washers
(E), (4) Lock Washers (F), (4)
Carriage Bolts (G) from inside
the unit and through the pre-
drilled holes on the Legs (B).
Tighten with the enclosed
Allen Key (H). Repeat this
step with the Side Panel (C2).
(Fig. 2 & 3)
Step 3: Assembling Top Panel (D)
•Two adults should carefully
place the Top Panel (D) on the
Top Part (A). Align the edges
of Top Panel (D) with its pre-
cut shape on the Top Part (A).
(Fig. 4)
STEP 2
STEP 3
STEP 4
PRE- ATTACHED WOOD DOWEL
Care Instructions:
Dust often using a soft, dry cloth.
To protect the finish, do not apply abrasives or household cleansers.
(Fig. 4)
(Fig. 3)
(Fig
. 2)
www.pbteen.com
Store-It Corner Unit Hutch
Pre-Assembly:
•Please read all instructions before beginning assembly.
•Save all packing materials until assembly is complete to avoid accidentally discarding smaller parts or hardware.
•Two adult assembly is recommended.
Parts Included:
A - Center Part - 1 pc B1 - Left Side Part - 1 pc
(has two pre-drilled holes on the
right)
B2 - Right Side Part - 1 pc
(has two pre-drilled holes on
the left)
C - Top - 1 pc D - Support Leg - 1 pc E - Shelf - 2 pcs
Hardware Included:
F - Flat Washer - 16 pcs G - Lock Washer - 16 pcs H - Allen Head Bolt (M6 x 25
mm) - 12 pcs
I - Allen Key - 1 pc J - Shelf Pegs - 8 pcs K - Mending Plate - 2 pcs
L - Wood Screw (3 x 15 mm) – 4
pcs M - Allen Head Bolt (M6 x 38
mm) - 4 pcs (for the Support Leg
(D))
Tools Required:
www.pbteen.com
Phillips Head Screwdriver (not included)
Assembly Instructions:
1. Attach the Left Side Part (B1) and Right Side Part (B2) to the Center Part (A) by aligning the pre-drilled holes of
the Center Part (A) with inserted nut on the side panel of Left Side Part (B1) and Right Side Part (B2), as shown in
Figure 1 below.
Note: Follow the arrow marks on the sides of Center Part (A) to have the right side up.
Figure 1
Pre-drilled Hole
on the two sides of Center Part (A)
Inserted Nut on the side
of Side Parts (B1 & B2)
2. Secure these parts with Flat Washer (F), Lock Washer (G) and Allen Head Bolt (H, 25 mm long) with the Allen Key
(I) from inside of Center Part (A) for the 4 pre-drilled holes, as shown below in Figure 2.
Figure 2
3. Slowly lay the Top (C) onto the Left Side Part (B1), Center Part (A) and Right Side Part (B2) that were just
assembled in step 2. Align the pre-drill holes of the wood rails, which are mounted on the top edges of the Left
Side Part (B1) and Right Side Part (B2), to the insert nuts on the Top (C). Secure these parts and the Top (C) with
Flat Washer (F), Lock Washer (G) and Allen Head Bolt (H, 25 mm long) by the Allen Key (I) from below and inside
www.pbteen.com
the Left Side Part (B1) and Right Side Part (B2) in 8 places. See Figure 3.
Figure 3
4. Attach the Support Leg (D) underneath the Top (C) by aligning the pre-drilled holes on the Support Leg (D) (which
has inserted nuts) with the pre-drilled holes at the corner of the Top (C). Secure with Flat Washer (F), Lock
Washer (G) and Allen Head Bolt (M) and tighten with the Allen Key (I) in 4 places. See Figure 4.
Figure 4
5. Carefully place the Store-It Corner Hutch onto the Store-It Corner Unit. Make sure that the front edge of the
Hutch’s side panel is aligned to the front edge of the Base’s side panel (not the top molding). See Figure 5 below.
Secure Store-It Corner Hutch to Store-It Corner Unit by using Mending Plates (K). Place the Mending Plates (K)
www.pbteen.com
over the Store-It Corner Unit and the pre-drilled holes located in the rear of the Store-It Corner Hutch. Secure with
Wood Screws (L). See Figure 5.
Figure 5
6. Determine the desired height for the Shelves (E) using the pre-drilled holes located within the hutch as a guide.
Insert the Shelf Pegs (J) into the pre-drilled holes on the interior sides of the Left Side Part (B1) and Right Side
Part (B2) until fully inserted. Carefully place the Shelves (E) on the Shelf Pegs (J) that has just been inserted.
Each Shelf (E) requires 4 Shelf Pegs (J) to support it. See Figure 6.
Figure 6
Care Instructions:
•Dust often with a soft, dry cloth.
•To clean, slightly moisten cloth with water (a damp cloth will hold dust and prevent scratching; dry thoroughly).
www.pbteen.com
Store-It Bed Twin with Corner Unit
Hardware Enclosed:
A - (8) Flat Washer φ6.5 – 8 pcs B - Lock Washer φ6.5 – 8 pcs
C - (8) Carriage Bolt - 8 pcs (M6 x 38mm) D - Allen Key – 1 pc
Assembly Instructions:
Step 1: Removing Headboard (Keep it with hardware for later use)
Use the Allen Key to unscrew the Allen Head Bolts at two sides of the bed. See Fig. 1
Step 2: Attaching Beds to Corner Unit
•Slowly attach the beds with the headboards removed to the two sides of the corner unit. Align the pre-drilled
holes on the bed with pre-drilled holes on the side panel of the corner unit. See Fig. 2.
•Secure each bed with 4 Lock Washers (A), 4 Flat Washers (B) and 4 Carriage Bolts (C) with the Allen Key
(D). See Fig. 2
Care Instructions:
Dust often using a soft, dry cloth.
To protect the finish, do not apply abrasives or household cleansers.

Other PB TEEN Indoor Furnishing manuals

PB TEEN Style-It Tall Bookcase User manual
PB TEEN

PB TEEN Style-It Tall Bookcase User manual

PB TEEN Soho User manual

PB TEEN

PB TEEN Soho User manual

PB TEEN Sleep & Study Loft Bed User manual

PB TEEN

PB TEEN Sleep & Study Loft Bed User manual

PB TEEN Beadboard Bed User manual

PB TEEN

PB TEEN Beadboard Bed User manual

PB TEEN Hampton Corner Media User manual
PB TEEN

PB TEEN Hampton Corner Media User manual

PB TEEN ELSIE User manual

PB TEEN

PB TEEN ELSIE User manual

PB TEEN HAMPTON User manual

PB TEEN

PB TEEN HAMPTON User manual
PB TEEN BEADBOARD BASIC BED QUEEN User manual

PB TEEN

PB TEEN BEADBOARD BASIC BED QUEEN User manual

PB TEEN Eliza bed User manual

PB TEEN

PB TEEN Eliza bed User manual
PB TEEN QUINCY DESK HUTCH User manual

PB TEEN

PB TEEN QUINCY DESK HUTCH User manual

PB TEEN Locker Bed Queen and Full User manual

PB TEEN

PB TEEN Locker Bed Queen and Full User manual

PB TEEN ELSIE LOFT BED User manual

PB TEEN

PB TEEN ELSIE LOFT BED User manual

PB TEEN Hearts Wall Pinboard User manual

PB TEEN

PB TEEN Hearts Wall Pinboard User manual

PB TEEN Inspired Nighstand User manual
PB TEEN

PB TEEN Inspired Nighstand User manual

PB TEEN Love Shelf  Series Quick start guide

PB TEEN

PB TEEN Love Shelf Series Quick start guide

PB TEEN Oxford Captain Bed User manual

PB TEEN

PB TEEN Oxford Captain Bed User manual

PB TEEN Beadboard Dresser Topper User manual
PB TEEN

PB TEEN Beadboard Dresser Topper User manual

PB TEEN OOH-LA-LA User manual

PB TEEN

PB TEEN OOH-LA-LA User manual

PB TEEN Junk Gypsy Wall Hook Horse Shoe User manual
PB TEEN

PB TEEN Junk Gypsy Wall Hook Horse Shoe User manual

PB TEEN Beadboard Single Shelf User manual

PB TEEN

PB TEEN Beadboard Single Shelf User manual

PB TEEN Locker Desk User manual

PB TEEN

PB TEEN Locker Desk User manual

PB TEEN CALLUM EXTRA LONG TV MEDIA User manual

PB TEEN

PB TEEN CALLUM EXTRA LONG TV MEDIA User manual

PB TEEN LOUNGEABOUT DAYBED User manual

PB TEEN

PB TEEN LOUNGEABOUT DAYBED User manual

PB TEEN Locker 8-Drawer Dresser User manual

PB TEEN

PB TEEN Locker 8-Drawer Dresser User manual

Popular Indoor Furnishing manuals by other brands

Furniture of America YNJ-1521 Assembly instructions
Furniture of America

Furniture of America YNJ-1521 Assembly instructions

CONFORAMA DINO CF3 Assembly instruction

CONFORAMA

CONFORAMA DINO CF3 Assembly instruction

ErgoCentric Saffron R Multi Tilt 2 user guide

ErgoCentric

ErgoCentric Saffron R Multi Tilt 2 user guide

Safavieh Furniture Peyton CNS5705 quick start guide
Safavieh Furniture

Safavieh Furniture Peyton CNS5705 quick start guide

modway EEI-6057 Assembly instructions

modway

modway EEI-6057 Assembly instructions
Gloster Halifax Deep Seating Swivel Rocker Lounge... quick start guide
Gloster

Gloster Halifax Deep Seating Swivel Rocker Lounge... quick start guide

Cooper Lighting Shaper 635-18 installation instructions
Cooper Lighting

Cooper Lighting Shaper 635-18 installation instructions

SPIELTEK 100 Series user manual

SPIELTEK

SPIELTEK 100 Series user manual
Happy Babies HAPPY RN03 Assembly instructions
Happy Babies

Happy Babies HAPPY RN03 Assembly instructions

Next Level Racing PRO GAMING CHAIR instruction manual

Next Level Racing

Next Level Racing PRO GAMING CHAIR instruction manual

Forte Bellevue BLQK351LT Assembling Instruction
Forte

Forte Bellevue BLQK351LT Assembling Instruction

Forte DCTR73 Assembling Instruction

Forte

Forte DCTR73 Assembling Instruction

Mocka Darby Cot Assembly instructions

Mocka

Mocka Darby Cot Assembly instructions

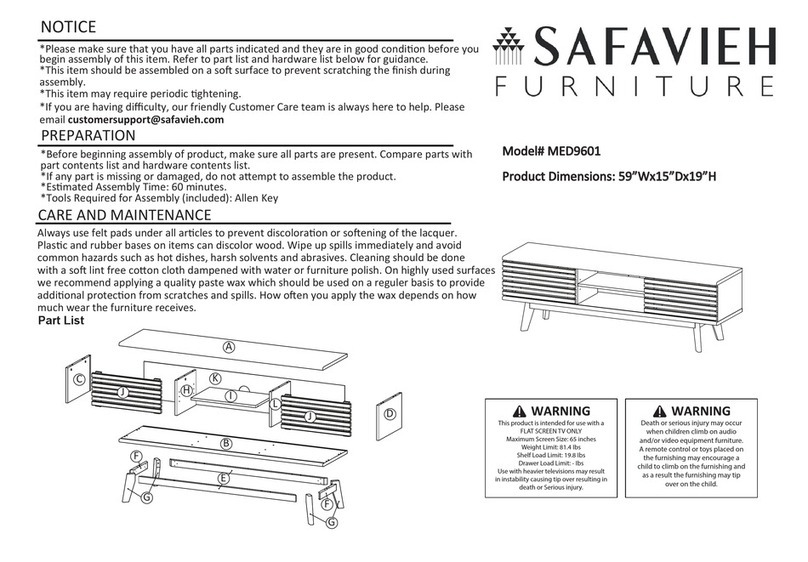
Safavieh Esma MED9601 manual

Safavieh

Safavieh Esma MED9601 manual

OVE PARKWAY 36 installation manual

OVE

OVE PARKWAY 36 installation manual

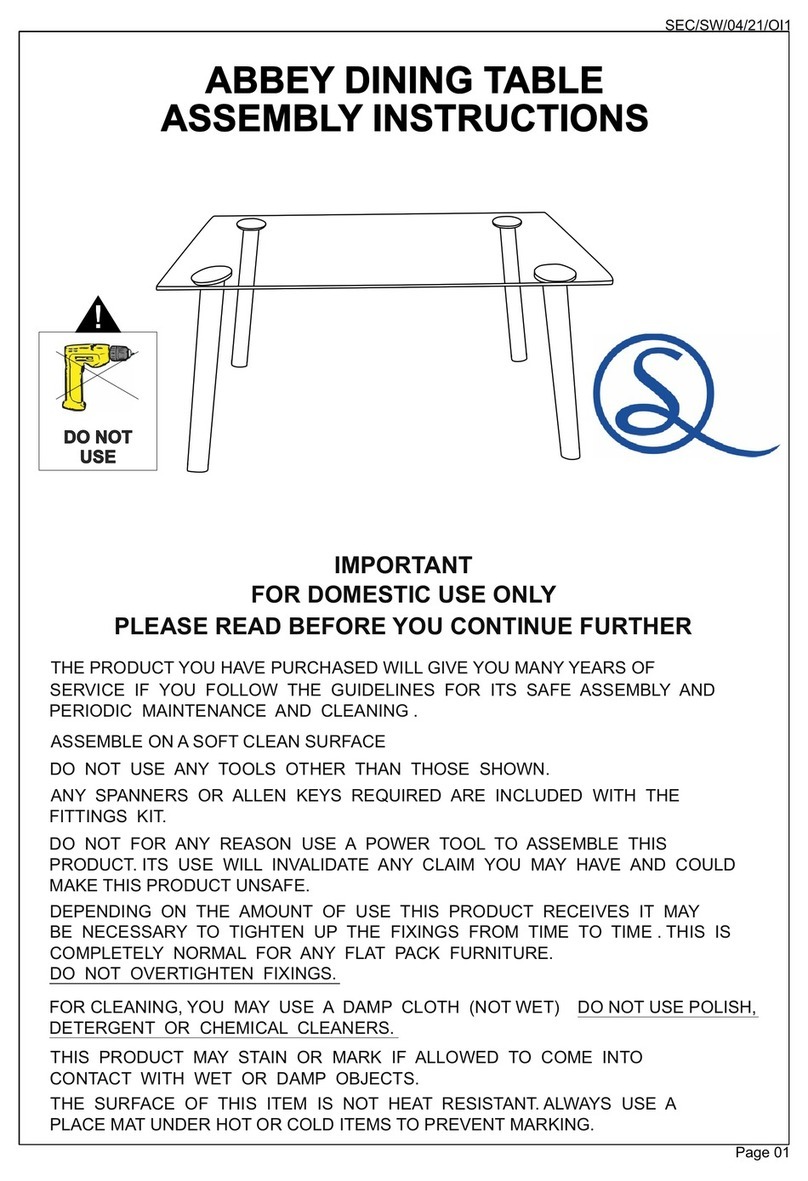
Seconique ABBEY DINING TABLE Assembly instructions

Seconique

Seconique ABBEY DINING TABLE Assembly instructions

Sauder Via 401443 manual

Sauder

Sauder Via 401443 manual

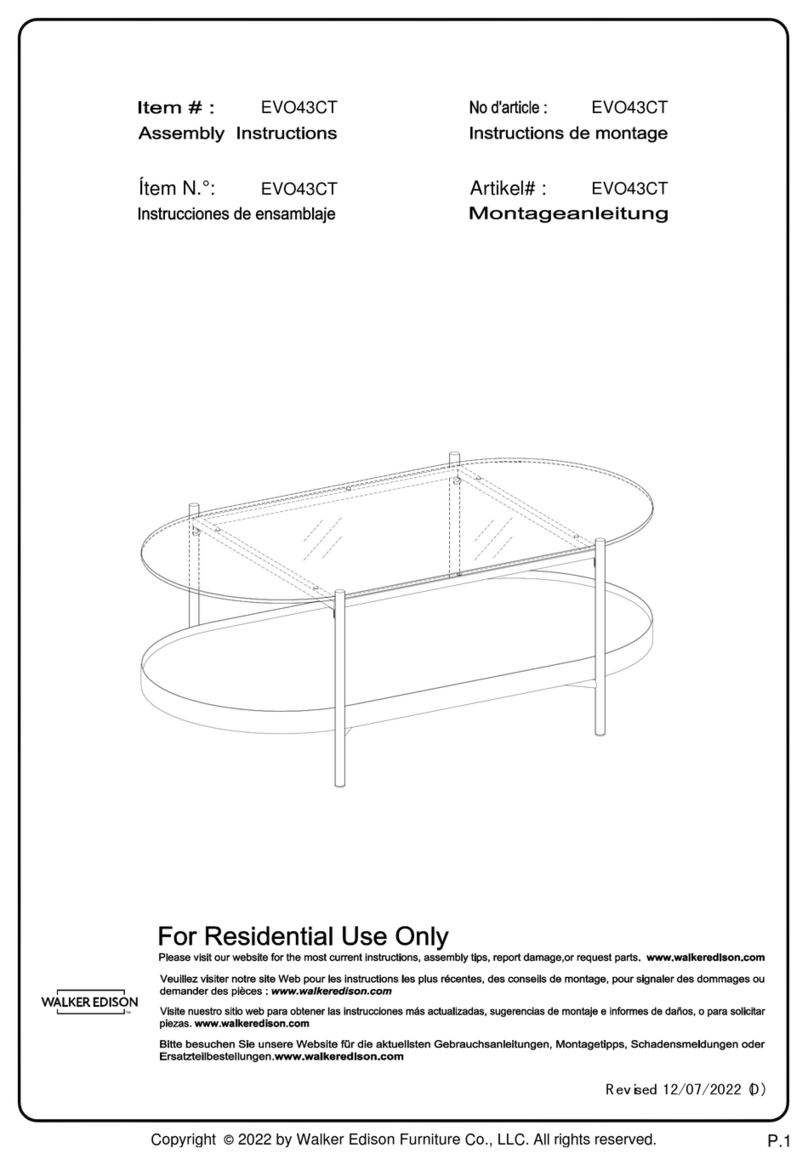
Walker Edison EVO43CT Assembly instructions

Walker Edison

Walker Edison EVO43CT Assembly instructions

manuals.online logo
manuals.online logoBrands
  • About & Mission
  • Contact us
  • Privacy Policy
  • Terms and Conditions

Copyright 2025 Manuals.Online. All Rights Reserved.