manuals.online logo
Brands
  1. Home
  2. •
  3. Brands
  4. •
  5. PB TEEN
  6. •
  7. Indoor Furnishing
  8. •
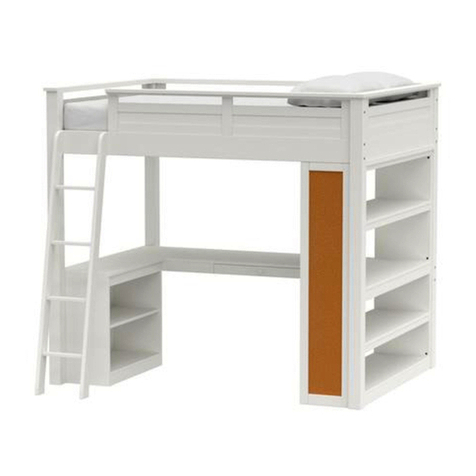
  9. PB TEEN ELSIE LOFT BED User manual

PB TEEN ELSIE LOFT BED User manual

Date: 2015-July-15
Rev: www.pbteen.com Page 1 of 12
ELSIE LOFT BED
ASSEMBLY INSTRUCTION
Date: 2015-July-15
Rev: www.pbteen.com Page 2 of 12
04-000066-6
Date: 2015-July-15
Rev: www.pbteen.com Page 3 of 12
Important Safety Instructions:
Please read all instructions carefully before assembling this bookcase.
For your safety, assembly by two or more adults is strongly recommended.
Keep these instructions for future use.
Use only vendor-supplied hardware to assembly this item. Using unauthorized hardware could
jeopardize the structural integrity of the item.
Pre-assembly:
Remove all parts and hardware from the box. Place them on a carpeted or scratch-free work surface,
as this will avoid damaging parts. The shipping box provides an ideal work surface.
To avoid accidentally discarding small parts or hardware, please do not dispose of any contents until
assembly is complete.
Two people are recommended for your safety and ease of assembly.
Prior to starting this assembly, use the parts and hardware lists to identify and separate each of the
pieces included.
The illustrations provided allow for easier assembly when used in conjunction with the assembly
instructions.
Note: Do not fully tighten any of the bolts until all parts are in place. Failure to follow these instructions
may cause the bolts to misalign during assembly.
Please use caution if using power tools to aid in assembly. Power tools can damage the hardware or
split the wood.
Part included:
A –Headboard (x1)
B –Footboard (x1)
C –Left Left Outer Post & Right Right Inner Post (x2)
D –Left Outer Post and Right Left Inner Post (x1)
E –Guardrail (x2)
F –Center Support Rail (x1)
G –Slats Roll (x1)
H –Ladder (x1)
- Bookcase (x1)
Date: 2015-July-15
Rev: www.pbteen.com Page 4 of 12
Hardware included:
I –Ball Tip Allen
Key
J –Wrench
K –Allen Bolt
L –Allen Bolt
M –Allen Bolt

4 x 95 x 30(mm)
88x 10 x2(mm)
5/16”x120x15(mm)
1/4”x50x13(mm)
1/4 ”x15x13(mm)
1pc
1pc
8pcs
4pcs
14pcs
N –Bolt
O –Hex Nut
P –Spring Washer
Q –Flat Washer
R –Spring Washer

1/4" x 50(mm)
1/4”x  x 4.2(mm)
5/16”x13x(mm)
5/16”x15 x1.5(mm)
1/4 ”x 10 x 1.5(mm)
8pcs
8pcs
8pcs
8pcs
12pcs
S –Flat Washer
T –Half Moon
Washer
U –Barrel Nut
V –Mending
Plate
W –Mending
Plate

1/4"x12x1.5(mm)
1/4"x24x8(mm)
5/16”x15x12(mm)
28x28x50x4(mm)
25x25x26x2(mm)
12pcs
8pcs
8pcs
2pcs
4pcs
X –Phillips Head
Screw
Y –Phillips Head
Screw

8 x 30(mm)




8 x 19(mm)
28pcs
2pcs
TOOLS REQUIRED (but not included):
Phillips Head Screwdriver
Date: 2015-July-15
Rev: www.pbteen.com Page 5 of 12
Assembly Instruction Steps:
1a. Remove the wooden cleats that are attached to the side of the Headboard (A) using a Philip Head
Screwdriver in an anti-clockwise direction as shown below.
1b. Lay the Headboard (A) down on a soft, scratch-free surface such as a rug or carpet as seen in the
illustration below. Attach the Mending Plate (V) to the Headboard as shown below. Secure the Mending Plate
(V) to the Headboard (A) by using 2sets of Allen Bolt (M) and insert into the holes of the Mending Plate (V) and
through into the pre-drilled holes of the Headboard (A) as shown below. Tighten using the Ball Tip Allen Key (I)
in a clockwise direction. Do not over-tighten.
2. Repeat Step 1a and 1b on the Footboard (B) as shown below.
Date: 2015-July-15
Rev: www.pbteen.com Page 6 of 12
3. Insert the Bolt (N) –(8sets) into the pre-drilled holes on the Left Left Outer Post & Right Right Inner
Post (C) & Left Outer Post and Right Left Inner Post (D) and tighten in by turning in a clockwise
direction as shown below.
4. Attach 1x Left Left Outer Post & Right Right Inner Post (C) to the left side of the Headboard (A) and 1x
Left Outer Post and Right Left Inner Post (D) to the right side of the Headboard (A) as shown below.
Using 4x hardware, secure by inserting the Half Moon Washer (T) followed by Flat Washer (S), Spring
Washer (R) and Hex Nut (O) into the Bolt (N) that were inserted. Tighten the Hex Nut (O) by using the
Wrench (J) in a clockwise direction as shown below. Do not over-tighten.
Date: 2015-July-15
Rev: www.pbteen.com Page 7 of 12
5. Using 2x hardware, insert the Flat Washer (S) followed by Spring Washer (R) and Allen Bolt (L) into the
pre-drilled holes on the top of the Headboard (A) and through into the pre-drilled holes of the Left Left
Outer Post & Right Right Inner Post (C) and Left Outer Post and Right Left Inner Post (D) as shown
below. Tighten using the Ball Tip Allen Key in a clockwise direction as shown below. Do not over-
tighten.
6. Attach 1x Left Left Outer Post & Right Right Inner Post (C) to the left side of the Footboard (B) and 1x
Left Outer Post and Right Left Inner Post (D) to the right side of the Footboard (B) as shown below.
Using 4x hardware, secure by inserting the Half Moon Washer (T) followed by Flat Washer (S), Spring
Washer (R) and Hex Nut (O) into the Bolt (N) that were inserted. Tighten the Hex Nut (O) by using the
Wrench (J) in a clockwise direction as shown below. Do not over-tighten
Date: 2015-July-15
Rev: www.pbteen.com Page 8 of 12
7. Using 2x hardware, insert the Flat Washer (S) followed by Spring Washer (R) and Allen Bolt (L) into the
pre-drilled holes on the top of the Footboard (B) and through into the pre-drilled holes of the Left Left
Outer Post & Right Right Inner Post (C) and Left Outer Post and Right Left Inner Post (D) as shown
below. Tighten using the Ball Tip Allen Key in a clockwise direction as shown below. Do not over-
tighten
8. Remove the MDF cleats that are attached to the side of the Guardrail (E) using a Philip Head
Screwdriver in an anti-clockwise direction as shown below.
Date: 2015-July-15
Rev: www.pbteen.com Page 9 of 12
9. With the help of 2 adults or more, with the help of locating wood dowels, align 1x Guardrail (E) to the
pre-drilled holes of the Headboard and Footboard that was assembled with the Posts as shown below.
10. Insert the Barrel Nut (U) –(8x) into the pre-drilled holes on the inner edges of the Guardrail (E) as
shown below. Make sure the line of the Barrel Nut (U) is horizontal aligned when fully inserted as
shown below.
11. Insert the Flat Washer (Q) followed by Spring Washer (P) and Allen Bolt (K) –(8x) into the outer pre-
drilled holes of the Headboard and Footboard that were assembled and through into the pre-drilled
holes of the Guardrail (E) as shown below. Tighten the Bolt (K) half way by using the Ball Tip Allen Key
(I) as shown below.
12. Repeat Step 9, 10 and 11 on another piece of the Guardrail (E).
13. Fully tighten all the Allen Bolt (K) –(8x) on each side of the Headboard & Footboard that were
assembled as shown below. Do not over-tighten.
14. Install the Corner Bracket (W) –(4pcs) into each upper corner of the four sides as shown below. Place
the holes of the Corner Bracket (W) onto the pre-drilled holes as shown below. Insert the Allen Bolt (M)
into the holes of the Corner Bracket (W) and tighten it with the Ball Tip Allen Key in a clockwise
direction. Do not over-tighten.
Date: 2015-July-15
Rev: www.pbteen.com Page 10 of 12
15. Place the Bookcase (AI found separately in its own carton packed) on your desired location as shown
below.
16. Adjust the levelers found underneath the Posts to keep the Loft Bed balance as shown below.
17. With the help of 2 adults or more, lift it up and move it to the position where the Bookcase is
underneath the Loft bed as shown below.
18. Attach the Ladder (H) by slotting the ladder brackets on the Ladder (H) onto the space on the
Footboard (B) as shown below.
19. Secure the Ladder (H) to the Footboard (B) by inserting the Phillips Head Screw (Y) –(2x) into the hole
of each ladder bracket and tighten the Phillips Head Screw (Y) using the Philip Head Screwdriver (Not
Included) to the Footboard in a clockwise direction as shown below. Do not over-tighten.
Date: 2015-July-15
Rev: www.pbteen.com Page 11 of 12
20. Place the Center Support Rail onto the Mending Plate (V) that was installed to the Headboard and
Footboard (A&B) as shown below.
21. Secure the Mending Plate (V) to the Center Support Rail (F) by inserting the Allen Bolt (M) into the hole
underneath the Mending Plate (V) and through into the pre-drilled hole underneath the Center Support
Rail (F). Tighten the Allen Bolt (M) by using the Ball Tip Allen Key (I) in an anti-clockwise direction as
shown below. Do not over-tighten.
22. Place the Slats Roll (G) onto the cleat found on the inner side of the Guardrail (E) as shown below.
23. Secure the Slats Roll (G) to the cleat by inserting Phillips Head Screw (X) –(28x) into the pre-drilled
holes of the Slats Roll and tighten it with using the Philip Head Screwdriver (Not Included) in a
clockwise direction as shown below.
Date: 2015-July-15
Rev: www.pbteen.com Page 12 of 12
24. Assembly is completed.
Care Instructions:
Dust often using a clean, soft, dry and lint-free cloth.
Blot spills immediately and wipe with a clean, damp, cloth.
We do not recommend the use of chemical cleansers, abrasives or furniture polish on our lacquered
finish.
Hardware may loosen over time. Periodically check to make sure all connections are tight.
Re-tighten if necessary.

Other PB TEEN Indoor Furnishing manuals

PB TEEN iCHAIR User manual

PB TEEN

PB TEEN iCHAIR User manual

PB TEEN Tune-in bed Queen User manual

PB TEEN

PB TEEN Tune-in bed Queen User manual

PB TEEN Half-Pipe Storage User manual

PB TEEN

PB TEEN Half-Pipe Storage User manual

PB TEEN Locker Bookcase User manual

PB TEEN

PB TEEN Locker Bookcase User manual

PB TEEN Love Shelf  Series Quick start guide

PB TEEN

PB TEEN Love Shelf Series Quick start guide

PB TEEN LILAC User manual

PB TEEN

PB TEEN LILAC User manual

PB TEEN Wingback Task Chair User manual

PB TEEN

PB TEEN Wingback Task Chair User manual

PB TEEN Austin User manual

PB TEEN

PB TEEN Austin User manual

PB TEEN Junk Gypsy Wall Hook Horse Shoe User manual

PB TEEN

PB TEEN Junk Gypsy Wall Hook Horse Shoe User manual

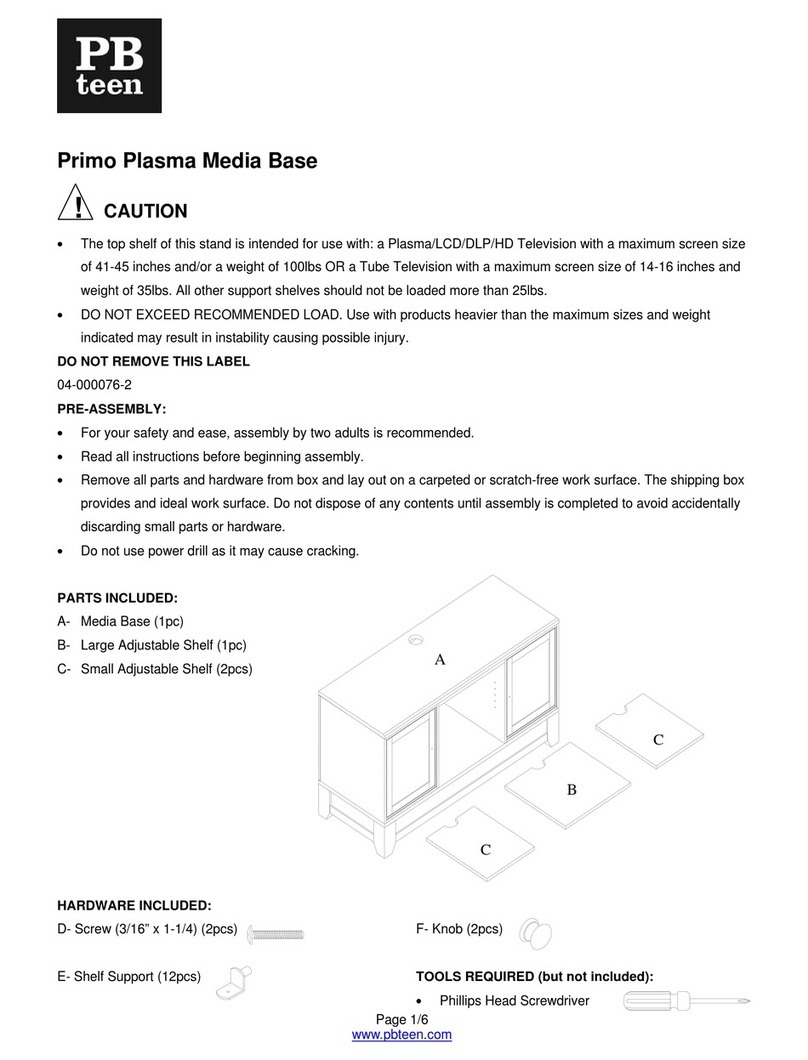
PB TEEN Primo Plasma Media Base User manual

PB TEEN

PB TEEN Primo Plasma Media Base User manual

PB TEEN Inspired Nighstand User manual

PB TEEN

PB TEEN Inspired Nighstand User manual

PB TEEN Beadboard Dresser Topper User manual

PB TEEN

PB TEEN Beadboard Dresser Topper User manual

PB TEEN HAMPTON CONVERTIBLE LOFT BED User manual

PB TEEN

PB TEEN HAMPTON CONVERTIBLE LOFT BED User manual

PB TEEN ROWAN OVERHEAD BRIDGE User manual

PB TEEN

PB TEEN ROWAN OVERHEAD BRIDGE User manual

PB TEEN QUINN User manual

PB TEEN

PB TEEN QUINN User manual

PB TEEN Brass Trim Shaped Mirror User manual

PB TEEN

PB TEEN Brass Trim Shaped Mirror User manual

PB TEEN Lilac User manual

PB TEEN

PB TEEN Lilac User manual

PB TEEN Chelsea User manual

PB TEEN

PB TEEN Chelsea User manual

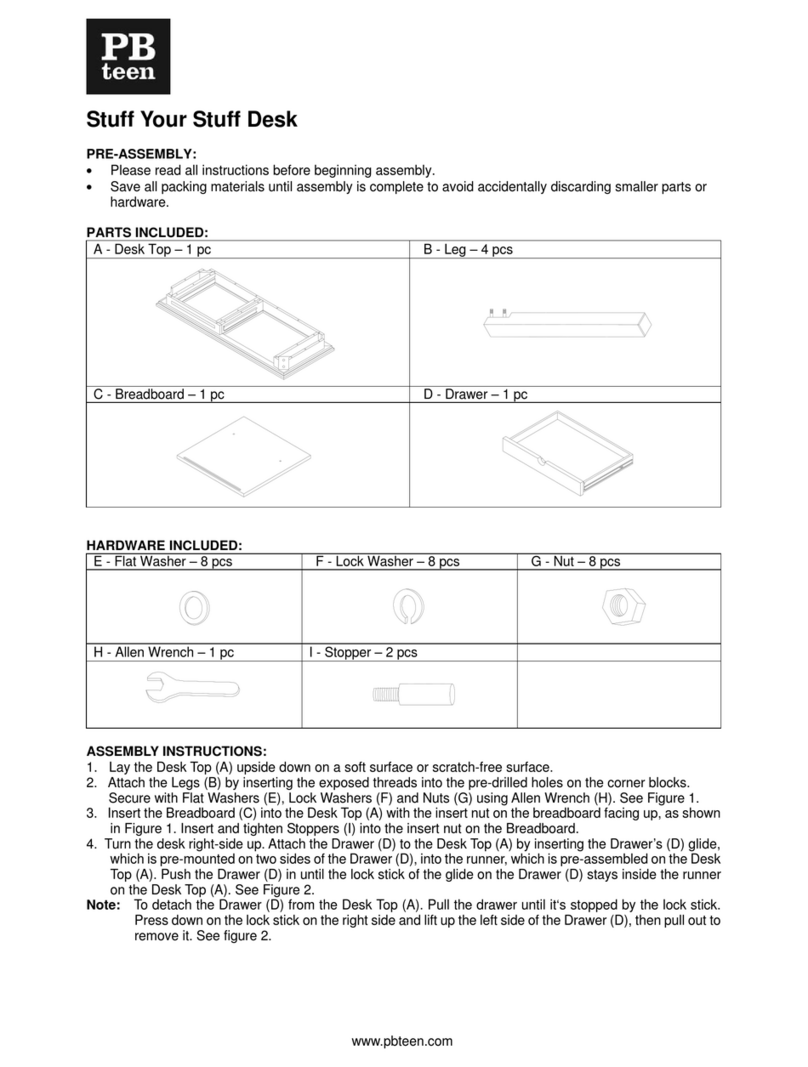
PB TEEN Small Space Solutions Desk User manual

PB TEEN

PB TEEN Small Space Solutions Desk User manual

PB TEEN CHELSEA User manual

PB TEEN

PB TEEN CHELSEA User manual

PB TEEN Chelsea Canopy Bed-Queen User manual

PB TEEN

PB TEEN Chelsea Canopy Bed-Queen User manual

PB TEEN Stuff-Your-Stuff Suspension Shelf User manual

PB TEEN

PB TEEN Stuff-Your-Stuff Suspension Shelf User manual

PB TEEN Burton Metal Sign Bear User manual

PB TEEN

PB TEEN Burton Metal Sign Bear User manual

PB TEEN FINDLEY User manual

PB TEEN

PB TEEN FINDLEY User manual

Popular Indoor Furnishing manuals by other brands

Quoizel QR5172 installation guide

Quoizel

Quoizel QR5172 installation guide

Community Playthings A910 Product guide

Community Playthings

Community Playthings A910 Product guide

Bolia C3 Office manual

Bolia

Bolia C3 Office manual

Greemotion Palma GM-1047 manual

Greemotion

Greemotion Palma GM-1047 manual

VLUV STOV manual

VLUV

VLUV STOV manual

Relita Etagenbett LUKA manual

Relita

Relita Etagenbett LUKA manual

Astonica 50104294 instruction manual

Astonica

Astonica 50104294 instruction manual

Kimball Office Footprint Assembly instructions

Kimball Office

Kimball Office Footprint Assembly instructions

BLACK RED WHITE re set adkz/4/15 Assembly manual

BLACK RED WHITE

BLACK RED WHITE re set adkz/4/15 Assembly manual

Clarke CSP520 Assembly instructions

Clarke

Clarke CSP520 Assembly instructions

Whittier Wood Furniture 2235AST Assembly instructions

Whittier Wood Furniture

Whittier Wood Furniture 2235AST Assembly instructions

Leisure made FORSYTH SECTIONAL 299231 Assembly instructions

Leisure made

Leisure made FORSYTH SECTIONAL 299231 Assembly instructions

Habitat Petunia 821796 manual

Habitat

Habitat Petunia 821796 manual

Heart of House HOH TOLLERTON 266/3304 Assembly instructions

Heart of House

Heart of House HOH TOLLERTON 266/3304 Assembly instructions

Forte DRTL1121 Assembling Instruction

Forte

Forte DRTL1121 Assembling Instruction

Hathaway Avondale BG2815 manual

Hathaway

Hathaway Avondale BG2815 manual

Reliabilt LS-SW-W2730B manual

Reliabilt

Reliabilt LS-SW-W2730B manual

GPM KENSINGTON OBDKEN5C manual

GPM

GPM KENSINGTON OBDKEN5C manual

manuals.online logo
manuals.online logoBrands
  • About & Mission
  • Contact us
  • Privacy Policy
  • Terms and Conditions

Copyright 2025 Manuals.Online. All Rights Reserved.