Pco edge family User manual

pco.
edge family
pco.
user manual

Target Audience: This camera is designed for use by technicians,
engineers, and scientists.
In case of any questions or comments, please contact us at PCO.
telephone +49 (0) 9441 2005 50
fax +49 (0) 9441 2005 20
email info@pco.de
postal address PCO AG
Donaupark 11
93309 Kelheim, Germany
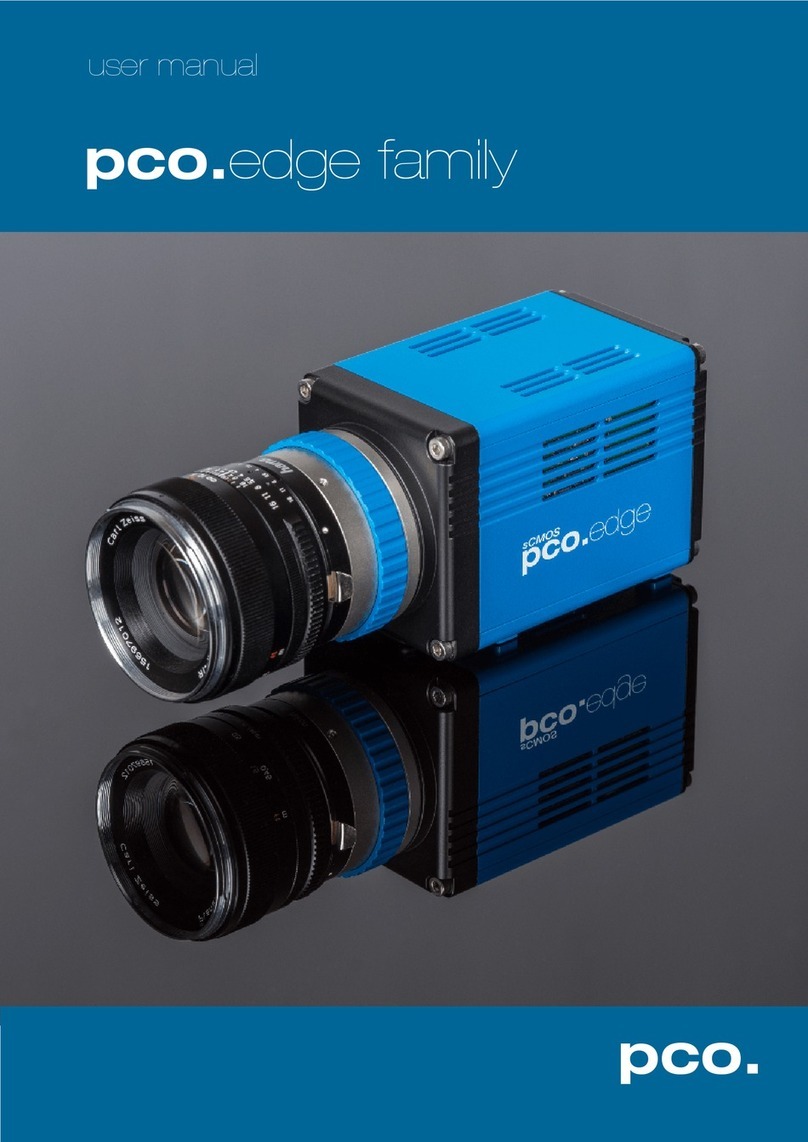
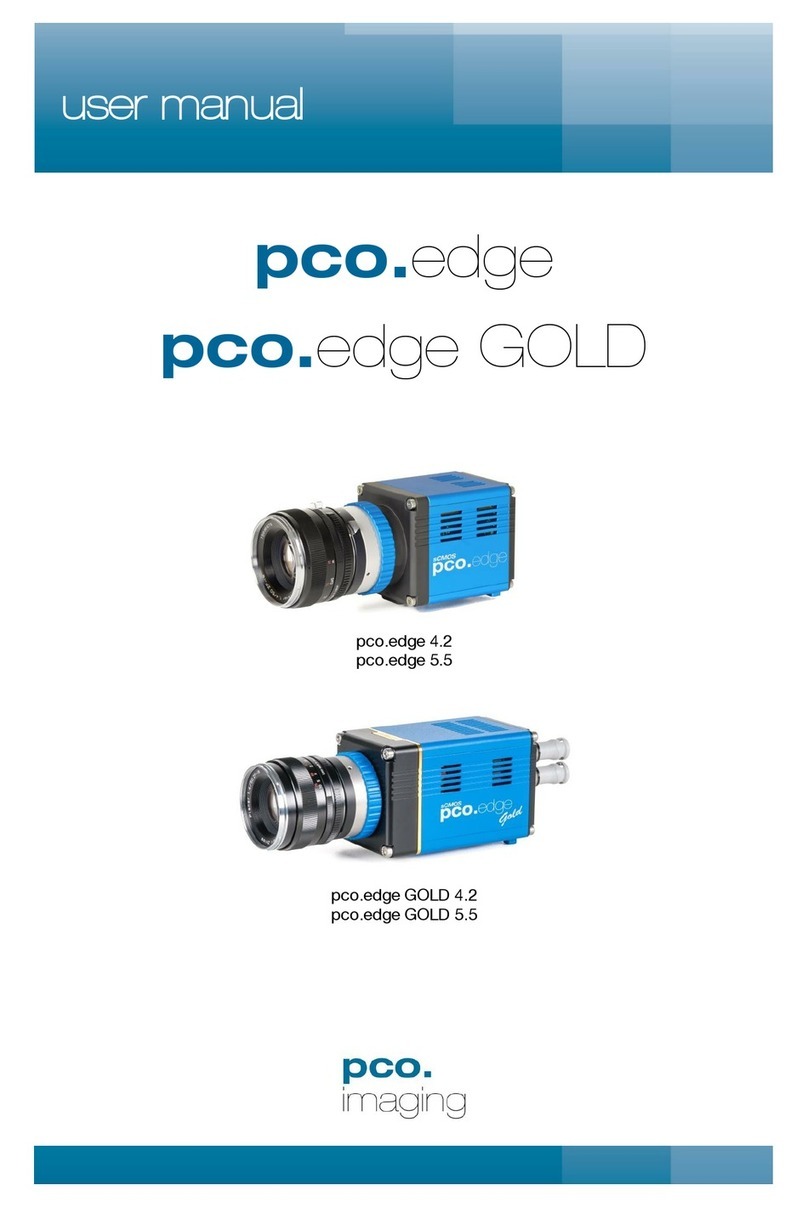
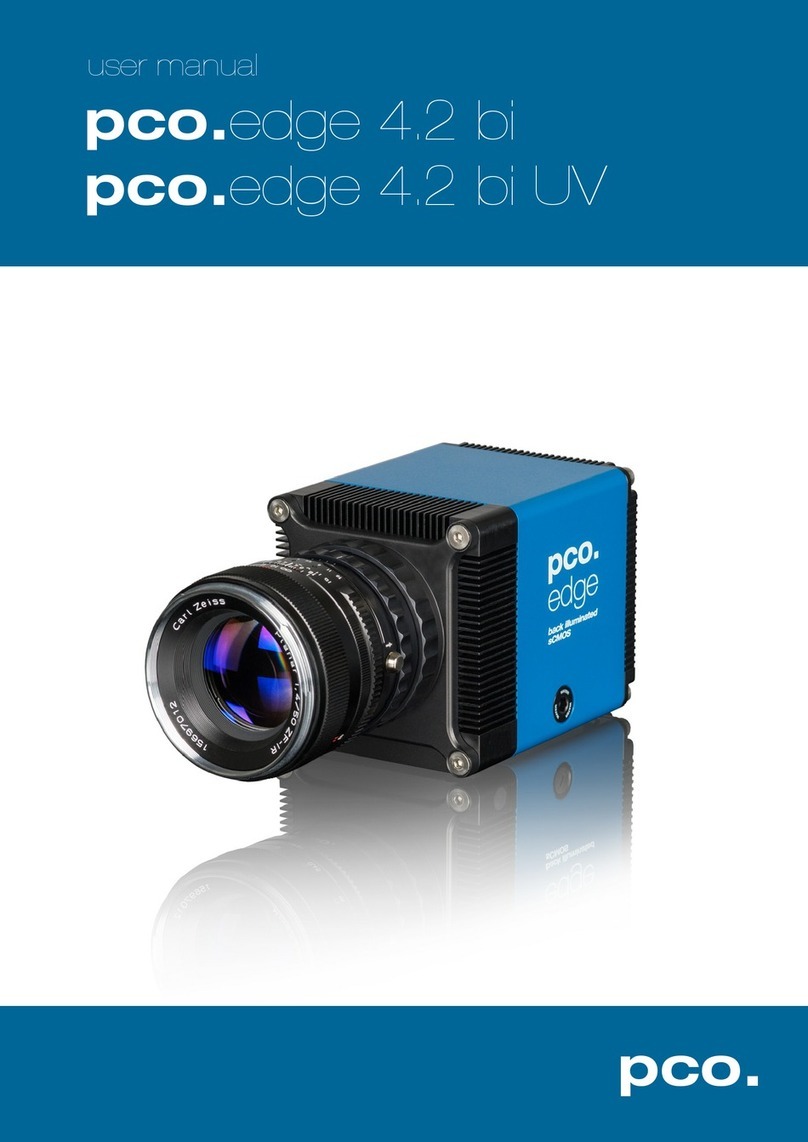
The cover photo shows an exemplary PCO camera system.
The lens is sold separately.
Copyright © 2014 PCO AG (called PCO in the following text), Kelheim,
Germany. All rights reserved. PCO assumes no responsibility for errors or
omissions in these materials. These materials are provided as is without
warranty of any kind, either expressed or implied, including but not limited to,
the implied warranties of merchantability, fitness for a particular purpose, or
non-infringement. PCO further does not warrant the accuracy or
completeness of the information, text, graphics, links or other items
contained within these materials. PCO shall not be liable for any special,
indirect, incidental, or consequential damages, including without limitation,
lost revenues or lost profits, which may result from the use of these materials.
The information is subject to change without notice and does not represent a
commitment on the part of PCO in the future. PCO hereby authorizes you to
copy documents for non – commercial use within your organization only. In
consideration of this authorization, you agree that any copy of these
documents, which you make, shall retain all copyright and other proprietary
notices contained herein. Each individual document published by PCO may
contain other proprietary notices and copyright information relating to that
individual document. Nothing contained herein shall be construed as
conferring by implication or otherwise any license or right under any patent or
trademark of PCO or any third party. Except as expressly provided, above
nothing contained herein shall be construed as conferring any license or right
under any PCO copyright. Note that any product, process, or technology in
this document may be the subject of other intellectual property rights
reserved by PCO, and may not be licensed hereunder.
Released May 2015 ©PCO AG
pco.edge family User Manual V2.10 ©PCO AG,Germany

TABLE OF CONTENTS
1. INTRODUCTION 5
1.1 DATA OVERVIEW 6
2. SAFETY INSTRUCTIONS 7
3. SYSTEM COMPONENTS 8
4. INSTALLATION 9
4.1 CAMERA DRIVER 9
4.2 CAMWARE 10
5. QUICK START 11
5.1 PREPARATION 11
5.2 START 11
5.3 YOUR FIRST IMAGE 12
6. CAMERA CONTROL 13
6.1 THE CAMERA CONTROL WINDOW 13
6.2 THE TIMING TAB 14
6.2.1. ROLLING SHUTTER 17
6.2.2. GLOBAL SHUTTER 21
6.2.3. GLOBAL RESET 24
6.3 THE SENSOR (SIZE) TAB 26
6.4 THE SENSOR (MISC.) TAB 27
6.5 THE RECORDING TAB 28
6.6 THE I/O SIGNALS TAB 31
7. CAMWARE FEATURES 33
7.1 IF NO CAMERA IS DETECTED (DEMO MODE) 33
7.2 OVERVIEW 34
7.3 THE FILE MENU 35
7.4 THE CAMERA MENU 39
7.5 THE ACQUISITION MENU 40
7.6 THE VIEW MENU 41
7.7 THE WINDOW MENU 44
7.8 THE HELP MENU 44
7.9 THE LOCAL MENU 45
7.10 ADDITIONAL FEATURES 46
TOP
3

APPENDIX 47
A1 MECHANICAL DIMENSIONS 48
A2 CHANGE FROM F-MOUNT TO C-MOUNT 50
A3 WATER COOLING OPTION PCO.AQUAMATIC II 51
A3.1 SYSTEM COMPONENTS 51
A3.2 FIRST TIME INSTALLATION 52
A3.3 OPERATION 53
A3.4 DIMENSIONS 54
A4 CAMERA LINK 55
A4.1 INSTALLATION OF FRAME GRABBER 55
A4.2 IMAGE DATA FLOW 57
A5 USB 3.0 59
A5.1 HARDWARE RECOMMENDATIONS 59
A5.2 USB 3.0 FAQ 61
A5.3 INSTALLATION OF THE USB 3.0 CARD 63
A5.4 RING BUFFER AND FIFO 64
A5.5 USB 2.0/3.0 FOL EXTENDER 65
A6 BINNING IN CMOS SENSORS 66
A7 LIGHTSHEET SCANNING MODE 67
A8 IMAGE FILE FORMATS 68
A9 CUSTOMER SERVICE 70
A9.1 SERVICE AND MAINTENANCE 70
A9.2 TROUBLE SHOOTING 71
ABOUT PCO 72
4

1 INTRODUCTION
1. INTRODUCTION
Advantages of the pco.edge family
The pco.edge family is a breakthrough in scientific imaging
cameras. It has the distinctive ability to simultaneously deliver
extremely low noise, high frame rates, wide dynamic range, high
quantum efficiency, high resolution and a large field of view - all in
one image.
The camera’s main features (model-specific)
•ultra low noise 0.8 electrons med (pco.edge (gold) 4.2)
•high resolution 5.5 megapixel (pco.edge 5.5)
•best dynamic range 36000:1 (pco.edge (gold) 4.2)
•high-speed 100 fps @ full resolution (pco.edge 4.2 & 5.5, Camera Link)
•high quantum efficiency up to 70% (pco.edge 4.2)
•deep cooling down to - 30 °C (pco.edge gold, water cooling)
•flexibility user selectable choice of shutter mode
•free of drift stabilized Peltier cooling in order to avoid any drift
phenomena in image sequences
Areas of Application
•
live cell microscopy
•single molecule detection
•localization microscopy
•lightsheet microscopy
•selective plane illumination
microscopy
•SPIM
•structured illumination
microscopy
•SIM
•TIRF microscopy /
waveguides
•spinning disk confocal
microscopy
•genome sequencing (2nd
and 3rd gen)
•FRET
•
FRAP
•lucky astronomy / imaging
•adaptive optics
•solar astronomy
•fluorescence spectroscopy
•bio- & chemiluminescence
•high content screening
•photovoltaic inspection
•x-ray tomography
•ophthalmology
•flow cytometry
•biochip reading
•machine vision
•spectral (hyperspectral)
imaging
•laser induced breakdown-
spectroscopy (LIBS)
5

1.1 DATA OVERVIEW
Overview – Available camera models
This table shows an overview over all available camera models.
Type Inter-
face Shutter Read Out
Frequency
Line
time
(µs)
FPS Sensor
pco.edge
3.1 USB 3.0
Rolling 105 MHz 24.93 50
mono &
color
Global
204 MHz
12.80
48
Global
Reset
105 MHz 24.99 50
pco.edge
4.2 LT USB 3.0
Rolling 110 MHz 24.10 40
mono
Global
Reset
110 MHz 24.10 40
pco.edge
4.2 USB 3.0
Rolling 110 MHz 24.10 40
mono
Global
Reset 110 MHz 24.10 40
pco.edge
4.2
Camera
Link Rolling
95.3 MHz
(slow scan)
27.60 35
mono
272.3 MHz
(fast scan)
9.65 100
pco.edge
5.5 USB 3.0
Rolling 86 MHz 30.5 30
mono &
color
Global
160 MHz
16.40
28
Global
Reset
86 MHz 30.51 30
pco.edge
5.5
Camera
Link
Rolling
95.3 MHz
(slow scan)
27.52 33
mono &
color
286 MHz
(fast scan)
9.17 100
Global 286 MHz 9.17 50
Global
Reset
95.3 MHz
(slow scan)
27.52 33
286 MHz
(fast scan)
9.17 100
pco.edge
gold 4.2 USB 3.0 Rolling 110 MHz 24.10 40 mono
pco.edge
gold 5.5 USB 3.0 Rolling 86 MHz 30.50 30 mono &
color
6

2 SAFETY INSTRUCTIONS
2. SAFETY INSTRUCTIONS
Please read the safety instructions completely
Never operate the camera in humid or dusty environments or in
places with high amounts of X-ray radiation. Humidity, dust or X-
rays could damage the camera.
To avoid the risk of water condensation, protect the camera
against extreme changes of ambient temperature. If condensation
enters the camera, there is the risk of electric shock.
To prevent damage to the camera, the system must be kept stable
and protected against strong jolts or vibrations. The socket at the
bottom of the camera is to be used for mounting purposes only.
Electric shock warning – Never slide any items through slits or holes
into the camera because of the risk of electric shock if the voltage
parts inside are touched.
Each time the camera is used, check the power cable for any
damage.
Never position the cable in a way that it could become a tripping
hazard.
Do not force the lens onto the camera. To protect the lens
connector thread from damage, use minimal force when attaching a
lens to the camera.
If any of the following conditions apply, immediately switch off the
camera, separate it from the power line and contact our customer
support:
If the power cable or the power plug seems to be worn or
damaged.
If liquids have penetrated the device.
If, after thoroughly reviewing the instruction manual, the
device is still not operating properly.
If the camera has been dropped or the casing is damaged.
7

3. SYSTEM COMPONENTS
The camera system includes the following parts.
Camera Head
F-mount optical connection (standard)
For standard F-mount / SLR lenses and adapters.
C-mount ring provided (see appendix A2)
For standard C-mount and microscopy connectors.
DC Power Jack (connect to power supply)
Input/Output 4x SMA connectors2x input - 2x output
Interface (user selectable) Dual Camera Link full or USB 3.0
LED indicates camera status
Green continuous: camera is booting
Green blinking: camera is ready for operation
Yellow blinking: recording on
Red blinking: error
Serial Number Tag (on the bottom of the camera)
Mounting Thread
1/4-20 UNC mounting thread
Camera Link Grabber Card / USB 3.0 PCI Interface Card
PCI Express x4 Card (Camera Link full)or
PCI Express x1 Card (2 x USB 3.0 connections)
A PCI Card with 4 x USB 3.0 connections is also available, contact PCO for further
details. A PCIe x4 slot is necessary for this card.
Power Supply
Your system will be equipped with either a 24 V or a 12 V power supply,
depending on the model you selected. (connector: Lemo FGG.0B)
Cable
CameraLink Cable (2x3m) or USB-A/USB-B cable (5m)
Digital Camera Tools (USB storage device content)
•CamWare: software for camera control & image acquisition
•Camera driver & tools
•Software development kit (SDK) & demo programs in C and C++
8

4 INSTALLATION
4. INSTALLATION
You will find all necessary files on the accompanying USB storage
device. You may also download the newest versions of our software,
camera driver and third party software drivers from the PCO website
(www.pco.de).
Minimum system requirements:
•Clock speed > 2 GHz
•RAM > 4 GB
•Windows 7 or higher
•1280 x 1024 pixel resolution display
•USB 3.0 or Camera Link
4.1 CAMERA DRIVER
There are two different camera interfaces available:
Camera Link (Frame Grabber)
When operating the camera with Camera Link Interface: Please run
the appropriate grabber driver installation with default settings.
For detailed installation instructions please see A4 (microEnable IV
grabber instruction).
USB 3.0
When USB 3.0 is used as a camera interface, it is recommended to
use the enclosed PCI Interface card. For detailed installation
instructions or further hardware recommendations, see A5.
Install PCO USB 3.0 Driver
For pco.edge USB 3.0 you always need to install the latest USB
Driver version. After these two screens the driver is completely
installed.
1
2
1
2
9

4.2 CAMWARE
The CamWare Windows application software enables you to control
every camera parameter or setting. Images can be displayed on a
monitor and may be downloaded and stored. The USB storage
device contains the installation files for the software for latest
Windows operating systems in 32 & 64 bit.
After a successful installation, you will find the program file Digital
Camera Toolbox in your program directory and a CamWare32/64
button on your desktop. Other helpful tools are also installed in the
same directory.
To uninstall the CamWare program, please use the Software feature
under Windows’ System Control.
Please follow the installation wizard
-Install CamWare as Admin to install to program folder, instead it
will be installed only to user folder
-Then choose install directory
-Choose components: Select additional drivers for Camera Link
Interface (Silicon Software Dll mE IV)
-After the next two screens installation is complete
1
2
3
4
1
1
2
3
4
10

5 QUICK START
5. QUICK START
In order to get familiar with your new camera and software it might be
helpful, if you first aim at an object that is easy to focus and that can
be seen at standard light conditions.
5.1 PREPARATION
•Computer is turned on
•Installation is finished (see chapter 4)
•An appropriate lens is attached (remove cap) or the camera is
attached properly to the microscope, spectrograph or other
scientific device
•Camera is connected to the PC (USB 3.0 or Camera Link)
•Camera is connected to the power supply and ready
(green LED blinks)
5.2 START
Start CamWare and the graphical user interface will start up:
NOTE
Always install latest CamWare version to be able to use full
function of your pco camera.
11

5.3 YOUR FIRST IMAGE
Please follow the instructions:
•CamWare must be started
•Open view window (b/w or color)
•Start live preview
•Apply auto range peak
•You may adjust exposure time, aperture and focus
•Now you should clearly see the object in the window
During live preview mode, most settings
are disabled.
If you need to change exposure time
(e.g. the image is still either too dark or
too bright), please go to chapter 6.1
If you want to record and save images,
please see chapter 6and chapter 7for
detailed information.
(Screenshot shows color camera)
NOTE
Live preview: useful for fast and easy camera adjustment and
focusing. This command disables the Camera Control window if it
is opened (except exposure time setting).
2
3
4
5
66
1
12

6 CAMERA CONTROL
NOTE
If the Accept button is not pressed, these changes will be ignored
and lost. If the changes are within the allowed condition limits of
the camera, the green lamp will be highlighted.
The camera
control dialog automatically adjusts settings in case they are out
of limits.
6. CAMERA CONTROL
The Camera Control window in CamWare is the main interface for all
camera settings. For further CamWare features please see chapter 7.
6.1 THE CAMERA CONTROL WINDOW
The camera control window can be opened by selecting the
proper command in the Camera-Menu or by the corresponding
button in the toolbar.
The camera control dialog always adapts
to the camera type connected. For
pco.edge the camera control settings are
spread over five property sheets ,
which are explained on the next pages.
Changes to the camera control sheets
must be completed by pressing the
Accept button .
The information field shows various
information about the camera. Click into
the info field to change the displayed
views.
There are three different views of the information field
Camera type
Actual temperatures
Image size and frame
rate
1
2
3
3
1
2
3
13

6.2 THE TIMING TAB
Introduction to timing
An important parameter for a camera is
the frame rate. The upper limit of the
frame rate is defined by exposure and
readout time.
The figure below shows the timing
scheme. Exposure and readout are done
simultaneously, this means while image n
is readout from the sensor, image n+1
is
already integrated within the sensor’s
pixel elements.
Figure shows, that in case of short
exposure times, the readout is the
limiting factor. The second
figure shows that for long exposure times the exposure
time
plus delay (tdelay) is the limiting factor.
Figure :Image timing for short exposure times
Figure :Image timing for long exposure times
If a lower frame rate is desired, this can be achieved by inserting
additional delay times. These rules also apply in external trigger
mode, i.e. this
defines when the next trigger can be applied or
recognized.
n + 1
n + 2
n + 1
n + 2
texp
treadout
n - 1
n + 1
n + 1
t
exp
tdel
readout
readout
exposure
exposure
1
1
2
2
14

6 CAMERA CONTROL
Busy Stat (out)
acc.
not acc. accepted accepted
Exp trig (in)
Exp Stat (out)
NOTE
If the trigger rate of the
external signal is quite
near the maximum
possible frame rate
(difference < 1/1000), it
will be random, whether
or not a trigger is
accepted!
Trigger Mode
In this context trigger means exposure
trigger, i.e. the trigger signal controls the
exposure of a single image (light
integration time).
Auto Sequence:The camera will
optimize the image recording to achieve
the best possible frame rate.
In the auto sequence exposure control
mode, the camera determines the fastest
possible frame rate depending on the
adjusted exposure time and the required
readout time.
After a start command is given, the sequential recording is started
until a stop command is given.
Soft Trigger:Single images can be recorded with this CamWare
command. The single image can be acquired by pressing the Single
Trigger button. This button appears after pressing the Start Record
button (see 7.2 ). Other signals cannot influence this operating mode.
For test purposes only.
In the External Exposure Start exposure control mode, single image
recording is started by the falling or rising edge of the voltage signal
at the BNC input #1(see 6.6). The frame rate cannot be set, as the
frame rate is defined by the frequency of the external signal. However
the predefined exposure time and ROI settings affect the maximum
possible frame rate.
The Busy Status signal at BNC #3 (BNC explanation see 6.6) will
indicate if a new trigger is accepted.
The maximum achievable frame rate in external trigger mode is
negligibly less (about 0.1%) than operating the camera in Auto
Sequence mode.
If the trigger rate of the external signal is higher than the maximum
possible frame rate, every second trigger pulse is ignored. Therefore
the actual frame rate drops to half of the external trigger rate. If the
trigger rate is increased further, then only every third, every fourth etc.
trigger edge will be accepted.
1
1
15

Busy Stat (out)
acc.
not
acc
.
Exp trig (in)
Exp Stat (out)
acc.
not
acc
.
acc.
not
acc.
acc.
not
acc.
treadout
Busy Stat (out)
acc.
not acc.
accepted
accepted
Exp trig (in)
Exp Stat (out)
In order to avoid trade-offs at maximum frame rate use either the
Busy Status signal or make sure that the external trigger rate follows
this condition: 0.999 x External Trigger Rate ≤fmax.
External Exp. Control An external signal applied at BNC #1 (see 6.6),
controls the start and the duration of the exposure.
A new exposure is started by the falling or rising edge of the voltage
signal at the BNC input. The exposure is finished when the opposite
edge is detected. Thus in this mode, the start as well as the length of
the exposure time can be controlled.
No further settings can be made, as the image timing is completely
controlled by the external trigger signal.
Be aware, that the externally controlled exposure time is limited. The
integration will be stopped automatically if the maximum exposure
time is achieved.
The Busy Status signal at BNC #3 (see 6.6) indicates if a new trigger
is accepted.
Camera
Interface
Shutter Mode
Max.exposure time
pco.edge 3.1 USB 3.0
Rolling
2 s
Global
100 ms
Global Reset
2 s
pco.edge USB 3.0
Rolling
10 s
Global Reset
2s
pco.edge 4.2 CameraLink Rolling 10 s
pco.edge 4.2 USB 3.0 Rolling 20 s
pco.edge gold
USB 3.0 Rolling 60 s
pco.edge 5.5 Camera Link
Global 100 ms
Rolling &
Global Reset 2 s
pco.edge 5.5 USB 3.0 Rolling 2 s
pco.edge gold
USB 3.0 Rolling 10 s
16

6 CAMERA CONTROL
reset
start
reset
end
readout
start
readout
end
tframe
tglobal
t
exposure (first row)
tt
texposure (last row)
tall rows
6.2.1. ROLLING SHUTTER
In Rolling Shutter mode the pixel reset and exposure start is carried
out row by row. Each row has the same exposure time, but a different
start and end of exposure. The pco.edge image sensor consists of
two discrete halves, which are exposed and read out simultaneously,
i.e. from the outside to the center by default. Within one row, the
exposure starts simultaneously for all pixels. Available RS readout
modes see 7.4.
General Timing Diagram
The exposure time of each row starts with the corresponding reset of
the row. Then after a predefined time, the exposure is stopped. The
light induced accumulated charge carriers of the pixels in a row are
recorded into memory in a low noise (readout) mode. This results in
the total image appearing in memory corresponding to the row
readout.
Timing
The exposure and delay time can be adjusted in steps of one line
time (see p.6).
Camera (RS only)
Interface
Exposure time
Delay time
pco.edge 3.1
USB 3.0
500 µs … 2 s
0 … 1 s
pco.edge 4.2 LT USB 3.0 100 µs … 10 s
pco.edge 4.2 Camera Link 100 µs … 10 s
pco.edge 4.2 USB 3.0 100 µs … 20 s
pco.edge gold 4.2 USB 3.0 100 µs ... 60 s
pco.edge 5.5 CL & USB 3.0 500 µs … 2 s
pco.edge gold 5.5 USB 3.0 500 µs ... 10 s
tframe
17

FPS based (only Camera Link interface)
The camera will optimize the image recording to achieve the selected
frame rate with chosen exposure time as close as possible.
Only for Auto Sequence trigger mode and only available with
Camera Link Interface
First the frame rate is set. If the time required for readout of the image
is longer than 1 / frame rate, then the frame rate will be reduced to
1 / treadout.
The frame rate can be adjusted in steps of 1 mHz (Rolling Shutter).
If the selected exposure time would require a lower frame rate, the
exposure time is cut to the maximum possible time at that frame rate.
Camera
(RS only)
Interface Frame rate (FPS Based) Exposure time
pco.edge 4.2
(@ full resol.)
Camera
Link
0.1…35 Hz @ 95.3 MHz
100 µs…10 s
0.1…100 Hz @ 272.3 MHz
pco.edge 5.5
(@ full resol.)
Camera
Link
0.5…33.3 Hz @ 95.3 MHz
500 µs…2 s
0.5…100 Hz @ 286 MHz
Exposure time > Sensor frame readout time (Auto Sequence)
In case the required exposure time is longer than the frame readout
time, the image sensor is completely exposed to light for some time
(tglobal). In case of a triggered flash illumination, this would be the best
moment to illuminate the image sensor.
tframe
t
all rows 2nd
Expos
(
out)
Start
Global
(
out)
Start
Trigger
(
in)
Start
Busy
(
out)
Start
t exposure
1st row, 1st
image
t exposure
1st row, 2nd
image
t all rows 1st
Δt = t
NOTE
Δ
t = t : 1 line time
(See p.6)
18

6 CAMERA CONTROL
The hardware signal for the time tglobal is available on connector #4
(Global out see 6.6).
Obviously, if during exposure and readout, parts of the viewed image
are moving horizontally, this would result in image distortion. This is
why the global shutter mode may be a prerequisite for some
applications.
However, most dynamic events can be captured in 1 ms, which is a
common integration time with SLR cameras set at 1/1000 exposure.
The time shift from one row to another is only about 10 µs (fast scan).
The resulting maximum readout time of 10 ms (at full resolution)
seems to be sufficient for a broad spectrum of dynamic events.
The 10 ms is also faster than the image shift process of most frame
transfer emCCD image sensors previously used for low light
applications. If this does not influence the image recording and
processing, then rolling shutter mode will not affect it either.
Exposure time < Sensor frame readout time (Auto Sequence)
In case the required exposure time is shorter than the frame readout
time, the image is composed of two exposure bands moving from the
outside to the center of the sensor.
For example, the shortest exposure time in RS is 500 µs (pco.edge
3.1 & 5.5) and 100 µs (pco.edge 4.2). The band of simultaneous
exposure is in this case (smallest possible height) at full resolution:
e.g. pco.edge 4.2: 100 µs / 24.93 µs (line time) = 4 →number of
simultaneous rows = 8 (Rolling Shutter mode A-D see 7.4)
Previous comments on image distortion (also known as Rolling
Shutter Effect) apply here as well.
exposure stop & readout
reset & exposure start
band of simultaneous exposure
19
Graph on next page.

tfsys
Exposure
Exp trig (in)
trsys tjit tjittdelaytdelay
Details for External Exp. Start and External Exp. Ctrl
The detailed timing for external trigger includes system delay times,
an adjustable additional delay time, and the jitter.
Camera
(RS only) Interface System
clock
tsys
(trsys/ tfsys)* tjit (jitter) tdelay
(delay)
pco.edge 3.1 USB 3.0 100
MHz 50 ns
≤1 line time
(see p.6)
0 … 1s
pco.edge 4.2 Camera
Link 72 MHz 70 ns
pco.edge 4.2 /
4.2 LT /
gold 4.2
USB 3.0 100
MHz 50 ns
pco.edge 5.5 /
gold 5.5 USB 3.0 100
MHz 50 ns
pco.edge 5.5 Camera
Link 72 MHz 70 s
*trsys/ tfsys = t rising edge / t falling edge
For optimized synchronization (minimized jitter time) use the falling
edge of the line signal at the status output (see 6.6).
Expos
(out)
Start
Trigger
(in)
Start
Busy
(out)
Start
tframe
tall rows 2nd image
tall rows 1st image
NOTE
The jitter tjit can be a
maximum of one
row/line time.
20
Auto Sequence graph
Table of contents
Other Pco Digital Camera manuals
Popular Digital Camera manuals by other brands
Logitech
Logitech TV Camera for Skype Setup guide

Panasonic
Panasonic Lumix DMC-TZ330 user manual

Nikon
Nikon COOLPIX 3700 Specifications
Panasonic
Panasonic Lumix DMC-FX80EB Operating instructions for advanced features
Novus
Novus NVAHD-4DN3202V/IR-1-II user manual
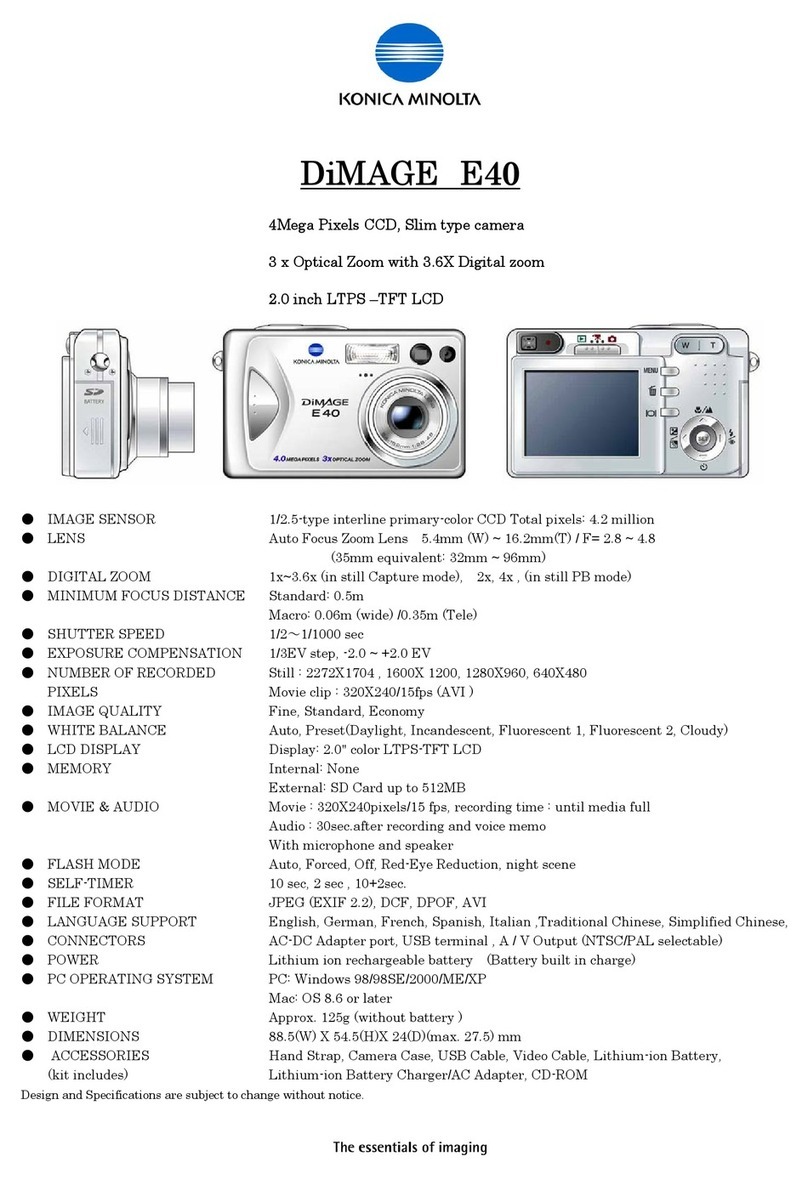
Konica Minolta
Konica Minolta DiMAGE E40 Specification sheet
