Pearl River V-03 User manual


1
Safety Guideline
Before playing the digital piano, please read the following content.
Please put this instruction book in a safety place, in order to read it in the
future.
Warning
In case of getting seriously injured or killed because of electric shock, short
circuit, damage, fire or other dangers, please obey the following warnings.
These warnings include but not limited to the following situations:
Power/Electric Cable
*The rated voltage of this device is xed. The required voltage is printed on
the nameplate of this device.
*Check the plug regularly, clean the dirt and ash piled up on the plug.
*This digital piano only matches with the provided power cable and plug.

2
* Please don't put electric cable beside heaters or radiators. Don't bend too much
or cause damage to electric cable. Don't put any heavy stu on the wire. Don't
put it where it may be run over or trampled to make people stumble.
Do Not Open
* Please do not open this device and try to dismantle inner components or
transform it in any ways. This device does not include any components
for users to x. If you nd any problems, please stop using and ask qualied
Pearl River service stas to examine and repair the device.
Warning about humidity
* In case of any liquid splashing into the device, please do not get this device
rained or use it nearby water, in a wet surrounding or put a container of liquid
on it. If any liquid, like water, splashes into the instrument, please cut o
power and pull out the electric cable from the AC socket immediately. Then
ask qualied Pearl River service stas to examine and repair the device.
* Do not plug with wet hands.

3
Fire
* Do not place any burning stu, like candle, on the instrument. It may cause re.
* When sensing any unusual situations, such as worn away and damage of power
cable, sound suddenly stops during playing and the smell and smoke it causes,
please turn o the power immediately and pull out plug from the socket. Ask
qualied Pearl River service stas to examine and repair the device.
Attention
In case that people around you and you get injured or get loss of device and
property, please obey the following basic instructions. These instructions include
but not limited to following situations.
Power/Electric Cable
* When pulling out plug from socket, please grab the plug instead of power
cable. Drawing directly will cause damage to the power cable.
* If not using the instruments for a long time or during a lighting storm, please

4
pull out plug from the socket.
* Do not connect the instrument to the socket by multiple connector, or it will
lower the sound quality, or it will make socket overheat.
Assemble Use
* Please carefully read the attachment that explains the assemble process.
If assembling the instrument in a wrong order, it will damage the instrument
and hurt the user.
* Please connect the external equipment while the digital piano is o.
* Before using, please install the supporting screw and adjust it close to the
ground, in case of trampling pedal.
Installation place
* In case of deformation of control panel and damage to inner components,
please do not place this device in an environment with a lot of dirt, vibration,
extreme cold and hot (such as, direct sunshine, closing to heater and inside
a car under the burning sun)
* Please do not use this device near the television, radio, stereo, cell phone

5
or other electronic devices. This may make noise on the device itself and
television or radio nearby.
* Please do not put this device on unstable place, or it may cause a sudden fall
down.
* Before moving the device, please pull out all electric cables from the socket.
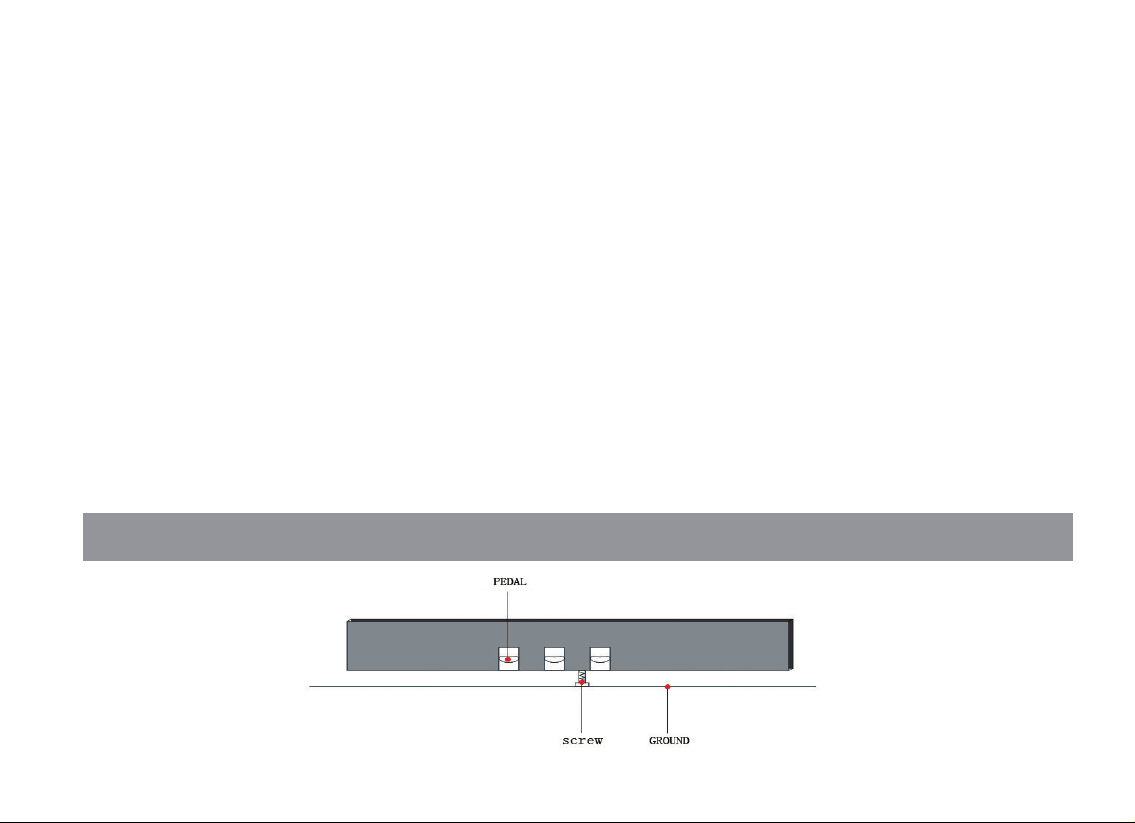
* When you set this device, please conrm the AC socket going to be used
is reachable. The device should be connected to the socket with protecting
grounding connection. If you nd any problems and questions, please
immediately turn o the power and pull out the plug from the socket. Even
though the power is turned o, there is still a small amount of electricity
current owing though it. If you decide not using this device for a long time,
please pull out the plug from AC socket.
* This product uses all extreme power switch as a device to cut o from
network power. The power switch button is on the right side of the keyboard.
When the power button is pressed, it is switched on. When the power button
up rises, it is switched o.
The graphic and screen in this hand book is only for introduction purpose. It may be dierent from the instrument you buy.

6
Catalogue
Precautions …………………………………………………………………………… 8
Control Panel ………………………………………………………………………… 9
Power ………………………………………………………………………………… 10
Volume ……………………………………………………………………………… 10
Headphone …………………………………………………………………………… 10
Record ………………………………………………………………………………… 11
Play/Stop ……………………………………………………………………………… 11
Demo songs …………………………………………………………………………… 11
Sounds ………………………………………………………………………………… 12
Instruction mode ……………………………………………………………………… 12
Grand piano ………………………………………………………………………… 13
Metronome …………………………………………………………………………… 13
Transpose …………………………………………………………………………… 14
Function Control ……………………………………………………………………… 15

7
Function Edition ……………………………………………………………………….… 15
Bluetooth Function ………………………………………………………........……….… 19
Rear connection board …………………………………………………………………. 19
USB MIDI …………………………………………………………………………………. 20
Audio Connection ………………………………………………………………………. 20
GM voice list in MIDI state....................................................................................... 20
MIDI control music list ............................................................................................. 29
Sound list.................................................................................................................. 29
MIDI keyboard percussion music list.…………………………......................……....... 33
Demo List …….........……………………………………………………………………... 34
Specication ………………………………………………………………………….... 38
Trouble shooting ……………………………………………………………………… 40

8
We thank you for selecting the all-new digital piano!Whether you are a student, teacher or
professional, the piano will impress you with its musical quality and stylish design providing years
of enjoyment. In addition, the digital piano is equipped with a high performance Hammer Action
keyboard, for a realistic touch that allows you to express yourself in endless varieties of shad and
color.
For these and many other reasons, you will discover the digital piano is an absolute pleasure
to play!To get the absolute most out of the new piano, we recommend that you read this manual
carefully so that you can take full advantage of all the advanced and convenient functions. We also
recommend that you keep this manual in a safe and handy place for quick and easy reference in the
future.
If you’re enjoying this digital piano, please kindly recommend it to your friends!
Precautions

9
When you install the pedal,pls kindly pay attention to screw,pls be must to make the screw to
close and touch ground ,if not ,the pedal will be easy to be damage
Control Panel
Record
Play/Stop
Metronome
Transpose
Sound/Date
Demo song
Main Volume Knob
Switches the metronome ON/OFF
Allows you to transpose the piano
global pitch
*Preset selection
*Data insert
*Demo listening
*We'll call these keys
conventionally in this mamual
*DATA UP
*DATA DOWN
GrandPiano Button

10
Connect your piano to a appropriate AC outlet and switch it on using
the power button located on the right hand side of the keyboard.Wait a
couple of seconds while your piano powers up. The Grand Piano button
will illuminate indicating the default sound.
Turn the volume knob on the control panel to set your piano volume.
Turning the knob to the left will decrease the volume and turning it
to the right will increase the volume.
Warning: high volume may cuase damage to ears
Apart from the built-in speaker system, you can alsoconnect two
standard stereo headphones.Headphone jack is on the left side
under the keyboard.The built-in speaker system doesn't work
after connecting the headphone.And just the headphone volume
by switching master volume button.
Power
Volume
Headphone
OFF
POWER
ON

11
Start recording: Press “Record”. As the indicate light in the buttonshows the start
of recording, the metronome will automatically start. Press “Metronome” to
turno if it’s not needed.
Stop recording: Press “Record” again to stop recording.When the memory capa
-city is full loaded, the recording will stop automatically.
To play the recorded track, press “Play/Stop”. Press again to stop.
This digital piano features demo songs, you can play by following
this procedure:
1. Start the demo sequence by pressing the two DATA UP/DOWN
buttons AT THE SAME TIME.
2. Press the two DATA UP/DOWN buttons again to STOP the demo sequence.
Play/Stop
Metronome
Play/Stop
Record
Demo song
Sound/Data
Record
Play/Stop
Demo songs

12
First, power on the instrument(GRANDPIANO is automatically Selected). Press the DATA UP/
DOWN button to change the instrument presets.Each time the button is pressed, the next preset is
recalled(there are 26 available presets). Pressing the Grand Piano button on the control panel will
return your piano to the GRANDPIANO sound.
Press and key together with UP/DOWN button to start instruction mide. There are 15 instruction
tracks which can be select by press dierent keys when starting the mode.
Default sound Demo songs
Sound/Data
Press Grand piano button to
default sound
Demo song
Sound/Data
Press any key Press both buttons together
Sounds
Instruction mode

13
No matter in what condition, press the METRONOME button on the panel to
enable you return to initial status. Default preset is Grand Piano.
Press the METRONOME button on the panel to enable your metronome. The button LED-light will
start ashing. The default metronome tempo is 120 BPM.
Press Sound/Data to select speed
Demo
Sound/Data
Metronome
Transpose
1 2 3 4 5 6 7 8 9 0
Grand piano
Metronome

14
By pressing the METRONOME button for more than 2 seconds,
the piano will enter the metronome tempo settings.
Set the metronome tempo by pressing the corresponding key in
the keyboard in a range from 20 to 280 BPM.
Press the METRONOME button to exit the metronomer settings
You can transpose your piano by +/-12 semitones. Keep the
TRANSPOSE button on the control panel pressed for more than 2
seconds (the corresponding button indicator blinks):
Press the SOUND/DATA buttons to change the current value.
Press the TRANSPOSE button to exit the transpose edit status.
The button indicator stops ashing but remains ON, to show the
current transposed status of the piano.
Deom songs
Sound/Data
Transpose
Transpose

15
Function Control
Being an extremely user-friendly instrument, the functions of this digital piano are easily activated.
Each function is associated with one of keys on the right keyboard.
The name of each function is printed under the corresponding key for your reference.
Each programming function can be enabled by pressing the GRANDPIANO key.
While holding the selected key, you can select the corresponding function.
Press the GRANDPIANO button to exit the function status and return to normal mode
Function Edition
METRONOME
12 3 4
56
PERCUSSION
SPLIT POINT
OFF
ON
CHORUS
OFF
ON
REVERB
OFF
ON
DUAL VOICE
OFF
ON
SPLIT
OFF
ON
SOFT
TOUCH
HARD
STANDARD
OFF
Dynamics: It is divided into four types, o, soft, standard and strong. Each of them is corresponding
to one key. Press grand piano button to activate function select status, then press corresponding key
to choose.
12 3 4
56
PRECUSSION
SPLIT POINT
OFF
ON
CHORUS
OFF
ON
REVERB
OFF
ON
DUAL VOICE
OFF
ON
SPLIT
OFF
ON
SOFT
TOUCH
HARD
STANDARD
OFF

16
Split Mode:There are two statuses, on and o, which are corresponding to one key. First long press
grand piano button to activate function selection. Then press corresponding function key to turn on or
o split function.
Dual Voice:There are two statuses, on and o, which are corresponding to one key. First long press
grand piano button to activate function selection. Then press corresponding function key to turn on or
o dual voice function.
12 3 4
56
PERCUSSION
SPLIT POINT
OFF
ON
CHORUS
OFF
ON
REVERB
OFF
ON
DUAL VOICE
OFF
ON
SPLIT
OFF
ON
SOFT
TOUCH
HARD
STANDARD
OFF
12 3 4
56
PERCUSSION
SPLIT POINT
OFF
ON
CHORUS
OFF
ON
REVERB
OFF
ON
DUAL VOICE
OFF
ON
SPLIT
OFF
ON
SOFT
TOUCH
HARD
STANDARD
OFF

17
Reverb:There are two statuses, on and o, which are corresponding to one key. First long press grand
piano button to activate function selection. Then press corresponding function key to turn on or off
reverb function.
Chorus:There are two statuses, on and o, which are corresponding to one key. First long press grand
piano button to activate function selection. Then press corresponding function key to turn on or off
chorus function.
Temperaments selection:There are nine beat styles, which are 1,2,3,4,5,6, separately corresponding
to 4 white keys and 2 black keys. First long press grand piano button to activate function selection.
Then press corresponding function key to choose beat style.
12 3 4
56
PERCUSSION
SPLIT POINT
OFF
ON
CHORUS
OFF
ON
REVERB
OFF
ON
DUAL VOICE
OFF
ON
SPLIT
OFF
ON
SOFT
TOUCH
HARD
STANDARD
OFF
METRONOME
12 3 4
56
PERCUSSION
SPLIT POINT
OFF
ON
CHORUS
OFF
ON
REVERB
OFF
ON
DUAL VOICE
OFF
ON
SPLIT
OFF
ON
SOFT
TOUCH
HARD
STANDARD
OFF
12 3 4
56
PERCUSSION
SPLIT POINT
OFF
ON
CHORUS
OFF
ON
REVERB
OFF
ON
DUAL VOICE
OFF
ON
SPLIT
OFF
ON
SOFT
TOUCH
HARD
STANDARD
OFF
METRONOME

18
Percussion:There are two statuses, on and o, which are corresponding to one key. First long press
grand piano button to activate function selection. Then press corresponding function key to turn on or
o percussion function.
Split Point:Dual voice split point selection is corresponding to C key in the picture. First long press
grand piano button to activate function selection. Then press corresponding key to activate this split
point function. Press any key to set the dual voice split point. The original status of this digital piano's
split point is Central C.
METRONOME
12 3 4
56
PERCUSSION
SPLIT POINT
OFF
ON
CHORUS
OFF
ON
REVERB
OFF
ON
DUAL VOICE
OFF
ON
SPLIT
OFF
ON
SOFT
TOUCH
HARD
STANDARD
OFF
METRONOME
12 3 4
56
PERCUSSION
SPLIT POINT
OFF
ON
CHORUS
OFF
ON
REVERB
OFF
ON
DUAL VOICE
OFF
ON
SPLIT
OFF
ON
SOFT
TOUCH
HARD
STANDARD
OFF

19
Rear connection board
(1) Line Out Stereo output, connect the digital piano to a peripheral speaker system
(2) Line In Stereo Input, connect the digital piano to a built-in speaker system
(3) USB USB MIDI Jack
(4) Power Connect power adapter
LINE
IN
L
R
LINE
OUT
R
L
USB
Bluetooth Function
Audio Bluetooth function
(1) Turn on the piano, the Bluetooth function will be on at the same time.
(2) Open your phone or iPad to get into Setting--Bluetooth, search”[AMASON AUDIO] device, the
password is “6666”, input the password if needed.
(3) After successful pairing, we can play music through the phone or iPad.
(4) You can switch song and volume with your phone. (Phone support required)
Table of contents
Other Pearl River Musical Instrument manuals