Peopoly Phenom L User manual

Phenom L Quickstart
Guide
Revision 1.02
Published April 25th 2020
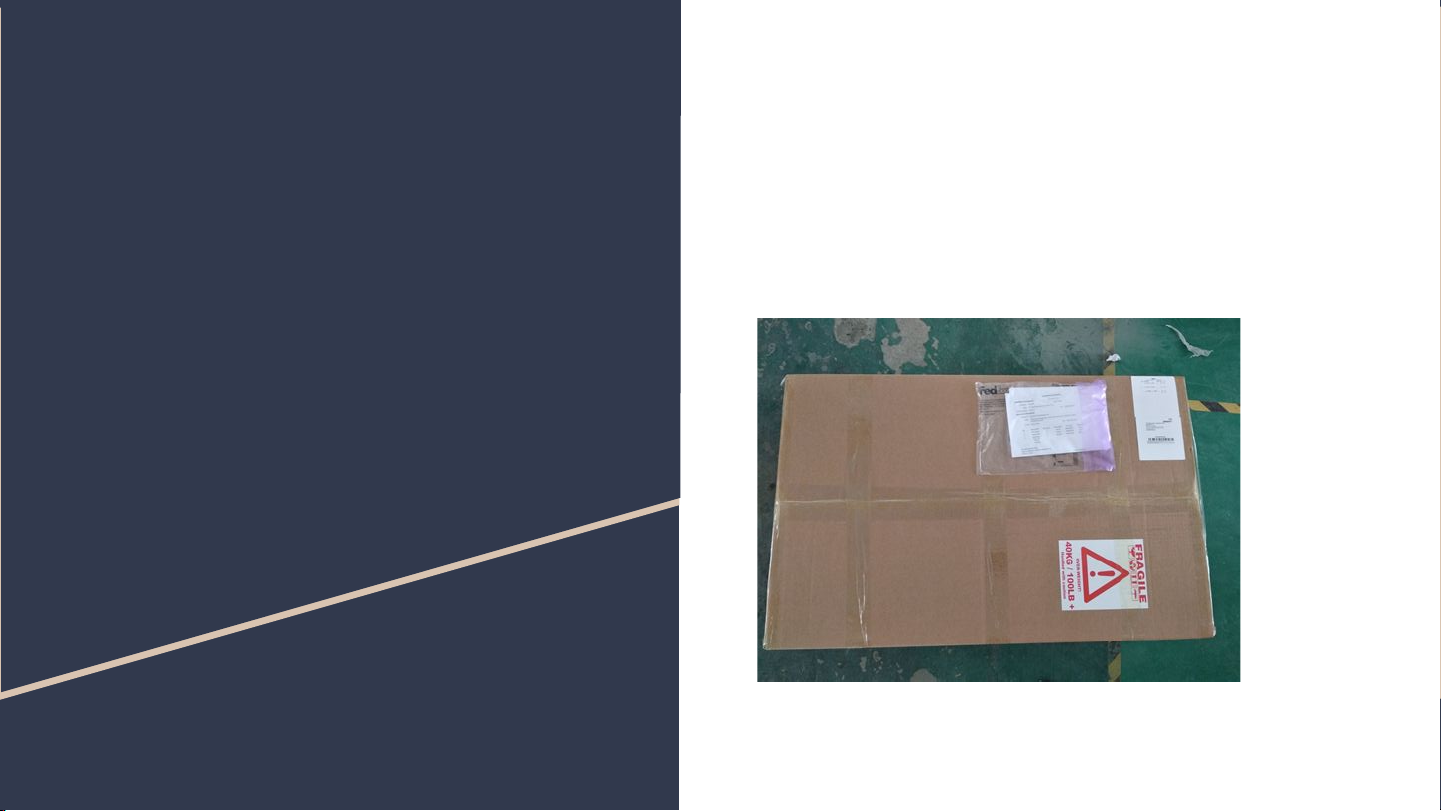
Step 1
Remove Packaging
Phenom L is heavy and it is recommended that you
have at least one more person to help.
The simplest way to remove.
Find the top side of the external box like below

Step 1
Remove Packaging
Turn the box over so the bottom of the box face up.
And cut open the plastic tapes like this
The turn it over again so the top of box facing up with
bottom opened. You can pull the box up to find
internal box

Step 1
Remove Packaging
Open the internal with top of box facing up, open the
box
When moving the Phenom L, it is recommended for a
2 person lift. If you try and move it by yourself, please
make sure the door is facing away from you as the UV
acrylic shield could break with the weight if it the door
is pressed against your chest while moving the printer.

Step 2
When moving the Phenom L, it is recommended for a
2 person lift. If you try and move it by yourself, please
make sure the door is facing away from you as the UV
acrylic shield could break with the weight if it the door
is pressed against your chest while moving the printer.
Place the Phenom L on a level and sturdy surface. If
you have a level, you can place it on the top of the
printer to ensure the printer is sitting level.
Keep in mind that the printer is large, (46.5 X 37X
78cm / 18.3x 14.5 x 30.7 inches) and is heavy (45kg /
99.2 pounds). Please make sure the area you put the
printer on can support the weight and provide enough
space for proper ventilation for the printer.
Also consider that you will need a washing and curing
station near the printer when planning out your set up.

Remove Packaging
Remove the Phenom L from the double shipping box.
Keep in mind again that the unit is heavy and it is
recommended for a 2 person lift to get the printer out
of the packaging and set up.
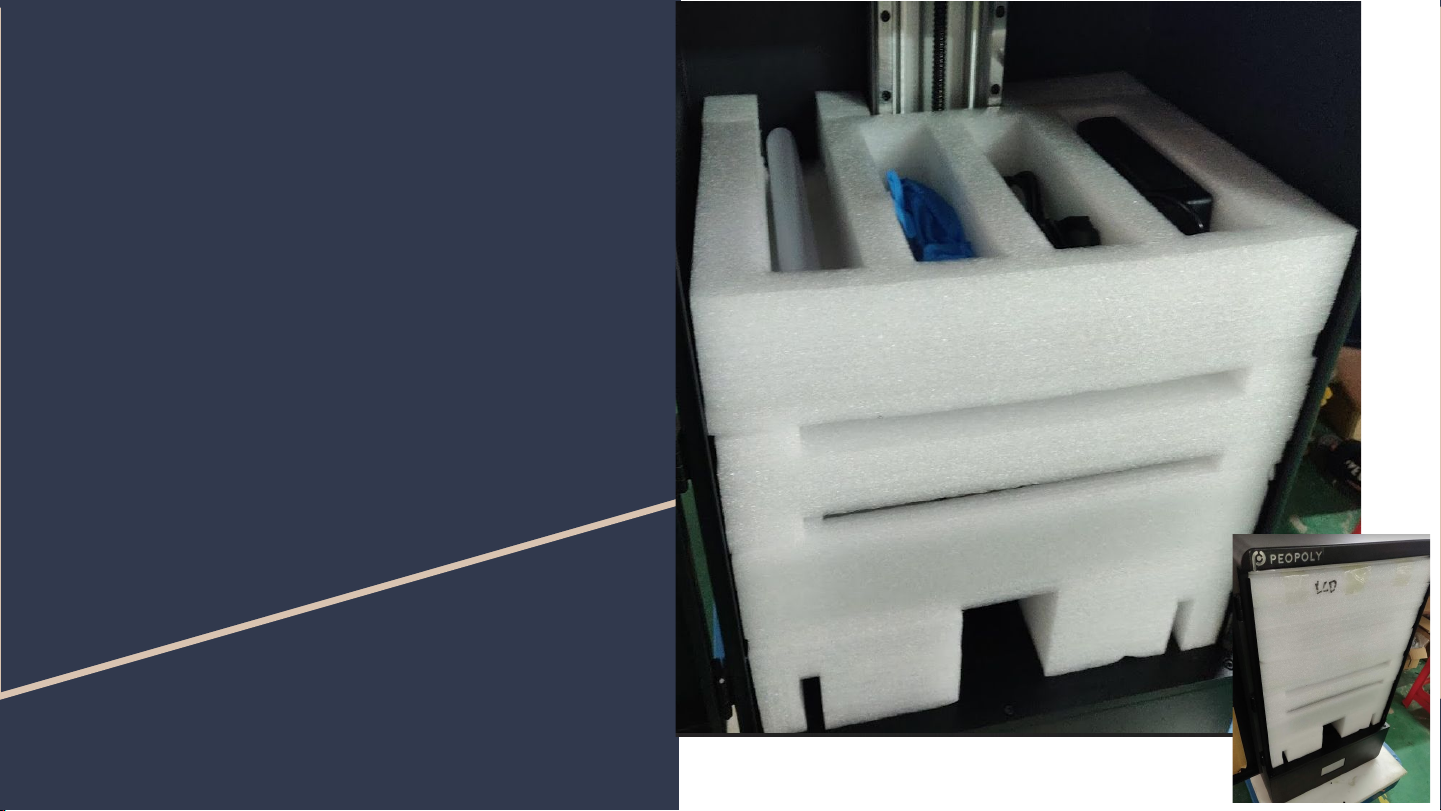
Step 3
Open The front door of Phenom L and remove the
foam inserts in the printer. There are accessories in
the foam protectors.
The items from top to bottom are:
LCD Panel (if purchased additionally)
Vat
Accessories
Build Plate

Step 4
Identify the following items and place them off to the
side:
1).Build Plate
2).Vat
3).Extra FEP film
4).Tools
5). USB stick
6). Funnels
7). Power supply
8). Spatula

Step 5
Make sure the power cord is a 3 prong / grounded
power cord.
Connect the power pack to the Phenom L and to a
outlet

Step 6
Power on the Phenom L and boot up the printer.
You should see the Peopoly logo and then the main
control screen.

Step 7
From the touch screen, raise the build plate up high
enough so the vat can be inserted.
This can be done by pressing the wrench (tool) (1).
Then manual (2).
Select the amount of movement in milimeters you
want to use.
Then the up arrow.

Step 8
Clean the LCD panel inside Phenom L with some
isopropyl alcohol (IPA) at least 90 to 99% pure to
make sure the surface is clean.
It is recommended not to use glass cleaner as it could
leave a residue on the screen that could affect print
quality.
Another recommendation, is to use a lint free
microfiber cloth, soft cloth or soft paper towel so the
LCD screen does not get scratched.

Step 9
Check to ensure the build plate is level to the LCD screen.
It is very important to make sure the build plate and LCD screen
is clean of any debris for this next step. .
1). Ensure that the build plate is secure to the Z axis arm.
2). Get either a blank sheet of paper, or notebook paper.
3). Turn on the printer and go into Tools, Manual control, and
then home.
This will bring the build plate down to the LCD panel and we will check
to make sure that it is level to the LCD plate.
4). Take the paper and try and slide it under where the plate meets the
LCD panel all around. It should be that the paper should not slide
under the build plate.

Step 9 (continued) If it still does, then on the display screen, make sure 0.01 is
highlighted, this is the distance the Z axis will move, press the
down arrow and hte plate will descend. Check the gap again, if
there is still a gap, then repeat the process of lowering the Z axis
and checking till the paper can not slide under the plate. You
can keep moving down up to 0.6mm
Once the plate is level to the screen, press the back button and
then press the button that says Set Z=0 This will store the new
height as the default Z axis as 0 with the new height.
If the paper slides under the plate, then loosen
up the 4 bolts on top of the build plate so that
plate should descend slightly.
Recheck again to make sure the paper does not slide under the
plate. GENTLY press down the plate to make sure it is level to
the LCD and carefully re-tighten the bolts, again double
checking to make sure the paper does not slide between the
plate and LCD.

Step 10
Make sure the Vat FEP sheet (film) is clean on both
sides. Use the same cleaning method mentioned in
the previous step if need be.

Step 11
Wait until alcohol in step 8 and 9 is evaporated before
installing the vat.
Carefully slide the vat into place, so that it is under the
vat holder on each side, and that the are in the middle
along the width of the vat.
Turn both screws on each side so the vat is secured.
Please note. It is not needed to overtighten the bolts,
they should be finger tight.

Step 12
With the Z axis raised all the way to the top. Take the
build plate and with some IPA, clean the underside of
the build plate.
Slide it onto the support arm and tighten down the
build plate knob to secure it in place.
The build plate has been leveled at the factory and
should not need to be adjusted. If by chance it has
become loose via shipping, please refer to the main
guide on how to level the build plate.

Step 14
Glove up! Make sure that the cover of the resin
container is on tight and shake it up for about 15 - 30
seconds vigorously.
Open the bottle and pour it into the VAT, you can go a
small bit past the angle line in the tank.
DO NOT OVERFILL THE TANK! If so, when the plate
descends, resin will overflow.
** For new resin bottles, after opening the first
time, remove the retention ring on the bottle so
it does not fall into the vat.

Step 15 With the test file copied over to the USB stick, insert it
into the side of the printer. On the main control
window, press print, then select the demo file, and
print.
With the printer starting, let's get the software setup.
Table of contents
Other Peopoly 3D Printer manuals