Pepita SmileSPORT S7 User manual

SS-MT-0004
S7 klappbares elektrisches Laufband DE
S7 Skladací elektrický bežecký pás SK
S7 Folding Motorized Treadmill EN
Banda de alergare electrică pliabilă S7 RO
S7 Összecsukható, Elektromos Futópad HU

Thank you for choosing our product!
SmileSPORT sports equipment is made to the highest quality standards and with the latest technology.
Please read the following information carefully before assembly and keep the instructions for future reference.
The safe operation of the equipment can only be guaranteed if the general safety and accident prevention warnings
and safety instructions are observed.
No liability is accepted for damage resulting from improper use or operation!
SAFETY INSTRUCTIONS ------------------------------------------------------------------------------------------------------------------------------------
For your safety, please read the instructions before use.
Follow the instructions below to avoid injury.
• Make sure the treadmill is stable before use.
• When running, place the safety key on your clothing where you can easily remove it in case of an emergency.
• Consult your doctor before exercising.
• Wear appropriate sports clothing for exercise (do not run on the treadmill in soft-soled shoes, as debris from the soles of
the shoes can damage the system)
• Keep the room clean and tidy to prevent dirt from entering the system.
• The treadmill is a personal one. Keep children and animals away from the product during use to prevent accidents.
• It is necessary to leave free space around the treadmill.There must be 1 to 1 metre of free space at the sides and front and
2 metres at the back.
• Do not use the treadmill if the power cord is damaged.
• If any part of the treadmill is damaged, it must not be used and must be taken to a workshop immediately.
• Physical damage is not a warranty defect.
• Do not touch any moving parts of the treadmill.
• The treadmill may only be loaded up to the user’s weight as specied in the data. Failure due to overloading is not covered
by the warranty.
• The treadmill is designed for indoor use and must not be used outdoors.
• The treadmill must be placed in a clean, at area, in a well-ventilated area, away from sharp and dangerous objects, heat
sources and water.
• Use the handrail to get on and o the treadmill. If the treadmill has not come to a complete stop, do not dismount.
• In an emergency, when you land, the safety key will be removed and the treadmill will stop.
• Do not use the treadmill if you need oxygen treatment.
• Do not place any accessories on the treadmill to ensure correct operation.
• All parts of the treadmill must be securely fastened.
• After use, switch the treadmill o and disconnect the power

EN
PACKING DETAILS -------------------------------------------------------------------------------------------------------------------------------------------------
$
$
%
&
&
'
frame
Screw kit (monofunctional)
manual +
screw package
STEP 1: EXTEND THE FRAMEWORK ---------------------------------------------------------------------------------------------------------
1. Both men take the treadmill out of the box and lay it at on the ground.
2. Slowly stand up from the direction of the arrow. As shown in the gure below.

STEP 2. ASSEMBLY MODE -------------------------------------------------------------------------------------------------------------------------------
1. The column is connected to the base:The left and right columns and the base holes are assembled in the screw bag as
shown in the gure below. A.M8 * 40 and B. at pads are respectively tightened in the tool kit M5 wrench.
2. Assembly of the control panel and the columns: Fix with M8*16 (B) (C ) screws using M5 wrench.
$
$
%
%
&
&
'
'
STEP 3. ALL SCREWS FIXED ---------------------------------------------------------------------------------------------------------------------------
• After xing all the screws in step 2, screw the screws into place as shown in the gure below.

• Single function assembly, put the red safety switch in the instrument with a yellowmark to start the treadmill can be
used.The machine also has a manual 3 anti-lift adjustment function as shown in the gure below.
FOLDING AND UNFOLDING ---------------------------------------------------------------------------------------------------------------------------
FOLDING MODE
Where the arrow is shown, gently lift the tail of the main frame with your hand.
The host will automatically fold to the appropriate location.
HOW TO EXPAND
As we unfold, use your kick to press the cylinder switch and press the arrow at the
end of the main frame with your hand, while the main rack of the treadmill slowly
descends to the ground

NO LIFT ELECTRONIC WATCHES OPERATING INSTRUCTIONS --------------------------------------------
MP3
36912
䙏ᓖ-
䙏ᓖ-䙏ᓖ-䙏ᓖ-䙏ᓖ-
ڌ→
ST OP
1. ADJUSTABLE CHARACTERISTICS
Treadmill parameters, Sport parameters,
Sport modes: Manual mode, Countdown mode (Time, Distance, Calories) Automatic mode.
2. MP3 CONNECTION
The treadmill is suitable for playing music les and has a built-in speaker.
Use the cable to connect your phone or MP3 player to the MP3 slot on the treadmill.
3. ADJUSTABLE PARAMETERS
• Minimum speed 1 km/h
• Maximum speed 14 km/h
• Maximum exercise time: 60 min underTime mode
• Minimum exercise time: 5 min underTime mode
• Maximum exercise distance: 99k m under Distance mode
• Minimum exercise distance: 1 km under Distance mode
• Maximum calories consumption: 990cal under Calories mode
• Minimum calories consumption: 20cal under Calories mode
• Minimum time: 5min under (P1-P12) Program mode
• Maximum time: 60min under (P1-P12) Program mode
4. LCD DISPLAY
Display parameters: speed, time, distance, calories.
5. FUNCTION BUTTONS
• 4 Speed Shortcuts (3, 6, 9, 12) • “START”button • “STOP”button
• “PROGRAM”button • “MODE”button
• “SPEED+”button • “SPEED-”button

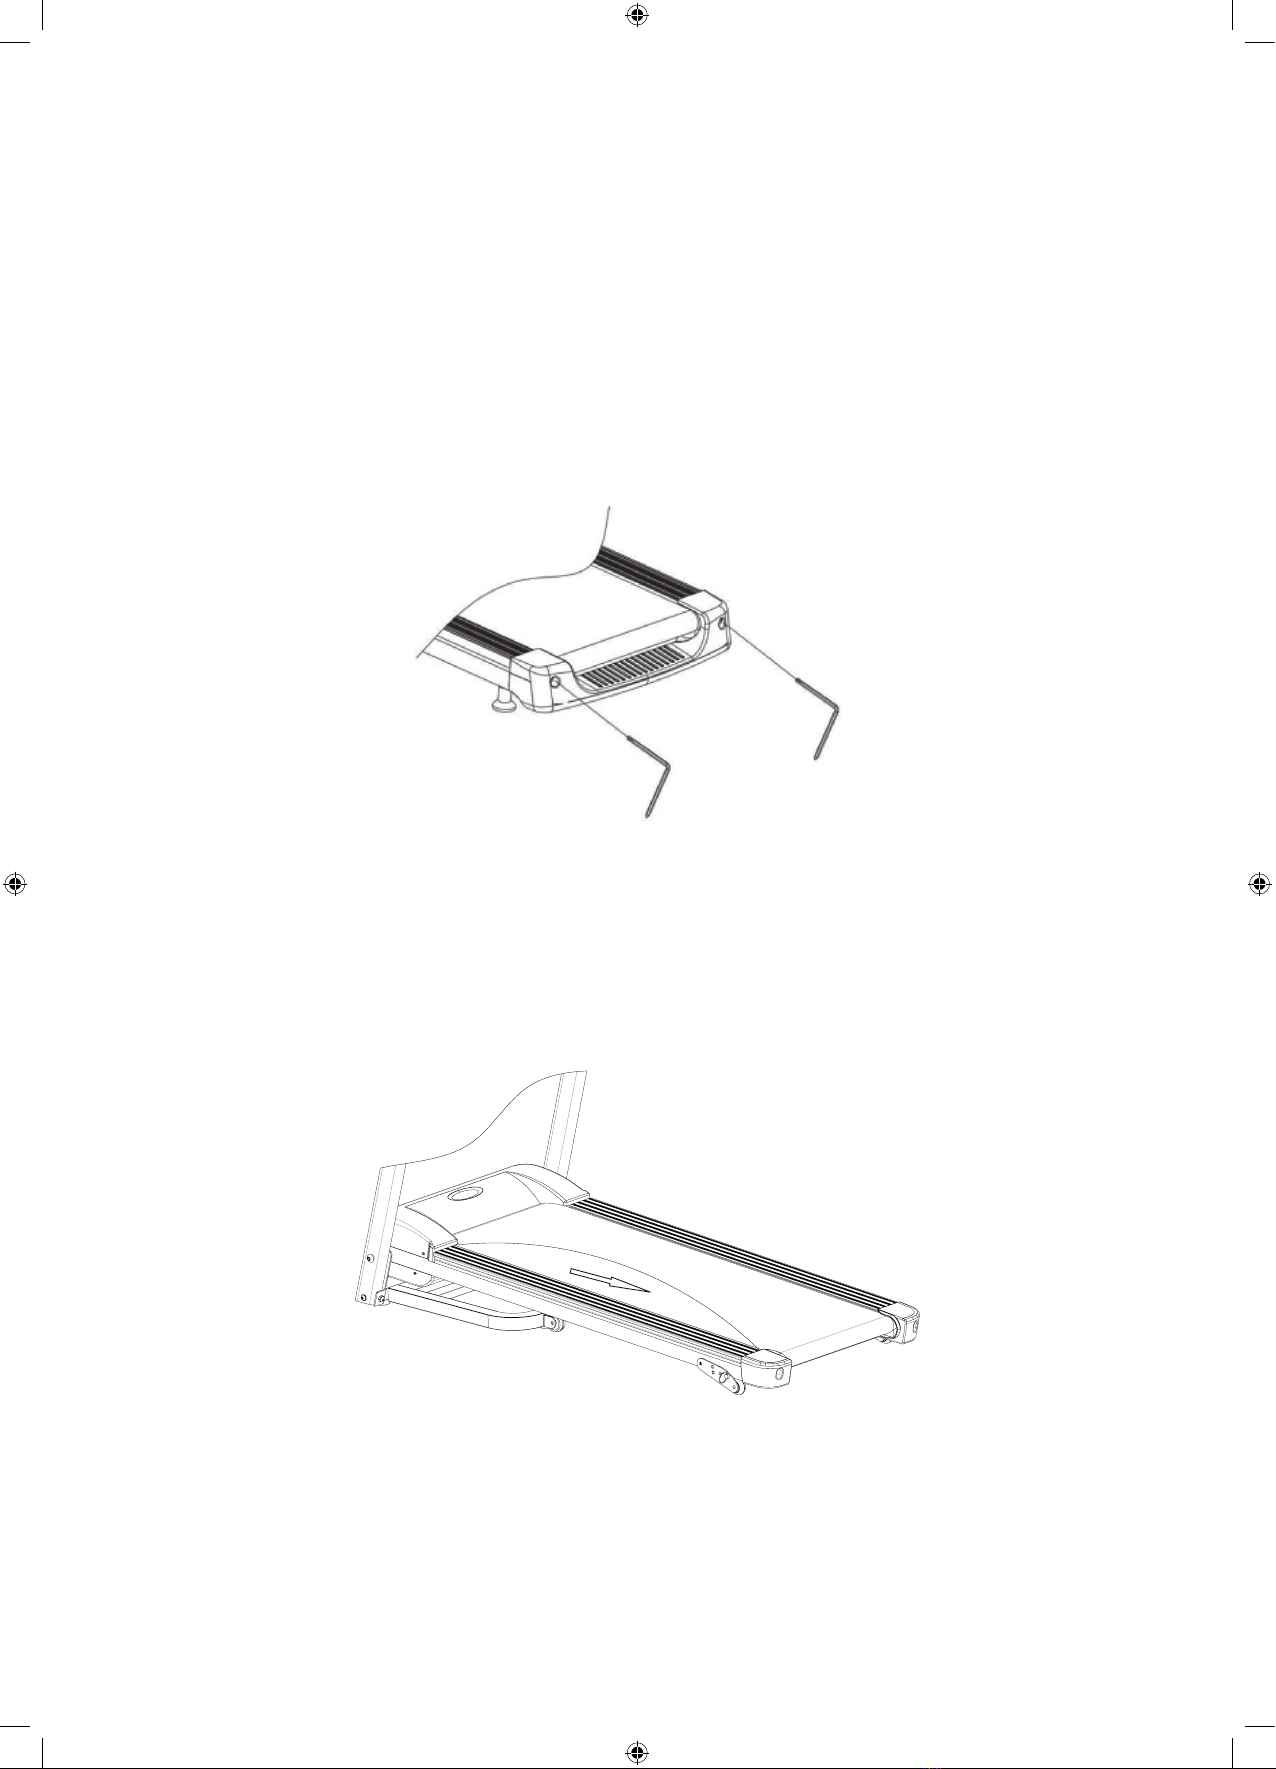
6. BUTTON FUNCTION AND OPERATION
• “START”button - Start the motor
• “STOP”button - Stop the motor
• “PROGRAM”button - Auto program selection
• “MODE”button - Countdown mode selection
• “SPEED +/”button - Adjust speed when running, adjust parameter value when setting
• “SPEED SHORTCUTS”- Directly select speed value when running
7. SPORT MODES
A. MANUAL MODE
In the initial standby mode, press the START button - this will enter MANUAL MODE, the machine will start.
Use the“UP/ DOWN”buttons or the speed shortcut keys to set the desired speed.
B. COUNTDOWN MODE
1. In standby mode, press the MODE button to enter the time countdown mode, where the initial time interval is
10:00 minutes, shown in theTIME window of the display. Use the UP/DOWN keys to set the desired run time in the
range 5:00 - 60:00 minutes, then press the START key to start theTIME BACK MODE.
2. In the time countdown mode, press the MODE button to enter the distance countdown mode, where the starting
value is 1.0 km. Use the UP/DOWN keys to set the distance to be covered in the range 1.0 - 99.0 km, then press the
START key to start the DISTANCE BACK COUNT MODE.
3. In the distance countdown mode, press the MODE button to enter the calorie countdown mode.The display will
ash 50 calories, which you can adjust using the UP/DOWN buttons to set the calories you want to burn within the
range of 20 to 990 cal. Press the START button to start the CALORIES COUNTER MODE.
C. AUTOMATIC MODE
In the initial setup mode or standby mode, press the PROGRAM button to select the automatic program from P1 to
P12.TheTIME display shows the default time, which is 10 minutes.You can set the desired duration by pressing the
FEL/LE buttons between 5:00 and 60:00 minutes. Press the START button and the program will start.
The program has 10 segments, each segment = duration/10.When switching segments, the treadmill will beep and
the speed will change. At the end of the program, the product makes a sound and stops.
8. SLEEP FUNCTION
• When the treadmill stops running without any operating more than 10 minutes into hibernation, spreadsheets automati-
cally turn o the display, press any key to wake electronic form, re-enter standby mode after the initial full-display.
9. SAFETY KEY FUNCTION
• In order to operate the treadmill, please put the safety key in designated position before operating electronic controllers.
If safety key is not put in designated position, error code“E7”will be appeared on display screen,“---”will be shown on
data frame, while accompanied by a beep warnings.When the treadmill is running, pull up the safety key, treadmill
system will be stopped quickly, then put safety key in designated position again, all motion data will be reset.

10. NUMERICAL DISPLAY RANGE
Initial Set initial value Setting range Display range
Time (min:sec) 0:00 10:00 5:00-60:00 0:00~60:00
Speed (km/h) 0.0 N/A N/A 1-14
Distance (km) 0.0 1.0 1.0-99.0 0.0-99.9
Pulse (sec/min) P N/A N/A 40-199
Calories (Kcal) 0 50 20-990 0-999
Schedule 1: P1-P12 Program motion map
Time Period
Formula
Time set/10 period=Run time and down time period
12345678910
P1Speed 3365544443
P2Speed 3344555664
P3Speed 2468786232
P4Speed 3356765433
P5Speed 3666877554
P6Speed 2654875332
P7Speed 2997765322
P8Speed 2444568862
P9Speed 2455656332
P10 Speed 2 5 7 5 8 6 5 2 4 3
P11 Speed 2 5 6 7 8 9 10 5 3 2
P12 Speed 2 3 5 6 8 6 9 6 5 3

TREADMILL COMMON ERROR MESSAGES PROMPT DESCRIPTION --------------------------------
E01: communication blocked between Electronic and controller.
Solution
When communication line is blocked between
Electronic and under controller
Please connect again or change communication
line
When Electronic without signal Change Electronic to repair
When under controller without signal Change under controller to repair
E02: The controller does not detect the voltage of the motor line.
Solution
Motor cable is not connected Check connection
No voltage output or abnormal by under
controller Change under controller to repair
Motor is bad Change motor
E03: When the motor is running, the controller can’t test the speed signal.
Solution Motor cable is not connected Check connection
Under controller with abnormal signal Change under controller to repair
E05: When the motor is running, current exceeds the rated current.
Solution
Treadmill motor load exceeds the rated current Recommend within the rated current of the motor
Treadmill motor assembly structure problems,
causing the motor blocked or resistance Check the structure of treadmill
By limiting control system failure Change under controller to repair
E07: Monitor can’t test the signal of security lock.
Solution Safety Magnet o Please set magnet safety lock correctly
Electronic Safety lock system malfunction Change electronic to repair

RUNNING BELT ADJUSTMENT METHOD ----------------------------------------------------------------------------------------------
1. When running belt lean to the left, adjust screw on the left 1-2 turns along the clockwise.Then test running, if running
belt still lean to the left, repeat the above steps until it back to the center.
2. When running belt lean to the right, adjust screw on the right 1-2 turns along the clockwise.Then test running, if running
belt still lean to the right, repeat the above steps until it back to the center.
3. When running belt is too tight, it will cause stronger resistance. Please adjust both sides screws 1-2 turns along the anti-
clockwise, loosen the belt until the skidding or pausing is disappeared.
4. When running belt is too loose, please adjust both sides screws 1-2 turns along the clockwise.
USE THE TREADMILL LUBRICANT -------------------------------------------------------------------------------------------------------------
• Location is in the middle of the lower surface of the running belt.When add lubricant please inject to the center of running
board, then put down the belt, pressing the hole by hands, rotating the belt to apply evenly.

PRODUCT DATA -------------------------------------------------------------------------------------------------------------------------------------------------------
• Engine power :2.0HP
• Rated voltage: AC220-240V/50HZ AC110-120V/60HZ
• Speed range: 1.0-14KM/H
• Control panel:Time, speed, distance, calories, MP3, heart rate, program, mode
• Manual tilt adjustment
• Program: P1-P12 H1-H3
• Display: 5”LCD
• Maximum user weight: 120KG
• Running Surface: L120*W42 cm
• Size: 143*70*120cm
• Folded size: 60*70*140cm
• Package size: 156*77*26cm
• N.W/G.W: 47KG/53.5KG
MAINTENANCE --------------------------------------------------------------------------------------------------------------------------------------------------------
• With proper, regular maintenance, you can keep your treadmill in excellent condition and prolong its life.
• Failure due to neglect of regular maintenance is not covered by warranty!
• Failure due to over-lubrication or lack of lubrication is not covered by warranty!
• Physical damage is not covered by the guarantee!
•
• Warning: Always switch o the power supply to the treadmill before cleaning and maintenance!
• Always check the condition of the treadmill regularly, remove dirt and tighten screws.

Köszönjük, hogy termékünket választotta!
A SmileSPORT sporteszközei a legmagasabb minőségben és a legkorszerűbb technológiával készülnek.
Kérjük olvassa el gyelmesen az alábbi információkat összeszerelés előtt, majd tartsa meg az útmutatót későbbi referenci-
aként. A készülék biztonságos működése csak akkor garantálható, ha az általános biztonságra és baleset megelőzésre vonat-
kozó gyelmeztetéseket és biztonsági útmutatásokat gyelembe veszi.
A helytelen használatból, üzemeltetésből eredő károkért felelőséget nem vállalunk!
BIZTONSÁGI UTASÍTÁSOK -------------------------------------------------------------------------------------------------------------------------------
Biztonsága érdekében, olvassa végig a használati utasítást használat előtt.
Kövesse az alábbi utasításokat, a sérülések elkerülése érdekében.
• Használat előtt bizonyosodjon meg róla, hogy a futópad stabilan áll.
• Futás közben helyezze a biztonsági kulcsot olyan helyre a ruháján, ahol könnyen le tudja választani azt vészhelyzet esetén.
• Konzultáljon orvosával edzés előtt.
• Viseljen megfelelő sportruházatot az edzéshez (tilos puhatalpú cipőben futni a futópadon, mert a cipő talpának
törmeléke tönkre teheti a rendszert)
• Tartsa tisztán és rendezetten a szobát, hogy megelőzze a szennyeződések bejutását a rendszerbe.
• A futópad egyszemélyes.Tartsa távol a gyermekeket és állatokat a terméktől használat közben, hogy megelőzze
a baleseteket.
• A futópadnak szükséges szabad teret hagyni annak környezetében. Oldalról és elölről 1-1 méter, hátulról 2 méter
szabad helynek kell lennie.
• Ne használja a futópadot, ha a tápkábel sérült.
• Ha a futópad bármely eleme sérült, tilos használni, azonnal szervizbe kell vinni.
• A zikai sérülés nem garanciális hiba.
• Tilos a futópad bármely mozgó részéhez hozzáérni.
• Kizárólag az adatoknál megadott felhasználói súlyig terhelhető a futópad. A túlterhelésből keletkezett hiba
nem garanciális.
• A futópad beltéri használatra van tervezve, tilos kültéren használni.
• A futópadot tiszta, sík területen kell elhelyezni, jól szellőző helyen, éles és veszélyes tárgyaktól, valamint hőforrástól
és víztől távol.
• Használja a kapaszkodót a fel-és leszálláshoz. Ha a futópad még nem állt meg teljesen, ne szálljon le róla.
• Vészhelyzet esetén, ha leszáll, a biztonsági kulcsot is eltávolítja, így a futópad megáll.
• Ne használja a futópadot, ha oxigénkezelésre szorul.
• A helyes működés érdekében ne helyezzen semmilyen kiegészítőt a futópadra.
• A futópad minden alkatrészét stabilan kell rögzíteni.
• Használat után a futópadot kapcsolja ki, és áramtalanítsa.

A CSOMAG TARTALMA ----------------------------------------------------------------------------------------------------------------------------------------
$
$
%
&
&
'
főelem
Szerelési csomag
kézikönyv,
szerelési csomag
1. LÉPÉS: A VÁZ KIBONTÁSA -------------------------------------------------------------------------------------------------------------------------
1. Vegye ki a futópadot a dobozból, és fektesse vízszintesen, óvatosan a földre.
2. Lassan állítsa fel a gépet a nyíl irányába, ahogy az alábbi ábrán is látható.
HU

2. LÉPÉS: ÖSSZESZERELÉS ------------------------------------------------------------------------------------------------------------------------------
1. Az oszlopot csatlakoztassa az alapvázhoz. A bal és a jobb oldali oszlopot, a talp furatait az ábrán látható módon szerelje
össze. Az M8 * 40 és B. lapos csavarokat, a szerszámkészlet M5-ös csavarkulcsával húzza meg.
2. A kezelőpanel és az oszlopok összeszerelése: M8*16 (B) (C ) csavarokkal rögzítjük az M5 csavarkulcs segítségével.
$
$
%
%
&
&
'
'
3. LÉPÉS: AZ ÖSSZES CSAVAR RÖGZÍTÉSE ------------------------------------------------------------------------------------------
• Miután az összes csavart a 2. lépésben rögzítette, az ábrán látható módon csavarja is be őket.

• Helyezze be a biztonsági kulcsot és a termék készen áll a használatra. Amint az alábbi ábrán is látható, a gép rendelkezik
kézi 3 emelésgátló funkcióval.
ÖSSZECSUKÁS ÉS KIHAJTÁS --------------------------------------------------------------------------------------------------------------------------
ÖSSZECSUKHATÓ ÜZEMMÓD
Ez a termék az alábbi képen látható légrugós összecsukási funkcióval van felsze-
relve. Óvatosan emelje fel a futópad hátsó végét a jobb kezével.
FUTÓPAD KIHAJTÁSA
A futópadot a képen látható ábra szerint nyithatja ki. A lábával rúgja
meg a légrugó alját, hallani fog egy“kattanást”, majd a futópad lassan
leereszkedik a földre.

KIJELZŐ HASZNÁLATA ÉS FUNKCIÓI -------------------------------------------------------------------------------------------------------
MP3
36912
䙏ᓖ-
䙏ᓖ-䙏ᓖ-䙏ᓖ-䙏ᓖ-
ڌ→
ST OP
1. ÁLLÍTHATÓ JELLEMZŐK
Futópad paraméterek, Sport paraméterek
Sport üzemmódok: Manuális mód,Visszaszámláló mód (Idő, Távolság, Kalória)
Automata mód
2. MP3 CSATLAKOZÁS
A futópad alkalmas zenei fájlok lejátszására, beépített hangszóróval rendelkezik.
Kábel segítségével csatlakoztassa telefonját vagy MP3 készülékét a futópad MP3 nyílásához.
3. ÁLLÍTHATÓ PARAMÉTEREK
• Minimális sebesség 1 km/h
• Maximális sebesség 14 km/h
• Maximális edzésidő: 60 perc idő üzemmódban
• Minimális edzésidő: 5 perc idő üzemmódban
• Maximális edzéstávolság: 99 km távolsági üzemmódban
• Minimális edzéstávolság: 1 km távolsági üzemmódban
• Maximális kalóriafogyasztás: 990 cal kalória üzemmódban
• Minimális kalóriafogyasztás: 20 cal a Kalória üzemmódban
• Minimális idő: 5 perc (P1-P12) program üzemmódban
• Maximális idő: 60 perc (P1-P12) program üzemmódban
4. LCD KIJELZŐ
Megjelenő paraméterek: sebesség, idő, távolság, kalória.
5. FUNKCIÓGOMBOK
• 4 sebesség gyorsbillentyű (3, 6, 9, 12) • “START”gomb • “STOP”gomb
• “PROGRAM”gomb • “MODE”gomb
• “SPEED+”gomb • “SPEED-”gomb

6. GOMB FUNKCIÓK ÉS MŰKÖDÉSEI
• “START”gomb - Motor indítása
• “STOP”gomb - Motor leállítás
• “PROGRAM”gomb - Automatikus programválasztás
• “MODE”gomb - Visszaszámláló üzemmód kiválasztása
• “SPEED +/”gomb - A sebesség beállítása futás közben, paraméterérték beállítása
• “SEBESSÉG GYORSBILLENTYŰK”- A sebesség értékének közvetlen kiválasztása futás közben
7. SPORT ÜZEMMÓDOK
A. MANUÁLIS MÓD
A kezdeti készenléti állapotban nyomja meg a START gombot – ezzel belépett a MANUÁLIS MÓDba, a gép elindul.
A „FEL/LE”gombokkal vagy a sebesség gyorsbillentyűk segítségével beállíthatja a kívánt sebességet.
B. VISSZASZÁMLÁLÓ MÓD
1. Készenléti állapotban nyomja meg a MODE gombot, ezzel belép az idő visszaszámláló módba, ahol a kezdeti időtáv
10:00 perc, a kijelzőTIME ablakában jelenik meg. A FEL/LE gombokkal állítsa be a kívánt futási időt az 5:00 – 60:00
perc tartományban, majd a START gomb megnyomásával indítsa el az IDŐVISSZASZÁMLÁLÓ MÓDot.
1. Az idő visszaszámláló módban nyomja meg a MODE gombot, ezzel belép a távolság visszaszámláló módba, ahol
kezdőértékként 1,0 km látható. A FEL/LE gombokkal állítsa be a megtenni kívánt távolságot az 1,0 – 99,0 km
tartományban, majd a START gomb megnyomásával indítsa el aTÁVOLSÁGVISSZASZÁMLÁLÓ MÓDot.
1. A távolság visszaszámláló módban nyomja meg a MODE gombot a kalória visszaszámláló mód eléréséhez. A kij-
elzőn 50 kalória jelenik meg villogva, melyet a FEL/LE gombokkal módosíthat az elégetni kívánt kalória beállításához
a 20 és 990 cal tartományon belül. A START gomb megnyomásával indíthatja el a KALÓRIAVISSZASZÁMLÁLÓ MÓDot.
C. AUTOMATA MÓD
A kezdeti beállítási módban vagy készenléti állapotban nyomja meg a PROGRAM gombot az automata program
kiválasztásához P1-P12 között. ATIME kijelzőn megjelenik az alapértelmezett időtartam, amely 10 perc. A kívánt
időtartamot a FEL/LE gombokkal tudja beállítani az 5:00 – 60:00 perc intervallumban. Nyomja meg a START gombot
és a program elindul.
A programnak 10 szegmense van, minden egyes szegmens = időtartam/10. A szegmensek váltásakor a futópad
hangot ad ki és a sebesség megváltozik. A program végén a termék hangot ad ki és megáll.
8. ALVÁS FUNKCIÓ
• Ha a futópadot 10 percnél tovább nem használja, akkor az alvó állapotba kerül. Bármelyik billentyű megnyomásával
kikapcsolhatja és a kezdeti kijelző után újra készenléti módba lép.
9. BIZTONSÁGI KULCS FUNKCIÓ
• A futópad működtetéséhez az elektronikus vezérlők működtetése előtt helyezze a biztonsági kulcsot a kijelölt pozícióba.
Ha a biztonsági kulcs nincs a kijelölt pozícióban, akkor“E7”hibakód lép fel, miközben egy hangjelzéssel kísért gyelmez-
tetés jelenik meg. Ha fut, húzza meg a biztonsági kulcsot és a futópad gyorsan leáll, majd helyezze a biztonsági kulcsot
ismét a kijelölt pozícióba. Az összes mozgásadat visszaáll.

10. NUMERIKUS KIJELZŐTARTOMÁNY
Alap állás Kezdeti érték beállítása Beállítási tartomány Megjelenítési tartomány
Idő (perc:másodperc) 0:00 10:00 5:00-60:00 0:00~60:00
Sebesség (km/h) 0.0 N/A N/A 1-14
Távolság(km) 0.0 1.0 1.0-99.0 0.0-99.9
Pulzus (sec/min) P N/A N/A 40-199
Kalória (Kcal) 0 50 20-990 0-999
Ütemterv: P1-P12 Program mozgástérkép
Időszak
Formula
Beállított idő/10 időszak=Futási idő és leállási időszak
12345678910
P1 Sebesség 3 3 6 5 5 4 4 4 4 3
P2 Sebesség 3 3 4 4 5 5 5 6 6 4
P3 Sebesség 2 4 6 8 7 8 6 2 3 2
P4 Sebesség 3 3 5 6 7 6 5 4 3 3
P5 Sebesség 3 6 6 6 8 7 7 5 5 4
P6 Sebesség 2 6 5 4 8 7 5 3 3 2
P7 Sebesség 2 9 9 7 7 6 5 3 2 2
P8 Sebesség 2 4 4 4 5 6 8 8 6 2
P9 Sebesség 2 4 5 5 6 5 6 3 3 2
P10 Sebesség 2 5 7 5 8 6 5 2 4 3
P11 Sebesség 2 5 6 7 8 9 10 5 3 2
P12 Sebesség 2 3 5 6 8 6 9 6 5 3

FUTÓPAD HIBAÜZENETEK ------------------------------------------------------------------------------------------------------------------------------
E1: Nem jó a kapcsolat a konzol és az elektromos vezérlő között.
Megoldás Ellenőrizze a kábeleket, és győződjön meg arról, hogy minden csatlakozó be van dugva
a motorvezérlő és a kijelző között.
E2: A vezérlő nem érzékeli a feszültséget.
Megoldás Ellenőrizze a csatlakozást
Vezérlőcsere, motorcsere
E3: Nincs sebességjelzés
Megoldás
Győződjön meg róla, hogy minden dugó csatlakoztatva van a motorvezérlő és a kijelző között.
Ha a futószalag nem mozog, cserélje ki a vezérlőt.
Ellenőrizze, hogy a sebességérzékelő és a mágnes megfelelően van-e beállítva és fontos, hogy a
mágnes ne legyen akadályozva.
E5: Az áram meghaladja a névleges áramot.
Megoldás
Motor ellenőrzése, mechanika ellenőrzése.
Ellenőrizze, hogy nincs-e rendellenes ellenállás a futóasztaltól, a futószíjtól vagy a motorszíjtól, vagy
permetezzen kenőolajat a futóasztalra.
E7: A biztonsági kulcs nincs a helyén
Megoldás Helyezze a biztonsági kulcsot a helyére.

FUTÓSZALAG BEÁLLÍTÁSA -----------------------------------------------------------------------------------------------------------------------------
1. Ha a futószalag balra dől, csavarja a bal oldali csavart 1-2 fordulattal az óramutató járásával megegyező irányba.
Ezután tesztelje a futópadot. Ha a futószalag még mindig balra hajlik, ismételje meg a fenti lépéseket, amíg vissza nem
kerül középre.
2. Ha a futószalag jobbra dől, csavarja a jobb oldali csavart 1-2 fordulattal az óramutató járásával megegyező irányba.
Ezután tesztelje a futópadot. Ha a futószalag még mindig jobbra hajlik, ismételje meg a fenti lépéseket, amíg vissza nem
tér középre.
3. Ha a futószalag túl szoros, az erősebb ellenállást okoz. Kérjük, állítson mindkét oldal csavarokon 1-2 fordulatot
az óramutató járásával ellentétes irányban, lazítsa meg a szalagot, amíg a csúszás vagy a szünet eltűnik.
FUTÓPAD OLAJOZÁSA ----------------------------------------------------------------------------------------------------------------------------------------
• A futópadba, a használat gyakoriságától függően, olajat kell fecskendezni. Amennyiben a szalag terhelés hatására leáll,
kenésre van szükség. A kenőanyag befecskendezésekor emelje fel a futószalagot, és fecskendezze be a kenőanyagot
a futópad közepére, majd tegye le a futószalagot. Ezután kézzel nyomja meg a futószalag közepét, majd forgassa el a
futószalagot, hogy a kenőanyag egyenletesen eloszoljon.
This manual suits for next models
1
Table of contents
Languages:
Popular Treadmill manuals by other brands

Pro-Form
Pro-Form CROSSWALK CALIBER ELITE PFTL71505.2 user manual

Pro-Form
Pro-Form 410 Treadmill Trainer user manual

Weslo
Weslo Cadence C32 Treadmill Manuel de l'utilisateur

cecotec
cecotec DRUMFIT WAYHOME 1400 SPRINT instruction manual

Life Span
Life Span BOOMER PLUS user manual

Pro-Form
Pro-Form 395 E user manual