INSTALLATION AND OPERATION INSTRUCTIONS
18” SHALLOW DEPTH SERIES
C
US
Table of Contents
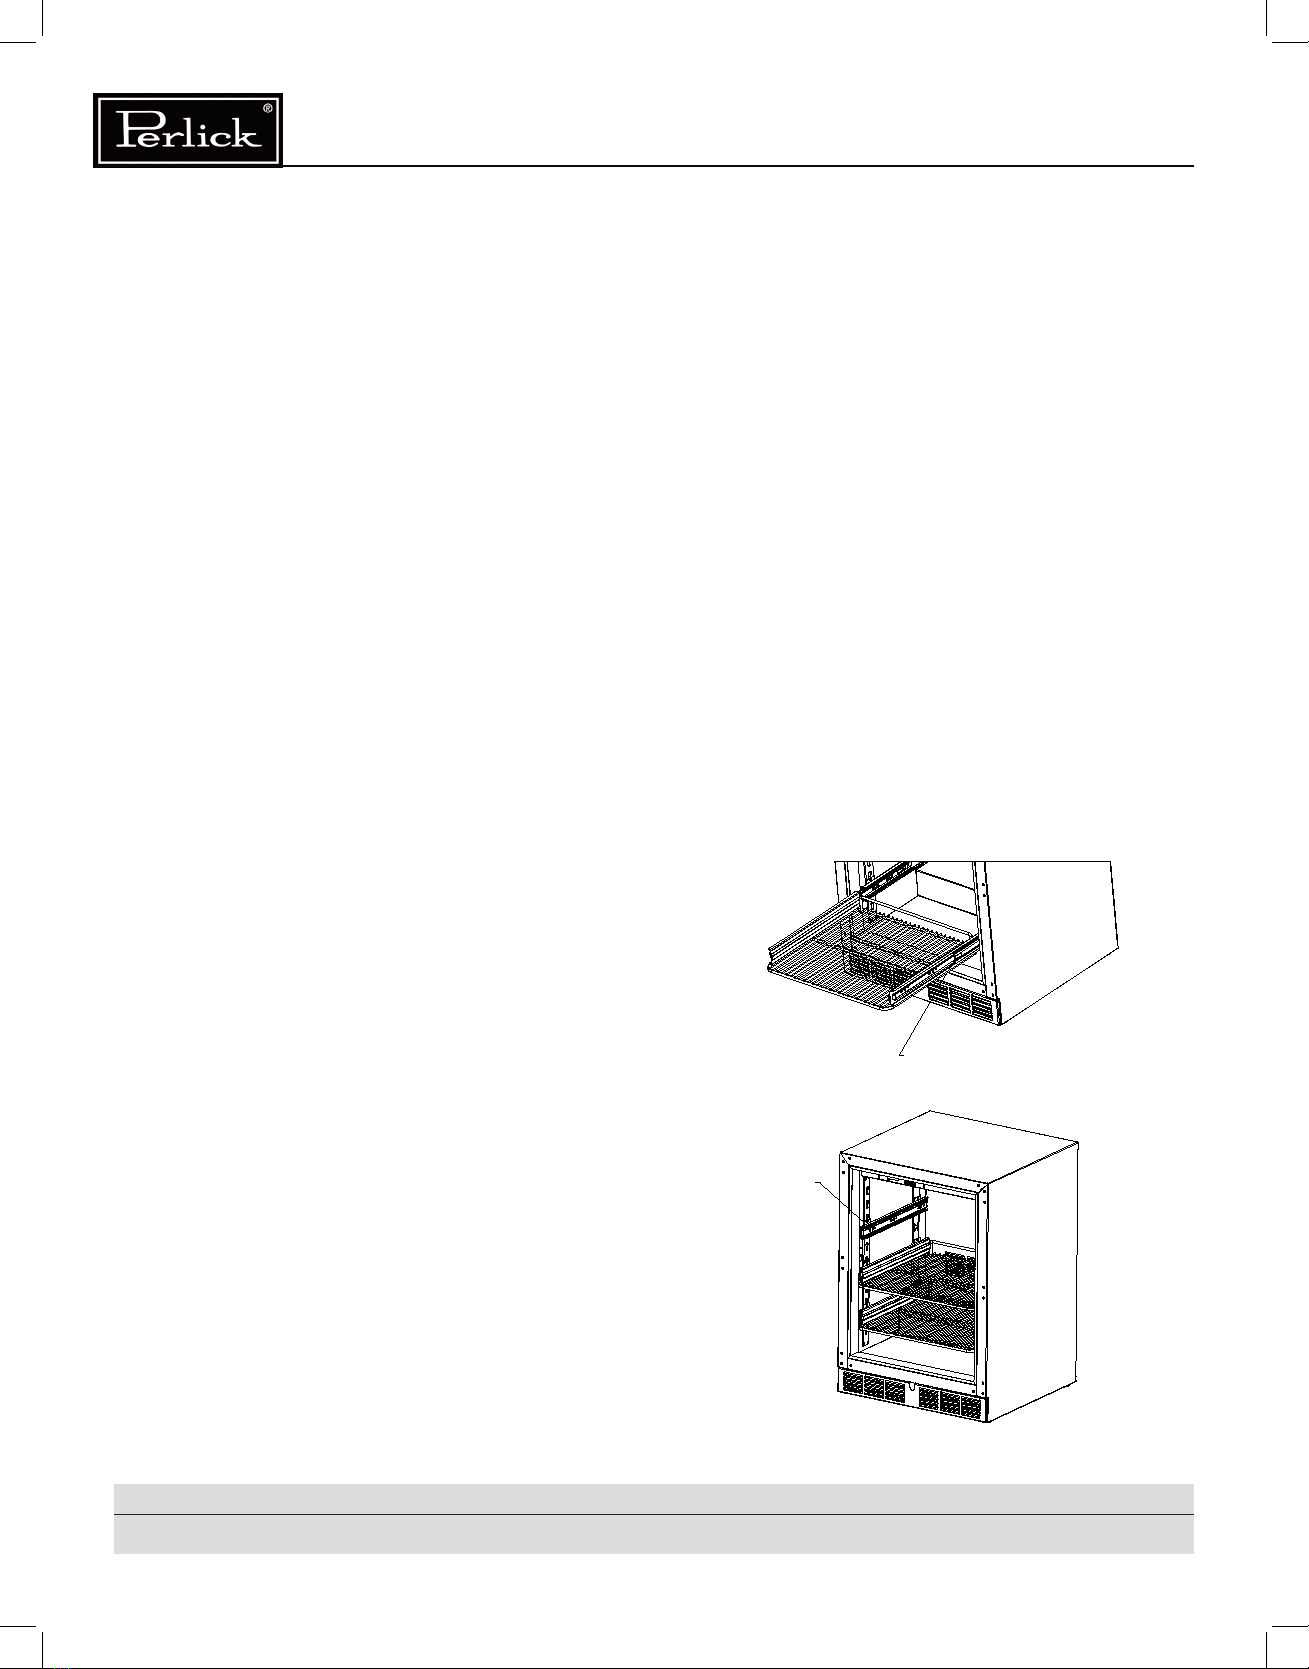
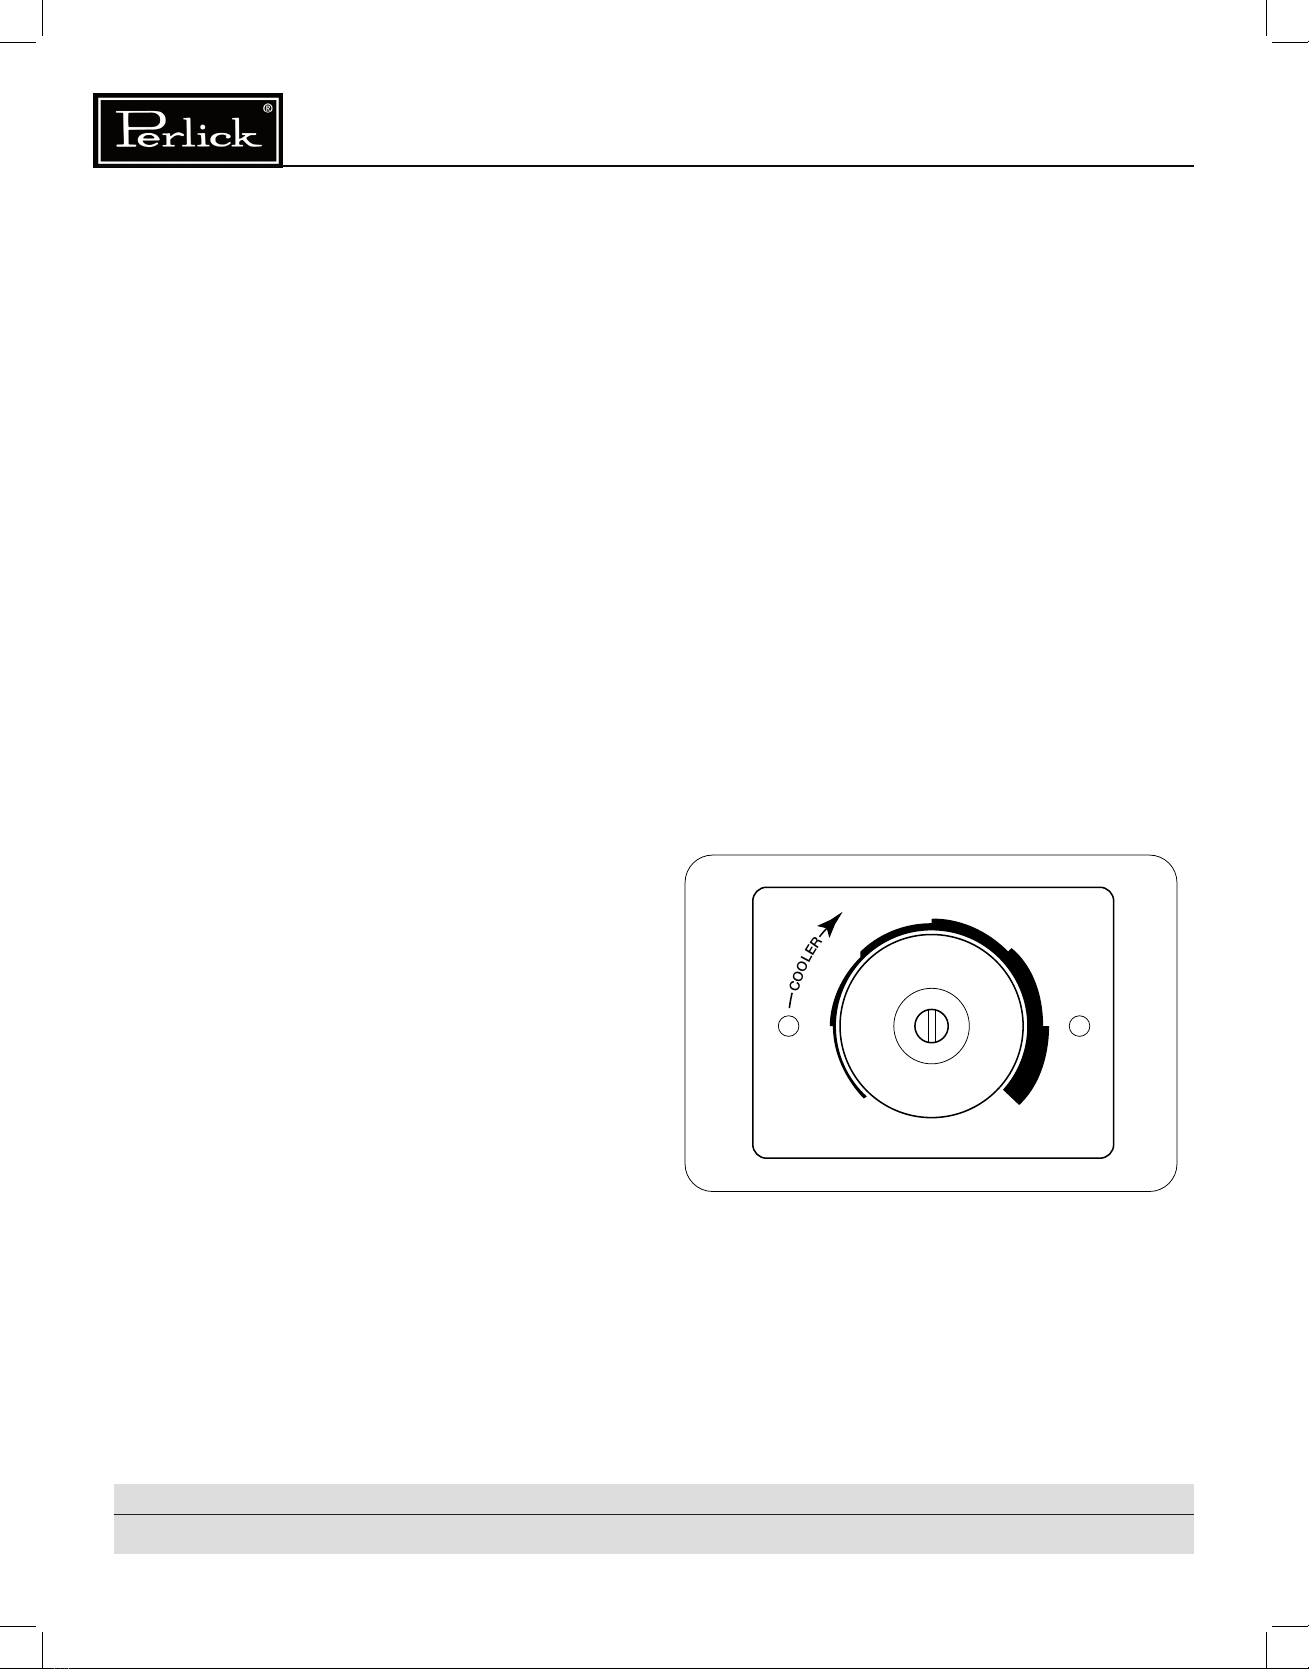
Preparing the cabinet for use
IMPORTANT:
DANGER indicates a hazard that will result in serious
injury or death if precautions are not followed.
WARNING indicates a hazard may cause serious
injury or death if precautions are not followed.
CAUTION indicates a hazard where minor injury
or product damage may occur if you do not follow
instructions.
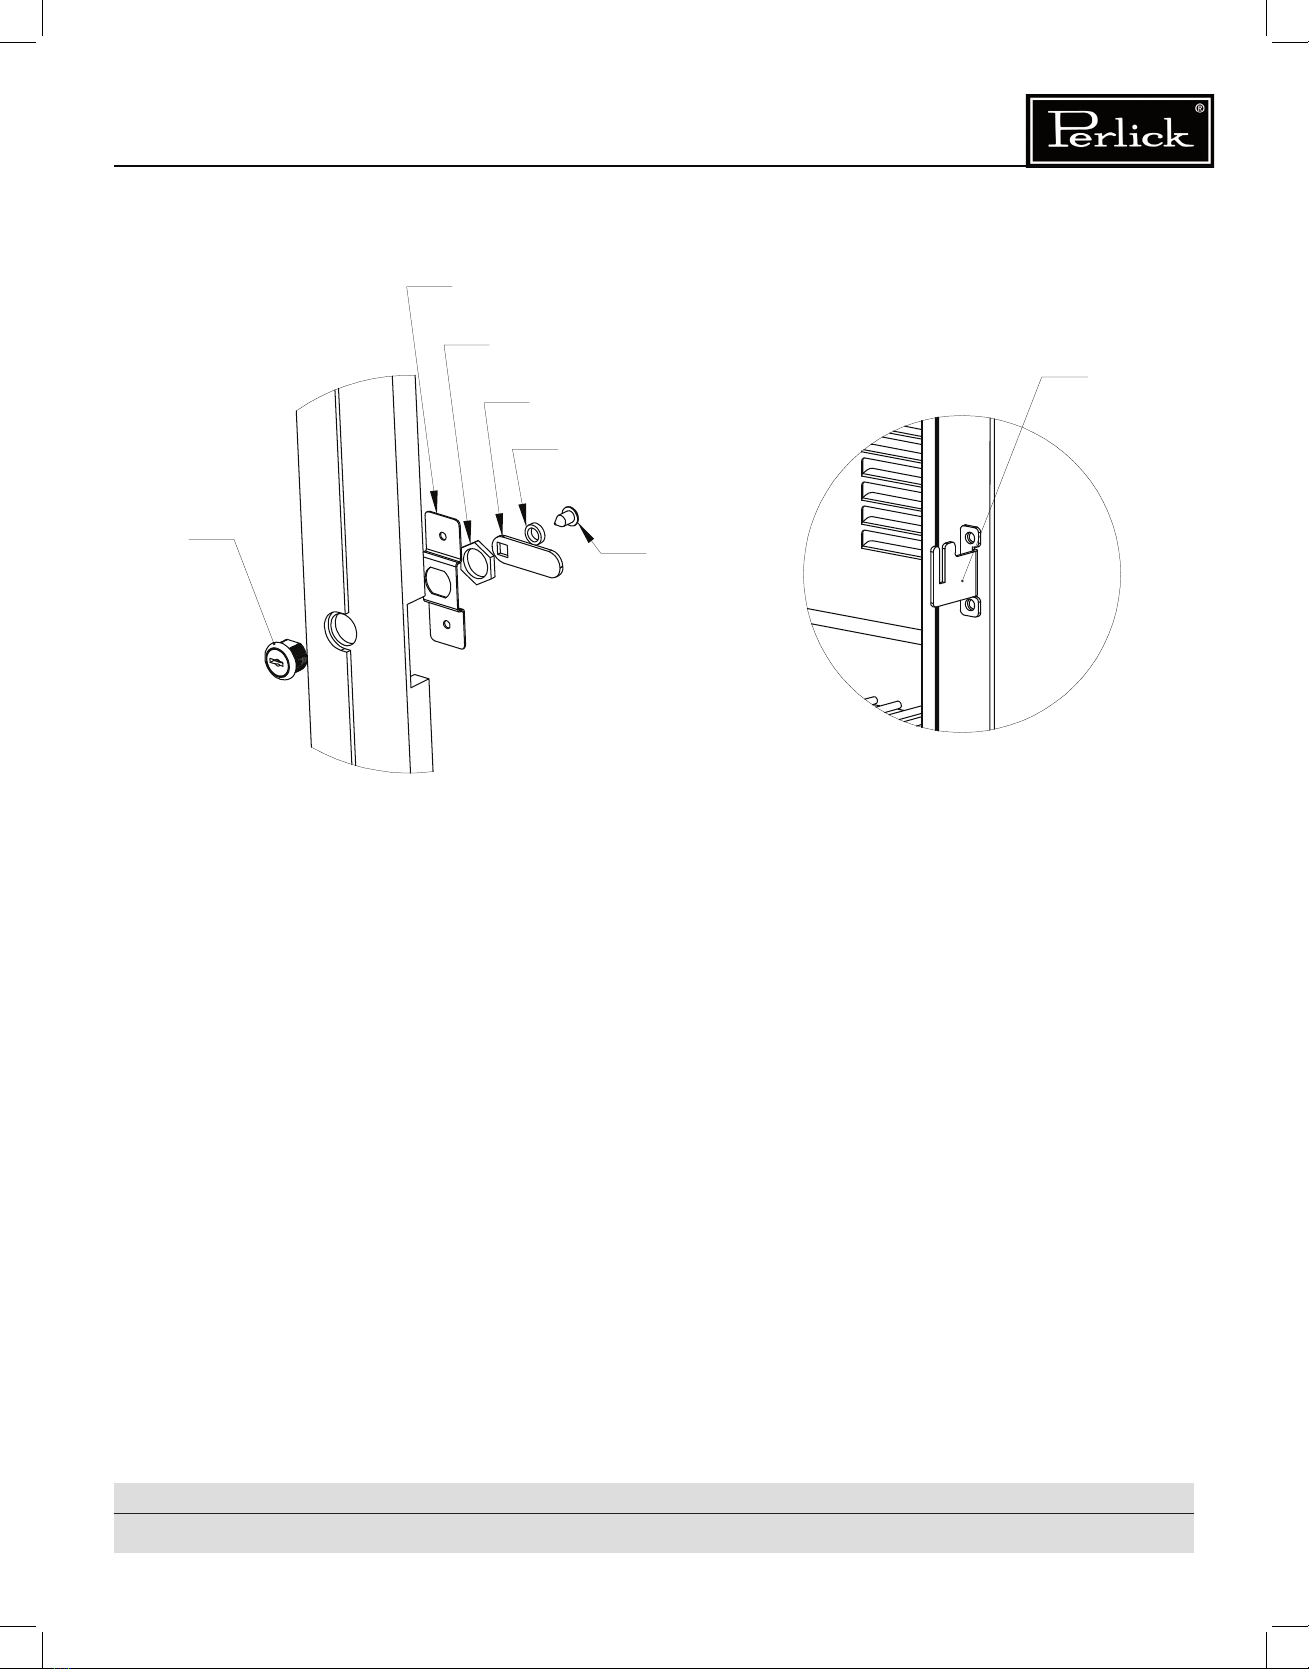
Installation
WARRANTY REGISTRATION
IMPORTANT:
Model Number ________________________________________
Serial Number ________________________________________
Purchase Date _______________________________________
Dealer Name ________________________________________
Dealer Address _______________________________________
Dealer Phone Number _________________________________
8300 West Good Hope Road • Milwaukee, WI 53223 •
Toll Free 800.558.5592 • Fax 414.353.7069 • www.bringperlickhome.com