Set the dispenser selector (4) to position 'A'.•
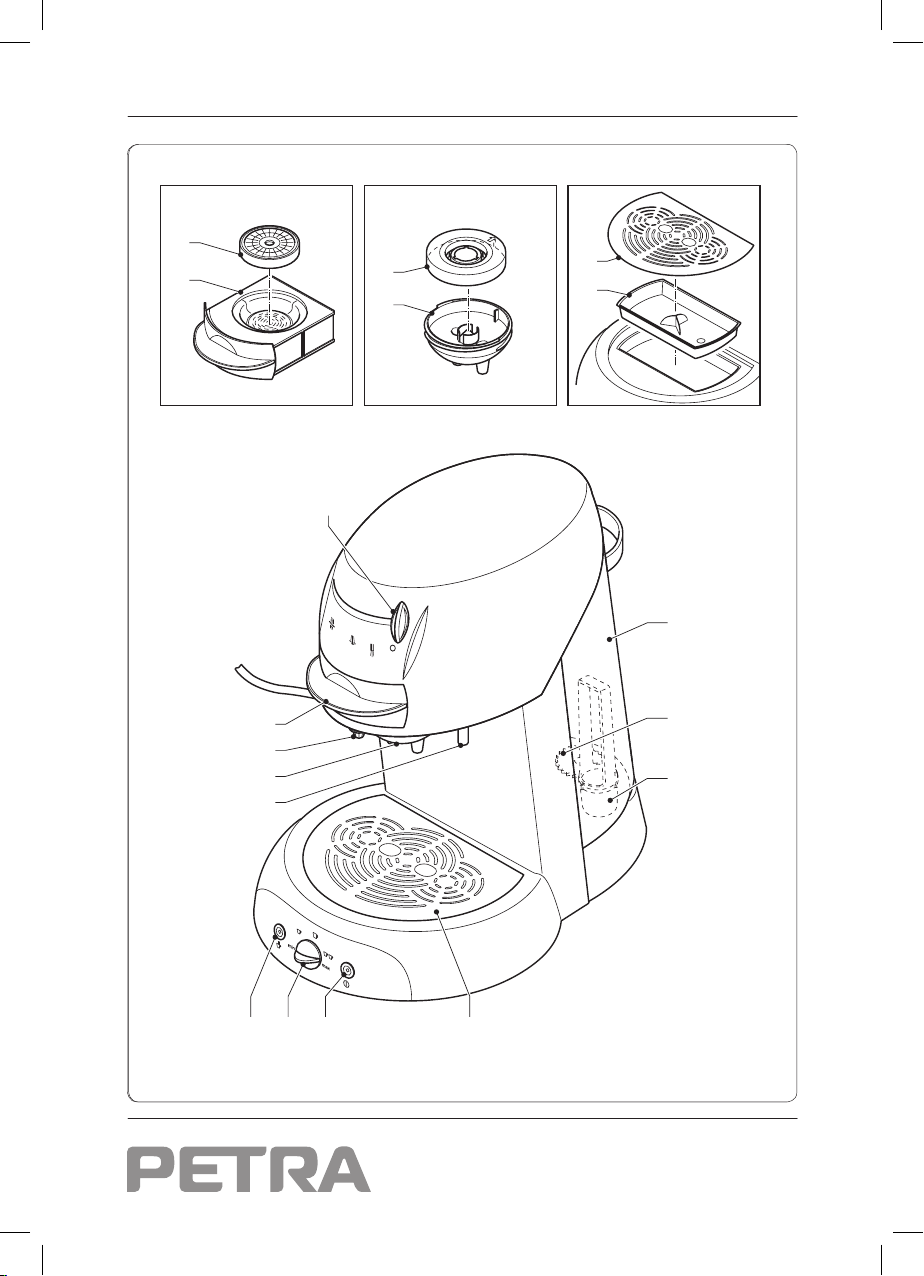
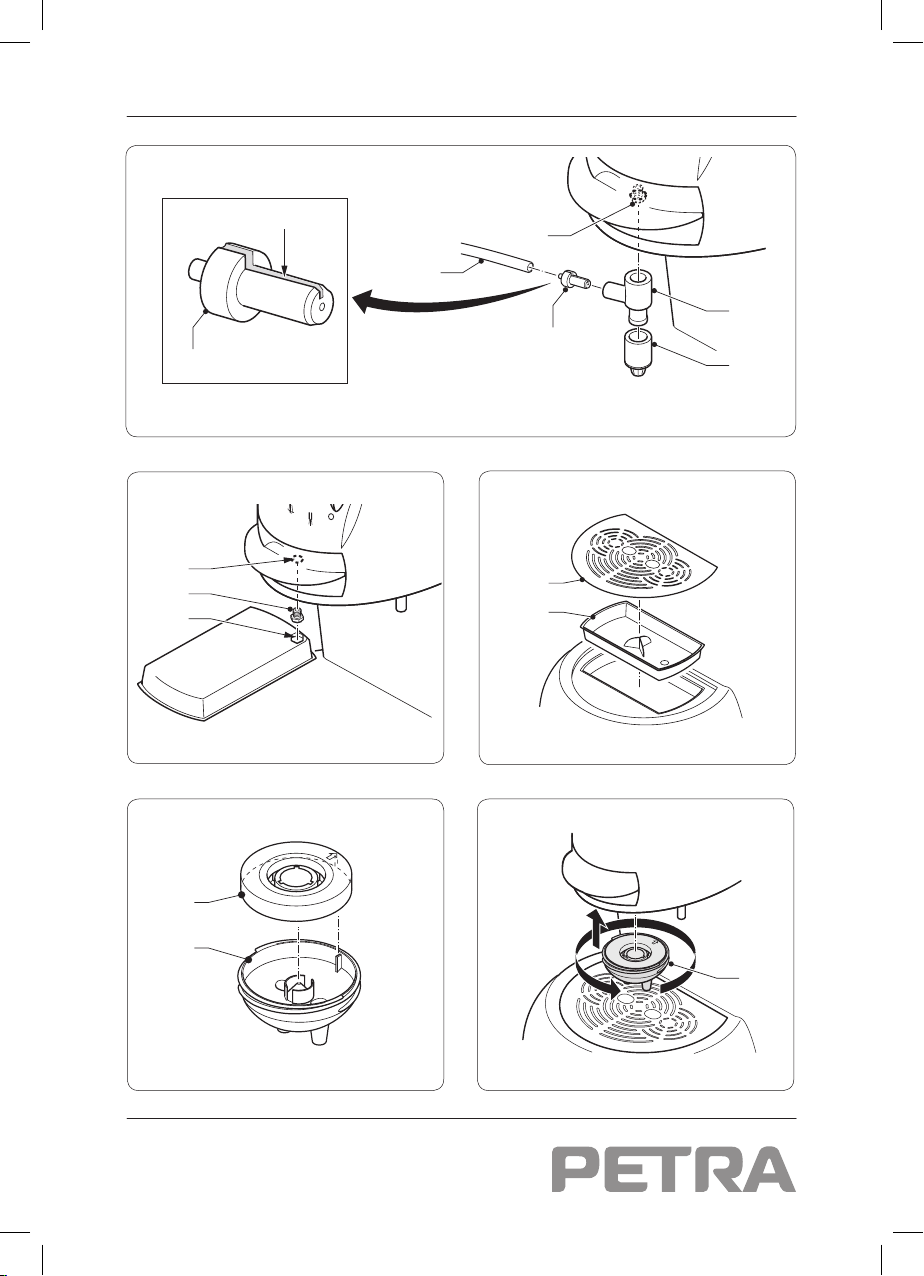
Remove the coffee pad cassette (9) from•
the appliance.
If required, insert the paper filter (19) in•
the ground coffee cassette (10).
Put the ground coffee in the ground coffee•
cassette (10).
- If you want regular coffee, put ground
coffee in the ground coffee cassette.
- If you want espresso, put espresso
powder in the ground coffee cassette.
Place the lid (20) on the ground coffee•
cassette (10).
Put the ground coffee cassette (10) in the•
side marked '2' on the coffee pad cassette
(9).
Insert the coffee pad cassette (9) into the•
appliance with the ground coffee cassette
upwards.
Place the required amount of cups under•
the coffee dispenser (5).
- For one cup, place the cup under both
dispenser nozzles of the coffee dispenser
(fig. J1).
- For two cups, place one cup under the
left dispenser nozzle and one cup under
the right dispenser nozzle of the coffee
dispenser (fig. J2).
Press the on/off button (1) to switch on•
the appliance. The start/stop button (2)
becomes red. The start/stop button (2)
becomes green when the appliance is
ready for use.
Set the dispenser selector (4) to position 'D'.•
Set the cup size selector (3) to the required•
position.
Press the start/stop button (2).•
To interrupt the process, press the•
start/stop button (2) again.
If the process is completed, set the•
dispenser selector (4) to position 'A'.
Hot water dispenser (fig. A, B & C)
The hot water dispenser can be used for
preparing tea or instant beverages.
Before you proceed, we need you to pay
attention to the following notes:
- Be careful with hot water and steam to
avoid burns.
Set the dispenser selector (4) to position 'A'.•
Place the cup on the cup tray (11) directly•
under the hot water dispenser (7).
Press the on/off button (1) to switch on•
the appliance. The start/stop button (2)
becomes red. The start/stop button (2)
becomes green when the appliance is
ready for use.
Set the dispenser selector (4) to position 'B'.•
Set the cup size selector (3) to the required•
position.
Press the start/stop button (2).•
To interrupt the process, press the•
start/stop button (2) again.
If the process is completed, set the•
dispenser selector (4) to position 'A'.
Milk frothing unit (fig. A, B, C & K)
The milk frothing unit combines milk, steam
and air dispensing a cascade of frothy milk
directly into the cup.
Before you proceed, we need you to pay
attention to the following notes:
- Be careful with hot steam to avoid burns.
- Only remove the milk jug and the cup
when the milk frothing process is completed.
The milk frothing process does not stop
immediately.
Before you proceed, we would like you to
focus your attention on the following notes:
- Only use the milk frothing unit under the
following conditions:
- The milk frothing unit must be properly
assembled.
- The milk frothing unit must be properly
mounted to the appliance.
- A cup must be placed directly under the
milk froth dispenser.
- A suitable milk jug filled with a sufficient
amount of cold milk must be placed as
close to the left side of the appliance as
possible. The flexible tube must reach
the bottom of the milk jug.
Set the dispenser selector (4) to position 'A'.•
Fill the milk jug with a sufficient amount of•
cold milk.
Place the milk jug as close to the left side•
of the appliance as possible.