manuals.online logo
Brands
  1. Home
  2. •
  3. Brands
  4. •
  5. Pfaff
  6. •
  7. Sewing Machine
  8. •
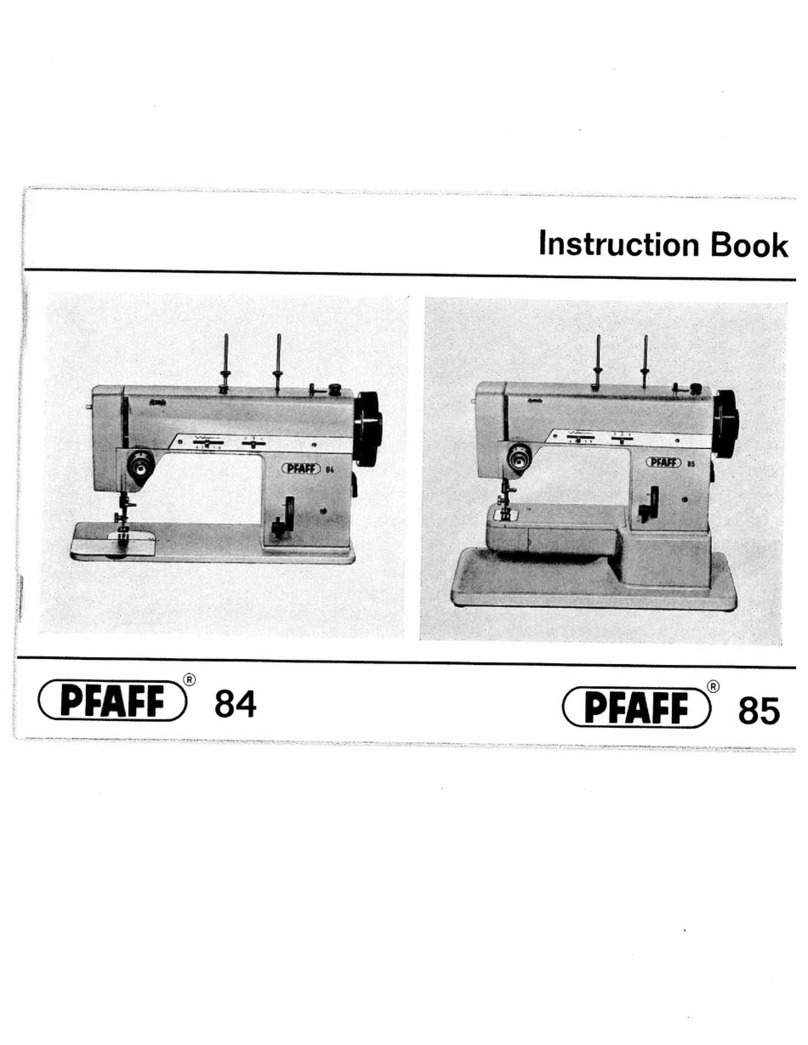
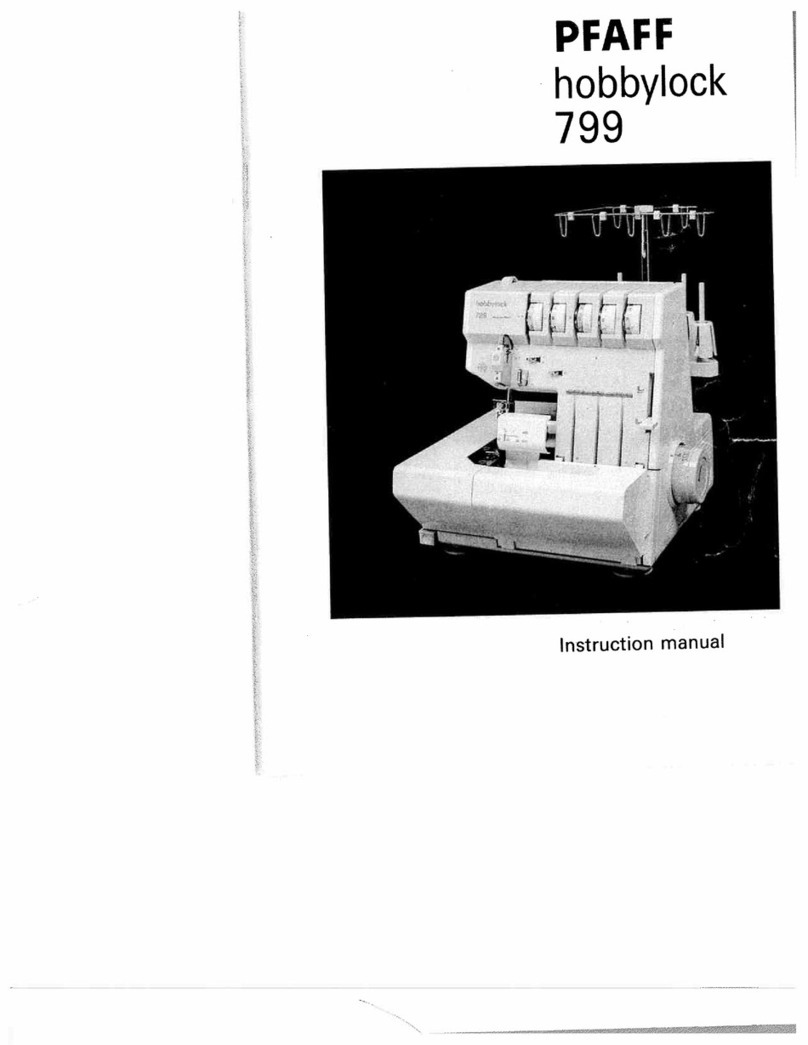
  9. Pfaff hobbylock 787 User manual

Pfaff hobbylock 787 User manual

This manual suits for next models

1

Other Pfaff Sewing Machine manuals

Pfaff Hobby 350 p User manual

Pfaff

Pfaff Hobby 350 p User manual

Pfaff hobby 1142 User manual

Pfaff

Pfaff hobby 1142 User manual

Pfaff select 8.0 User manual

Pfaff

Pfaff select 8.0 User manual

Pfaff 3511-3/01 User manual

Pfaff

Pfaff 3511-3/01 User manual

Pfaff Coverstyle User manual

Pfaff

Pfaff Coverstyle User manual

Pfaff 73 User manual

Pfaff

Pfaff 73 User manual

Pfaff hobby 1022 User manual

Pfaff

Pfaff hobby 1022 User manual

Pfaff select 1520 User manual

Pfaff

Pfaff select 1520 User manual

Pfaff 3811-2/45 User manual

Pfaff

Pfaff 3811-2/45 User manual

Pfaff hobbylock 4752 User manual

Pfaff

Pfaff hobbylock 4752 User manual

Pfaff Creative Vision Technical manual

Pfaff

Pfaff Creative Vision Technical manual

Pfaff 3827-4/33 User manual

Pfaff

Pfaff 3827-4/33 User manual

Pfaff creative 1469 User manual

Pfaff

Pfaff creative 1469 User manual

Pfaff 481 User manual

Pfaff

Pfaff 481 User manual

Pfaff Tipmatic 1014 User manual

Pfaff

Pfaff Tipmatic 1014 User manual

Pfaff creative 1475CD User manual

Pfaff

Pfaff creative 1475CD User manual
Pfaff 335 Guide

Pfaff

Pfaff 335 Guide

Pfaff 234 User manual

Pfaff

Pfaff 234 User manual

Pfaff 6500 Series User manual

Pfaff

Pfaff 6500 Series User manual

Pfaff 1196 User manual

Pfaff

Pfaff 1196 User manual

Pfaff ClassicStyle 1525 User manual

Pfaff

Pfaff ClassicStyle 1525 User manual

Pfaff 5625-657/01 User manual

Pfaff

Pfaff 5625-657/01 User manual

Pfaff 118 User manual

Pfaff

Pfaff 118 User manual

Pfaff 1491E1 User manual

Pfaff

Pfaff 1491E1 User manual

Popular Sewing Machine manuals by other brands

Brother PE-180D Service manual

Brother

Brother PE-180D Service manual

Singer 569U1100 Operator's guide

Singer

Singer 569U1100 Operator's guide

ELNA 2002 instruction manual

ELNA

ELNA 2002 instruction manual

Siruba DL7200D-NM1 Instruction book

Siruba

Siruba DL7200D-NM1 Instruction book

Silver Viscount 9500e instruction manual

Silver

Silver Viscount 9500e instruction manual

JUKI DDL-9000A instruction manual

JUKI

JUKI DDL-9000A instruction manual

Reliable MSK-335B Specification sheet

Reliable

Reliable MSK-335B Specification sheet

Kenmore 385. 19000 owner's manual

Kenmore

Kenmore 385. 19000 owner's manual

Brother FD4-B271 instruction manual

Brother

Brother FD4-B271 instruction manual

Brother Computerized Embroidery Machine Operation manual

Brother

Brother Computerized Embroidery Machine Operation manual

Husqvarna Viking Designer SE user guide

Husqvarna Viking

Husqvarna Viking Designer SE user guide

Singer 645 owner's manual

Singer

Singer 645 owner's manual

Riccar RL634DE user manual

Riccar

Riccar RL634DE user manual

ZOJE ZJ9800 Operation manual

ZOJE

ZOJE ZJ9800 Operation manual

Siruba C007JP Instruction book

Siruba

Siruba C007JP Instruction book

IKEA SY user guide

IKEA

IKEA SY user guide

Singer 15-91 Adjusters manual

Singer

Singer 15-91 Adjusters manual

Brother BB370 Quick setup guide

Brother

Brother BB370 Quick setup guide

manuals.online logo
manuals.online logoBrands
  • About & Mission
  • Contact us
  • Privacy Policy
  • Terms and Conditions

Copyright 2025 Manuals.Online. All Rights Reserved.

p
fr:
\
hobbylock
787
•
788
Instruction
manual
IMPORTANT
SAFETY
INSTRUCTIONS
-This
sewing
rrachine
is
designed
and manufactured
for
HOUSEHOLD
use
only.
When
using
an
electric
appliance,
basic
safety
precautions
should always
be
followed,
including
the
following:
Read
all
instructions
before
using
this sewing
machine.
D
AI\IG
ER
To
reduce
the
risk
of
electric
schock:
1.
The
sewing machine should never
be
left
unattended
when
plugged
in.
Always
unplug
this
appliance
from
the
electric outlet
immediately after
using
and
before
cleaning.
2.
Always
unplug
before
relamping.
Replace
bulb
with
same
type
rated
15
Watts.
3.
Do
not reach
for
a
sewing
machine
that
has
fallen
into
water.
Unplug
immediately.
4.
Do
not
place
or
store
sewing
machine
where
it
can
fall
or
be
pulled
into
a
tub
or
sink.
Do
not place
in
or
drop
into
water
or
other
liquid.
VV
To
reduce
the
risk
of
burns,
fire,
electric
schock,
or
injury
to
persons:
1.
Do
not
allow
to be
used
as
a
toy.
Close
attention
is
necessary
when
this
sewing
machine
is
used
by
or
near
children.
2.
Use
this
sewing
machine
only
for
its
intended
use
as
described
in
this
manual.
Use
only
attachments
recommended
by
the manufacturer
as
contained
in
this
manual.
3.
Never
operate
this
sewing
machine
if
it
has
a
damaged
cord
or
plug,
if
it
is
not
working
properly,
if
it
has
been
dropped
or
damaged,
or
dropped
into
water.
Return
the
appliance
to
the
nearest
authorized
dealer
or
service
center
for
exami
nation, repair,
electrical
or
mechanical
adjustment.
4.
Never
operate
the sewing
machine
with
any
air
openings
blocked.
Keep
ventilation.
openings
of
the
sewing machine
and
foot
controller
free
from
the
accumulation
of
lint,
dust,
and loose
cloth.
5.
Never
drop
or
insert
any
object
into
any opening.
6.
Do
not
use
outdoors.
7. Do
not
operate
where aerosol
(spray)
products
are
being
used
or
where
oxygen
is
bein-g
administered.
-
8.
To
disconnect,
turn
all
controls
to
off
(“0”)
position,
then remove
plug
from
outlet.
9.
Never
operate
on
a
soft
surface
such
as
a
bed
or
couáh
where
the
air
openings
may be
blocked.
10. Do
not
unplug
by
pulling
on
cord.
To
unplug,
grasp
the plug,
not
the
cord.
11.
Keep
fingers
away
from
all
moving
parts.
Special
care
is
required
around
the
sewing
machine
needle.
12.
Always
use
the
proper
needle
plate.
The
wrong
plate can
cause the needle
to
break.
13.
Do
not
use
bent
or
blunt
needles.
Use
needles
recommended
by
the
manufacturer
only.
14.
Do
not
pull
or
push
fabric
while
stitching.
It
may
deflect
the
needle
causing
it
to
break.
15.
Switch
the sewing machine
off
(“Os)
when
making
any
adjustments
in
the
needle
area,
such
as
threading
needle,
changing
needle,
threading
bobbin,
or
changing
presser
foot,
etc.
16.
Always
unplug
sewing
machine
from
the
electrical
outlet
when removing covers,
lubricating,
or
when
making
any
other
user
servicing
adjustments
mentioned
in
the
instruction
manual.
17.
Hold
plug
when
rewinding
into
cord
reel.
Do
not
allow
plug
to
whip
when
re
winding.
SAVE
THESE
INSTRUCTIONS
•
2.3
.6
.8
•
.
10
•
.
.
11
•
11
•
.
.
12
•
.
12
•
•
13
•
.
14
•
.
.
14
•
.-
14
•
..
15
•
.
.
16
•
.
17
•
.
.
18
19
20
20
21,22
23
23
24
24
25
26,27
28
29
29
30
31
32
32
33
34—39
40—41
42
43
46
43—50
51
Contents
Controls
of
the
sewing
machine
Accessory
box
Electrical
connection
Master switch
and
sewing
light
Foot
control
Notes
on
safety
How
to
handle
the
thread
spool
stand
Opening
the
looper
cover
and
the
swivel-type
work
support.
Threading
guide
wires
18
and
22
Threading
the
right
looper
Threading
the
left
looper
/
threading
slide
Threading the
left
and right
needle
Needle
threader
Thread
reel
change
on
threaded
machine
Inserting
the
lint
box
Seam
allowance
Sewing
test
Points
to
observe
during
sewing
Thread
cutter
Securing
the
seam
Setting
the
standard
thread tensions
Possibilities
requiring
thread
tension
corrections
3-thread
overecige
seam
Engaging and
disengaging
the
converter
(Hobbylock
788)
.
Thread
tension
adjustment
for
sewing
with
1
needle
and
2
threads
Thread
chart
Adjusting the
stitch length
Adjusting
the
differential feed
(Hobbylock
788)
-
.
Disengaging
the
upper
knife
Adjusting
the seam
width
Changing the
sewing
foot
Changing the
light
bulb
Cleaning
the
thread
tensions
Rolled
hem
with
3
threads
Rolled
hem
with
2
threads
Changing the
needles
Changing
the
knives
Changing
the
upper
knife
Changing
the
lower
knife
Upper
knife
arresting
Cleaning
the
knives
Oiling
the machine
Stitch
selection
table
Sewing
problems
and
their
removal
Accessories
Thread
spool
net/thread
unreeling
disc
Mounting
of
the Converter
Special
accessories
Specifications
/
contents
of
the cardboard
box
•
•
.
1
(0
Controls
of
the
sewing
machine
1
Thread
spool
stand
2
Carrying
handle
3
Left
needle
thread tension
dial
4
Right
needle
thread
tension
dial
5
Right
looper
thread
tension
dial
6
Left
looper
thread
tension
dial
7
Thread
tension
cover
8
Lint
box
9
Handwheel
1
0
Looper
cover
with
recess
11
Upper
knife
1
2
Swivel-type
work
support
1
3
Needle
plate
14
Sewing foot
1
5
Needle
holder
1
6
Sewing
foot
lifting
lever
1
7
Thread spool
holder
18
Color-coded
thread
guides
1
9
Telescopic
thread
guide
bar
20
Machine
socket
21
Master
switch
22
Rear
thread
guide
(4x)
23
Differential
feed
adjustment
knob
(Hobbylock
788)
24 Accessory
box
25
Stitch
length
adjustment
knob
26
Seam
width
adjustment
knob
27 Rotary lever for
upper
knife
disengagement
28
Foot
control
29
Foot
control
plug
for
machine
socket
30
Mains
plug
31
Right
looper
32
Left
looper
33
Lower
knife
34
Retaining
screw
of
lower
knife
35
Retaining
screw
of
upper
knife
36
Thread spool
centering
piece
37
Upper
knife
arresting
screw
38
Lamp
cover
39
Thread
cutter
40
Looper
threader
41
Converter
42
Needle
threader
43
Tweezers
29
Accessory
box
Swing
open
work
support
1
2
and
pull
out
accessory
box
24.
The
accessory
box
can
only
be
inserted
in
its
compartment
when
held
as
shown
in
the
illustration
at
left.
The
guide groove
is
up
and
the
projection
of
the
box
faces
the
machine.
Electrical
connection
Use
this
machine only
on
a
flat
surface
or
on
a
special
machine
table.
Connecting
foot
control
28: Insert plug
29
of
the
control
in
machine
socket
20.
Then
connect mains
plug
30
to
a
power
source.
Caution:
When
the
machine
is
not
in
use,
always
switch
it
off
at
master
switch
21
and
disconnect
the
plug
from
the
power
source.
do
not
place
any
objects
on
the
foot
control.
4
Switching
the
machine
ON
and
OFF
Power
and
sewing light
together
are
switched
on
and
off
with
master
switch
21.
Switching
on:
Press
switch.
Machine
and
sewing
light
are
switched
on.
Switching
off:
Press
switch
again.
Machine
and
sewing
light
are
switched
off.
Foot
contro’
The
speed
of
the
Hobbylock
is
regula
ted
as
follows:
The
more
you
press
the
foot
control
down,
the
faster
the
machine
will
sew.
Electronic
foot
control
Maximum
speed
can
be
pre-selected
in
two
steps
by
the
switch
on
the
foot
control.
Position
=
Half
speed
Position
44
=
Full
speed
Notes
on
safety
A)
Owing to
the
up
and
down
movement
of
the
needles
and
the
upper
knife,
the
user
must
take
sufficient
care
to avoid
injury
and
observe the sewing
area
continuously
while
sewing.
B)
When
leaving
the machine,
changing
parts
or
accessories,
the
machine
muzt
be
dis
connected
from
the power
source.
C)
The
maximum
approved
wattage
of
the
light
bulb
is
1
5
watt.
D)
The drive
belt
must
never
be
adjusted
by
anyone but
an
authorized
Pfaff
agent.
5
e3-O
————
I
How
to
handle
the
thread
spool
stand
Pull
thread
spool
stand
1
as
far
as
it
will
go
in
the
direction
indicated
by
the
arrow.
Fully
extend
telescopic
thread
guide
\
bar
19. Slowly
turn
the
two
upper
tele
—
scopic
sections
until
you
hear
their
detent
balls
snap
in
place.
After
use
fold
up
telescopic
thread
guide bar
19.
read spool
stand
(with
or
machine.
6
1
Opening
and
closing
looper
cover
and
work
support
Push
looper
cover
10
fully
to
the
right,
hold
it,
and
swing
it
down.
To
close
the
looper
cover,
push
it
up
until
it
locks.
To
open work
support
12.
push
it
in
the
direction
indicated
by
the
arrow.
To
close the
work
support,
push
it
lightly
until
it
locks.
Behind
the
looper
cover converter
41
(Hobbylock
788)
is
illustrated
with
its
slide
settings
for
the
respective stitch
type.
On
the
inside
of
the
looper
cover
the
individual
threading
paths
are
illustrated
in
colors.
lmportantl
While
the
ooøer
cover
or
work
support
s
open,
power
supply
to
the
machine
is
inrorrupted.
f1\
—‘
____
____
—
/
-D-
/—
‘-==
i’)
A
I
—
/_____________
—
Threading
of
guide
wires
18
and
19
Place
thread
spools
on
thread
spoo
1
stands.
The
machine
must
be
threaded
correctly.
First
pull
the
threads
through
guides
18
according
to
colors.
Then
lift
carrying
handle
2
and
place
the
thread
in
rear
guides
22.
Set
the thread
tensi
ons
at
N
and
thread
the
machine
in
the
following
sequence:
1.
right
looper
(yellowl
2.
left
looper
(redl
3.
right
needle
(green)
4.
left
needle
(blue)
Push
carrying
handle
2
down
again.
7
CD
D
ao
CD
U)
7
-
U)
O(DCD
D
CD
a
U)3CD
“U)CD
•c
CDm
-,
CD
CD
a
DC
a
cT
-CD
CD
CD
D
ci
o
D
CD
1
T
C
U)
3CD
0
CD
CD
ciCD
•
CD<CD
••‘
•
o
CDOD
C)
CD
CD-
-1
-l
0
CDZT
CD
CO
CD
o
ci
—.
.CflCD
O
•-“
—
C)
Z
O
CD
__<
lCD
C
—
co
0
co
0
•0
CD
U)
(IC
CT
CD
CD—.
-.
3
CD
U)