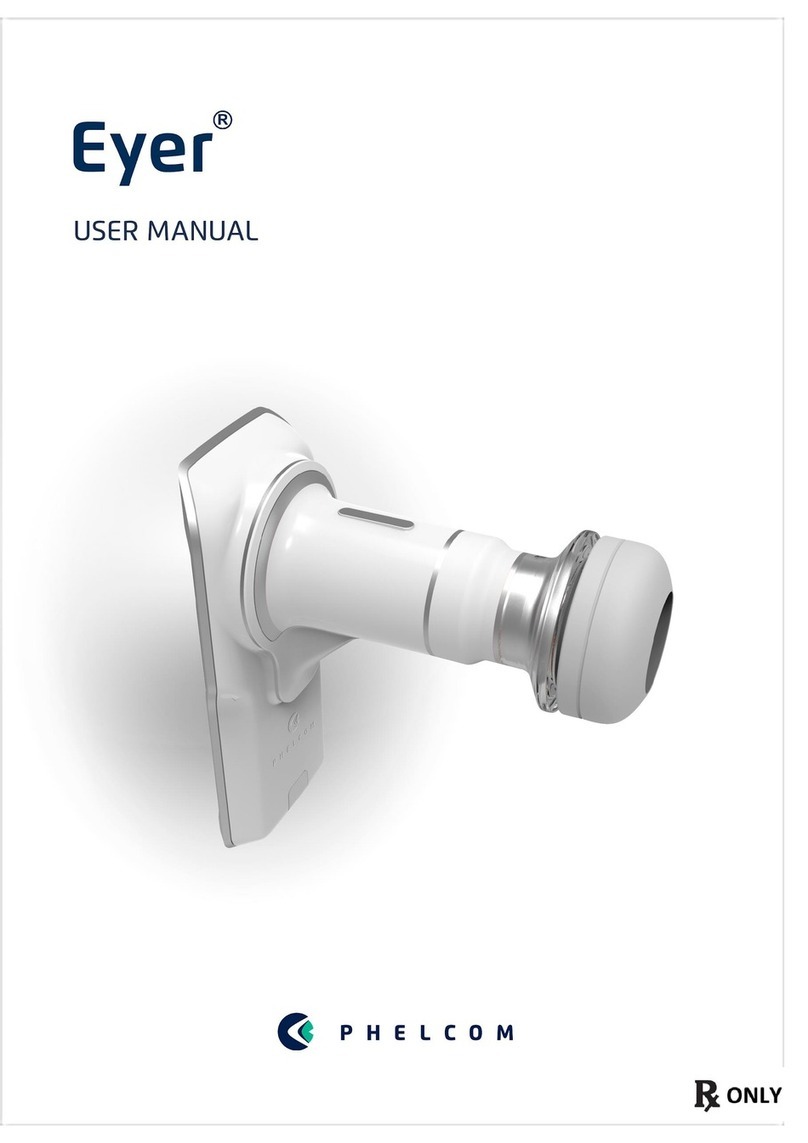
Phelcom Eyer User manual


3
CONTENTS
1. Compliance 5
1.1 Safety guidelines 5
1.2 Intended use 6
1.3 Intended users 6
1.4 Intended patient population 6
1.5 Clinical benefits 7
1.6 Contraindications and limitations 7
2. Introduction 9
2.1 Usage 9
2.2 Overview 9
2.3 Setup and electrical connections 10
3. Eyer®13
3.1 Device features 13
3.1.1 Operation 14
3.2 Application 15
3.2.1 Device start screen and access 15
3.2.1.1 Patients 20
3.2.1.1.1 Creating patient profiles through Eyer®20
3.2.1.1.2 Patient personal information 22
3.2.1.1.2.1 Info 22
3.2.1.1.2.2 Removing a patient information through Eyer®23
3.2.1.1.2.3 Exams 24
3.2.1.1.2.4 Creating exams through Eyer®24
3.2.1.1.2.5 Image capture screen 25
3.2.1.1.2.6 Captured images 27
3.2.1.1.2.6.1 Synchronization failure 29
3.2.1.1.2.7 Image analysis and editing through Eyer®31
3.2.1.1.2.7.1 Cropping 31
3.2.1.1.2.7.2 Image Measurement 32
3.2.1.1.2.7.3 Image Rotation 32
3.2.1.1.2.7.4 Levels 33
3.2.1.1.2.8 Removing images through Eyer®33
3.2.1.1.2.9 Removing exams through Eyer®33
3.2.1.1.2.10 Creating and editing diagnosis through Eyer®35
3.2.1.1.2.11 Sending files by email 37
3.2.1.1.2.12 Device printer setup 38
3.2.1.2 Exams 39
3.2.1.3 Options 40
3.2.1.3.1 Clinic 40
3.2.1.3.2 System 41
3.2.1.3.2.1 Logs 41
3.2.1.3.2.2 Defaults 42
3.2.1.3.2.3 Language 43
3.2.1.3.2.4 Terms and conditions of use 43
3.2.1.3.3 Device 44
3.2.1.3.3.1 Calibration 45
3.2.1.3.3.2 About 46

4
3.2.1.3.3.3 User Manual 46
3.2.1.3.4 Servers 47
3.2.1.3.4.1 Common servers setup 47
3.2.1.3.4.2 DICOM servers setup 49
3.2.1.3.4.3 FTP servers setup 49
3.2.1.3.4.4 SMB/CIFS server setup 50
3.2.1.3.4.5 DICOM file information 50
3.2.2 Shutdown procedure 52
4. Carrying out the exam 52
4.1 Posterior segment 52
4.2 Anterior segment 54
5. Maintenance, Cleaning and Sanitizing 55
6. Packing, storage, transportation, site selection, operation and
environmental conditions 56
7. Accompanying parts and accessories 57
8. Disposal 58
9. Cables and connections 59
9.1 Cables 59
9.2 Connections 59
10. Technical Data 61
10.1 Optical characteristics 61
10.2 Electrical characteristics 62
11. Warning 64
12. Troubleshoot guide 65
13. Electromagnetic Safety Standards 67
13.1 Supplier declaration and guidelines - Electromagnetic emissions 67
13.2 Supplier declaration and guidelines - Electromagnetic immunity 68
13.3 Minimum distance separation recommended for RF mobile
device and Eyer®70
13.4 Radio Frequency interference 71
14. Biocompatibility 72
15. Glossary and symbols 73
16. Cybersecurity Information
17. Term of Warranty 75

5
1. Compliance
Phelcom Technologies developed this device according to worldwide quality
standards, prioritizing patient and operator safety, electromagnetic compatibility
and friendly operational flow, thus making Eyer®Retinal Camera safe, reliable and
robust, meeting the most varied demands of fundus imaging for diagnosis and
screening purposes. Main quality standards adopted follow below:
●ISO 13485:2016
●ISO 14971:2019
●IEC 60601-1:2005+AMD1:2012
●IEC 60601-1-2:2014
●IEC 60601-1-6:2011
●IEC 60601-1-9:2014
●IEC 62366:2010
●IEC 62304:2004
●ISO 10993-1
●ISO 15004-1:2020
●ISO 10940:2009
●ANSI Z80.36-2016
1.1. Safety Guidelines
Eyer®Retinal Camera is a low-risk device that complies all requirements of ISO
15004-2020, ISO 10940:2009 and ANSI Z80.36-2016, being classified as Group 1
fundus camera. It means that there is not any risk for the patients related to
lighting during retinal imaging. Even so, we strongly recommend following the
guidelines below:
●Follow the information on labels and read this User Manual carefully before
turning on and using the device. Wherever the symbol is found, read all
suggested recommendations carefully;
●This device is not suitable for use in the presence of flammable mixtures
containing air, oxygen or nitrous oxide;
●Product must be used as a diagnostic tool for eye diseases, having no
treatment function;
●Device operation does not require the operator to wear individual
protection device. However, wearing protection device is optional in adverse
conditions;
●Keep the device in a safe location. Avoid shocks and vibrations;
●Do not clean with abrasive solutions. Follow the sanitizing procedure listed
in this manual;

6
●Avoid seeping of any liquid or any particle material inside the device;
●Use no component parts not mentioned in this manual, since their use may
damage the device, causing warranty void;
●Avoid exposing the device to sudden changes of temperature and humidity,
since it may cause condensation on lenses, which compromises optical
performance;
●A fragile part of the system is exposed when the smartphone is disattached.
Be extra careful to avoid damage of optical components, such as scratches,
dust, oil or any other dirt that compromises the device performance;
●User is entirely responsible for using any non-specified part, accessory or
material;
●Avoid falls and shocks, extending the service life of the device. Damages
caused by falls or shocks are not covered by warranty;
●Device shall not be used in case any component part is damaged. Contact
Phelcom technical staff to request repair;
●Never disassemble the device, since it may damage optical and electronic
parts, as well as fragile mechanisms.
●Contact Phelcom technical support in case there are any problems related to
the device;
●Eyer Retinal Camera must be used either in clinical/hospital locations.
1.2. Indication for use
Eyer®Retinal Camera is a medical non-mydriatic digital camera, a Samsung Galaxy
S10 smartphone to capture digital images and videos of the fundus of the human
eye, surface of the human eye and surrounding areas.
1.3. Intended users
The device may only be operated by persons who have been properly trained, who
are familiar with fundus cameras, ophthalmoscopes, etc., or who have the required
knowledge to operate the device or a similar device. This device may only be used
in accordance with its intended use.
1.4. Intended patient population
All patients may be imaged with Eyer®Retinal Camera.
1.5. Clinical benefits
Eyer®Retinal Camera can be operated non-mydriatically. Whit Eyer®Retinal
Camera digital images can be stored for follow-up or consultation purposes. The
field of view is 45 degrees allowing a detailed diagnosis. Eyer®Retinal Camera
provides versatility for diagnosing different patient groups that are not able to sit
in front of desk-top fundus camera (e.g. supine patients, wheelchair patients).

7
Due to small size and portability Eyer®Retinal Camera can also be used for
homecare visits and remote screening camps.
1.6. Contraindications and limitations
Because prolonged intense light exposure can damage the retina, the use of the
device ocular examination should not be unnecessarily prolonged, and the
brightness setting should not exceed what is needed to provide clear visualization
of the target structures.
The retinal exposure dose for a photochemical hazard is a product of the radiance
and the exposure time. If the value of radiance were reduced in half, twice the time
would be needed to reach the maximum exposure limit.
While no acute optical radiation hazards have been identified for direct or indirect
ophthalmoscope, it is recommended that the intensity of light directed into the
patient's eye be limited to the minimum level which is necessary for diagnosis.
Infants and persons with aphakia or diseased eyes will be at greater risk. The risk
may also be increased if the person being examined has had any exposure with the
same instrument or any other ophthalmic instrument using a visible light source
during the previous 24 hours. This will apply particularly if the eye has been
exposed to retinal photography.
Eyer®Retinal Camera is classified as Group 1 based on standard ANSI Z80.36:2016.
The daily usage time and maximum allowed number of pulses is calculated based
on optical classification results according to standard ANSI Z80.36:2016.
2. Introduction
By acquiring Eyer®you opted for modern, precise and reliable device to carry out
high-quality ophthalmological exams, in accordance with most rigorous safety
regulations.
2.1. Usage

8
Eyer®Retinal Camera is a device that provides lighting of the posterior and
anterior portions of the human eye. It enables imaging such structures to diagnose
diseases in those regions. There are three available exams: color retinography,
red-free retinography and anterior segment imaging.
Eyer®advantage, compared to conventional devices, is mobility, usage, quality
exams and very high connectivity.
This device is designed for clinical/hospital locations. Its use does not imply
secondary, side or adverse effects.
This User Manual contains information on assembling, connections, adjustments,
operation and maintenance, in order to enable full use of the device. Look forward
to reading all the contents and keeping the manual reachable for reference and
checking.
In case of any information, doubt, suggestion or complaint about device
components, please contact Phelcom. Always count on the technical staff to help
and guide you, maximizing device usefulness .
2.2. Overview
Eyer®can be used in clinic/hospital locations. In order to assure Eyer®appropriate
functioning, it must be correctly installed according to the conditions below:
●Device must not be exposed to heat sources or put in areas subject to water
or humidity, exceeding the limits stipulated below::
Temperature
5ºC (41ºF) to 40ºC (104ºF)
Relative humidity
5% to 75%
Atmospheric
pressure
800 hPa to 1060 hPa

9
2.3. Setup and electrical connections
Eyer®is supplied separately from the smartphone. Before first use, qualified and
supplier-authorized technicians must install smartphone and application to assure
the device works perfectly. Contact Phelcom for further information on initial
setup. Phelcom staff may also provide remote access to make maintenance and
application troubleshooting possible.
Eyer®power source is the smartphone battery. It does not have a connection to the
power grid. When not in use for imaging, the smartphone can be attached to a
passive mechanical-support base and connected to its original charger, facilitating
battery recharge.
Figure1 displays the device in its accessory base.

10
Figure1: Device on its accessory base.
Eyer®application setup for smartphones works as the steps described in section
2.2. Minimum requirements of the smartphone follow specified in Table1.
Table1: Minimum requirements for smartphone.
Operating System
Android Nougat 9.0 Pie
Screen
6.1-inch AMOLED 1440X3640 (~550 ppi)
Processor
Qualcomm Snapdragon 885 or Samsung Exynos 9820
Storage
64 GB (UFS 2.1)
RAM
4 GB
Back Camera
12MP Dual Pixel, f/1.5 2.4-micro pixels OIS, manual
control. Camera ought to be laterally centered on the
smartphone.
Connectivity
Wi-Fi 802. 11ac MIMO, USB-C
Charge source
USB - C fast charging
Battery
3400mAh

11
Water resistance
IP 68 rating
Dimensions
149.9 x 70.4 x 7.8mm
Weight
157 g
According to minimum requirements, most adequate smartphones available on
market are Samsung Galaxy S10.

12
3. Eyer®
Eyer®is simple and user-friendly. Device and application details and operation flow
are presented below:
3.1. Device features
Figure 2, figure3, figure4, figure5 and figure6 present the feature list below:
1. Eyer®Retinal Camera with integrated smartphone;
2. Protective lens cap;
3. Eyecap;
4. Accessory base (charging station);
5. Charger and USB cable;
6. Compliant Smartphone;
7. Optical body;
8. Charging connection;
9. Electronics compartment;
10. Compliance seal and indelible label with basic information.
Figure2: Eyer®protective lens cap and eyecap.

13
Figure3: Base and charger.
Figure4: Back view of the system with
attached smartphone.
Figure5: Front view of the device with
attached eyecap.
Figure6: Device identification label attached
to the case.
3.1.1. Operation
After acquiring Eyer®, the user must access https://eyercloud.com/us_register to
register an account to the system. All device operation is done through the
application installed in the smartphone, which is used for commands, controls, to
visualize operations and results, as well as to access external systems to share and
store images.
Device usage is divided into two stages: user login/first access and daily use: patient
registration, creating exams, carrying out exams, handling and organizing images
and making reports. The pre-operational stage contains activities that are infrequent
or only done at setup and first use.
3.2. Application

14
Eyer®application is simple and functional. It allows patient registration, carrying out
and organizing exams, making reports and editing information. Captured
information and exams can be safely synchronized by SMB/CIFS, DICOM or FTP
connections allowing the visualization of the data and exams outside Eyer
application. For patient data synchronization consult the section 3.2.1.3.4 Servers
for details.
3.2.1. Device start screen and access
With the smartphone on, the user must wait one minute for the system to update its
functions and be operable. In case of access before this timespan, a message as in
figure7 displays.
Figure7: Startup message.
After startup, drag the top android bar as shown in figure8, it will open up the quick
access tools, select the Wi-Fi option and set it up as follows in figure9 and figure10.
Acess the apps as in figure11.

15
Figure8: Device start screen with top
android bar.
Figure9: Quick Access Tools.
Figure10: Wi-Fi details.
Figure11: Quick access apps.

16
Access application by an icon on the
central screen, figure8. Figure12
depicts the program loading screen.
Figure12: Initial system loading screen.
A screen for USB device permission displays at the end of the process, use it as
default and click “OK”, figure13. Select the language, figure14, and the terms of use
and privacy policy display, figure15. Read them carefully before accepting. Insert
user login and password previously created at EyerCloud in the link
https://eyercloud.com/us_register, figure16, then select the registered clinic,
figure17. User will be registered and shall inform his/her PIN code to use the
application, figure18. Click on the clinic name to change from one clinic to another,
figure18.

17
Figure13: Setting USB device as default.
Figure14: Language selection.
Figure15: Accept Terms of Use.
Figure16: Application first access screen.

18
Figure17: Clinic selection to carry out exams.
Figure18: Application access screen.
After login, a screen displays, figure19. It enables accessing all system functions:
patients, exams and options. Click the synchronization icon , figure19, to check
transfer status, figure20.
Figure19: Start screen to access system functions.
Figure20: Device transfer status.
The clinic, users and device information are managed in EyerCloud. The EyerCloud

19
system will allow the user to control the clinic information that is printed on the
report generated by the device and handle user access to the device as well as
manage the complete user account.
For patient data synchronization consult the section 3.2.1.3.4 Servers for details.
3.2.1.1. Patients
Access option 1, “Patients”, in the main screen, figure19, to register, visualize, alter
information, as well as carry out exams and diagnostics through patient information.
3.2.1.1.1. Creating patient profiles through Eyer®
Selecting icon 1, figure19, displays a screen as in figure21. Here, a list of registered
patient names displays. Activate button and insert patient information.
Highlighted fields in figure22 must be filled in.
1. Name;
2. Surname;
3. MRN - Medical Record Number (optional)
Click the icon to save information and automatically create a registration form for
the patient.

20
Figure21: Opening screen for the “PATIENTS”
option, figure19.
Figure22: Screen for creating patient profile.
Click to sort the profiles list and
choose one option: recent, ascending
or descending, figure23.
Figure23: Filter to exhibit patient profiles.
Other manuals for Eyer
2
Table of contents
Other Phelcom Medical Equipment manuals
Popular Medical Equipment manuals by other brands

Medirol
Medirol Vivera instruction manual

Impulse Dynamics
Impulse Dynamics OPTIMIZER Integra CCM-D Patient manual

Gima
Gima 28544 quick start guide

Thoratec
Thoratec HeartMate II LVAS manual

elektron eye technology
elektron eye technology Henson 9000 quick start guide

Arthrex
Arthrex Synergy Resection quick guide