Directions for use GB 9FTV1.9EE 3.
9
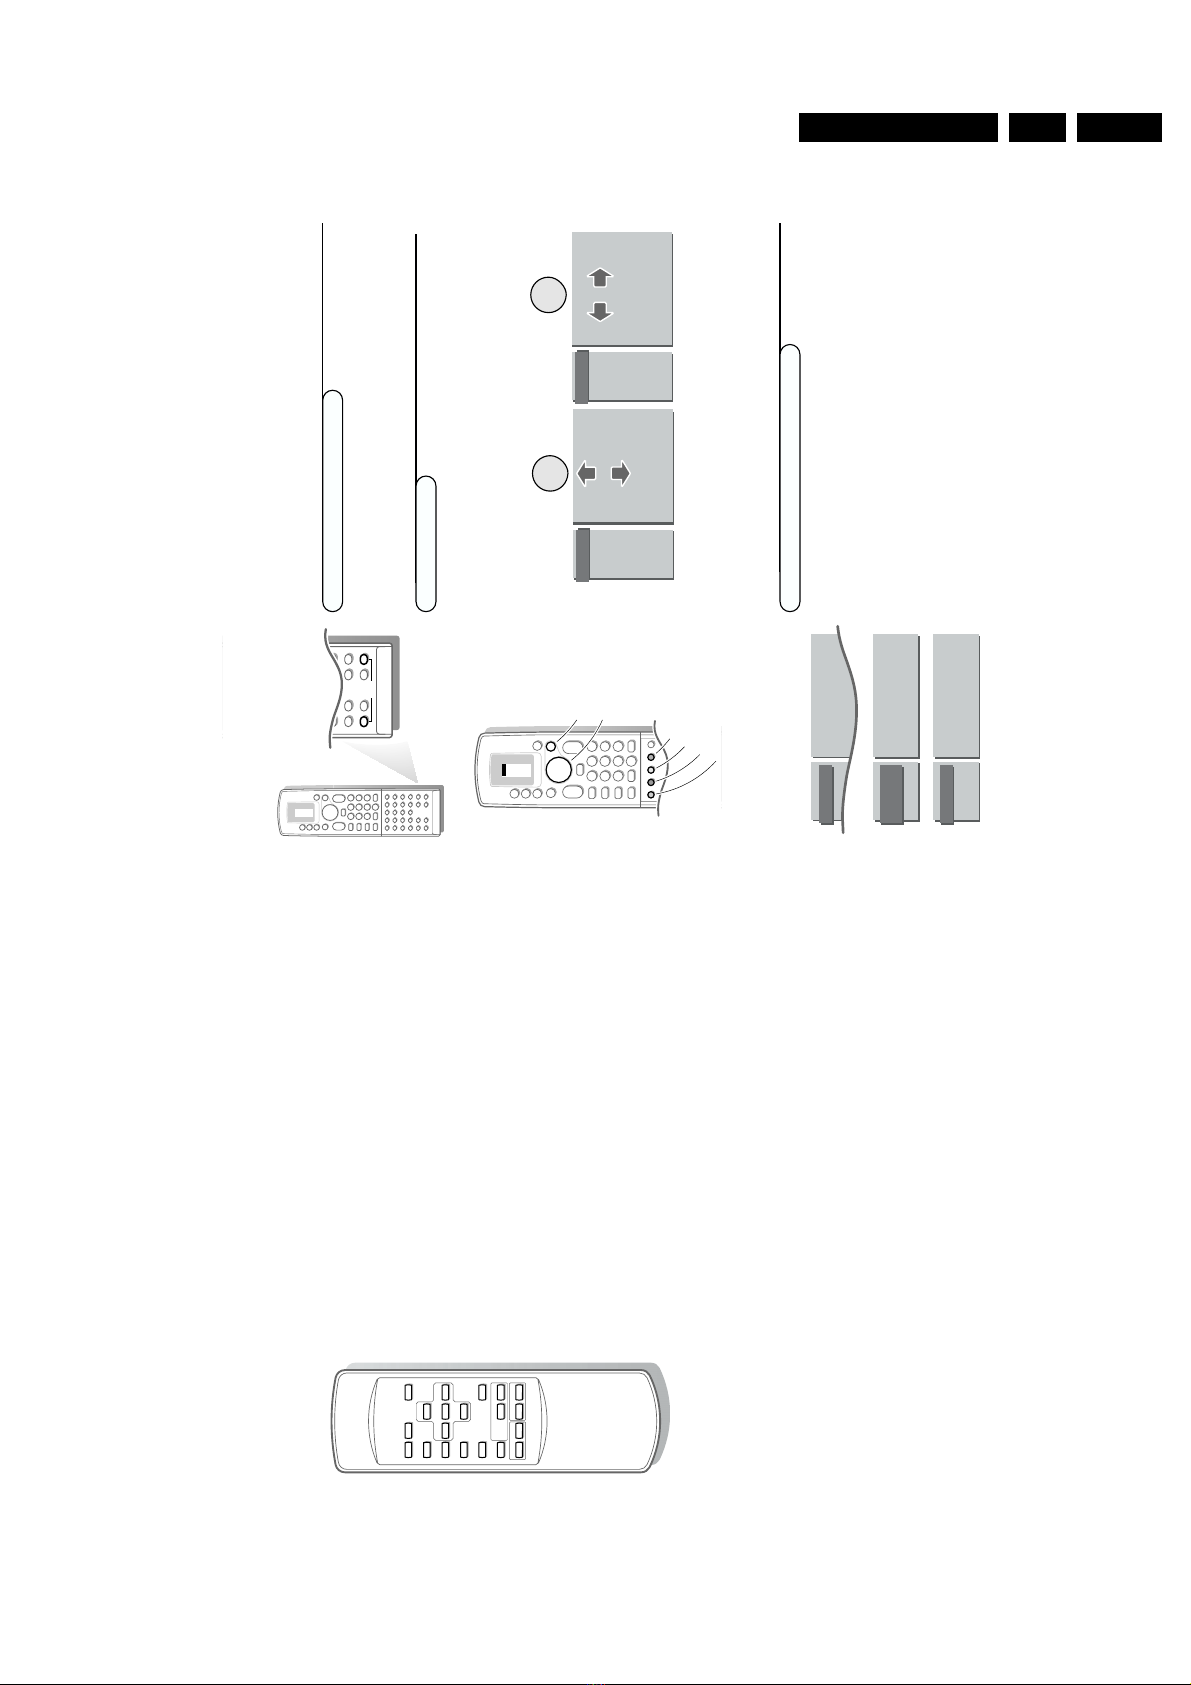
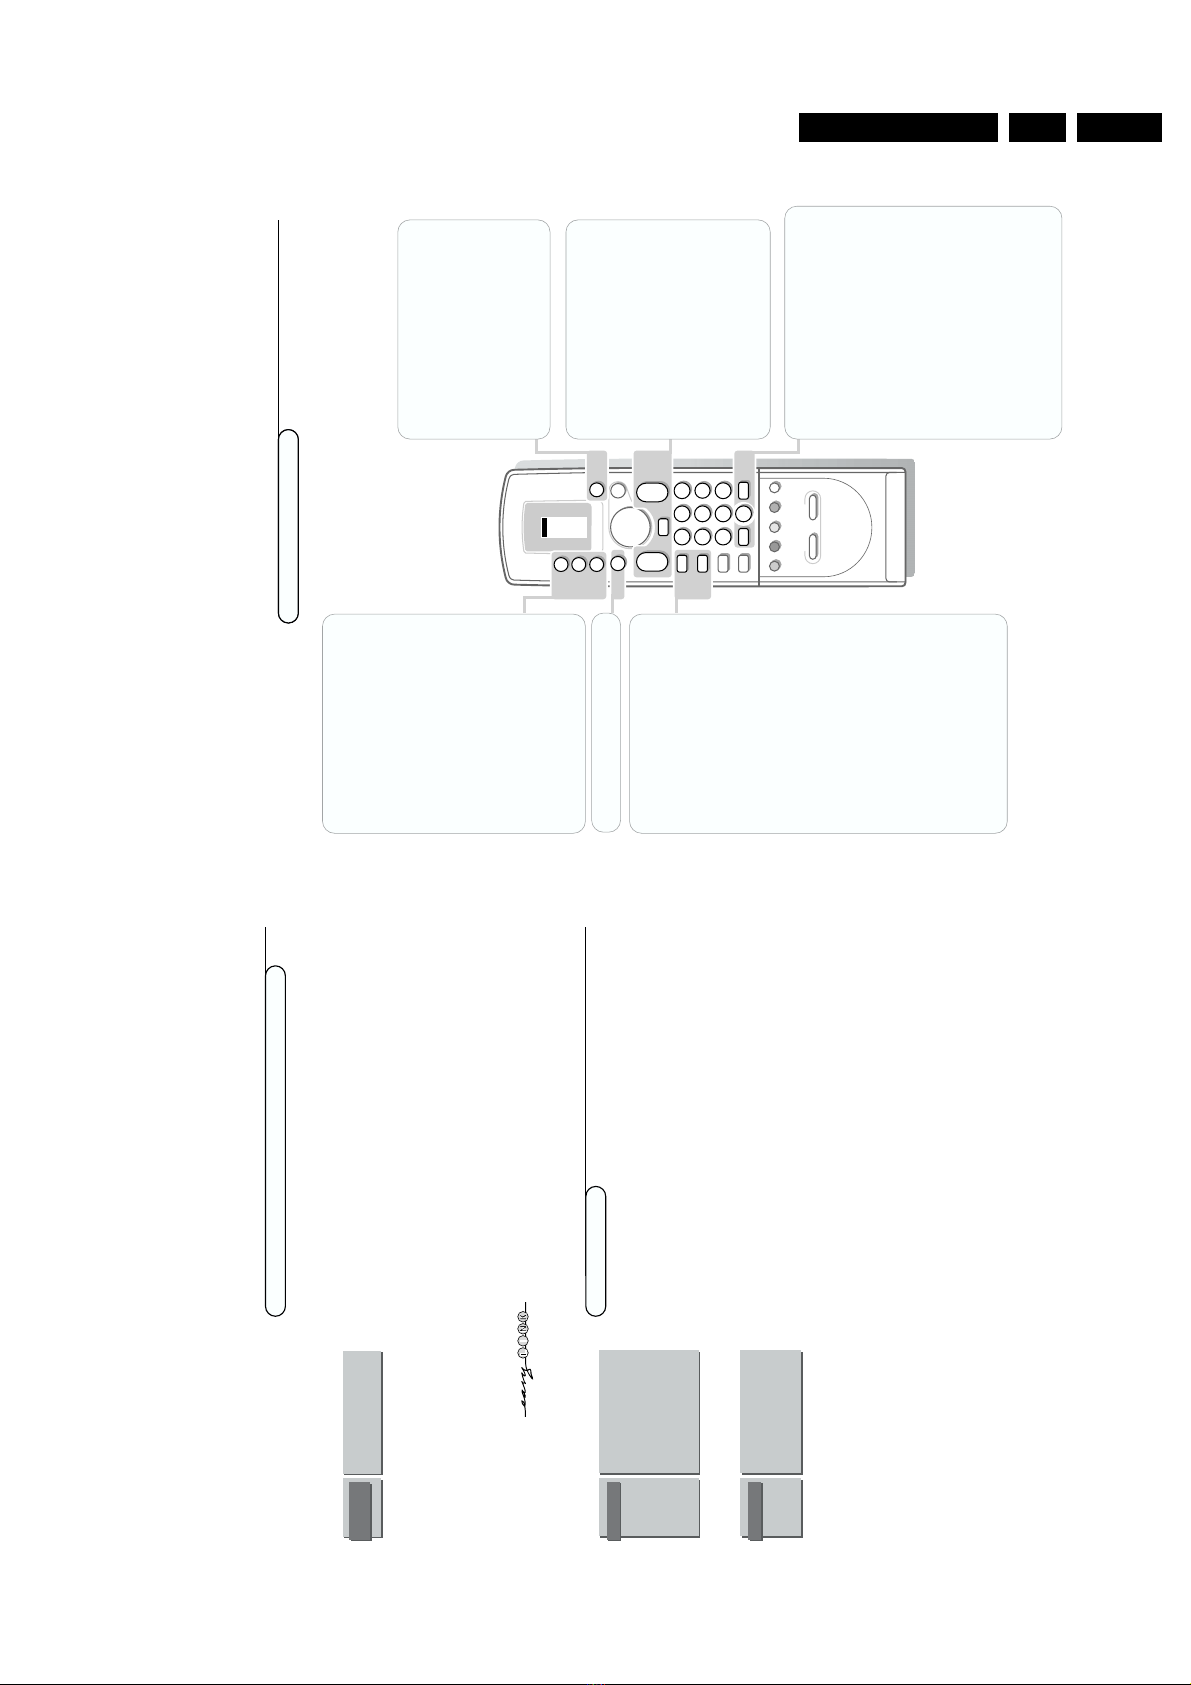
Use of the remote control
Operation
Use of the remote control
VCR 1
VCR 2
DVD
AMP
TUNER
TAPE
SAT
CD
TV
π
π
π
π
OK
M
u
TV
q
X
B
123
456
79
PICTURE SOUND
+
-
VP
+
-
¬
0
ib
j
8
0
SMART CONTROLS
b
w
Select your computer or other
peripherals
Press this key repeatedly to select
EXT1,
EXT2, EXT3
,
FRONT, VGA
or
TV channels
,
according to where you connected your
peripherals (see p. 24).
Remark: in VGA mode only some keys are valid.
See VGA menu, p. 24.
Menus and on screen information will disappear
if you select VGA.
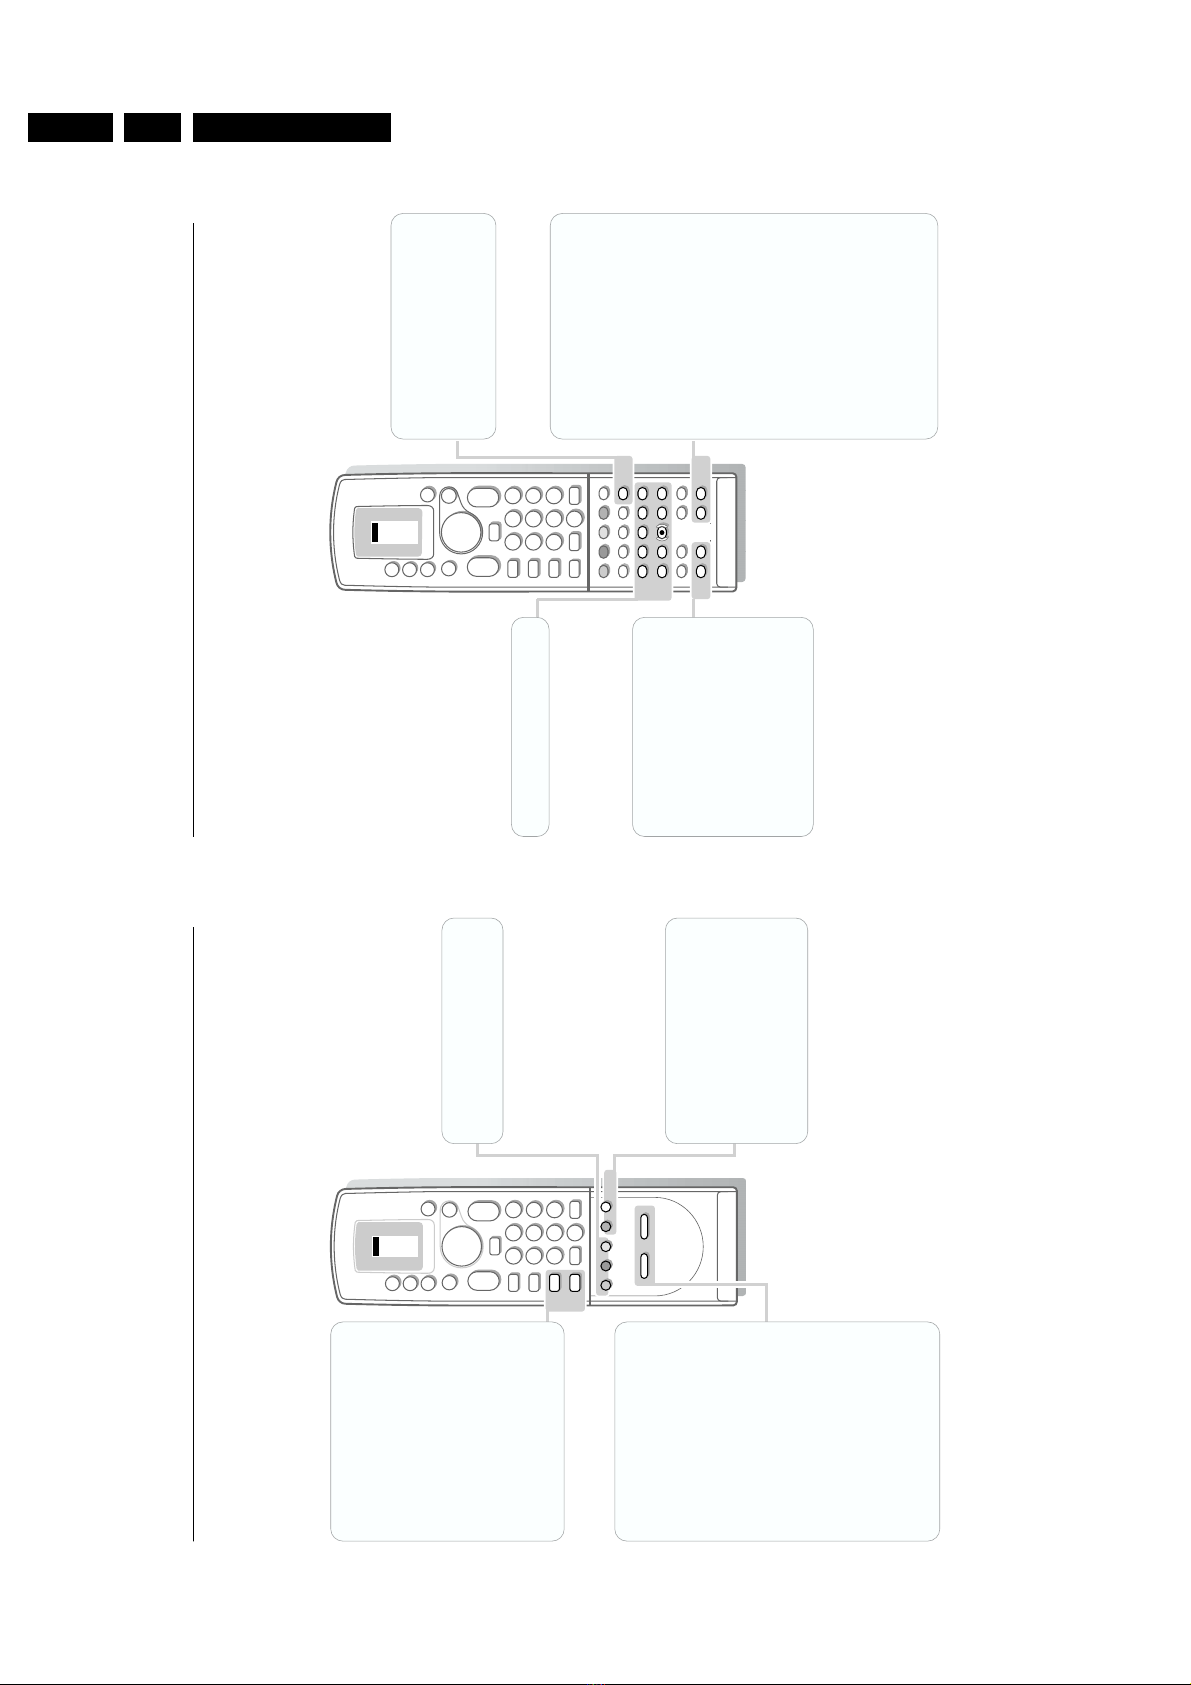
M
Mode selection
Press this key repeatedly to indicate the
peripheral equipment you want to operate
with the remote control.
TV
TV operation
Press this key to use the remote control
directly in the TV mode
B
Standby
The set is switched off and the red indicator
lights up in front of receiver box and the
screen.
To switch the TV on again press the Bkey
or press - P + or the digit keys.
Although this set is provided with low power
standby it is still advised to switch off your TV
overnight instead of leaving it on standby.You
save energy.
bDual screen see p. 16
q
Picture format
Press this key repeatedly to select another
picture format: 4:3, Movie Expand 14:9,
Movie Expand 16:9 with or without subtitling,
Super Wide,Wide Screen or Auto Format
(when Auto Format is set to Yes in the
SETUP menu).
Auto Format makes the picture to fill the
screen as much as possible.
Sometimes also video recorder programmes
carry special signals which will automatically
switch the TV to the correct screen format.
Note: In VGA mode press the qkey to switch
between a 4:3 or a 16:9 picture format.
In Dual screen mode press the qkey to switch
between a full or a squeezed picture format.
X
Bilingual choice and
sound mode selection
Press this key
• to switch from
Stereo
to
Mono
sound, in
case of stereo transmission, or from
Digital Sound
to
Digital Sound available
,
in case of digital transmission;
• to choose between language Y(Dual Y) or
language Z(Dual Z), in case of bilingual
transmission.The setting is separately
stored for each TV channel.
0/9
Digit keys
To select a TV channel.
For a two digit programme number, enter the
second digit within 2 seconds.
0
Previous programme
The previously selected TV channel is displayed.
The ◊keys are only used with some video
recorders and DVDs.
i
Permanent programme number
Screen information
Press for 5 seconds to activate/de-activate the
continuous display of the programme number.
Press briefly to display information about the
selected TV channel and programme, the sound
mode, picture format settings, the selected
DNR setting and the remaining time set with
the sleeptimer.
Use of the remote control
V
Volume
Press + or - to adjust the volume.The
volume is adjusted. If you want to store the
volume adjustment in the memory, see the
Features menu, General PP store, p. 14 to
store the same volume adjustment for all
the stored TV channels
P
Programme selection
To browse through the TV channels
activated in the Favourite Programme menu.
¬
Sound mute
Temporarily interrupt the sound or restore
it.
8
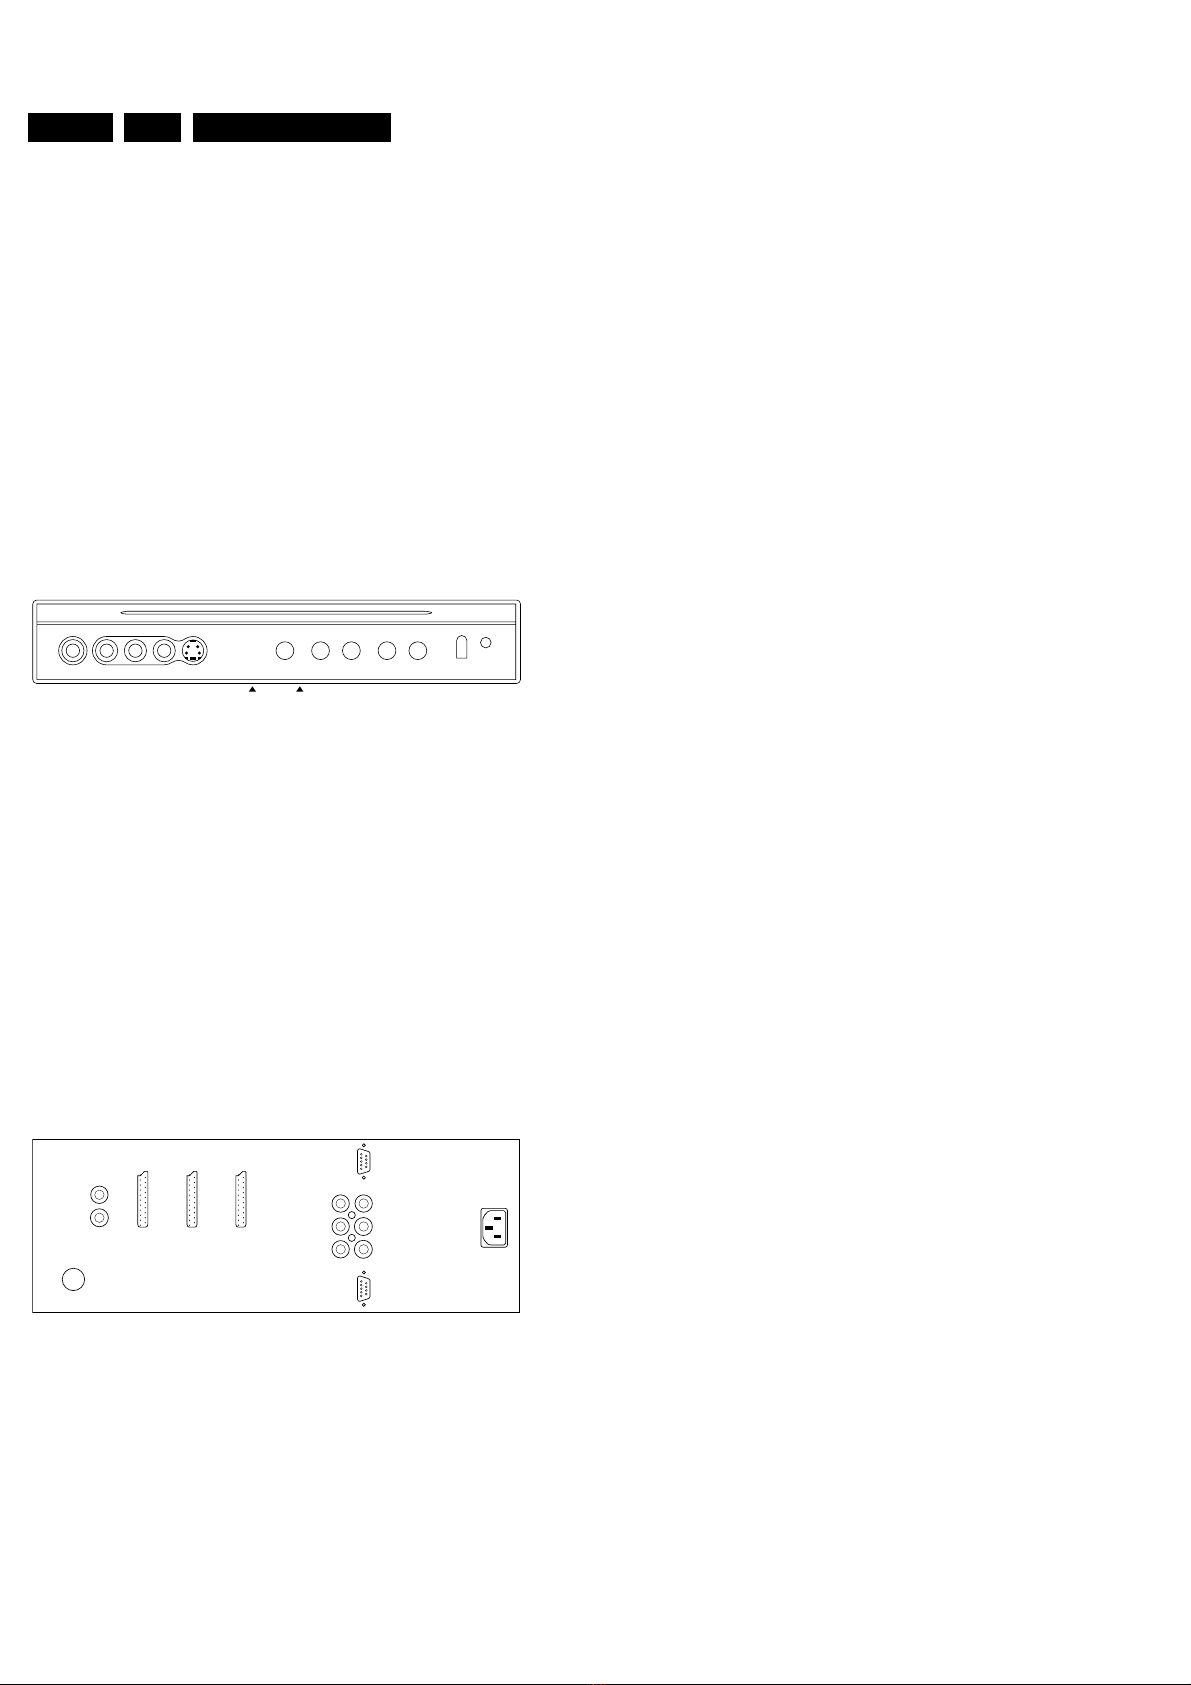
Installation
Define Decoder/Descrambler programme numbers
If a decoder or a descrambler is connected, see p. 19, you can define one or
more programme numbers as decoder programme numbers.
&
Select
Decoder/Descrambler
in the INSTALLATION menu and press the
OK key.
é
Select the programme number with the cursor up/down. Select the
programme number under which you have stored the programme coming
from your decoder with the digit keys
“
Select Decoder Status with the cursor up/down.
• Press the cursor left/right to select the input used to connect your decoder:
TV
,EXT1 or EXT2.
• Select
TV
if you do not want the selected programme number being
activated as a decoder programme number.
‘
Use the red menu key to return or switch menu off.
If the TV is connected to a video recorder with the EasyLink function, the message
EasyLink: Downloading Presets.... appears at the bottom of the screen.
The programme list of the video recorder is equal again to the one of the TV.
The Setup menu allows you to adjust initial settings, i.e. those which are not
related to the installation of the TV channels.
The Setup menu contains items that control the settings of the TV’s functions,
features, services and peripherals you may have connected.
&
Select
Setup
in the INSTALLATION menu and press the OK key.
é
Use the red menu key to return or switch menu off.
Ext2 Output
See Record with your video recorder without EasyLink, p. 26.
Photo CD
See Connect Peripheral Equipment, Other equipments, p. 20.
Information Line
Press the cursor left/right to select
On
.
After the selection of a TV programme or after pressing the ikey on the
remote control, a TV channel which broadcasts teletext may transmit the
name of the TV channel or the programme name or another message which
appears briefly in the information line at the bottom of the screen.
When selected
Off
, the information line will only appear after pressing the
ikey, and not after the selection of a TV channel.
Picture mute
Press the cursor left/right to select a
Blue
or
Black
screen when there is no
picture or information. In VGA mode always black mute is used.
Auto Format
When
Ye s
is selected with the cursor left/right,Auto format is part of the
picture formats that are selectable with the qkey.
With the picture format
Auto format
, the picture will fill the screen as much
as possible. See p. 9.
Install TV Setup
Menu Language
Country
Automatic Installation
Manual Installation
Give Name
Reshuffle
Favourite Programmes
Decoder/Descrambler
Setup
INSTALLATION
Ext2 Output
Photo CD
Information Line
Picture mute
Auto Format
SETUP
DECODER/
DESCRAMBLER
Programme
Decoder Status