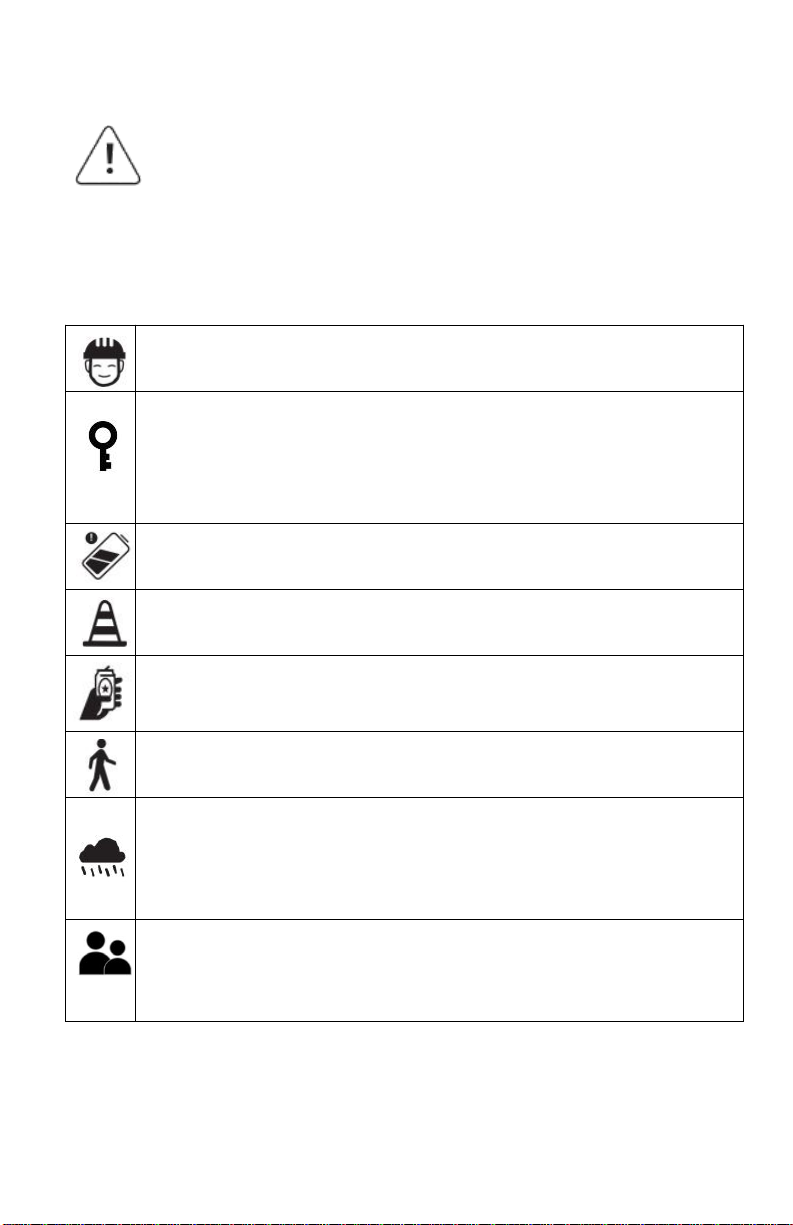
PHILODO P7 User manual

Thanks for your purchase of a
Philodo electric bike.
We really appreciate your business cooperation with us
and we wish you a good time with the ebike.
This manual will help you assemble and operate your
new electric bike. Be sure to read all of the information
in this manual before riding.
CONTACT INFORMATION
Email: support@philodo.com
Website: www.philodo.com
Please record your bike’s serial number in the space
below. The serial number is located on the head tube
or on the bottom axis connecting the pedals. Refer to
the chapter of serial number in this manual for a photo
showing the location of the serial number.
SERIAL NUMBER
1

Contents
Contents...........................................................................................................................2
Product Safety Notice..................................................................................................3
Warning Message.......................................................................................................... 4
Package Contents......................................................................................................... 5
Product Overview.......................................................................................................... 6
Assembly.......................................................................................................................... 6
Recommended Torque Values...............................................................................11
Serial Number..............................................................................................................12
Charge Your E-Bike................................................................................................... 13
Preparing to Ride........................................................................................................15
Operate Your E-bike..................................................................................................17
Troubleshooting.......................................................................................................... 23
Error Codes...................................................................................................................25
Safety..............................................................................................................................25
Warranty & Disclaimer............................................................................................. 27
2

Always wear a helmet when riding your electric bike.
Keep the keys properly. If the unique keys are lost,
you
will not be able to turn on the bike or replace the
battery. If necessary, you should get more spare keys.
We don't have a backup key.
Make sure your electric bike has a full battery
before taking it out to ride.
Always be aware of local road laws, and follow them.
Do not ride the bike under the influence of drugs
or alcohol.
Always respect pedestrians.
Do not ride under wet conditions. The electric bike
may slide from under your feet causing injury.
Wet conditions may damage the electronics and void
the warranty.
NOTE TO ALL RIDERS UNDER 18 YEARS OF AGE:
It's very important that you get parental
permission before riding your electric bike.
Product Safety Notice
Don't Ride Until You Read This
3

Warning Message
Read this entire manual before assembling or using your new
electric bike. Do not modify, disassemble, or replace the original
electrical components on your bike. Doing so will invalidate your
warranty and could put you in danger. Riding any type of bike
comes with some risks which can’t be predicted or avoided.
Taking proper care of bike components can lower the risk of
sudden failure of components but cannot prevent it. These
sudden failures could cause serious harm, injury, or death to the
rider. If you notice abnormalities in any component on the bike,
take it to a licensed mechanic to be repaired or replaced
immediately. Philodo Bike LTD assumes no liability for harm,
injury, or death of the rider.
This manual is not intended to function as a detailed service
manual. Philodo Bike recommends having your local bike shop
mechanic perform a detailed safety check of your bike before your
first ride.Ensure your local mechanic is experienced and reputable.
The Philodo P7 and H7 can withstand most rain showers without
sustaining damage. The bike has an IP rating of 54. This means it
is dust tight and can withstand jetting water. See the IP code for
more details.
It does not mean that the bike and its mechanical and electrical
components are waterproof. We do not recommend storing or
using the bike in excessively wet conditions. The warranty does
not cover water damage.
4

Package Contents
Carefully check the package contents, if anything is missing or
damaged, please contact Philodo customer service for support:
support@philodo.com
1x Electric bike 1x Front wheel
1x Front wheel
quick release
skewer
1x Saddle 2x Pedals 1x Charger
Tools 2x Battery keys 1x Owners manual
5

Product Overview
Assembly
Front wheel
1. There are two springs, a lever and a nut on the quick release
skewer. Remove the nut and one spring. Remember that don't
unscrew any nuts on the hub of the front wheel.
6

2. Get the front wheel and insert the skewer from the disc side.
From the other side, attach the spring followed by the nut.
3. The larger sides of the springs are on the outside end of the
skewer.
4. Lift the bike, then insert the disc brake into the caliper. Make
sure that the axle fits nicely in the front forks.
5. Tighten the nut on the skewer until the lever becomes firm to
close. The lever should leave an imprint in your palm.
Headlight
1. Make sure the front fork brace is at the front of the bike, not at
the back.
2. Place the headlight and the fender at a right position, then
tighten the screw. The headlight can be adjusted up and down to
change the illumination angle.
7

Handlebar
1. Turn the stem to the front.
2. Remove the faceplate of the stem.
3. Take care to note that the cables should run cleanly from the
handlebar. They should not be twisted. Don't remove or detach
the cables.
4. Insert the handlebar then reattach the faceplate of the stem.
5. Tighten the screws. You should keep swapping between the
screws to ensure that the faceplate has a consistent gap from the
stem along all edges and tighten securely. The handlebar should
8

be aligned so that the once front wheel is installed, the brake
levers are at 45 degrees to the ground.
6. Tighten the screw under the black rubber cover where on the
top of the fork.
7. Align the stem with the front wheel. Tighten the two screws on
the stem.
Pedals
1. It is important to note that pedals are sided. Remember this is
always from the perspective of the rider. Locate the left hand
side/ right hand side pedal, which is marked "L" and "R".
2. The thread on the left hand pedal is reversed. So tighten it
counter-clockwise. Install the left hand pedal into the left crank
arm gently by hand. Then tighten the pedal by a 15mm wrench.
3. The right hand pedal has a normal thread. So tighten it
clockwise. Install the right hand pedal into the right crank arm
gently by hand. Then tighten the pedal by a 15mm wrench.
Seat post
For better pedaling, safety and overall riding comfort, positioning
the seat at the right height is important. The rider's leg length is
used to determine the seat's position. When you pedal, your hips
should remain level and your legs should be almost fully extended
at the boom of the pedal stroke, but not over-extended.
To determine the right seat height, sit on the eBike with one pedal
at its lowest point and place the ball of your foot on the pedal.
Your leg should be almost fully extended with a slight bend at the
knee.
9

1. Open the quick release lever. Insert the seat post into the seat
tube.
2. Adjust the height of the seat. Do not raise the seatpost
beyond the minimum insertion marking on the seat post.
3. Tighten the nut on the quick release until the lever becomes
firm to close. Close the quick release lever by your palm or
finger.
Adjusting the Seat Position and Angle
To change the angle and horizontal position of the seat:
1. Use a 6 mm Allen wrench to loosen the seat adjustment bolt
on the clamp positioned underneath the seat, above the rear
wheel. Do not remove the bolt fully.
2. Move the seat backward or forward to adjust the angle. A seat
position horizontal to flat ground is desirable for most riders.
3. While holding the seat in the desired position, use a 6 mm
allen wrench to tighten the seat angle adjustment bolt securely
to the recommended torque value.
10

Recommended Torque Values
It is recommended that fasteners be tightened to the manufacturer’s
specification found below:
Part Required Torque (N*m)
Front Wheel Axle Nuts 40
Rear Wheel Axle Nuts 40
Disc Rotor Mounting Bolts
7
Brake Lever Clamp Bolts
7
Brake Caliper Mounting Bolts
7
Shifter Clamp Bolt
5
Seatpost Clamp
9
SaddleRail Binder 22
Pedals
35
Bottom Bracket 65
Headset Parts 34
Stem Binder Bolt 21
Handlebar Stem Clamp Bolts 10
Handlebar Stem Quick Release
7
Rear Derailleur Cable Clamp Bolt
4
Rear Derailleur Mounting Bolt
8
Crank Bolts 45
Torque Arm Bolt
7
Fender Mounting Bolts
6
Rear Rack Mounting Bolts
7
Kickstand Mounting Bolts 10
Headlight Mounting Screw
7
Spokes 160-180 (KGF)
11

Serial Number
Your bike has a one of a kind serial number associated with
it. The serial number is located on the head tube or on the
bottom axis connecting the pedals.
Please locate the serial number on your bike and write it
down on page 2 of this manual. You may be asked for your
bike’s serial number as a part of warranty requests. You may
also be asked to provide this number to law enforcement in
the event that your bike is stolen.
Battery
For your convenience, the Philodo battery can be removed.
Lock Open Remove the battery
1. The battery keys are hung on the cables in front of
handlebar.
2. Insert the key into the keyport, open the battery lock.
Carefully slide the battery upwards and lift it offthe frame.
NOTE:
12

1. When the battery is removed, be careful not to drop or
damage the battery. Avoid damaging the exposed connector
terminals and keep them clear of debris.
2. When Installing the battery, sliding the battery into the
frame mount receptacle. Do not force the battery into the
receptacle. slowly align and push the battery down into the
receptacle.
3. Ensure the battery has been properly secured to the bike
before each use. Pulling carefully upwards on the battery with
both hands to test the security of the attachment of the
battery to the mount.
4. Before each use, close the battery lock and remove the key.
If the lock does not close or the key cannot be removed, the
battery has not been properly installed.
5. Keep the keys properly. If the unique keys are lost, you
will not be able to turn on the bike or replace the battery. If
necessary, you should get more spare keys. We don't have a
backup key.
Charge Your E-Bike
1. The battery can be charged while attached or detached
from the bike. To remove the battery, see the previous
remove battery section for details. You should plug your
battery in when you first receive it to ensure it is fully charged
prior to your first ride.
13

2. Remove the rubber cover on the charging port on the right
side of the battery. Insert the charger output plug into the
battery charging port.
3. Plug the charger into a power outlet. Charging should
initiate and will be indicated by the LED charge status light on
the charger turning red.
4. Once fully charged, the charging indicator light turns green.
Unplug the charger from the power outlet first and then
remove the charger output plug from the battery charging
port. Avoid leaving the charger plugged in when the battery is
fully charged.
WARN:
1. Do not leave your battery unattended while it is charging.
2. Do not charge the battery with chargers other than the
charger provided by Philodo Bikes.
3. Only charge the battery indoors in dry spaces which are not
excessively hot or cold.
4. Ensure there is no dirt, debris, or flammable items nearby
when using the charger.
5. The charger will automatically stop charging once the
battery reaches its full capacity.
6. Store the battery indoors in a dry space, away from heat or
flame sources and out of direct sunlight.
7. The charger may get hot when charging. Use caution and
avoid touching the body of the charger.
Keeping your battery safe and healthy
1. Do not submerge the battery in liquid of any kind.
2. Do not touch the terminals at the back of the battery.
3. Remove the battery from the bike if not in use for a long
time.
4. The battery should not be excessively difficult to attach
14

or remove from the battery mount. Do not force the battery to
avoid the risk of damage or personal injury.
5. Battery charging times may increase with battery age and
usage.
6. Only grab the charger by the plug and not the cable when
plugging and unplugging from the wall.
7. If you know you won’t be using the battery for more than a
few days, keep it charged at about 75% capacity. At 75%, the
battery will degrade less than at higher charge levels.
8. Periodically check your battery’s charge level about once
per month and charge back up to 75% if necessary.
9. If you want to increase the number of cycles your battery
will last for, charge your battery to 100% a few hours before
you plan to ride it. For example, if you ride the bike and the
charge level falls to 50% but you plan to use the bike again in
a few days, wait until the night before you plan to use it again
to charge it up to 100%.
10. When your battery has worn out and is no longer usable,
dispose of your battery according to your country or district
regulations. Country regulations regarding battery disposal
vary so it is important you find out the rules in your country
or district. Lithium Ion batteries cannot be put in with normal
garbage.
Lithium Ion batteries can be dangerous. Take care when
using and charging your battery. Failure to follow the above
guidelines could result in damage to property and/or serious
injury. Contact Philodo Bikes immediately if you have any
questions regarding battery safety.
Preparing to Ride
Ensure all components are properly secured before riding
otherwise serious harm or death could occur. All components
should be torqued to the torque specified in the
Recommended Torque Values section of this manual. Refer
to the table of contents at the beginning of this manual for
the page number of this section. This includes but is not
15

limited to: pedals, handlebars, handlebar clamp, cranks, seat,
and seatpost clamp.
Make sure you can’t twist the seat or stem out of alignment
by hand.
Check to see if your saddle is positioned at the proper height.
Sit on the saddle facing forward and place the ball of your
foot on the pedal at its lowest point. Your leg should be
mostly straight at this point with a slight bend at the knee.
You should be able to pedal the bike without overextending
your leg when the pedal is at its lowest point. Your legs may
be overextended if it causes your hips to move side to side,
which means the seat must be lowered.
Check that your suspension fork is properly adjusted for the
terrain and your weight. The suspension fork will affect the
handling of the bike, primarily when going over bumps and
stopping. In some situations, it may be advantageous to lock
out the suspension so it is fully rigid.
The suspension fork can be locked out so it is rigid, and the
tension is adjustable. To adjust the suspension fork use the
knob. To fully lock the suspension, turn the knob clockwise
towards the “lock” direction indicated until it cannot be
turned further.
To increase the stiffness, turn the knob clockwise towards
the “lock” direction indicated. To make the suspension softer,
turn the knob counterclockwise towards the “open” direction
indicated.
OPEN CLOSE
16

Operate Your E-bike
Make sure you read this entire manual before turning on and
operating your eBike.
Now that your eBike is installed. It is almost time to start
riding. The Philodo bikes are equipped with pedal assist, a
twist throttle, and can also be used as a regular bike.
Before learning about how to operate your new eBike, it is
important you know where all of the important controls are
located. Below are photos showing where key controls and
features are on your eBike.
Cockpit Instruments
Switch for
headlight
and horn
LCD control
buttons
LCD
display
Up button
Power button
Down button
Phone
holder
Gear
shifter
Thumb
throttle
17

LCD Display functions
Walk Mode, Cruise Control, and
Pedal assist (PAS) Level Indicator
Odometer, Trip A, Voltage, Current, Trip
Timer (TM) readouts
Battery level indicator bar
Maximum and Average Speed
Speedometer in MPH or KM/H
Light On/Off Indicator (No this function
on P7 and H7)
Mile and kilometer indicators
1
3
4
5
6
7
1
2
2
3
4
5
6
7
18

Operating the LCD Display
Notes: The trip meter will reset when the bike is powered
off. The maximum and average speed will be calculated
for a given trip, and will reset when the bike is powered
off. When the bike has not been used for 10 consecutive
minutes, the display will automatically shut down.The
pedal assist and throttle features will no longer work
when the display is turned off.
Walk Mode
In general, electric bikes are heavier than the non-electric
counterparts. This makes walking the bike a more
strenuous activity. To make walking the bike easier,
Philodo bikes are equipped with walk mode. If you hold
down the down button on the display control pad, the
motor will engage at a speed similar to a slow walk. When
walk mode is engaged, a “Walk” indicator will appear on
the display. To deactivate walk mode, simply pull the
brake levers to engage the motor inhibitors or press and
hold the down button.
Cruise Control
Cruise control on Philodo bikes work similarly to cruise
control on a car. To activate: hold the down button while
pressing and holding the throttle. The bike will try to
maintain a speed based on the position of the throttle
Turning the bike ON/OFF Hold the power button until
the display turns on
Increase Pedal Assist Level Press up button
Decrease Pedal Assist Level Press down button
Toggle Odometer, Trip,
Voltage, Trip Timer (TM),
Max Speed and Average
Speed
Press the power button
Enter walk mode Hold the down button
Enter cruise speed
Press and hold the throttle
while holding the down
button
19
This manual suits for next models
1
Table of contents
Other PHILODO Scooter manuals