manuals.online logo
Brands
  1. Home
  2. •
  3. Brands
  4. •
  5. PHYWE
  6. •
  7. Laboratory Equipment
  8. •
  9. PHYWE 11207-30 User manual

PHYWE 11207-30 User manual

1
www.phywe.com, © All rights reserved 11207-30 / 0218
Operating instruct
i
ons
Light barrier with counter 11207-30
PHYWE Systeme GmbH & Co. KG
Robert-Bosch-Breite 10
D-37079 Göttingen
Phone +49 (0) 551 604-0
Fax +49 (0) 551 604-107
E-mail info@phywe.de
Internet www.phywe.com
Fig. 1: Light barrier with counter 11207-30.
The unit complies with
the corresponding EU
guidelines.
CONTENTS
1
SAFETY PRECAUTIONS
2
PURPOSE AND DESCRIPTION
3
FUNCTIONAL AND OPERATING ELEMENTS
4
HANDLING
5
NOTES ON OPERATION
6
TECHNICAL SPECIFICATIONS
7
WASTE DISPOSAL
1 SAFETY PRECAUTIONS
•Carefully read these operating instructions completely
before operating this instrument. This is necessary to
avoid damage to it, as well as for user-safety.
•Only use the instrument for the purpose for which it was
designed.
•Only use the instrument in dry rooms in which there is no
risk of explosion.
•Protect the instrument from dust, moisture and vapours.
Only clean it in voltage-free state with a slightly
moistened, lint-free cloth. Aggressive cleaning agents
and solvents are unsuitable.
•Do not open the unit.
•Do not connect any other pieces of equipment other than
those specified to the instrument.
•The optical path is composed of non-visible infrared radi-
ation. Do not look into the emitter (optical path).
Attention!
2
www.phywe.com, © All rights reserved 11207-30 / 0218
2 PURPOSE AND DESCRIPTION
The Light Barrier with Counter combines the characteristics
of a precision fork type light barrier with the function of an
electronic timing and counting device.
Only a very narrow beam impinges on the receiver which is
recessed in a small hole to give full protection against extra-
neous light. This means that an object with an effective di-
ameter of less than d= 1 mm, positioned anywhere in the
beam, is sufficient to reliably cut off the light to the receiver.
Close to the receiver hole, a diameter of d= 0.3 mm is suffi-
cient.
The device is ready for operation immediately after applying
the operating voltage („switch-on“).
The trigger sensitivity is optimally set automatically after
switch-on and each time the SET button is pressed. If objects
inside an absorbing medium are to be detected, e.g. between
two glass plates of a cuvette, the sensitivity must be read-
justed by pressing the SET button (or switching off then on)
after positioning the absorber in the fork.
Any evaluation device, e.g. a digital counter, can be
connected to the output of the light barrier.
3 FUNCTIONAL AND OPERATING ELEMENTS
1 Four-figure digital display
2 SET button
3 Operating mode switch
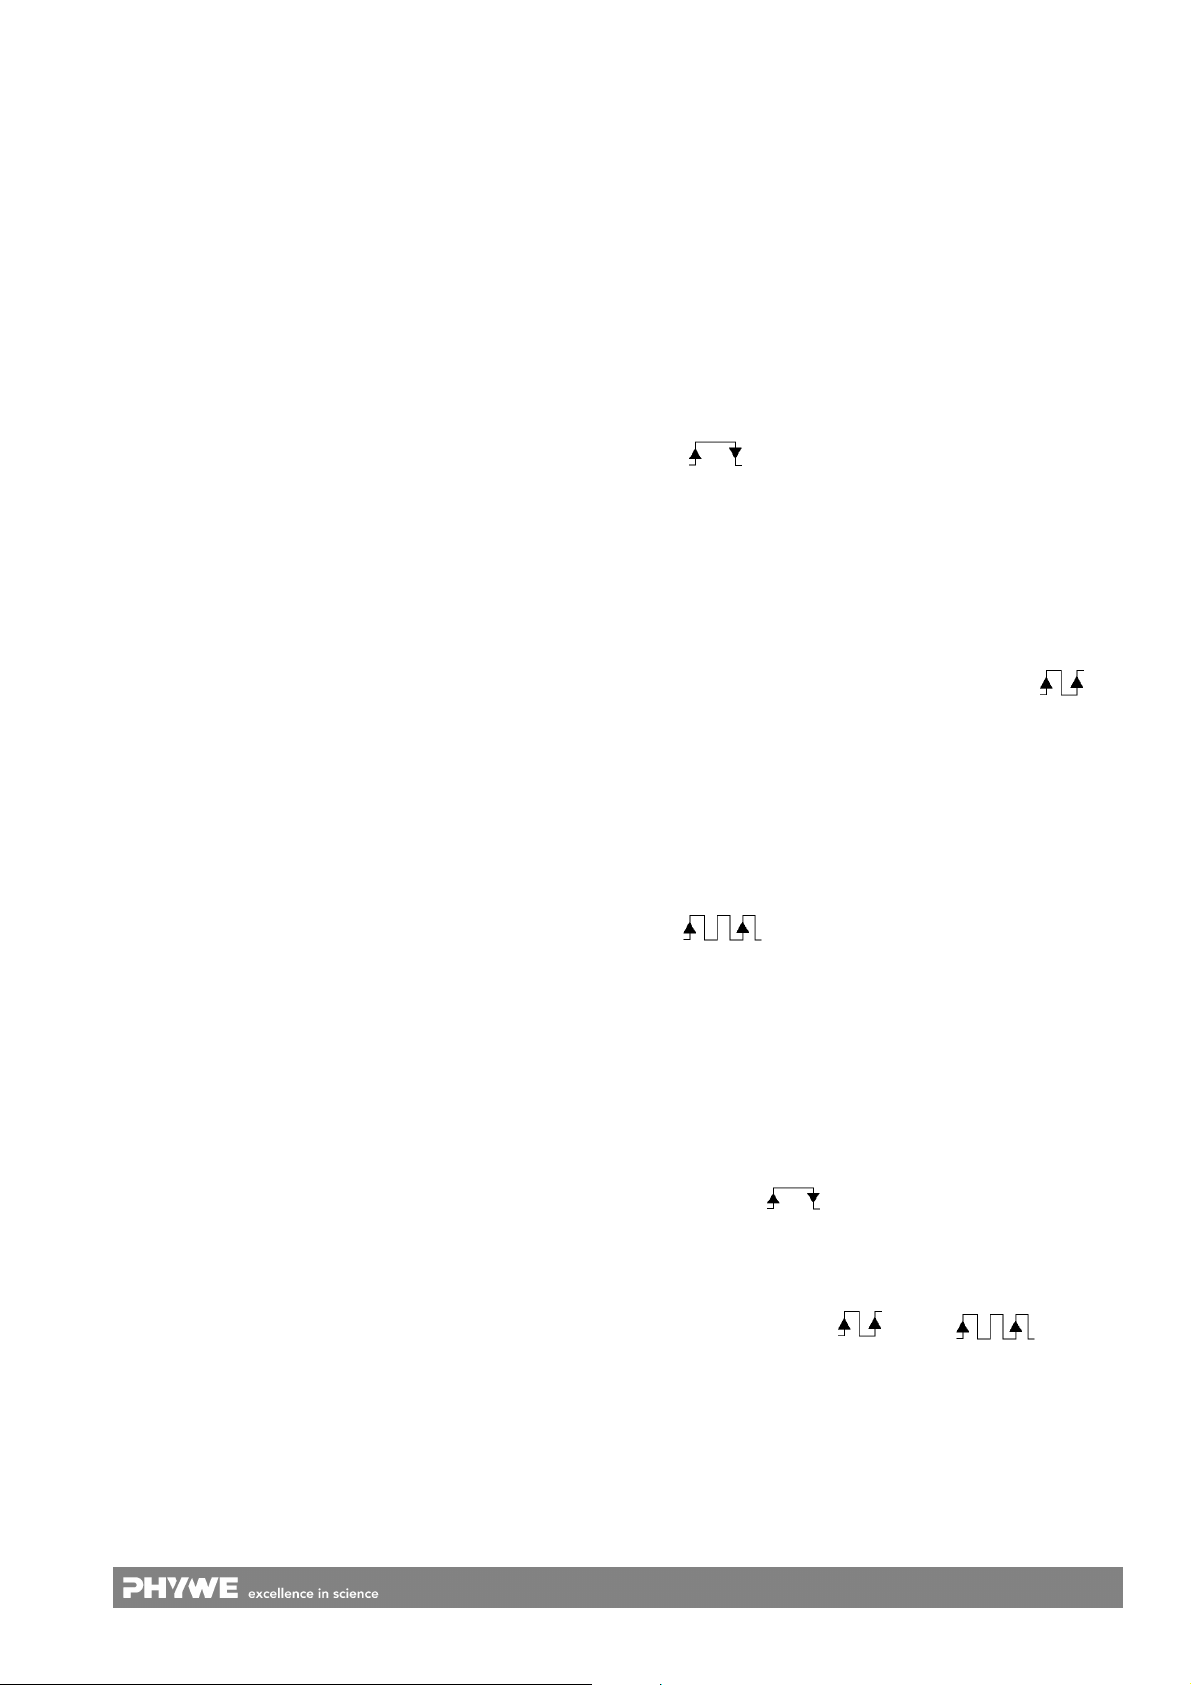
1. Pulse counting
2. Time measurement when light gap is blocked
3. Time measurement between two light-gap blockages
4. Time measurement between the first and third block-
age (i.e. duration of a pendulum swing).
4 Input socket (BNC) for externally starting and/or stopping
the time measurement in mode 2, 3 and 4 (Detailed de-
scription under 4.6)
5 TTL output (4 mm socket) for controlling peripheral
equipment (Detailed description under 4.5)
6 Ground connection (4 mm socket).
Acts as reference contact for TTL output 5 and power
supply connection 7
7 Power supply connection (4 mm socket).
Required voltage +5 V ± 5 % with respect to ground con-
nection 6.
8 Threaded sockets
for screwing in the post supplied with the barrier. A total
of seven threaded sockets (M6) are available.
4 HANDLING
The light barrier is supported suitable to the measurement
task being undertaken. The following is, for example, suitable
as a power supply:
Power supply 5 V DC / 4 A with 4 mm plugs A (11077-99).
No separate power supply unit is required if the light barrier is
operated in conjunction with the following devices:
Universal Counter 13601-99
Timer 4 – 4 13604-99
Timer 2-1 13607-99
Cobra4 Sensor-Unit Timer/Counter 12651-00
For all operation modes:
Firstly, select the desired operation mode with switch 3
and then press the SET button. Make sure that the light
barrier is not blocked while you press the SET button.
Only then is a previously selected operation mode con-
cluded. The pressing of the SET button always prepares
a measurement process. This process must be carried
out before a new selection of operation mode can be un-
dertaken.
4.1 Pulse counting
— Set the operating mode switch 3in the position „Count“.
— Press the SET button.
The light barrier counts the number of light blockages..
4.2 Time measurement during light blockage
— Set the operating mode switch in the position
„ “.
— Press the SET button.
After pressing the SET button, three digits are visible, the unit
is prepared for measurement.
The duration between two light blockages is measured and
displayed. Measurement range: 0 to 9.999 s. A new
measurement is only possible after pressing „SET“.
4.3 Time measurement between two light blockages
— Set the operating mode switch in the position „ “
— Press the SET button.
After pressing the SET button, three digits are visible, the
unit is prepared for measurement.
The duration between two light blockages is measured and
displayed. Measurement range: 0 to 9.999 s. A new
measurement is only possible after pressing „SET“.
4.4 Time measurement between the first and third
blockage
— Set the operating mode switch 3in the position
„ “
— Press the SET button
After pressing the SET button, four digits are visible, the unit
is prepared for measurement. The duration between the first
and third blockage is measured and displayed. Measurement
range: 0 to 9.999 s. Renewed measurement is possible only
after repressing the SET button.
4.5 Control of external measurement instruments
TTL-output 5is intended for the control of external
measurement instruments. If the operating mode switch is in
the "count" or “ ” mode, the electrical state of the
control output during blockage of the light barrier is 0 (i.e
approx. 0 V). When the light barrier is not blocked, the control
output is 1 (i.e. > 3.6 V). In this way, external measurement
instruments can be controlled .
In the operating modes “ ” and “ ”
the electrical state of the control output changes with the first
blockage from 1 to 0 and with the last blockage from 0 to 1.
3
www.phywe.com, © All rights reserved 11207-30 / 0218
4.6 Triggering of the light barrier
If the operating mode switch is set to Position 2, 3 or 4, then
the light barrier with counter can also be controlled by a se-
cond light barrier. The control output of the second light bar-
rier is connected to the socket 4 "Trigger in". Start and stop
are now triggered by both light barriers in the same manner.
This arrangement is particularly suitable for track experi-
ments. If the second light barrier with counter is also 11207-
30, then its operating mode switch must be set to "count" or
„ “ (Additional BNC adapter (07542-26) required).
5 NOTES ON OPERATION
This high-quality instrument fulfils all of the technical re-
quirements that are compiled in current EC guidelines.
This instrument is only to be put into operation under special-
ist supervision in a controlled electromagnetic environment in
research, educational and training facilities (schools, universi-
ties, institutes and laboratories).
This means that in such an environment, no mobile phones
etc. are to be used in the immediate vicinity. The individual
connecting leads are each not to be longer than 2 m.
The instrument can be so influenced by electrostatic charges
and other electromagnetic phenomena that it no longer func-
tions within the given technical specifications. The following
measures reduce or do away with disturbances:
Avoid fitted carpets; ensure potential equalization; carry out
experiments on a conductive, earthed surface, use screened
cables, do not operate high-frequency emitters (radios, mo-
bile phones) in the immediate vicinity.
Should a black-out failure occur, briefly break the connection
to the supply voltage and then carry out a restart.
6 TECHNICAL SPECIFICATIONS
(typical for 25°C)
Operating temperature range 5 ... 40°C
Relative humidity < 80%
Width of fork 70 mm
Wavelength of
emitted radiation approx. 950 nm (infrared)
Trigger sensitivity automatic optimisation
matching of the trigger point
Max. operating frequency 25 kHz
Minimum darkening period 20 µs
Signal rise time 0.6 µs
Output continuously
(two 4mm sockets) short-circuit proof
Time measurement
Measurement range 0 ... 9.999 s
Resolution 1 ms
Pulse counting
Measurement range 0 ... 9999 pulses
Limiting frequency 25 kHz
Operating voltage
(stabilised) 5 V ± 5%
Current consumption approx. 130 mA
Reverse-polarity protection
of the operating voltage unlimited in time
Temperature range 5 ... 45°C
Thread for mounting M6
Post length* 125 mm
—————–
* Further threaded posts with other lengths available on request.
7 WASTE DISPOSAL
The packaging consists predominately of environmentally
compatible materials that can be passed on for disposal by
the local recycling service.
Should you no longer require this prod-
uct, do not dispose of it with the house-
hold refuse.
Please return it to the address below for
proper waste disposal.
PHYWE Systeme GmbH & Co. KG
Abteilung Kundendienst (Customer Service)
Robert-Bosch-Breite 10
D-37079 Göttingen
Phone +49 (0) 551 604-274
Fax +49 (0) 551 604-246

Other PHYWE Laboratory Equipment manuals

PHYWE PJ45 User manual

PHYWE

PHYWE PJ45 User manual

PHYWE Cobra SMARTsense Dual Photogate User manual

PHYWE

PHYWE Cobra SMARTsense Dual Photogate User manual

PHYWE Cobra SMARTexperiment User manual

PHYWE

PHYWE Cobra SMARTexperiment User manual

PHYWE Air Track Rail 11202.17 User manual

PHYWE

PHYWE Air Track Rail 11202.17 User manual

Popular Laboratory Equipment manuals by other brands

FXTUL UNT50 user manual

FXTUL

FXTUL UNT50 user manual

Hirschmann Pipetus Junior instruction manual

Hirschmann

Hirschmann Pipetus Junior instruction manual

SciCan STATIM 7000 Field training manual

SciCan

SciCan STATIM 7000 Field training manual

Agilent Technologies PlateLoc quick guide

Agilent Technologies

Agilent Technologies PlateLoc quick guide

Thermo Scientific 1300 Series operating manual

Thermo Scientific

Thermo Scientific 1300 Series operating manual

Philips Avent SCF922 user manual

Philips

Philips Avent SCF922 user manual

Binder FP 53 operating manual

Binder

Binder FP 53 operating manual

Caframo Petite Digital Stirrer BDC250 instruction manual

Caframo

Caframo Petite Digital Stirrer BDC250 instruction manual

Zeiss AT.Shooter A1-2000 Handling instructions

Zeiss

Zeiss AT.Shooter A1-2000 Handling instructions

Thermo Scientific 88881-003 user manual

Thermo Scientific

Thermo Scientific 88881-003 user manual

GYROZEN 1848R user manual

GYROZEN

GYROZEN 1848R user manual

Cascade Sciences CVO-5-EX Series Installation & operation manual

Cascade Sciences

Cascade Sciences CVO-5-EX Series Installation & operation manual

Linkam Scientific Instruments LTS420 user guide

Linkam Scientific Instruments

Linkam Scientific Instruments LTS420 user guide

SI Analytics TW alpha plus operating manual

SI Analytics

SI Analytics TW alpha plus operating manual

Beckman Coulter COULTER EPICS XL Service manual

Beckman Coulter

Beckman Coulter COULTER EPICS XL Service manual

Forma Scientific 3911 manual

Forma Scientific

Forma Scientific 3911 manual

Memmert UNB 100 operating instructions

Memmert

Memmert UNB 100 operating instructions

Sakura Tissue-Tek Prisma Plus Quick reference guide

Sakura

Sakura Tissue-Tek Prisma Plus Quick reference guide

manuals.online logo
manuals.online logoBrands
  • About & Mission
  • Contact us
  • Privacy Policy
  • Terms and Conditions

Copyright 2025 Manuals.Online. All Rights Reserved.