manuals.online logo
Brands
  1. Home
  2. •
  3. Brands
  4. •
  5. PHYWE
  6. •
  7. Laboratory Equipment
  8. •
  9. PHYWE Cobra SMARTexperiment User manual

PHYWE Cobra SMARTexperiment User manual

1
www.phywe.com, © All rights reserved 12973-00 / 1821
Operating instruc-
tions
Cobra SMARTexperiment - 3. Newton’s law
12973-00
PHYWE Systeme GmbH & Co. KG
Robert-Bosch-Breite 10
D–37079 Göttingen
Telefon +49 (0) 551 604–0
Fax +49 (0) 551 604–107
E-mail info@phywe.de
Internet www.phywe.com
The unit complies
with the applicable
EC-guidelines
Fig. 1: 12973-00 Cobra SMARTexperiment - 3. Newton’s law
TABLE OF CONTENTS
1SAFETY PRECAUTIONS
2PURPOSE AND CHARACTERISTICS
3FUNCTIONAL AND OPERATING ELEMENTS
4NOTES ON OPERATION
5 HANDLING
6TECHNICAL DATA
7SCOPE OF DELIVERY
8ACCESSORIES
9 CONFORMITY
10 DISPOSAL
1 SAFETY PRECAUTIONS
Carefully read these operating instructions completely
before operating this instrument. This is necessary to
avoid damage to it, as well as for user-safety.
Use the unit only for its intended purpose
Only use the instrument for the purpose for which it was
designed.
Do not open the unit.
Protect the instrument from dust, moisture and vapours.
Use a slightly moist lint-free cloth to clean the instrument.
Do not use aggressive cleaning agents or solvents.
2 PURPOSE AND CHARACTERISTICS
With the Cobra SMARTexperiment "Newton's 3rd Law", New-
ton's 3rd Law -A force from body A on body B is always ac-
companied by an equal but opposite force from body B on
body A - can be illustrated with a simple set-up.
Caution!
2
www.phywe.com, © All rights reserved 12973-00 / 1821
3 FUNCTIONAL AND OPERATING ELEMENTS
3.1 Cobra SMARTsense Force & Acceleration
3.1.1 Operating elements
The sensor has an on-button and two LEDs for indicating the
Bluetooth and battery charge status.
On-button
Press the on-button for more than 3 seconds to switch the
sensor on and off
Bluetooth-LED
Flashing red every 2 seconds
Not connected
Flashing green every 2 seconds
Connected to the ter-
minal device
Flashing green every 4 seconds
Running measurement
Battery charge LED
Flashing red every 2 seconds
Low battery
Illuminated red
Active charging process
Illuminated red
Charging process com-
pleted
3.1.2 Functional elements
The cantilever beam is located inside the housing. The sup-
plied hook for carrying the load can be screwed into the bot-
tom of the sensor and secured with the knurled nut.
3.1.3 USB port
The battery, which is permanently installed in the sensor, is
charged via the type C USB port. Furthermore, communica-
tion with a computer takes place via this interface.
3.2 Assembly
Fig. 2
Fig. 3
3.2.1 Screw the two Cobra SMARTsense Force & Accelera-
tion sensors onto the base plates (6) and the carriage (8) us-
ing the knurled screws (1) as shown in Fig. 3.
3.2.2 Place the sensor mounted on the carriage (8) in the
elongated slide rail of the base plate (6).
3.3.3 Replace the hooks (7) with the connectors required for
the experiment. Magnets (3) or two threaded rods (2) with a
connecting nut (4) are available for this (see 5.1 Experiment
set-up).
Caution: Tighten the lock nuts on the hooks or
threaded rods only slightly by hand. Never use a
tool. This can lead to the destruction of the lock
nuts.
4 NOTES ON OPERATION
This device fulfils all of the technical requirements that are
compiled in current EC guidelines. The characteristics of this
product qualify it for the CE mark.
The individual connecting leads are each not to be longer
than 2 m.
The instrument can be so influenced by electrostatic charges
and other electromagnetic phenomena (HF, bursts, indirect
lightning discharges) that it no longer works within the given
specifications. Carry out the following measures to reduce or
eliminate the effect of such disturbance: Ensure potential
equalization at the PC (especially with Laptops). Use screen-
ing. Do not operate high frequency emitters (e.g. radio
equipment or mobile radiotelephones) in the immediate vicini-
ty. When a total failure of the instrument occurs, unplug it and
plug it back in again for a reset.
5 HANDLING
5.1 Experimental setup
Select the required connecting elements and screw them to
the two sensors.
When using magnets (3) of the same colour, they repel each
other. When using the threaded rods (3), ensure a secure
screw connection of the connecting nut (4).
Fig. 4 Set-up with homopolar magnets
Fig. 5 Set-up with magnets with opposite poles
6
7
1
2
3
4
1
8
3
www.phywe.com, © All rights reserved 12973-00 / 1821
Fig. 6 Structure with rigid screw connection
5.1 Charging the Force & Acceleration Sensor
Use a USB-C cable to connect the sensor to a computer or
USB charger (not included).
During the charging process, the battery charge LED lights
up red. When the charging process is complete, the battery
charge LED lights up green. The charging time for a com-
pletely discharged battery is 3 hours maximum.
Disconnect the charger at the latest four hours af-
ter the completion of the charging process. Other-
wise, the service life of the battery may be nega-
tively affected.
5.2 Start-up
Switch on the sensor by pressing the power button for more
than 3s. Now the Bluetooth LED flashes red. Start the soft-
ware and select the sensor.
If the sensor is to be used via the USB interface, it does not
need to be switched on. The sensor is connected directly to
the end device using the supplied USB cable.
There is a 9-digit code
on the back of the sen-
sor (Fig.2). The last 4
digits of the code are
displayed as the sensor
name in the software
(Fig.3). This enables
the precise assignment
of the sensors within
the software.
Fig. 2
Fig. 3
Selection of the sensor via the Bluetooth interface
Make sure that the Bluetooth interface is activated on the
terminal device (PC/Tablet/Smartphone) and that the soft-
ware is allowed to access the interface.
After the sensor has been selected in the software, the LED
flashes green to indicate that the connection has been estab-
lished correctly. After the sensor has been coupled with the
software, the sensor is no longer visible to other users in the
software, and therefore can no longer be selected.
If the sensor is switched on and not connected, it switches off
automatically after 5 minutes.
Selection of the sensor via the USB interface
For this purpose the sensor must be plugged into the USB
port of the end device. It is not necessary to switch on the
sensor. The sensor is automatically recognized and dis-
played. It can be selected and connected directly.
Force sensor:
The force signal is determined by means of strain gauges on
a bending beam. The force is applied along the main axis of
the sensor.
Acceleration:
Acceleration values are measured on 3 axes.
The symbol on the front of the sensor shows the assignment
of the axes in positive directions.
Gyroscope:
The gyroscope measures the rate of rotation of the sensor.
The printed 3-axis symbol represents the axes of rotation.
6 TECHNICAL DATA
Operating temperature range: 5 - 40°C
Rel. humidity < 80%
Sensor
Force:
Measuring range
Resolution
Acceleration:
Measuring range
Resolution
Gyroscope:
Measuring range
Resolution
Accuracy*
±50 N
30mN
± 16 g
0,01 g
34,9 rad/s
0,01 rad/s
± 1 %
Max. date rate
Battery capacity
Max. wireless range (open field)
1000 Hz
250 mAh
30 m
Dimensions (length x width x height)
320x80x60 mm
Weight
0,45 kg
*referred to the full-scale value
7 SCOPE OF DELIVERY
The scope of delivery includes:
2x Cobra SMARTsense Force & Acceleration 12943-00
2x USB connection cable type C07935-00
Set threaded connection
3x magnetic connector
1x base plate
1x sledge
Z
X
Y
4
www.phywe.com, © All rights reserved 12973-00 / 1821
8 ACCESSORIES
The following accessories are available:
USB-charger 07934-99
USB connecting cable type C 07935-00
USB-Bluetooth-Adapter 07936-00
Software measureLAB 14580-61
Free measureApp available from supplier portals
iOS
Android
Windows
9 CONFORMITY
10 DISPOSAL
The packaging mainly consists of environmentally-friendly
materials that should be returned to the local recycling sta-
tions.
PHYWE Systeme GmbH & Co. KG
Abteilung Kundendienst
Robert-Bosch-Breite 10
D–37079 Göttingen
Telefon +49 (0) 551 604-274
Fax +49 (0) 551 604-246
Do not dispose of this product with normal
household waste. If this unit needs to be
disposed of, please return it to the address
that is stated below for proper disposal
PHYWE Systeme GmbH & Co.KG hereby
declares that the radio system type 12973-
00 complies with the 2014/53/EU directive.
The complete text of the EC Declaration of
Conformity is available at the following In-
ternet address:
www.phywe.com/en/ec-declaration

This manual suits for next models

1

Other PHYWE Laboratory Equipment manuals

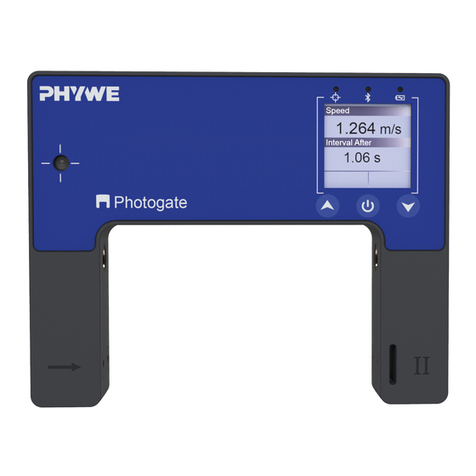
PHYWE Cobra SMARTsense Dual Photogate User manual

PHYWE

PHYWE Cobra SMARTsense Dual Photogate User manual

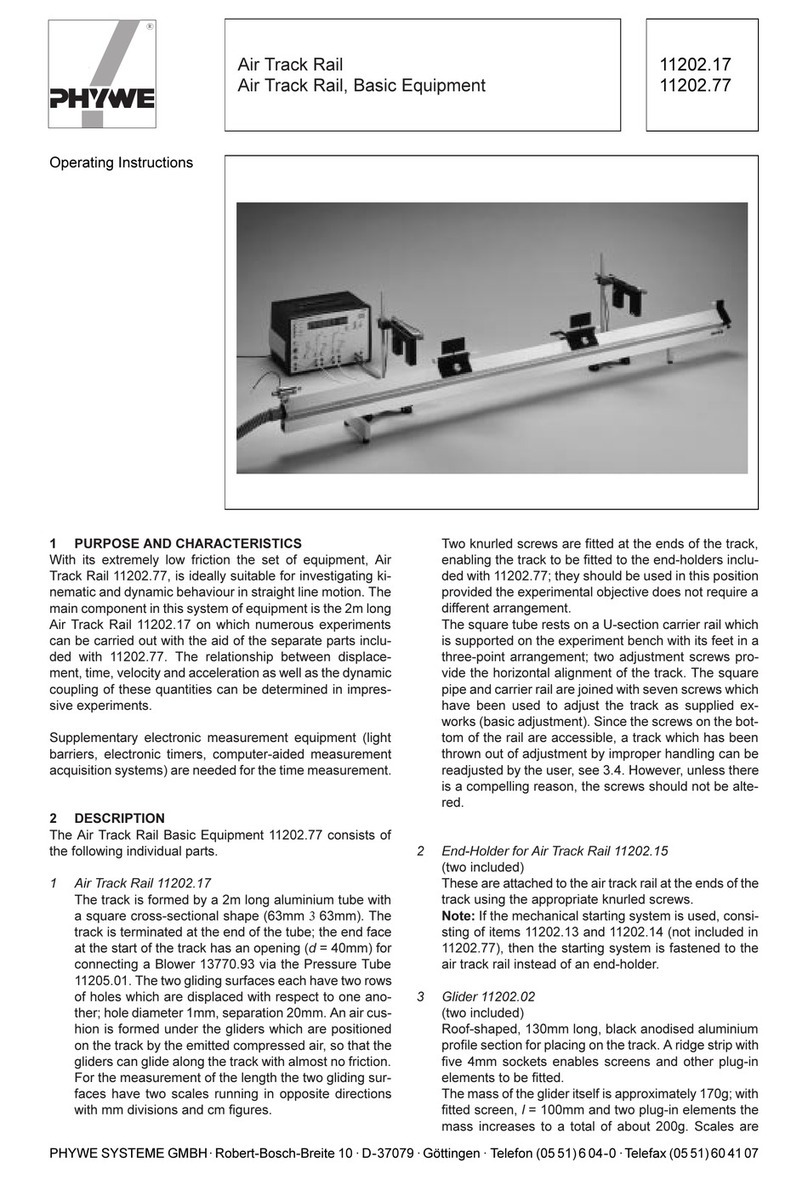
PHYWE Air Track Rail 11202.17 User manual

PHYWE

PHYWE Air Track Rail 11202.17 User manual

PHYWE PJ45 User manual

PHYWE

PHYWE PJ45 User manual

PHYWE 11207-30 User manual

PHYWE

PHYWE 11207-30 User manual

Popular Laboratory Equipment manuals by other brands

Thermo Scientific Dionex AS-DV Operator's manual

Thermo Scientific

Thermo Scientific Dionex AS-DV Operator's manual

SLS Lab Pro SLS1170 manual

SLS

SLS Lab Pro SLS1170 manual

Thermo Scientific 700 Series Operating and maintenance manual

Thermo Scientific

Thermo Scientific 700 Series Operating and maintenance manual

Koehler K1798 Series Operation and instruction manual

Koehler

Koehler K1798 Series Operation and instruction manual

CEM Smart Trac II quick start guide

CEM

CEM Smart Trac II quick start guide

Agilent Technologies TPS-mobile user manual

Agilent Technologies

Agilent Technologies TPS-mobile user manual

VS Security Products DATAGAUSS LG operating manual

VS Security Products

VS Security Products DATAGAUSS LG operating manual

Oroboros Instruments O2k-Core manual

Oroboros Instruments

Oroboros Instruments O2k-Core manual

Sorvall TC6 Service manual

Sorvall

Sorvall TC6 Service manual

MIHM-VOGT KM operating instructions

MIHM-VOGT

MIHM-VOGT KM operating instructions

DASIT GROUP FASTER CYTOFAST ELITE Series Operating and maintenance manual

DASIT GROUP

DASIT GROUP FASTER CYTOFAST ELITE Series Operating and maintenance manual

TSE Calorimetry PhenoMaster Hardware operating instructions

TSE

TSE Calorimetry PhenoMaster Hardware operating instructions

Horizon Fitness G1 manual

Horizon Fitness

Horizon Fitness G1 manual

Diatron Abacus junior 30 user manual

Diatron

Diatron Abacus junior 30 user manual

KNF LABOPORT N820.18 EX operating instructions

KNF

KNF LABOPORT N820.18 EX operating instructions

Statim 7000 manual

Statim

Statim 7000 manual

CORNING Axygen MotoPet instruction manual

CORNING

CORNING Axygen MotoPet instruction manual

Thermo Scientific SHKE8000 Series Maintenance manual

Thermo Scientific

Thermo Scientific SHKE8000 Series Maintenance manual

manuals.online logo
manuals.online logoBrands
  • About & Mission
  • Contact us
  • Privacy Policy
  • Terms and Conditions

Copyright 2025 Manuals.Online. All Rights Reserved.