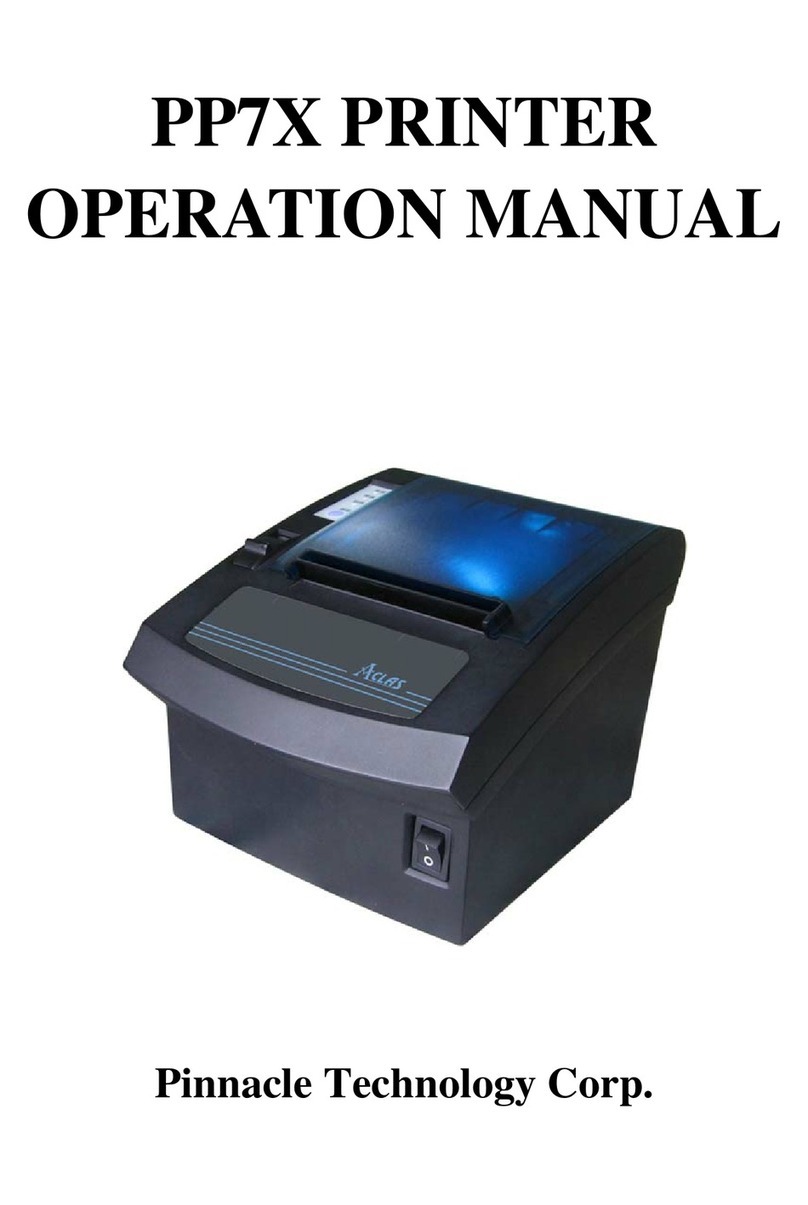
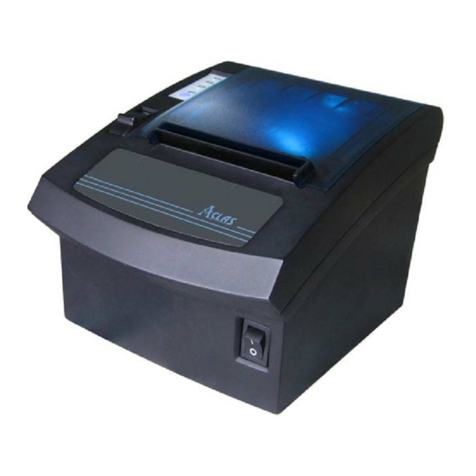
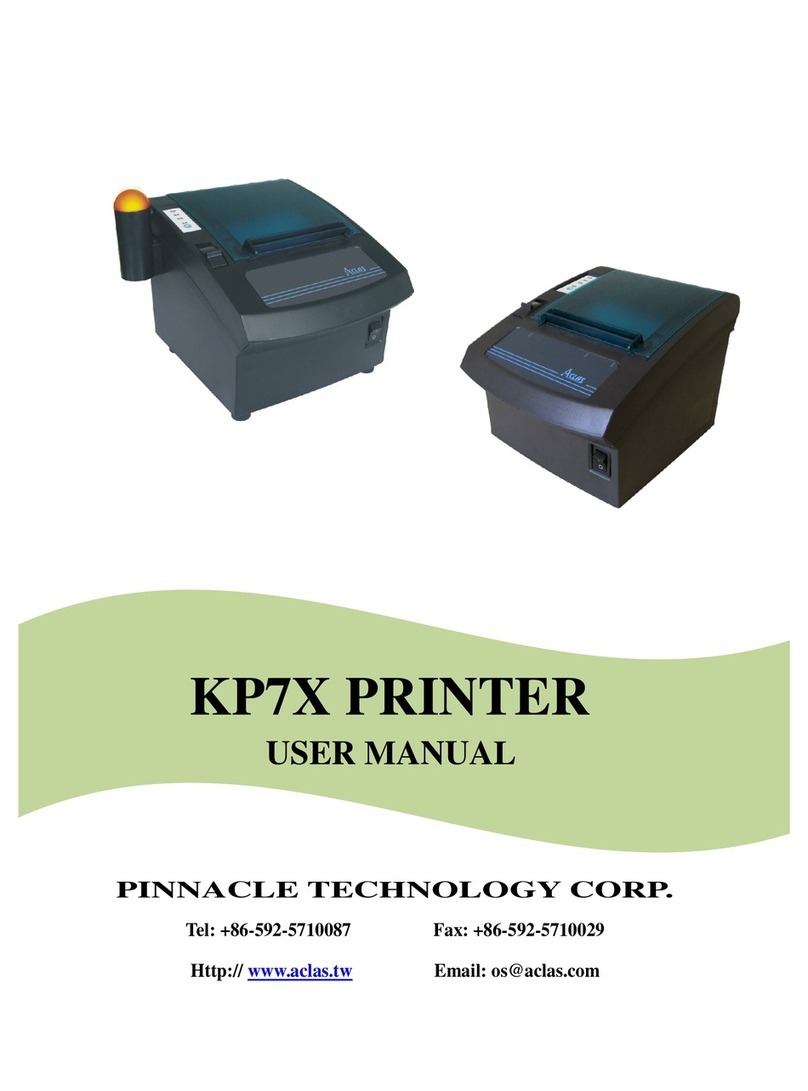
Pinnacle Technology PP7MX Assembly instructions

PP7MX PRINTER
DRIVER INSTALLATION
INSTRUCTION
Pinnacle Technology Corp.

Contents
1. USB / Serial /Parallel Printer Driver Installation.........................................................................1
1.1. Printer Driver Installation...................................................................................................1
1.1.1. Serial /Parallel Printer Driver Installation................................................................2
1.1.2. USB Printer Driver Installation................................................................................5
1.1.3. Ethernet/WIFI Printer Driver Installation................................................................6
1.1.4. USB port convert to serial port Printer Driver Installation......................................7
1.2. How to Know The Connect Port ......................................................................................17
1.3. How to Config Connect Port............................................................................................19
2. BT Printer Driver Installation ....................................................................................................25
2.1. BT Printer Driver Installation...........................................................................................25
2.2. BT Dongle Driver Installation..........................................................................................27
2.3. How to know the connect port..........................................................................................31
2.4. How to Config Connect Port............................................................................................32
3. Wireless 2.4G/Wireless 433 Printer Driver Installation.............................................................32
3.1. Wireless Printer Driver Installation..................................................................................32
3.2. Wireless 433 Base Station ................................................................................................32
3.3. Wireless 433 USB Dongle/2.4G.......................................................................................34
3.3.1. USB Dongle Driver Installation.............................................................................34
3.3.2. How to Know The Connect Port............................................................................37
3.3.3. Dongle Parameter Setting ......................................................................................39
3.3.4. How to Config Connect Port..................................................................................39

2
1.1.1.Serial /Parallel Printer Driver Installation
Click “Install”
Here shows the
install destination
location
Choose “COM/LPT”

3
If the printer is serial printer,
the user must click “Setting”
to config the connect ports.
Choose the right
connect port from the
drop-down list.
Click “OK”.
Choose “Hardware”

4
Click “Install”
Click “Finish”to finish
Serial/parallel printer driver
installation.

5
1.1.2. USB Printer Driver Installation
Choose “USB”
Choose the USB port from
the drop-down list and
click “Install”

6
1.1.3.Ethernet/WIFI Printer Driver Installation
Click “finish”to finish
USB printer driver
installation.
Choose “TCP”

7
Note:
After installing the printer driver, you can use the printer. If the printer could not work, you can
refer to Chapter 1.2 to see the connecting port and make sure that the connecting port you choose
is correct and is not being used; then refer to Chapter 1.3 to configure port.
1.1.4.USB port convert to serial port Printer Driver Installation
Note: if customer’s PC does not support USB printer function ,the function of the USB port convert to
serial port is needed. The detail operation steps are as followings:
1) First you need to install USB port convert to serial port driver programme. Please read the readme
text before installation, because different computer systems use different driver programme, so you
need to follow the readme text to choose the correct driver programme and add the suitable
documents to relevant contents. The installation steps are as followings:
Input IP address.The
default port is 9100.
Click “Finish”to finish
Ethernet/WIFI printer
driver installation.

8
2、click next
1、click here

9
2、click next
1、tick here
After finishing,
click finish.

10
2) Open printer tool ,the system will pop-up the following interface:
1、click here
2、tick USB and
USB Printer
3、click here and the
system will enter into the
following interface.

11
3) Click “certain”and choose “parameter setting”,enter into the following interface:
4) After finishing downloading ,the system will show the following interface:
5) Back to the computer desk, right click “my computer”and choose “device manage”, if the following
picture can be seen , it means that the operation succeed.
1、click here
2、choose correct baud rate、
kitchen printer number 、
language、printer type and density
3、click here to
choose USB
virtual serial port
4、click here to
download parameter

12
6) Open “printer and fax”in the control panel of computer, choose “Aclas Printer”printer device, right
click the mouse property port ,choose COM3 , and click apply。
If the USB port convert to serial
port succeed, you can see the COM
port shown here(COM number is
not fixed ), here is COM3.

13
Click here ,and
tick COM3
Click here, and
tick COM3
Then click
“apply”
Click here
And then click
here to print test
page.

14
Note: there is the information about computer name\ printer
name\port name and data file etc. on the print test page. The printer
can be used after finishing the installation of driver , but if the
printer cannot be used normally, please refer to chapter 1.2 and
chapter 1.3.

15
If you want to return to use USB function, you can follow the following steps:
First, insert serial cable into the computer, click “my computer ”and choose “device manager”, find the
port number( note: port number should be the same as the one that shown on the computer), here the
COM port is COM3
Choose RS232, choose COM3
port, baud rate choose 115200, and
then click “communication test”
Here the port
is COM3.

16
According to the prompts, the printer will give a hint after the success of downloading, and then the
printer will restart automatically. Finally, you can insert the USB, at that time, the function of printer USB
can be reused again.
As the picture shows, baud rate is
115200, language is English, density
is 5, printer type is high speed PP7,
communication method is USB
printer, after finishing setting, please
click download parameter.

17
1.2. How to Know The Connect Port
Connect the PP7X to the computer, follow steps below to know which port is connected.
Right click ‘My Computer’ icon on the desktop, and choose ‘Manage’:
Right click the ‘My
Computer’icon and then
choose ‘Manage’.
Click ‘Device
Manager’
Then click ‘Port
(COM&LPT)’

18
Serial printer connect port:
Parallel printer connect port:
此处显示串口打
印机的连接端口
Here you can see
the connecting port
of serial printer.
Here you can see
the connecting port
of parallel printer.
Other manuals for PP7MX
1
Table of contents
Other Pinnacle Technology Printer manuals

Pinnacle Technology
Pinnacle Technology PP7X Series User manual

Pinnacle Technology
Pinnacle Technology KP7MX Assembly instructions

Pinnacle Technology
Pinnacle Technology PP7MX Installation instructions

Pinnacle Technology
Pinnacle Technology KP7X User manual

Pinnacle Technology
Pinnacle Technology ACLAS PP7M21NX User manual

Pinnacle Technology
Pinnacle Technology PP7X Series User manual

Pinnacle Technology
Pinnacle Technology Aclas PP8X Assembly instructions