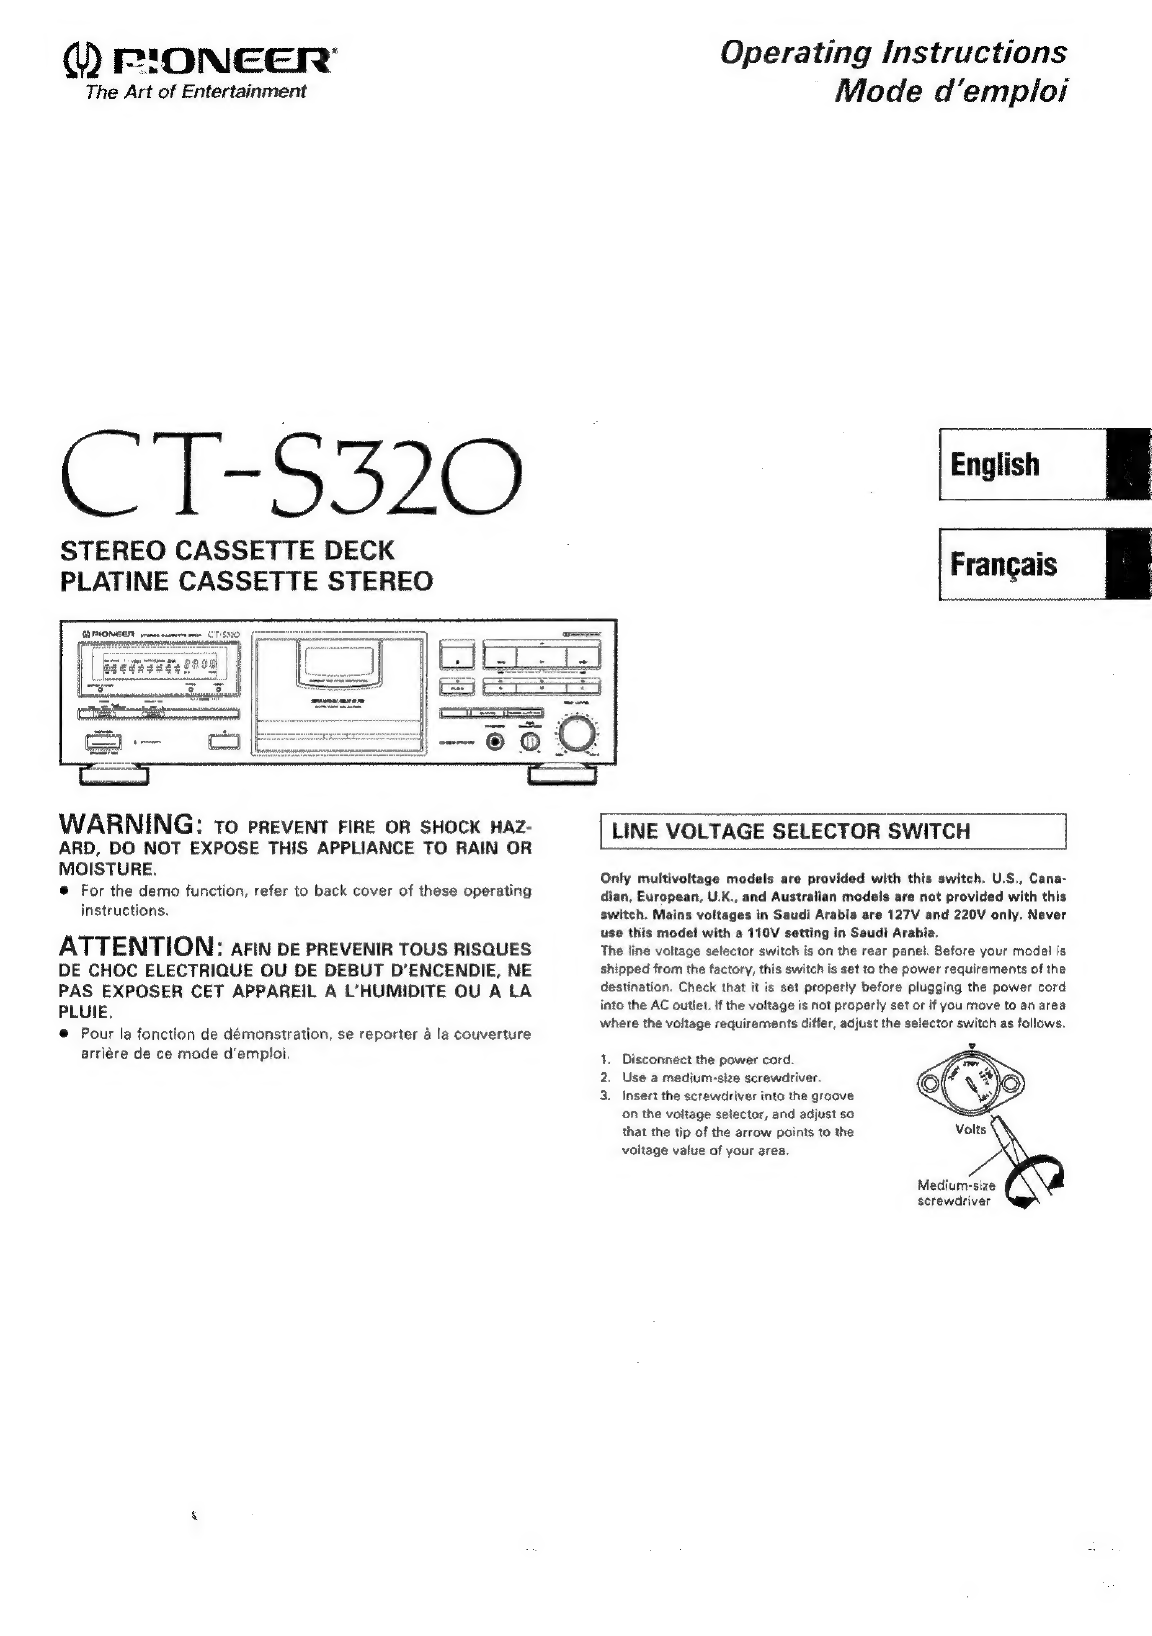
Pioneer CT-S320 User manual
Other Pioneer Cassette Player manuals

Pioneer
Pioneer KEH-1960 User manual

Pioneer
Pioneer CT-S830S User manual

Pioneer
Pioneer FH-P6600R User manual

Pioneer
Pioneer CT-W770R User manual

Pioneer
Pioneer CT-W616DR User manual

Pioneer
Pioneer CT-S830S User manual

Pioneer
Pioneer KEH-P4025 User manual

Pioneer
Pioneer CT-F6262 User manual

Pioneer
Pioneer CT-959 User manual

Pioneer
Pioneer XR-A660 User manual

Pioneer
Pioneer CT-S45OS User manual

Pioneer
Pioneer CT-W770 User manual

Pioneer
Pioneer CT-F950 User manual

Pioneer
Pioneer CT-W600R User manual

Pioneer
Pioneer CT-W205R User manual

Pioneer
Pioneer CT-91a User manual

Pioneer
Pioneer CT-5151 User manual

Pioneer
Pioneer CT-F10 User manual

Pioneer
Pioneer CT-F1250HE User manual

Pioneer
Pioneer CT-S66R User manual


Popular Cassette Player manuals by other brands


Sony
Sony CFS-B15 - Am/fm Stereo Cassette Recorder operating instructions

Sony
Sony WMFS220 - Portable Sports AM/FM Cassette... operating instructions

Aiwa
Aiwa HS-TA21 operating instructions

Sanyo
Sanyo MCD-ZX700F Service manual

Aiwa
Aiwa CS-P77 Service manual

Sony
Sony Pressman TCM-465V operating instructions