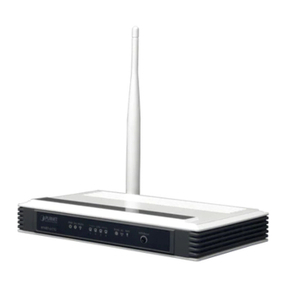
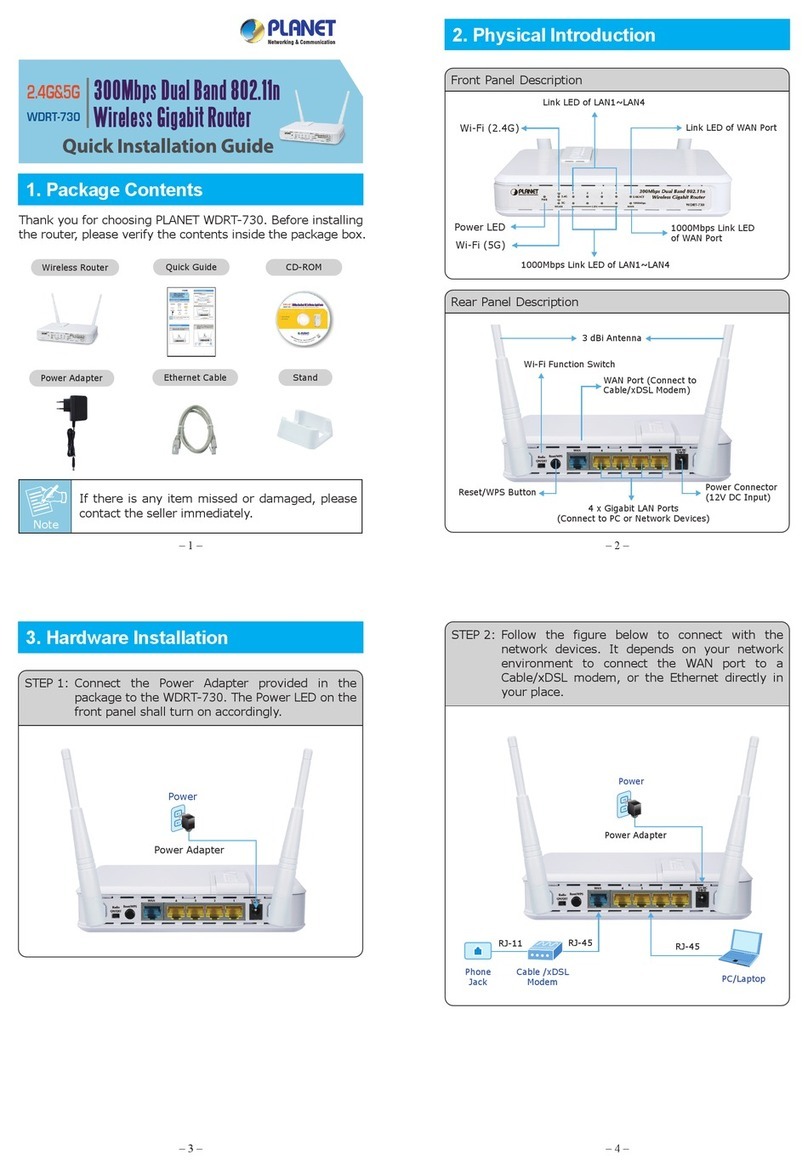
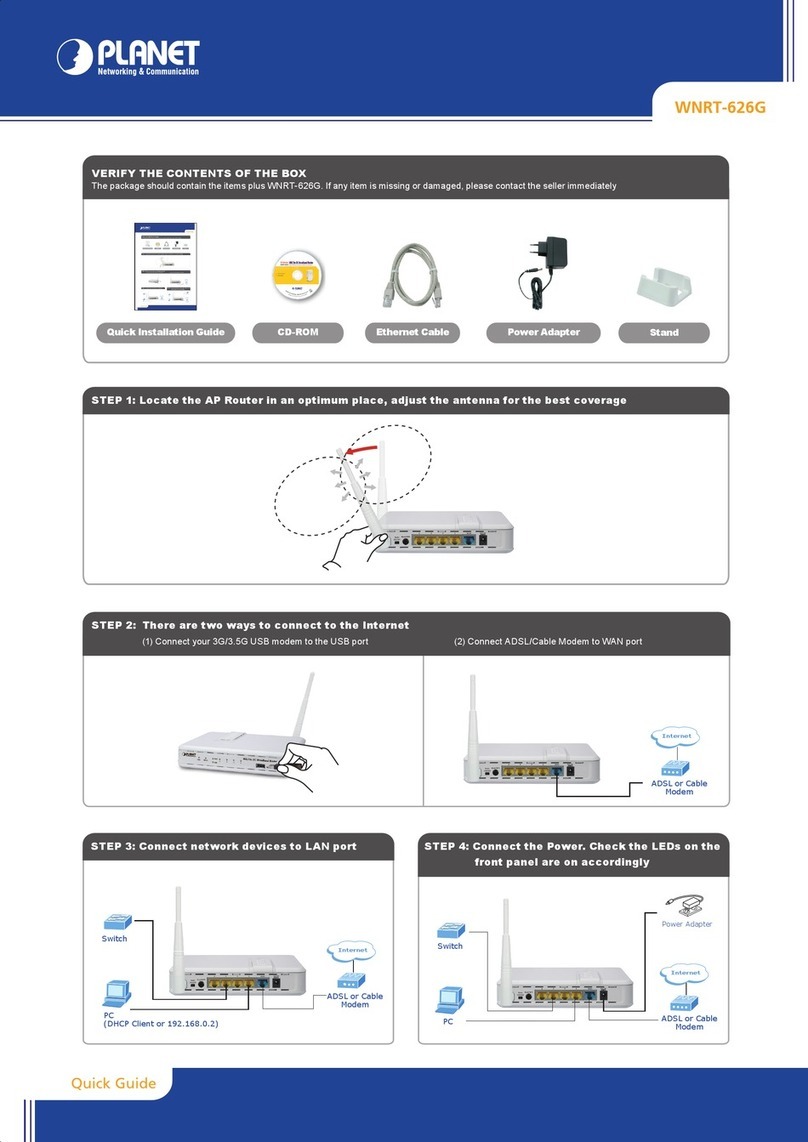
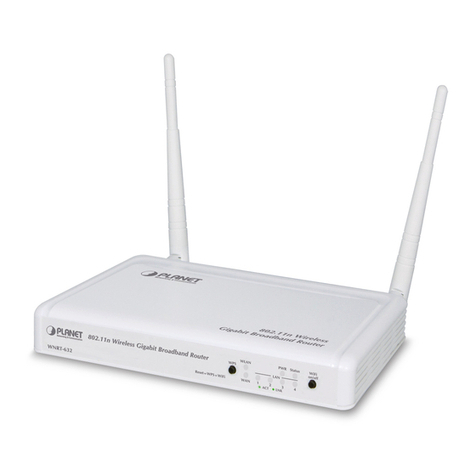
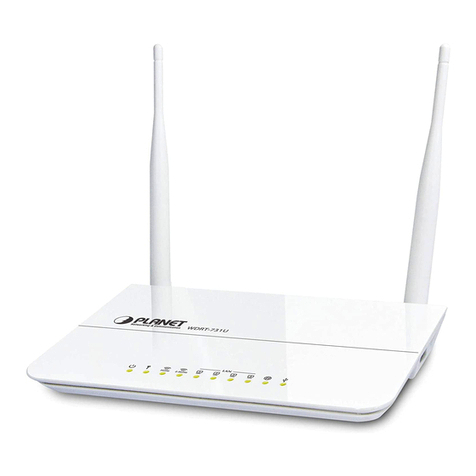
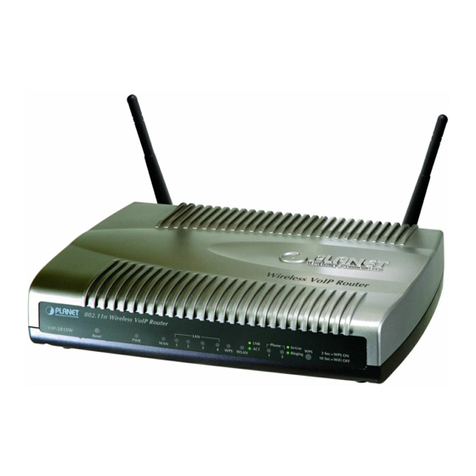
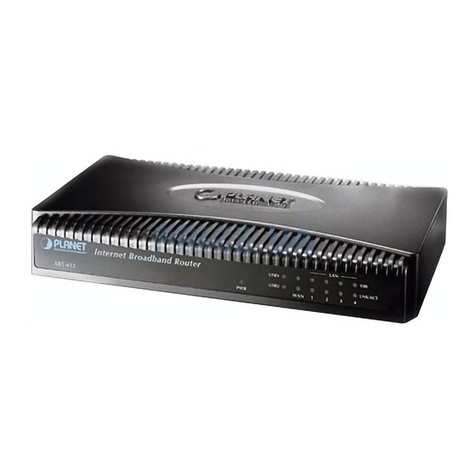
Planet WRT-405 User manual

22Mbps WirelessBroadbandRouter
WRT-405
User’s Manual

Copyright
Copyright2002 by PLANETTechnologyCorp.All rights reserved.Nopart of this publication may
be reproduced, transmitted, transcribed, stored in aretrieval system, ortranslated into any language
orcomputerlanguage, in anyform orby any means,electronic, mechanical, magnetic,optical,
chemical, manual orotherwise, without the priorwritten permission of PLANET.
PLANET makesno representationsor warranties, either expressed orimplied, with respect tothe
contents hereof andspecifically disclaims any warranties, merchantability orfitness for anyparticular
purpose.Any software described in this manual is sold or licensed "asis".Should the programs
prove defective following their purchase,the buyer(and not thiscompany,its distributor,or its dealer)
assumesthe entire cost of all necessaryservicing, repair,and anyincidental orconsequential
damages resulting fromany defectin the software. Further, this company reserves the right to revise
this publication andto make changes fromtime to time in the contentshereof without obligationto
notify any person of such revision or changes..
All brand and product names mentioned in this manual are trademarks and/or registered trademarks
of their respective holders.
FederalCommunication Commission Interference Statement
This equipment has beentested and found to comply with the limitsforaClass Bdigital device,
pursuant to Part 15of FCCRules.These limitsaredesigned to provide reasonable protection
against harmful interference in aresidential installation. This equipment generates,uses, and can
radiate radio frequency energy and, if not installed and used in accordance with the instructions, may
cause harmful interference to radio communications. However,there is no guarantee that
interference will not occur in aparticular installation. If this equipment doescause harmful
interference to radio or television reception, whichcan be determined by turning the equipment off and
on, theuser is encouraged to try to correct theinterference by oneor more of the followingmeasures:
1.Reorient orrelocate the receiving antenna.
2. Increase the separation between theequipment andreceiver.
3. Connect the equipment into an outlet on acircuit differentfrom thatto whichthe receiver is
connected.
4. Consult the dealer or an experienced radio technician for help.
FCC Caution:
Toassure continued compliance.(example-use onlyshielded interface cableswhen connecting to
computeror peripheral devices). Any changesor modifications not expressly approved bythe party
responsible for compliance could void theuser’sauthority to operate the equipment.
This devicecomplieswith Part15 of the FCCRules. Operation issubject to the Following two
conditions:(1) Thisdevice maynot cause harmful interference, and(2 )this Device must accept any
interference received, including interference that may cause undesired operation.

FederalCommunication Commission (FCC)RadiationExposure
Statement
This equipment complies with FCC radiation exposure set forth for an uncontrolled environment. In
order to avoid the possibility of exceeding the FCCradio frequencyexposure limits,humanproximity
to the antennashall not be less than 20cm(8 inches)during normal operation.
R&TTE Compliance Statement
This equipment complies with all therequirements ofDIRECTIVE 1999/5/CEOFTHE EUROPEAN
PARLIAMENTANDTHECOUNCIL OF 9March1999onradio equipment and telecommunication
terminal Equipment and the mutual recognition of their conformity(R&TTE)
The R&TTEDirectiverepeals and replacesinthedirective 98/13/EEC(Telecommunications Terminal
Equipment and Satellite Earth Station Equipment)As of April 8,2000.
Safety
This equipment isdesigned with the utmostcare for the safety of those who install and use it. However,
special attention mustbe paidto the dangers of electric shock andstatic electricitywhen working with
electrical equipment. All guidelines of this and of the computer manufacture must therefore be allowed
at all times to ensure the safe useof the equipment.
Revision
User’sManual forPLANET Wireless Broadband Router
Model: WRT-405
Rev: 1.0 (November.2002)
Part No. EM-WRT405v1

TABLE OF CONTENTS
CHAPTER 1 INTRODUCTION..............................................................................................1
1.1 PACKAGE CONTENTS .....................................................................................................1
1.2SYSTEM REQUIREMENTS................................................................................................1
1.3FEATURES.....................................................................................................................1
1.4SPECIFICATION..............................................................................................................2
1.5LED INDICATORS...........................................................................................................3
CHAPTER 2 HARDWAREINSTALLATION...........................................................................3
2.1HARDWARE CONNECTION...............................................................................................3
CHAPTER 3 CONFIGURE THROUGH WEBBROWSER.....................................................5
3.1MAIN............................................................................................................................5
3.1.1 LAN & DHCPServer............................................................................................5
3.1.2 WAN.....................................................................................................................6
3.1.3 Password.............................................................................................................7
3.1.4 Time.....................................................................................................................8
3.2 WIRELESS.....................................................................................................................9
3.2.1 Basic....................................................................................................................9
3.2.2 WEP.....................................................................................................................9
3.2.3 Advanced...........................................................................................................10
3.3STATUS.......................................................................................................................11
3.3.1 DeviceInformation..............................................................................................11
3.3.2 Log.....................................................................................................................12
3.3.3 Log Settings.......................................................................................................12
3.3.4 Statistic..............................................................................................................13
3.3.5 Wireless.............................................................................................................14
3.4ROUTING ....................................................................................................................14
3.4.1 Static..................................................................................................................14
3.4.2 Dynamic.............................................................................................................15
3.4.3 Routing Table.....................................................................................................16
3.5ACCESS......................................................................................................................17
3.5.1 User Group.........................................................................................................17
3.5.2 Protocol Filter.....................................................................................................17
3.5.3 IP Filter...............................................................................................................19
3.5.4 VirtualServer......................................................................................................19
3.5.5 Special AP..........................................................................................................20
3.5.6 DMZ...................................................................................................................21

3.5.7 Firewall Rule......................................................................................................22
3.6MANAGEMENT.............................................................................................................23
3.6.1 SNMP................................................................................................................23
3.6.2 RemoteManagement.........................................................................................24
3.7TOOLS........................................................................................................................24
3.7.1 Restart...............................................................................................................24
3.7.2 Settings..............................................................................................................25
3.7.3 Firmware............................................................................................................26
3.7.4 Ping Test............................................................................................................27
CHAPTER 4 TROUBLESHOOTING....................................................................................28
4.1FREQUENTLY ASKED QUESTIONS ..................................................................................28
4.2GLOSSARY..................................................................................................................29

- 1-
Chapter 1 Introduction
Thank you for purchasingWRT-405. This devicefeatures thelatest innovation wirelesstechnology
making the wireless networkingworld happened. This manual guides you on how to install and properly
use the WRT-405 in order to take full advantage of its features.
1.1 PackageContents
Make sure that you have the following items:
• One WRT-405
• One AC Power Adapter
• One User’s Manual CD
• One Quick Installation Guide
Note:
If any of the above itemsare missing, contact yoursupplieras soon
as
possible.
1.2 System Requirements
Before installation, please check the following requirements with your equipment.
• Pentium Based (And Above)IBM-Compatible PC System
• CD-ROMdrive
• Windows 98/ME/NT/2000/XP Operating System withTCP/IPprotocol
1.3 Features
• Utilize Direct Sequence SpreadSpectrum (DSSS)Technologyand supportthe modulation
of Packet Binary Convolutional Code (PBCC)mode to provide robust,
interference-resistant solution in a multi-user environment
• Wireless LAN IEEE802.11b compliant
• Auto Fall-Back Data Rate for Long-Distance Communication and NoisyEnvironments
• High-Speed Data Transmitter Rate Up to 22 Mbps
• Features Roaming, Best Access Point Selection, and Network TrafficFiltering
• 64bit, 128bit and 256bit WEP (Wired Equivalent Privacy)
• WebConfiguration provide auser friendly interface forthe userto configurethrough web
browser
• Support DHCP Server
• Support MAC Filter
• Support telnet and SNMP
• Build-in 4 -port switch
• Provides Setup Wizard forthe user to configure easily in the first time

- 2-
1.4 Specification
Standard IEEE 802.11b Compliant
Signal Type DSSS (DirectSequence Spread Spectrum)
Modulation QPSK / BPSK /CCK/ PBCC
Port Five 10/100Base-TX (WAN*1,LAN*4)
Antenna Dual Dipole Antenna
Data Encryption 64 bit/ 128 bit / 256bitWEP encryption
Frequency 2.4GHz - 2.484GHz
Sensitivity -78dBm (@PER8%, 22Mbps)
Channel 11Channels (FCC/US, Canada)
13 Channels(ETSI/urope)
14 Channels(TELEC/Japan)
Data Rate Up to 22Mbps (withautomatic scale back)
LEDIndicators WLAN Act,Dial, Power
LAN:Link/Act* 4, Full/Col*4, 100Mbps *4
WAN: Link/Act * 1,Full/Col* 1, 100Mbps * 1
Power
Requirement 5V DC,2.5A
Power
Consumption TX power consumption: <650mA
RX power consumption <350mA
Sleep Mode power consumption: 20mA
Temperature Operating :0 ~ 55 degree C
Storage: -20 ~70degree C
Humidity Operating: 0 ~ 95%
Storage:0 ~ 95% Non-Condensing
Dimensions 200 x150 x 60 mm
Output Power 15dBm

- 3-
Chapter 2 HardwareInstallation
Before you proceed with the installation, it is necessarythat you have enough information about the
WRT-405.
2.1 Hardware Connection
1. Locate an optimumlocation forthe WRT-405. The bestplace foryourWRT-405 is usually at
the center of yourwireless network, with line of sight to all of your mobile stations.
2. Adjust the antennas ofWRT-405. Tryto adjust them to aposition that can bestcoveryour
wireless network. The antenna’sposition will enhance the receiving sensitivity.
3. Connect RJ-45 cable to WRT-405 LAN port. Connect one of the LAN portson WRT-405 to your
LAN switch/hub with a RJ-45 cable.
4. Connect RJ-45 cable to WRT-405 WAN port. Connect ADSL/CableModem to the WAN port on
WRT-405. Use the cable suppliedwith yourmodem.If nocable was suppliedwith your modem,
please use a RJ-45 Ethernet cable
5. Plug in poweradapterand connecttopower source.Afterpoweron, WRT-405 will start to
operate.
Note: ONLYuse thepoweradaptersuppliedwiththeWRT-
405. Otherwise, the product may be
damaged.
Note: If you want to reset WRT-405 to default setti
ngs, press andhold theReset buttonover 5
seconds. And then waitfor10 seconds for WRT-405 restart.
2.2 LEDIndicators

- 4-
LED STATE MEANING
Green WLAN link status is onWLAN ACT
Blinking Green WLAN activity
Diag Green Indicates a connection error
Green Device poweronPWR
Off Device poweroff
Green Link is established
Blinking Green Packetsare transmitting orreceiving
LNK/ACT
Off Not connected
Green Full-duplexmode
Blinking Orange Collision has occurred
FDX/COL
Off Half-duplexmode
100 Green Port works on 100Mbps

- 5-
Chapter 3 Configure through Web Browser
Webconfiguration providesauser-friendly graphical user interface (web pages) to manage your
WRT-405. AWRT-405 with anassigned IP address will allowsyou to monitor and configure via web
browser(e.g.,MS Internet Exploreror Netscape).
1. Open your web browser.
2. Enter the IP address of yourWRT-405 in the address field (default IP address ishttp://192.168.1.1).
3. A User NameandPassword dialog boxwill appear. Pleaseenteryour User Name and Password here.
Default UserName and Passwordis “admin”. Click OK.
4. Then you will seethe WRT-405 web configuration page.
5. If this is yourfirst time to configure WRT-405, we will suggest you referto our Quick Installation Guide
to usetheSetup Wizard to configure. Setup Wizard will guide you to completethe configuration step
by step.
3.1 Main
3.1.1 LAN&DHCPServer
You can configure WRT-405’sIP settings andDHCPserverfunction in thisscreen. When
configuration is completed, please click “Apply”to save and restartWRT-405.
This page enablesyou to set LAN and DHCPproperties,suchas thehost name, IP address, subnet
mask, and domainname. LANand DHCP profilesarelisted intheDHCP table at thebottomof the
screen.

- 6-
Host Name: Type thehost name inthe textbox.Thehost name is required by someISPs.
The default host name is "AP-Router."
IP Address: This is the IP address of the router. The default IP address is 192.168.1.1.
SubnetMask: Type the subnet mask fortherouter in the textbox.The default subnet
mask is 255.255.255.0.
DHCPServer:Enablesthe DHCPserver to allowthe routerto automatically assign IP
addressesto devices connecting to theWLANor LAN. DHCP is enabled bydefault. All
DHCPclient computers are listed in thetable at the bottom of the page, providing the host
name, IP address, and MAC address of the client.
StartIP:Type anIP address to serveas the start of the IPrange that DHCPwill use to
assign IP addresses to all LAN devices connected tothe WRT-405.
End IP:Type an IPaddress to serve asthe end of the IPrange that DHCPwill use to
assign IP addresses to all LAN devices connected tothe WRT-405.
Domain Name:Type the local domain nameof the network in the textbox.This itemis
optional.
3.1.2 WAN
Please referto yourInternet connectionmethodtoselect the Connection Type. Andpleaseconfigure
those settings per the information your ISPprovides.
Connection Type: Select the connection type, either DHCP client/Fixed IP or PPPoE from
the drop-downlist.
When using DHCP client/Fixed IP, enter the following information in the fields (some information are
provided by your ISP):
WANIP: Selectwhetheryou want tospecifyanIPaddress manually, or want DHCPto
obtain an IP address automatically. When “Specify IP”is selected, type the IP address,
subnet mask, and default gateway in thefields. Your ISPwill provide you with those
informations.
DNS 1/2/3: Type up to three DNSnumbers in the fieldes. Your ISP will provideyou with this
DNS information.
MACAddress: If required byyourISP, type the MAC addressforthe WRT-405 WAN
interface in thisfield. You canalso copy the MACaddress of your PC’snetwork cardto
the WRT-405 WAN interface byclicking “Clone MAC address”.

- 7-
When using PPPoE, enter the following information in the fields (someinformation are provided by your
ISP):
WANIP: Select whether you want the ISP to provide theIP address automatically, or
whetheryou wantto assign astatic IP address to the WRT-405 WANinterface. When
“Specify IP”is selected, type the PPPoEIP address in thefield. YourISP will provideyou
with thisinformation.
DNS 1/2/3: Type up to three DNS numbers in the fieldes. YourISP will provide you with this
DNS information.
User Name: Type yourPPPoE user name.
Password: Type your PPPoE password.
Connect on Demand: Enables or disablesthe connecton demand function, which enables
WRT-405 to initiate aconnection with yourISP when anInternet request is made to the
WRT-405. Whenenabled, theWRT-405 automatically connectstothe Internet when you
open your browser.
Idle TimeOut: Specify the time that will elapse beforethe WRT-405 times out of a
connection.
MTU: Type the MTU valuein the field.
3.1.3 Password
You can change the Administratorand User’spassword in thisscreen. These passwords are used to
gain access tothe router interface. Whenyou login with user name “User”, you don’t have permission to
configure WRT-405.

- 8-
Administrator: Typethe password the Administrator will use tologinto thesystem. The
password must betyped again for confirmation.
User: Users can type apassword tobe used forlogginginto the system. The password
must be typed again forconfirmation.
3.1.4 Time
This screen enables you to setthetimeand date for therouter's real time clock,select your timezone,
specify an NTPserver, and enable or disable daylight saving.
Local Time: Displaysthe local timeanddate.
Time Zone: Select your time zone from the pull-down list.
DefaultNTPServer: Type the NTP server IP addressin thefield to enable the WRT-405 to
automatically setthe time fromthe Internet NTP server.
Set the Time: Select the date and timefromthe pull-downlists, and click “Set Time”to set
the WRT-405's internal clock to the correct date and time.
Daylight Saving: Enablesyou to enable ordisable daylight saving time. When enabled,
select the startand end datefordaylight saving time.

- 9-
3.2 Wireless
3.2.1Basic
This page enables you to enable and disable thewireless LAN function, enteraSSID,and set the
channel for wireless communications.
Enable/Disable: Enable or disable wireless LAN via the WRT-405.
SSID: Type an SSID in the field. The SSID of anywirelessdevice mustmatchthe SSID
typed here in order forthe wireless device to access the LAN and WAN via the WRT-405.
Channel: Select a work channel for wireless communications. The channel of anywireless
device must match the channel selected here in order for the wireless device to access the
LAN and WAN via the WRT-405.
3.2.2 WEP
This screen enables you to set WEP parameters forsecure wireless communications.

-10-
Mode: Select the key code you want to usefor WEPKey. HEX orASCII. WhenHexis
selected, you may enteralphanumericcharactersin therange of “A-F”,“a-f”and “0-9”in the
WEP Key entry field. Alternatively,you mayenterdigit hexadecimalvalues in therange of
“a-z”, “A-Z”and“0-9”.
WEP Key: Select the level of encryption youwant from the drop-down list. WRT-405
supports64, 128 and 256-bit encryption.
Key 1~Key4: There are 4keys available, please ensure you have enter correct number
for the key valueswith different Key Length and coding (HexorASCII)as 64bit (10 Hex
digit /5ASCII), 128bit (26 Hex digit /13 ASCII) or256bit (58 Hex digit /29 ASCII),please
select one of them and enter the key you want to use. Click “Clear”toerase keyvalues.
Note: 128 and 256bit WEPencryption will require moresystem resourcesthan 64bit encryption. Use
64-bit encryptionforbetter performance.
3.2.3Advanced
This screen enables you to configure advanced wireless functions.
Firmware Version: Displaysthe wireless firmwareversion. The wireless firmware is
updated when you update theWRT-405 firmware.
Beacon Interval: Type the beacon interval in the field. You can specify avalue from 1to
1000. The default beacon interval is100.
RTS Threshold: Type the RTS (Request-To-Send) threshold in thefield. This value
stabilizes data flow.If data flow isirregular, choose values between 256 and 2432 until data
flow is normalized.
Fragmentation Threshold: Type thefragmentation threshold inthe field. If packet transfer
error ratesare high, choose valuesbetween 256 and 2432 until packet transfer rates are
minimized. Please note thatsetting the fragmentation threshold value may diminish
system performance.
DTIM Interval: Type a DTIM (DeliveryTraffic IndicationMessage)interval in thefield. You
can specifya value between 1 and 65535. The default valueis3.
Basic Rates (MBps): Select one of the wireless LANreceive rates.
TXRates(MBps): Select one ofthe wireless communicationstransfer rates,based upon
the speed of wireless adapters connected to the WLAN.

-11-
Preamble Type: There is the“Long”or “Short”selection to ensure that systemsreceiving
the information correctly interpret when thedata transmission starts. To select “Short”
Preamble may be used tominimize overhead and“Long”to maximize the network
reliability. The default value will be set for “Long”.
Authentication Type: Select the authentication type. OpenSystem allowss public access
to the WRT-405 via wireless communications. Shared Keyrequires the user to set a WEP
key to exchange data with other wireless clientsthat have thesame WEP key.
SSID Broadcast: Enable or disable aService Set Identifier broadcast. Whenenabled, the
SSID of the WRT-405 is sent towireless enabled devices onthe area. Set the WRT-405's
SSID in theBasicscreen. Enabling thisfunction may cause unauthorized user to connect
your wireless networks.
3.3 Status
3.3.1Device Information
This screen enables you to view the router LAN, wireless LAN, and WAN configuration.
Firmware Version: Displaysthe latest build of the WRT-405 firmwareinterface. After
upgrading thefirmware in Tools->Firmware, check this to ensurethat your firmwarewas
successfully upgraded.
LAN: Thisfield displaysthe WRT-405 LAN interfaceMACaddress, IP address, subnet
mask, and DHCP serverstatus. Click “DHCP Table”to view a list of client stationscurrently
connected tothe WRT-405 LAN interface.
Wireless: Displaysthe WRT-405 wireless connectioninformation, includingthe WRT-405
wireless interface MAC address, connection status, SSID status, which channel is being
usedandwhether WEP is enabled ornot.
WAN: This field displaysthe WRT-405 WAN interfaceMACaddress, DHCP client status,
IP address, subnet mask, default gatewayand DNS.
Click “DHCP Release”to release IPaddresses get from ISP for theWANport. Click “DHCP
Renew”to get a new IPaddresses from ISP forthe WAN port.

-12-
3.3.2 Log
This screen will show you a runninglog of system statistics, events and activities. The log displaysup to
200 entries. Older entries are overwritten by new entries. You can savelogs via the LogSettings option
-> “Send to”. The Log screen commands and informationsmeaning are as follows
First Page: View the first page of the log message list.
LastPage: View the last page of thelog message list.
Previous Page: View the page just before the current page.
Next Page: Viewthe page justafter the current page.
Clear Log: Deletethe contents of the log and begin a new log.
Refresh: Renew log statistics.
Time: Displaysthe time and date that the log entry wascreated.
Message: Displayssummary information about the log entry.
Source: Displays thesource of the communication.
Destination: Displays the destination of the communication.
Note: Displaysthe IP address of the communication.
3.3.3 Log Settings
This screen allowsyou to set WRT-405 logging parameters.

-13-
SMTP Server: Type theSMTP serveraddress for the email that thelog will be sent to in
the next field.
Send to: Type anemail address for the log to be sent to. Click “Email LogNow”to sendthe
current log immediately.
Syslog Server: Type the IP address of the Syslog Serverif you want the WRT-405 to listen
and receive incoming SysLog messages.
Log Type: Select what itemswill be included in the log:
w System Activity: Displaysinformation related to WRT-405 operation.
w Debug Information: Displaysinformation related to errors and system
malfunction.
w Attacks: Displaysinformation about any maliciousactivity on the network.
w Dropped Packets: Displaysinformationabout packets that have not been
transferred successfully.
w Notice: Displaysimportant notices by the system administrator.
3.3.4 Statistic
This screen displaysatable that showsthe rateof packettransmission viatheWRT-405 LAN, WLAN
and WAN ports(in bytes persecond).

-14-
Click “Reset”toerase all statistics and begin logging statistics again.
Utilization: Separates packet transmissionstatistics into send and receive categories.
Peakindicatesthe maximum packet transmission recorded since logging began, while
Average indicates the averageof the total packet transmission sincerecording began.
3.3.5 Wireless
This screenwill show you whichwireless devices that are connected to this WRT-405 via wireless
interface.
Connected Time: Displayshow longthe wireless device hasbeen connected to the LAN
via the WRT-405.
MAC Address: Displaysthe devices wireless LAN interface MAC address.
3.4 Routing
3.4.1 Static
You can set parameters by which the WRT-405 forwards data to itsdestinationif your networkhas a
static IP address.

-15-
Network Address: Type the static IP address your network usesto access the Internet.
Your ISP ornetwork administrator provides you withthis information.
Network Mask: Type the network (subnet) mask for yournetwork. If you do not type a
value here, the networkmaskdefaultsto 255.255.255.255. Your ISP or network
administrator providesyouwith this information.
GatewayAddress: Type thegateway address of your network.YourISP or network
administrator providesyouwith this information.
Interface: Select the interfaceWAN or LAN that you will use to connect to theInternet.
Metric: Select which metricyou want to apply to this configuration.
Add: Click to add a configuration to the staticIPaddress table at the bottom of this page.
Update: Select oneof the entriesin the staticIPaddress table atthe bottom of the page
and, afterchanging parameters, click “Update”to confirm the changes.
Delete: Select one of the entries in the staticIP address table at the bottom ofthe page and
click “Delete”to remove the entry.
New: Click “New”to clearthe fieldesand add required informationto create a new entry.
3.4.2Dynamic
This screen allowsyou to set the NAT parameters.
Table of contents
Other Planet Wireless Router manuals

Planet
Planet FRT-405N User manual

Planet
Planet XRT-411 User manual

Planet
Planet WNRT-620 User manual

Planet
Planet VDR-300NU User manual

Planet
Planet WNRT-625 User manual

Planet
Planet XRT-401D User manual

Planet
Planet WNRT-632 User manual

Planet
Planet ADW-4302 User manual

Planet
Planet WNRT-320GS User manual

Planet
Planet XRT-501 User manual

Planet
Planet WNRT-617G User manual

Planet
Planet WNRT-625 User manual

Planet
Planet XRT-401E User manual

Planet
Planet WNRT-617G User manual

Planet
Planet FRT-405N User manual

Planet
Planet VDR-301n User manual

Planet
Planet WNRT-625 User manual

Planet
Planet WDAP-8350 User manual

Planet
Planet WDRT-1200AC User manual

Planet
Planet WNRT-617G User manual