SAFETY INSTRUCTIONS
CAUTION
Be careful with your operations.With a dangerous voltage you can suffer
a dangerous electric shock when touching wires!
This device has left the factory in perfect condition. In order to maintain this condition and
to ensure a safe operation, it is absolutely necessary for the user to follow the safety
instructions and warning notes written in this user manual.
If the device has been exposed to temperature changes due to environmental changes, do
not switch it on immediately. The arising condensation could damage the device.
Leave the device switched off until it has reached room temperature.
This device falls under protection-class I. Therefore it is essential that the device be
earthed.
The electric connection must carry out by qualified person. The device shall only be used
with rate voltage and frequency.
Make sure that the available voltage is not higher than stated at the end of this manual.
Make sure the power cord is never crimped or damaged by sharp edges. If this would be
the case, replacement of the cable must be done by an authorized dealer.
Always disconnect from the mains, when the device is not in use or before cleaning it. Only
handle the power cord by the plug. Never pull out the plug by tugging the power cord.
During initial start-up some smoke or smell may arise. This is a normal process and does
not necessarily mean that the device is defective, it should decrease gradually.
Please don't project the beam onto combustible substances.
Fixtures cannot be installed on combustible substances, keep more than 50cm distance
with wall for smooth air flow, so there should be no shelter for fans and ventilation for heat
radiation.
If the external flexible cable or cord of this luminaire is damaged, it shall be exclusively
replaced by the manufacturer or his service agent or a similar qualified person in order to
avoid a hazard.
IMPORTANT
Damages caused by the disregard of this user manual are not subject to
warranty. The dealer will not accept liability for any resulting defects or
problems.
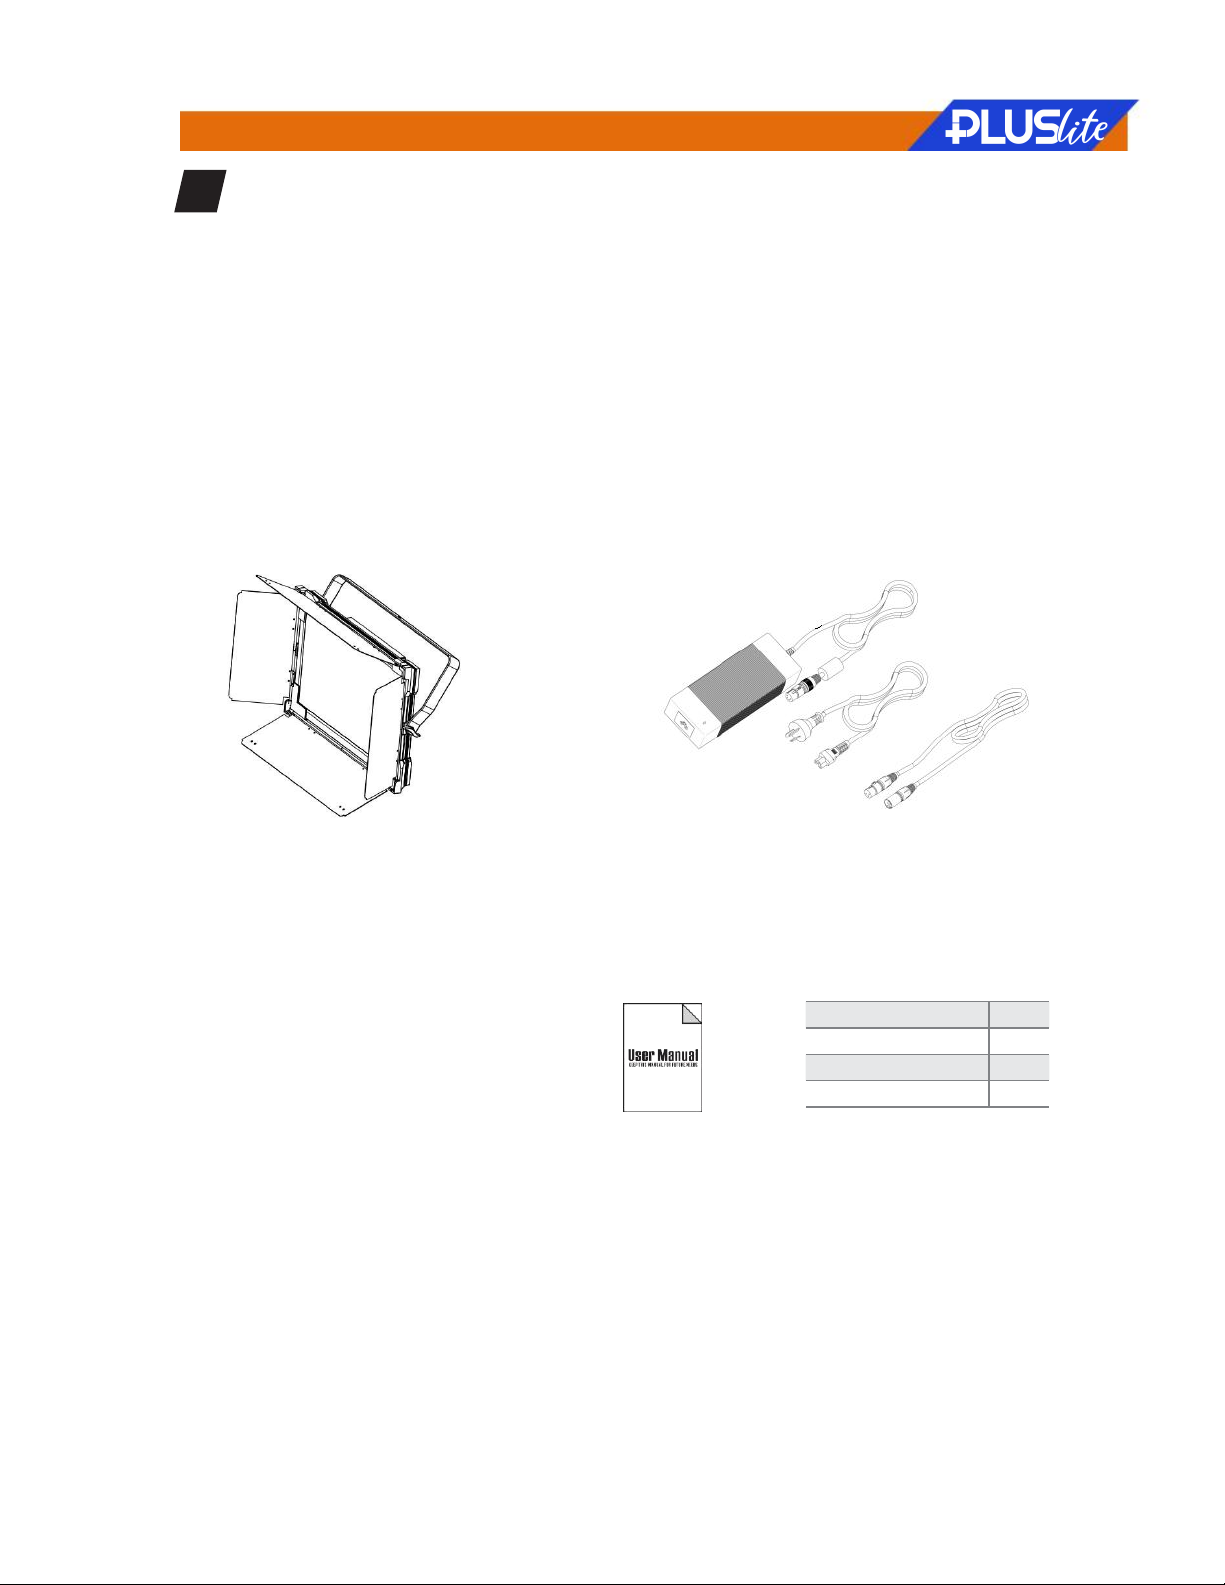
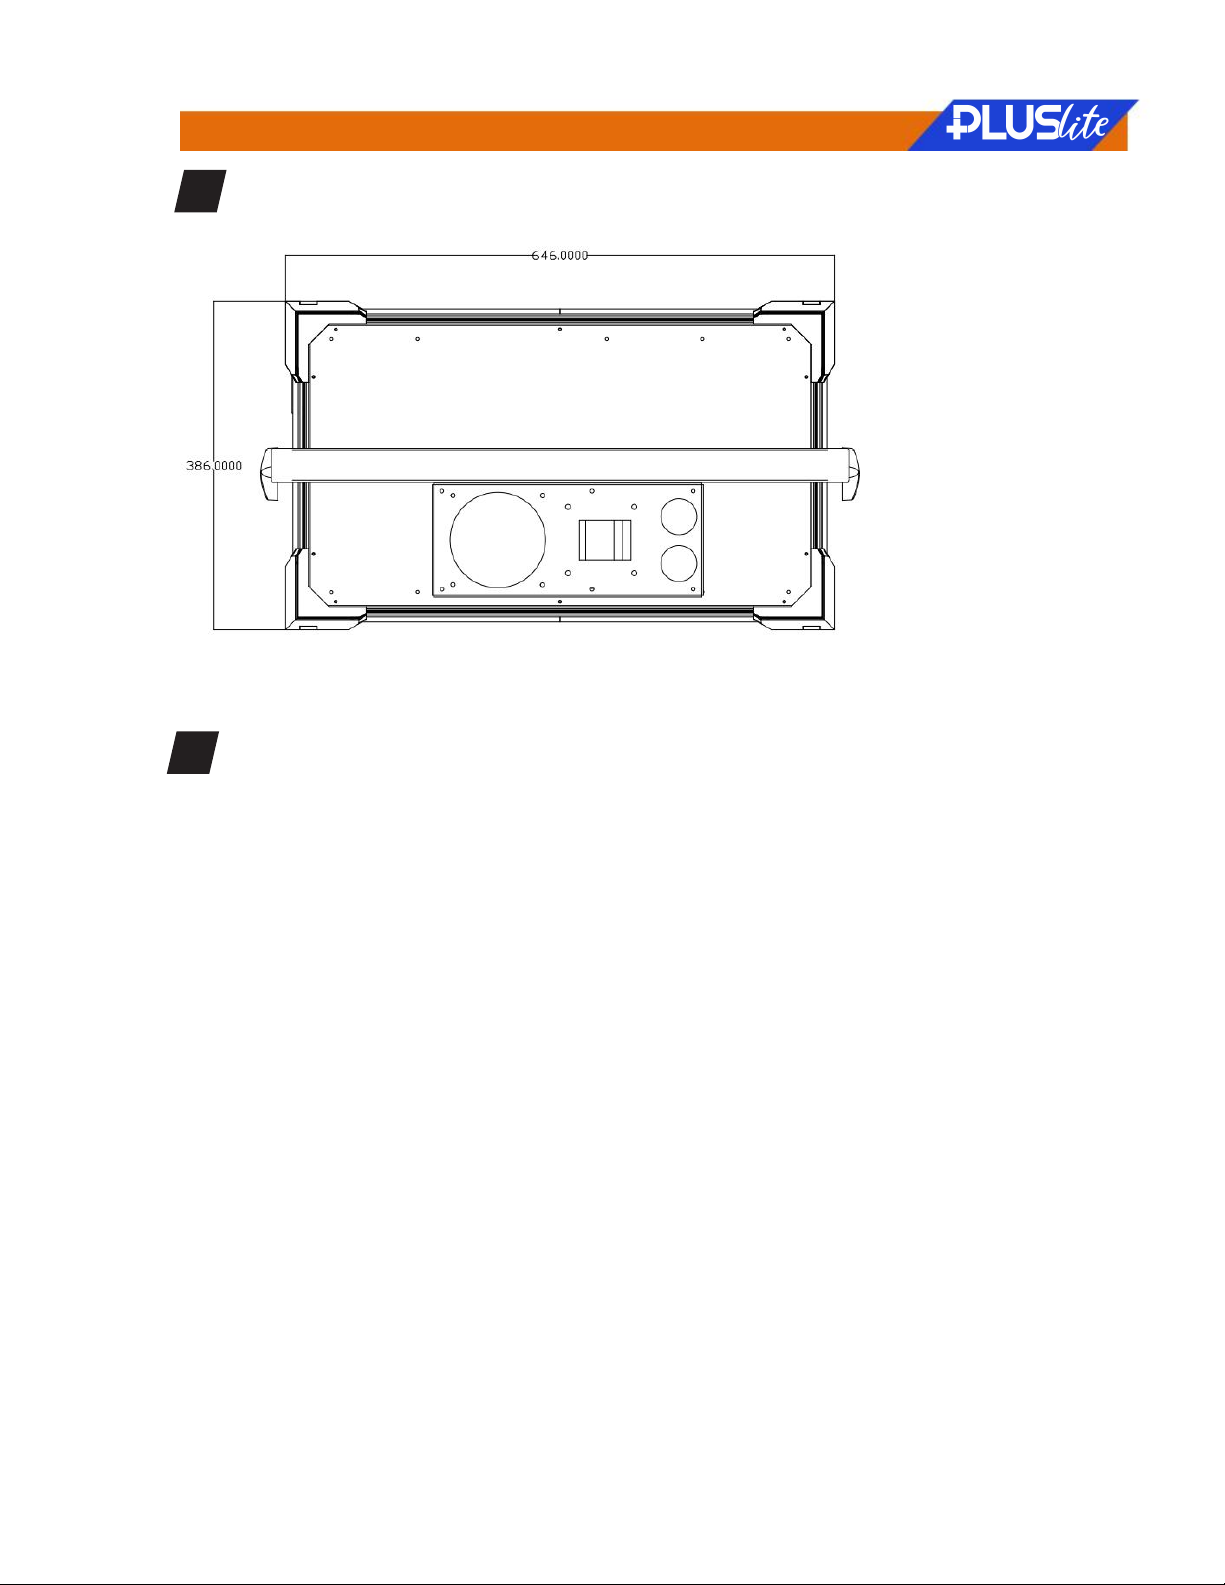
PANEL-PL220