2
4. ATENTIONARI SPECIALE:
- Pentru a nu deteriora statia radio, nu folositi statia fara o antena corespunzatoare
- Pentru reparatii, adresati-va doar unui service specializat
- Inchideti statia daca va aflati intr-o benzinarie
- Nu expuneti statia la soare si nu o lasati in apropierea corpurilor de incalzire
- Daca observati ca din statie iese fum sau miros, inchideti imediat statia radio si duceti-o
la un centru service sau la distribuitor
- Pentru a nu deteriora statia, nu emiteti timp prea indelungat
- Inchideti statia daca va aflati intr-un mediu cu substante inflamabile sau explozive
5. DESCRIERE DISPOZITIV:
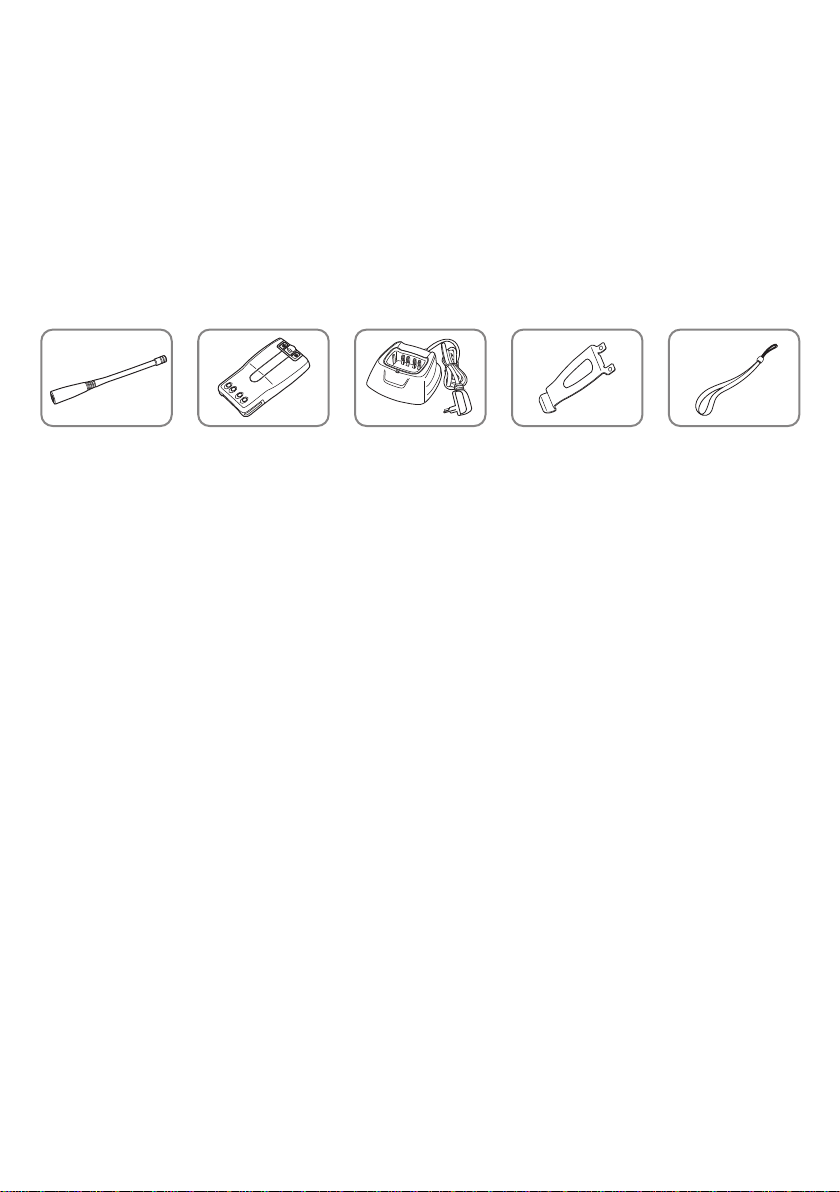
Accesorii:
ANTENA ACUMULATOR INCARCATOR CLEMA CUREA SNUR
6. INCARCAREA ACUMULATORULUI:
Inainte de prima utilizare, incarcati acumulatorul. Incarcati si descarcati acumulatorul de
2-3 ori pentru a obtine capacitatea maxima a acestuia.
Atentionari:
- Folositi doar acumulatorul original
- Nu scurtcircuitati terminalele acumulatorului
- Nu incercati sa deschideti carcasa acumulatorului
- In timp ce incarcati acumulatorul, temperatura ambientala trebuie sa fie intre 0 si 40°C
- Inchideti statia radio in timp ce incarcati acumulatorul
- Nu intrerupeti alimentarea in timpul incarcarii acumulatorului
- Inlocuiti acumulatorul daca observati ca i-a scazut considerabil durata de functionare
- Incarcati acumulatorul doar cand acesta este complet descarcat
Operatiuni de incarcare:
NOTE: Daca acumulatorul este descarcat, va rugam sa-l incarcati.
Urmariti indicatorul LED de pe incarcator pentru a afla nivelul de incarcare al bateriei:
- LED rosu - acumulatorul se incarca
- LED verde - acumulatorul este complet incarcat
1. Alimentati incarcatorul la o sursa de curent cu ajutorul adaptorului inclus
2. Introduceti acumulatorul sau direct statia radio cu acumulatorul instalat in incarcator
3. LED-ul incarcatorului se aprinde
4. Daca acumulatorul s-a incarcat complet, LED-ul de pe incarcator va deveni verde.
Durata de incarcare completa a acumulatorului este de aproximativ 3 ore. Dupa
incarcare, scoateti acumulatorul sau statia radio cu acumulator din incarcator.
NOTA: Asigurati-va ca acumulatorul face contact cu incarcatorul. Daca LED-ul clipeste,
inseamna ca acumulatorul este deteriorat sau ca temperatura ambientala este in afara
intervalului recomandat.