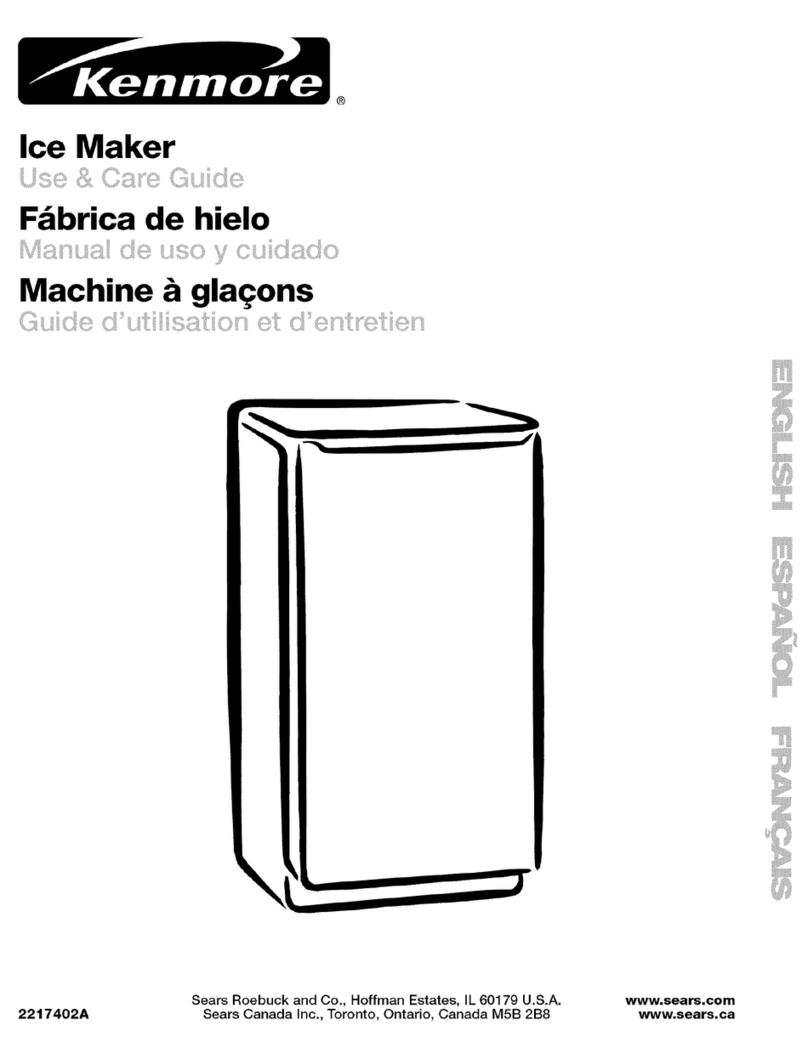
Polar Electro PIM9W User manual

PIM9W
Use & Care Guide
Guide d’utilisation et d’entretien
Manual de uso y cuidado
Portable
ICE MAKER
MÁQUINA
PORTÁTIL
Para Hacer Hielo
DISTRIBUTEUR
DE GLAÇONS
Portatif
CAUTION: Before using ice
dispenser, read this manual
and follow all safety rules and
operating instructions.
MISE EN GARDE: Avant
d’employer votre distributeur
de glaçons, lizes ce manuel
et suivez toutes les règles
de sécurité et les consignes
d’utilisation
PRECAUCIÓN: Antes de
usar la máquina el para hacer
hielo, lea este manual y siga
todas las reglas de seguridad e
instrucciones de funcionamiento
REV01
save These InsTrucTIons
conserver ces InsTrucTIons
guarde esTas InsTruccIones

Table of Contents
Important Safety Information .....................................................................................Pg. 2
Grounding Instructions ...............................................................................................Pg. 4
The Features of Your Ice Maker .................................................................................Pg. 5
The Controls of Your Ice Maker.................................................................................Pg. 5
Ice Maker Specications.............................................................................................Pg. 5
Setting-up Your Ice Maker..........................................................................................Pg. 6
Cleaning and Maintenance..........................................................................................Pg. 6
Operating Instructions.................................................................................................Pg. 7
Trouble Shooting Guide..............................................................................................Pg. 8
Welcome to the Polar®family and thank you for purchasing this product. We are proud of
our quality products and committed to providing you with dependable after sales service
should the need arise. You will see it in this easy-to-use manual and experience it with the
friendly voices of our customer service representatives when you contact our;
Customer Service Department at 1-866-253-0447
More importantly, you will experience these same values each time you use your Polar
Ice Maker which we hope will be part of your family for many years to come.
1

2
Before using your Portable Ice Maker, please record the model and serial number of your
unit below. This information is located at the rear of the appliance.
Model No:
Serial No:
Date Purchased:
Name of Retailer:
Please staple your sales receipt to the inside cover of this manual, you will need it to
obtain future warranty service.
NEED HELP? Before you call for service, there are a few things you can do to help us
serve you better…..
Read this manual thoroughly, it contains instructions to help you use and maintain your
ice maker properly.
If you received a damaged appliance, immediately notify the dealer that sold you the ice
maker. NEVER ATTEMPT TO OPERATE A DAMAGED APPLIANCE.
Save time and money, check the “trouble shooting guide” (page 8) before calling for
service. This section helps you solve common problems that might occur with your ice
maker. If not and you do need service, please contact us at 1-866-253-0447 or support@
greenwayhp.com
Important Safety Information
YOUR SAFETYAND THE SAFETY OF OTHERS
ARE VERY IMPORTANT TO US.
We have provided many important safety messages in this manual. Always read and obey
all safety messages.
This is a safety alert symbol: !

All safety messages will follow the safety alert symbol and the word “DANGER” or
“WARNING”.
These words mean: You can be seriously injured even killed if you do not immediately
follow these instructions.
All safety messages will tell you what the potential hazard is and how to reduce the
chance of injury.
WARNING: To reduce the risk of re, burns, electric shock, or injury to persons
when using this appliance, always follow basic precautions, including but not
limited to the following;
• This appliance must be connected to a properly grounded electrical outlet. See
“Grounding Instructions” on page 4.
• Do not operate this appliance if it has a damaged power cord or plug.
• Do not operate this appliance if it has been damaged or dropped.
• Do not operate this appliance in a wet basement, near a swimming pool or sink.
• Never touch the evaporator coil (cooling) ngers when the unit is operational, this
can cause serious freezer skin burns.
• Use this appliance “only” for its intended use as described in this manual.
• Do not use or store corrosive chemicals in this appliance.
• This appliance should be serviced by qualied service personnel only. Contact the
nearest authorized service agent in your area should service be required.
• Do not cover or block the ventilation openings on the appliance.
• Do not store this appliance outdoors.
• As with any appliance, close supervision of children is always necessary when
using appliances.
• Always disconnect (unplug) the ice maker before cleaning or making any type of
repair.
• Do not expose the power cord to any heat source. Keep power cord away from
high trafc areas, and never submerge in water.
• Do not use your ice maker outdoors and avoid direct sunlight.
• This appliance must be installed on a at level surface.
!
3

WARNING: The internal holding compartment of this ice maker for both stored ice
cubes and stored water is “not” refrigerated. We recommend replacing any
stored water that has not been used within a 12 hour time period of the machine
being operational.
Grounding Instructions
WARNING:
• Improper use of the grounding plug can result in a risk of electric shock causing
serious injury, even death.
• This appliance must be grounded. In the event of an electrical short circuit,
grounding reduces the risk of electric shock by providing an escape wire for the
electric current.
• This appliance is equipped with a power cord having a grounding wire with a
grounding plug and must be connected into a properly grounded polarized outlet.
Consult a qualied electrician if the grounding instructions are not completely
understood, or if doubt exists as to whether the appliance is properly grounded.
If the wall outlet is a standard 2 prong wall outlet, it is your personal responsibility
and obligation to have it replaced with a properly grounded 3-prong wall outlet.
• Do not under any circumstances cut or remove the third (ground) prong from the
power cord plug.
• Do not use an adapter plug with this appliance.
• Do not use an extension cord with this appliance. If the power cord is too short,
have a qualied electrician install an electrical outlet near the appliance.
IMPORTANT: The electrical wires in the main power cord are colored coordinated in
accordance with the following code:
• Green or Green with Yellow Stripe = Ground
• White = Neutral (N)
• Black = Live (L)
!
!
4

The Features of Your Ice Maker
1. Lid Cover: With a transparent viewing window
2. Ice Shovel
3. Ice Cube Scoop
4. Control Panel: Easy to use, touch pad controls
5. Water Drain Cap: For draining the water from
water reservoir
6. Air Outlet
7. Ice Basket (not shown)
8. Ice Basket Bafe (not shown)
The Controls of Your Ice Maker
A. Power Button (On / Off)
B. Selector Button (Ice Cube Size)
C = Small,
D = Medium
E = Large
F. Ice Bucket Full
G. Add Water
Ice Maker Specications
• Model: PIM9W
• Power: 115V/60Hz
• Ice Making Current: 1.9A
• Ice Harvest Current: 2.7A
• Refrigerant: R134a/65g
• Design Pressure
• High Side: 290 Psig
• Low Side: 88Psig
• Net Weight: 29.8 lbs / 13.5Kg
• Water Reservoir Capacity: 3.2L (0.8gal)
• Ice Cube Yield: 9 Cubes per Cycle
• Ice Basket Storage Capacity: 1.0kg (2.2lbs.)
5
1
3
5
2
4
6
B
A G
D
F
C E
5

• Ice Cube Production & Cycle Times:
Small 7:00min per cycle (Full Basket Cycle 1hr. 45min 90 cubes)
Medium 9:00min per cycle (Full Basket Cycle 2hrs. 00min 99 cubes)
Large 10:00min per cycle (Full Basket Cycle 2hrs 10min 99 cubes)
Setting-up Your Ice Maker
1. Remove the exterior and interior packaging materials. Check the ice basket, ice
basket bafe and ice cube scoop are included with the unit. If any parts are missing,
please contact our customer service department. 1-866-253-0447 or support@
greenwayhp.com
2. Select a location for your ice maker that is protected from direct sunlight and other
sources of heat (i.e. stove, furnace, radiator). Place the ice maker on a solid level
surface. A minimum clearance of 2” is required between the back and sides of
your ice maker and any adjacent walls.
3. Allow one hour for refrigerant (cooling) uids to settle before connecting
(operating) your ice maker.
4. The appliance must be positioned for easy access to an electrical outlet.
5. This appliance requires a standard 120volt, 60Hz three-prong (grounded) electrical
outlet.
6. This ice maker is not designed for “direct plumbing” installation and must be
manually lled.
Cleaning and Maintenance
Before using your ice maker it is strongly recommended to clean it thoroughly.
1. The exterior cabinet of the ice maker should be cleaned using a mild detergent
solution and warm water.
2. Remove the ice basket and bafe, wash and rinse with lukewarm water only. (Not
dishwasher safe) Thoroughly clean and rinse the interior of the cabinet with
lukewarm water and a soft cloth.
3. Drain out any remaining water by positioning the unit next to a sink, remove the
drain cap and plug located on the left side of the cabinet. Replace the drain cap and
plug when the unit is empty.
6

4. Dry the interior and exterior with a soft cloth.
5. When the machine is not being used for long time periods, drain water completely
from water reservoir.
6. Like most appliances, your ice maker requires periodic maintenance for maximum
efciency and performance and must be cleaned on a regular basis. (i.e. every
4 months) To maintain a hygienic environment within your ice maker and prevent
potential formation (growth) of bacteria, we strongly recommend regular cleaning
of your ice maker using a Cleaning Kit. These kits are available through our
customer Service Department at 1-866-253-0447 or can be ordered on line at
www.greenwayhp.com
Operating Instructions
1. Connect the ice maker to a standard 120Volt, 60Hz three-prong (grounded)
electrical outlet. The green indicator light (above the power on/off button) will start
ashing indicating the unit is in “standby” mode.
2. Open the lid cover and remove the ice basket and ice basket bafe.
3. Add water to the “MAX” ll line indicated on the rear wall of the reservoir
compartment. (Do not overll)
4. Install (slide) the ice basket bafe onto the top rear side of the ice basket making
sure the notched side of the bafe is positioned on the right side of the basket.
(sensor side) To promote maximum ice storage capacity, we recommend the ice
basket bafe always be installed when the ice maker is operational.
5. Reinstall the ice basket into the storage compartment.
6. Press the power “A” (on/off) button, the “green” indicator light will change from
a ashing (standby) condition to a steady state (on) condition, indicating the unit is
now operational.
7. Press the selector “B” button to select between the 3 desired ice cube sizes. (small,
medium, large) The corresponding (green) light will illuminate directly above the
selection made.
8. While the ice maker is operational, periodically check the reservoir water level. If
the water reservoir is empty, the pump cannot inject water and the ice maker will
stop automatically causing the “Add Water” (D) indicator light to illuminate. Fill
the reservoir to the “MAX” ll water level and re-start the machine by pressing the
“power” (on/off) button again. Failure to re-start the machine will result in
continuous “standby” mode.
7
9. Wait at least 3 minutes before attempting to re-start the unit if the compressor cycle
has been interrupted .
10. The ice maker automatically stops working when the ice basket is full and the ice
full (red) indicator light illuminates. The ice maker re-starts automatically when the
ice cube level drops and the (ice bucket full) indicator light turns off.
Trouble Shooting Guide
PROBLEM CAUSE FIX
“Add Water” indicator
light is on. No water in reservoir. Fill with water, and press
“Power” button again to
restart the unit.
“Ice Bucket” Full
indicator light is on. Ice basket Is full. Remove ice from ice
basket.
Ice cubes stick together. This is a normal condition. Gently break the ice cubes
apart.
No ice cube production. Water reservoir is empty.
Cooling system leak.
Defective water pump.
Fill water reservoir.
Must be veried by a
qualied technician.
Must be veried by a
qualied technician.
Replace water pump.
8
Other manuals for PIM9W
1
Table of contents
Other Polar Electro Ice Maker manuals

Polar Electro
Polar Electro G620-A User manual

Polar Electro
Polar Electro T316-A User manual

Polar Electro
Polar Electro G620-A User manual

Polar Electro
Polar Electro PIM9W User manual

Polar Electro
Polar Electro T316 User manual

Polar Electro
Polar Electro CH479 User manual

Polar Electro
Polar Electro T316 User manual

Polar Electro
Polar Electro GK031-A User manual

Polar Electro
Polar Electro CH479-A User manual

Polar Electro
Polar Electro CH478 User manual