manuals.online logo
Brands
  1. Home
  2. •
  3. Brands
  4. •
  5. Polivac
  6. •
  7. Floor Machine
  8. •
  9. Polivac Predator MK I User manual

Polivac Predator MK I User manual

1
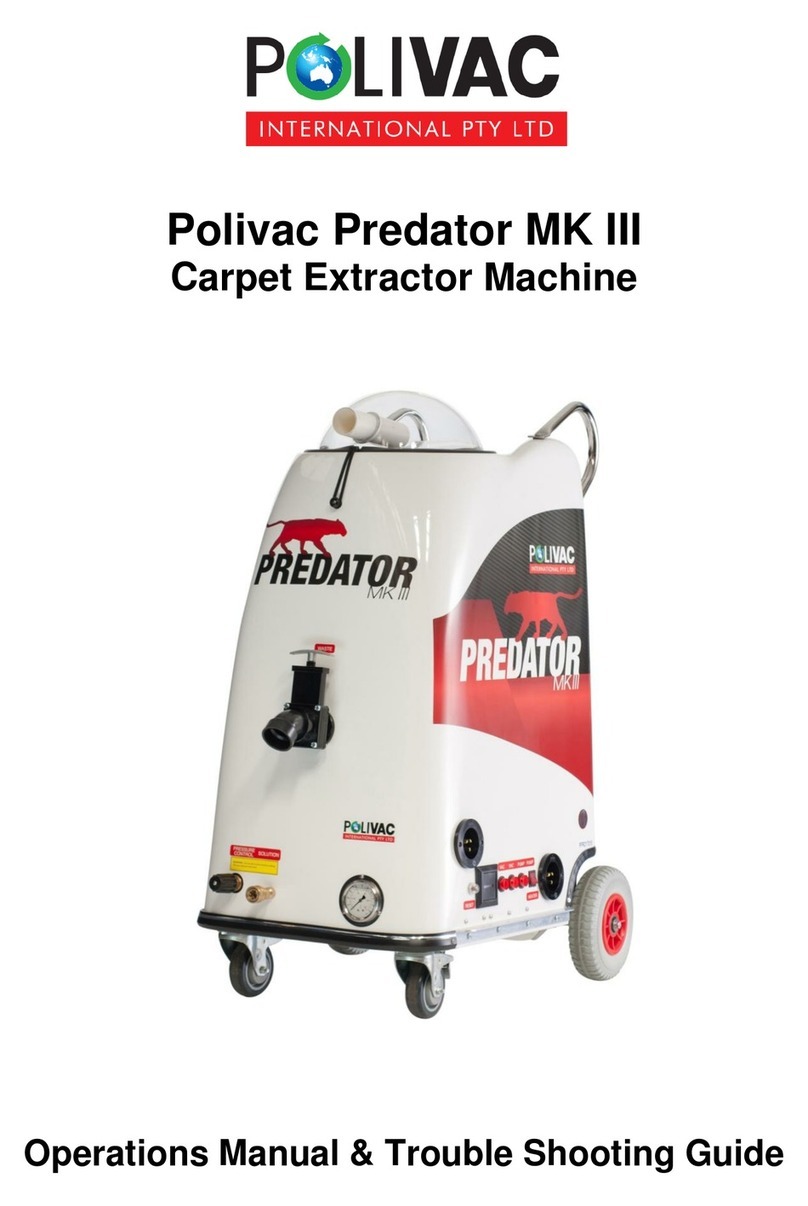
Polivac Predator MK I
Carpet Extractor Machine
Operations Manual & Trouble Shooting Guide
remove from
skid
connect the
power
connect
solution and
vaccuum
hoses
connect the
wand
fill the
solution tank
turn pump
switches and
vacuum
switches on
on at a time.
now you are
ready to
clean
Connecting the power
Connect the female sockets of the supplied extension cords to the panel
sockets.
Note: You must connect both cord to operate the machine and when
using at pressure above 400 psi, you must connect to two separate
power phases in the building.
Solution Hose Vacuum Hose
Connect the supplied hoses to the above pictured connection. To
connect the solution hose push the sleeve back on the brass socket
insert the male plug then release.
To connect the vacuum hose just insert the black hose cuff into plastic
pipe.
FIGURE 1
Pressure Hose Vacuum hose
Connect the female solution hose fitting to the male wand connector
and slide the cuff over the end of the wand.
You may need to replace trigger kits See below.
FIGURE 2
2
This is an introduction on the use of the Polivac Predator Carpet Extraction unit.
Directions for Use( please refer to picture as well in next page)
1. Connect 240v extension cable from power source to #1 power socket on unit. Connect other
240V extension cable #7 power socket( only available in MK3, MK3 Auto & MK2 Auto)
2. Now connect the Male end of solution hose to Female solution outlet on the
front of the unit.( FIGURE 1)
3. Connect the Female solution end to the Male fitting on the trigger of the
steam cleaning wand. ( FIGURE 2)
4. Ensure dump valve and booster inlet are closed, if these are not in use.
5. Fill machine with either cold or hot water. We always recommend pre-spraying the carpet rather
than use of Chemical solutions and powders run through the machine, for a number of reasons, 1st
this gives better results as the chemical has had time to “work” on the carpets, 2nd when you extract
with fresh water, you remove more chemical residue which prevents re-soiling and chemical build up.
Finally it extends the life of your pump, the use of high alkaline chemicals can cause premature failure
not covered by warranty. NEVER USE FLAMABLE LIQUIDS OR SOLVENTS IN THE
STEAMCLEANER
6. The heater switch can now be selected and as power is connected the switch
will light up RED and this will commence the heater working. `
7. Water is now being heated up.
8. Connect the G Vac hose to the domes nose and the other end to the wand end.( FIGURE 1, 2
9) Change position of the rocker switch to “ pump” position. Then press pump “ round” switch
and vaccum “ round” switches accoridngly. switch on the dirt water pump “ round” switch at
the same time( if it has a auto empty unit installed)
ple
9) Dirt water will steadily suck in to the machine with vaccum motors working. once dirt water reaches the
optimum level in the recovery tank, whole machine will stop. This optimum level is controlled by a float
switch installed in the recovery tank.
10) customer should push all round buttons to off position and should empty the dirt water tank before
bring the machine back to operations.
11) No need to follow step # 10 for MK2 Auto & MK3 Auto as these varities will automatcally empties the
recovery tank using auto empty pump installed in the machine.
12) MK2 auto and MK3 Auto has a monel screen installed in the recovery tank in order to stop finer dirt
goes in the auto empty pump. it is important to clean this monel screen regularly to run the auto
empty function efficiently.
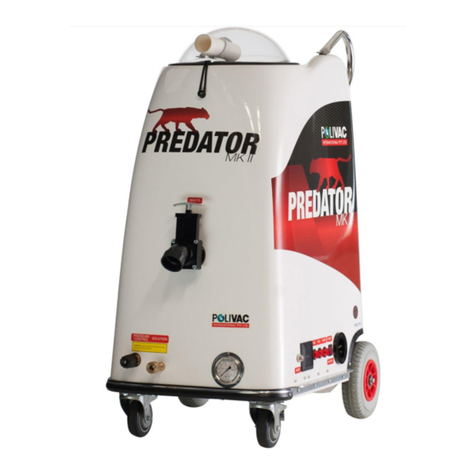
3
Polivac predator side control panel
1
2
3
4
5
6
7
8
9
1) 240 volt 10AMP power inlet socket( MK1 & MK2 only have this power inlet)
2) Pump or heater selector switch
3) Water pump power switch
4) Vac motor #1 power switch
5) Vac motor #2 power switch
6) Machine operating hour timer
7) 240 volt 10AMP power inlet socket ( MK2 Auto , MK3 & MK3 Auto has this 2nd inlet socket)
8) Thermal overload rest switch
9) Dump water pump switch ( only available in MK2 Auto & MK3 Auto)
5
Polivac Predator pressure control
1
2
3
4
5
1)Pressure increase/decrease regulator top
2) Solution outlet( for connection to high pressure hose)
3) Pressure gauge
4) Dirt water outlet ( only available in MK2 Auto & MK3 Auto)
5) Dump valve
6
Polivac Predator Dump Valve
To release captured waste water lift handle as shown in diagram.
Water will drain & then depress the handle down to reseal.
8
Polivac Predator Booster inlet.
Figure 1 shows booster inlet in the closed position
Figure 2 shows inlet opened to connect the vac hose and booster box.
Inlet opens by hand only and will close itself after use.
A standard wand only requires 350 to 400 psi any more may result in
unnecessary damage or wear to the wand and trigger system.
It is recommended that the upholstery tool or stair tool pressure is 150psi.
To measure the pressure engauge the trigger on your device then adjust
accordingly using the pressure control knob.
Pressure adjustment control
General Maintenance & Troubleshooting Guide
Maintenance
The key to keeping the unit in good working order is general maintenance.
Follow the below procedure for best result with unit.
1. Water filter
Remove from water tank by unscrewing. Clean and refit.
150 psi
350psi
1000 psi
2. Lint deflector
Remove screen from channel and remove all lint and dirt build up
3. Oil level
Check once a month.
4. Floor tool
Remove build up of lint from opening of tool.
5. Vac motors
No maintenance can be done but use Antifoam to prevent chemical and water entering motors and causing
faults.
Troubleshooting Fault Remedy
1. No Power to unit
Check power cable and power from source
2. Heater not working
Check pump/heater switch is switched to heater and not pump
3. Pump not working
Check pump/heater switch is switched to pump and not heater check thermal reset button and depress to
engage.
4. No water coming from floor tool
Check pump is running
Check water level is sufficient
Check floor tool jets for blockage
Check water tanks filter for blockage
5. Vac motors not working
Check both switches are on (glowing red)
Check dome lid is on correctly and sealing
Ensure waste dump valve is complete shut
Polivac Warranty
1. When a warranty repair is justified, Polivac welcomes such repair by any of its authorized Service
Centres. In most instances, the request for warranty brought to the attention of our service
Divisions or Agents are handled in a prompt routine manner with no question of their validity.
However, in some requests for warranty are received which are not justified. In these cases
machine owners will be made aware that the premature failure of their equipment was the
result of abuse, neglect or other cause not covered by Warranty.
2. The Polivac warranty covers only DEFECTIVE MATERIAL and/or DEFECTIVE WORKMANSHIP. It
does not cover labour.
3. Your machine is warranted for 12 months from date of purchase by the original user against
faulty workmanship or material. The warranty covers only the replacement, repair or adjustment
of any part which in the opinion of Polivac fails as a result of a fault in manufacture assembly.
Note 2 year warranty applies to drive motors and gearbox assemblies on electrical machines.
4. In the case of Hire Companies or similar using the unit to rent on a casual basis then 3 months
shall apply.
5. This warranty does not cover service calls, travelling time, consumable parts, e.g. drive belts,
chains, flexible skirt or hose, dust bags, mains leads, brushes, buffer, buffer strips, sanding discs,
light bulbs, nozzles, filters, pressure pumps, piston seals, diaphragms and like items.
6. In the case of proprietary components used by the manufacturer in his product, such as engines,
electrical motors, chargers and the like Polivac will pass on any warranty given by the
manufacture of these items.
7. This warranty excludes batteries which are guaranteed for 90 days, by the manufactures from
date of purchase of the equipment provided that the battery is kept filled to the proper level
with distilled water and not abused.
8. Accidental damage is not covered by warranty.
9. Fair wear and tear is not covered by warranty.
10. Only approved chemicals are to be used in the machine.
11. All charges to and from the manufacturer, agent or service centre will be the responsibility of the
distributor.
12. Repairs carried out by any other person other than an authorized Polivac repairer will cancel the
warranty.
13. A charge for traveling time and labour will be applicable for on-site warranty service.
POLIVAC WARRANTY IS SUBJECT TO THE LAWS AND REGULATIONS OF THE INDIVIDUAL STATES AND
COMMONWEALTH TERRITORIES OF AUSTRALIA. THIS WARRANTY IS NOT TRANSFERRABLE.

Other Polivac Floor Machine manuals

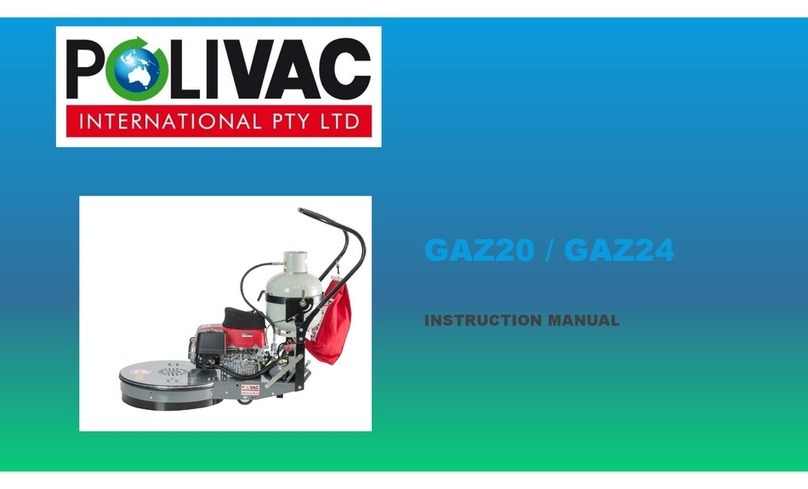
Polivac GAZ20 User manual

Polivac

Polivac GAZ20 User manual

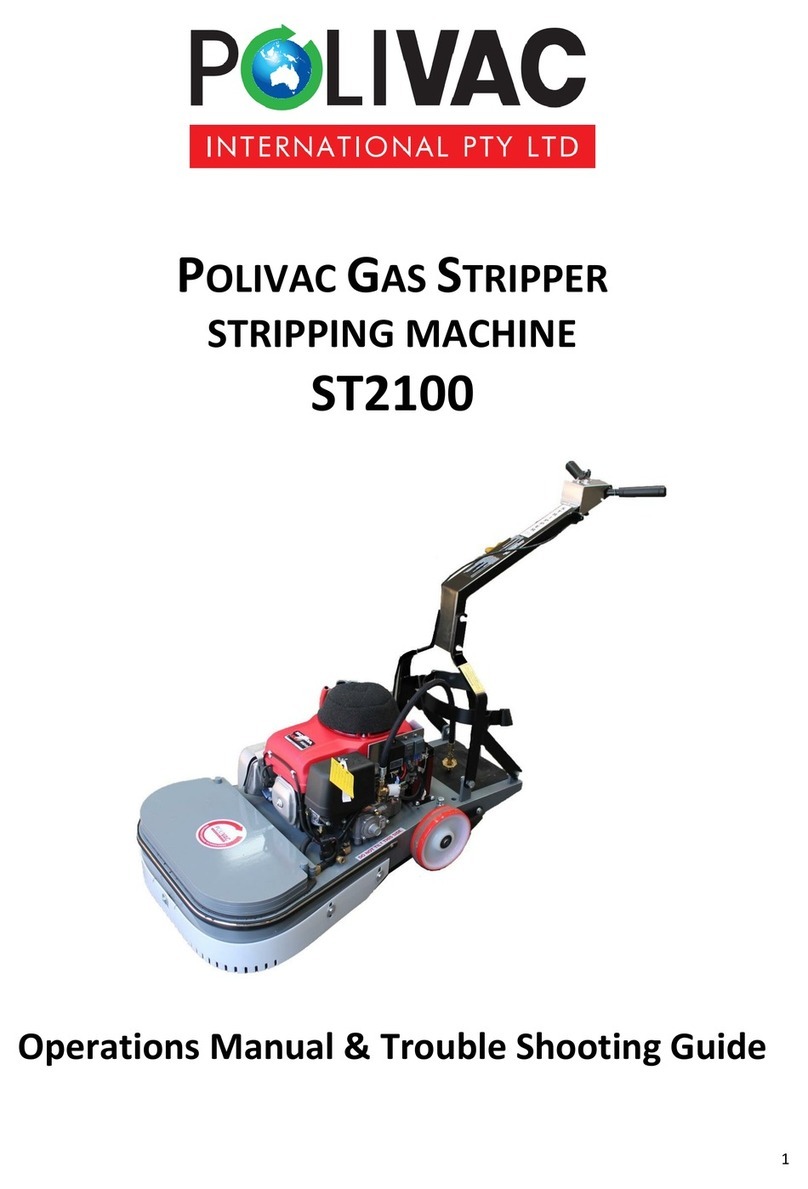
Polivac ST2100 User manual

Polivac

Polivac ST2100 User manual

Polivac Predator MK II User manual

Polivac

Polivac Predator MK II User manual

Polivac Predator MK III User manual

Polivac

Polivac Predator MK III User manual

Polivac GAZ24 User manual

Polivac

Polivac GAZ24 User manual

Polivac Predator MK II User manual

Polivac

Polivac Predator MK II User manual

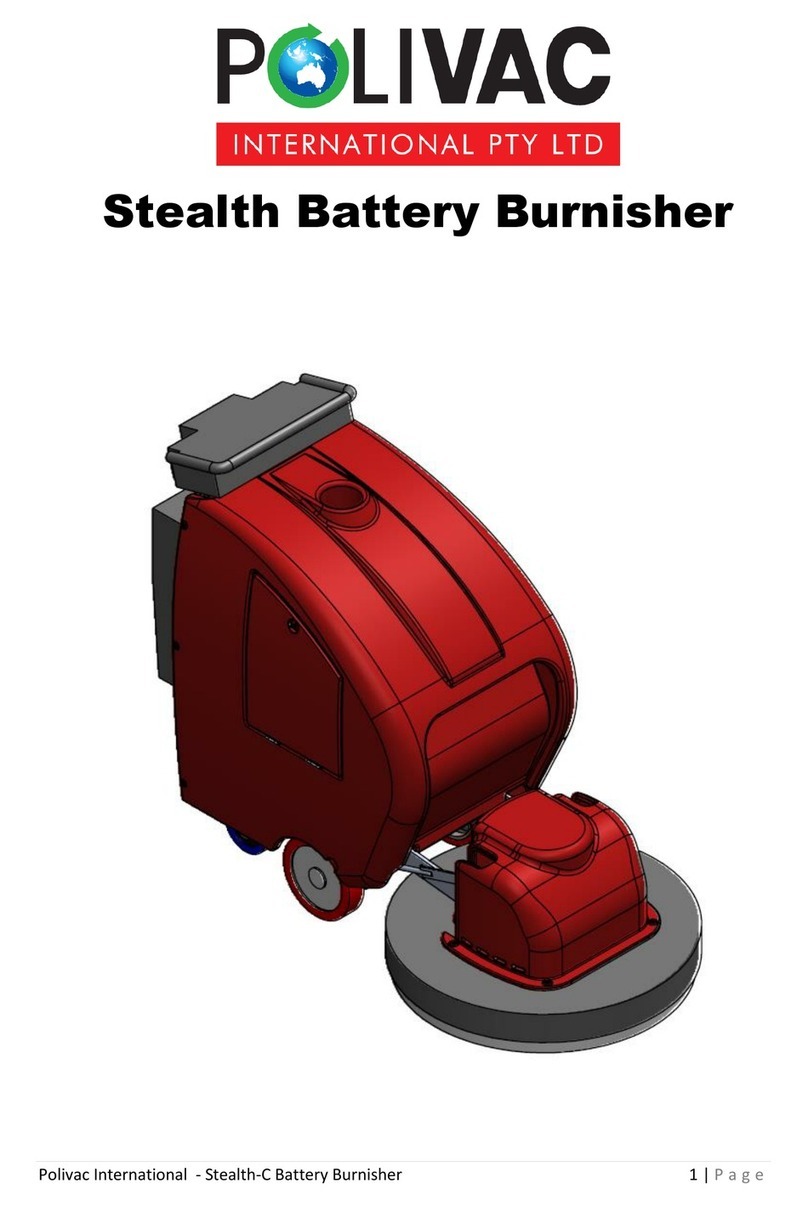
Polivac Stealth Series User manual

Polivac

Polivac Stealth Series User manual

Polivac GASS38KOH User manual

Polivac

Polivac GASS38KOH User manual

Polivac GAZ20 User manual

Polivac

Polivac GAZ20 User manual

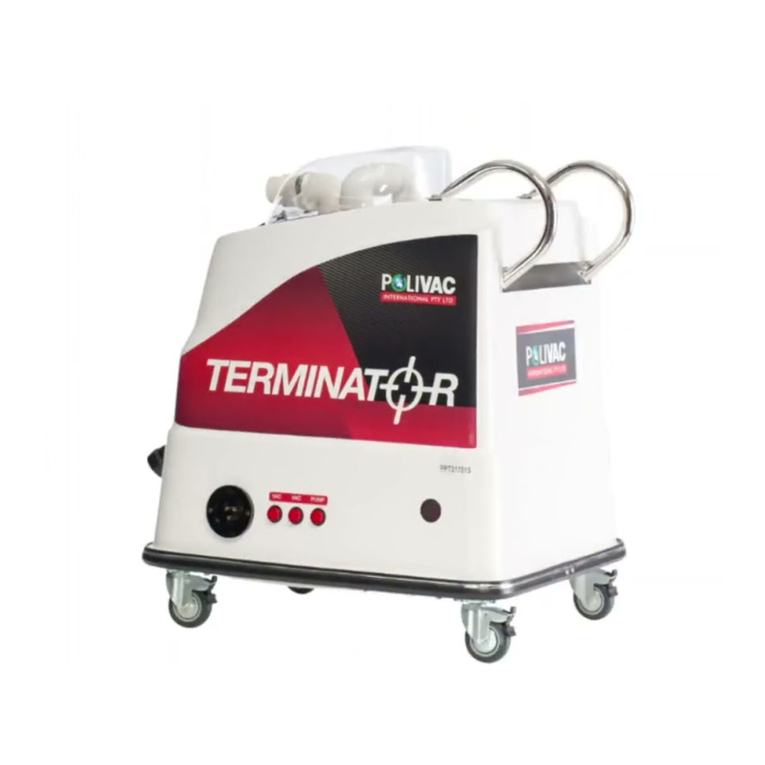
Polivac Terminator User manual

Polivac

Polivac Terminator User manual

Popular Floor Machine manuals by other brands

Crommelins CFGKUB Operation & instruction manual

Crommelins

Crommelins CFGKUB Operation & instruction manual

MiniMag 17'' DISK PAD ASSIST operating instructions

MiniMag

MiniMag 17'' DISK PAD ASSIST operating instructions

Tornado 99410 BR 13/1MW user manual

Tornado

Tornado 99410 BR 13/1MW user manual

Blakeslee BB914 owner's manual

Blakeslee

Blakeslee BB914 owner's manual

Taski ergodisc 165 Instructions of use

Taski

Taski ergodisc 165 Instructions of use

Blastrac BG-250E Service manual

Blastrac

Blastrac BG-250E Service manual

Nobles Speedshine 1700DS brochure

Nobles

Nobles Speedshine 1700DS brochure

PowerBoss T82 user manual

PowerBoss

PowerBoss T82 user manual

Tennant 265 Installation, operation, maintenance and parts manual

Tennant

Tennant 265 Installation, operation, maintenance and parts manual

Clarke 08001B Operator's manual

Clarke

Clarke 08001B Operator's manual

Clarke Encore S20E Operator's manual

Clarke

Clarke Encore S20E Operator's manual

Windsor CLP owner's manual

Windsor

Windsor CLP owner's manual

HAKO Cleanserv PB51/2000 instruction manual

HAKO

HAKO Cleanserv PB51/2000 instruction manual

NSS RALLY 1200 Operation manual

NSS

NSS RALLY 1200 Operation manual

Windsor Dominator 17 NMWU2215N operating instructions

Windsor

Windsor Dominator 17 NMWU2215N operating instructions

Nilfisk-Advance BR 1100C-X Service manual

Nilfisk-Advance

Nilfisk-Advance BR 1100C-X Service manual

Clemas & Co C110S 80B Operator's manual

Clemas & Co

Clemas & Co C110S 80B Operator's manual

ROOTS RootsSweep B70 owner's manual

ROOTS

ROOTS RootsSweep B70 owner's manual

manuals.online logo
manuals.online logoBrands
  • About & Mission
  • Contact us
  • Privacy Policy
  • Terms and Conditions

Copyright 2025 Manuals.Online. All Rights Reserved.