manuals.online logo
Brands
  1. Home
  2. •
  3. Brands
  4. •
  5. PolyJohn
  6. •
  7. Toilet
  8. •
  9. PolyJohn Comfort XLT PH04 User manual

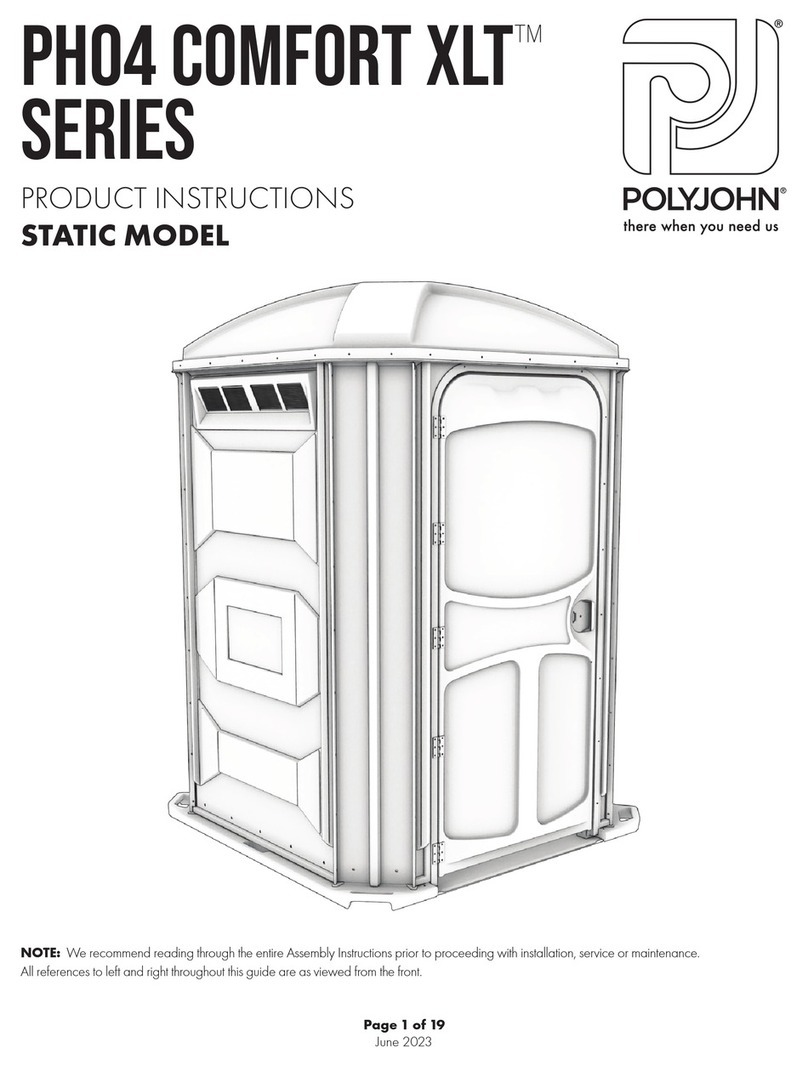
PolyJohn Comfort XLT PH04 User manual

PH04 Comfort XLT Grab Bar - June 2019
Page 1 of 3
PH04 Comfort XLT™
Grab Bar
Mounting Instructions
POLYJOHN
USA
PolyJohn Enterprises Corp
2500 Gaspar Ave.
Whiting, IN 46394
Phone: 800-292-1305
Fax: 219-659-0625
www.polyjohn.com
[email protected]
POLYJOHN
WORLDWIDE
PolyJohn (UK) Ltd.
Equinox 1 Audby Lane
Wetherby, England LS22 7RD
Phone: 44 (0) 1937-583333
Fax: 44 (0) 1937-583322
[email protected]
POLYJOHN
CANADA
PolyJohn Canada
P.O. Box 2300
199 Forest Plain Rd.
Orillia, Ontario LV3 6S2
Phone: 800-465-9590
Fax: 705-325-8250
[email protected]
Thank you for purchasing the optional grab bar kit for the
Comfort XLT unit. The 2019 redesign of the Comfort XL
unit to incorporate a larger tank with ushing capabilites
does not require internal grab bars. Please read through
these instructions prior to installing the grab bars. If your
unit has the optional urinal installed, the left side grab bar
will not be used. If your unit has the optional sink (required
for the fresh ush option), you will be installing the shorter
PH04-0020 grab bars on the rear and right side wall.
All references to left and right will be from viewing the
unit from the front.
GENERAL OVERVIEW
~~Tools Required for Assembly~~
• 13/64” Drill Bit • Rivet Gun w/ 3/16” nose piece • Tape Measure
PH04 Comfort XLT Grab Bar - June 2019
Page 2 of 3
PC-000106 Washer
PC-000105 Rivet
To mark the holes to mount the left side grab
bar (if no urinal is installed), use the diagram
to the right as a reference, and mark the
mounting hole locations as shown. There are
a total of 8 hole locations for each grab bar.
Five (5) of the holes are located at a height of
32-1/4” from the top of the base surround, and
three (3) holes at a height of 30-1/4” . The
hole locations on the corner panels are lo-
cated halfway between the center rib and the
corner/side connection.
For units without a sink installed: Repeat
this for the rear and left panel grab bars.
For units with a sink: For the rear panel, make
marks in the same locations, eliminating the
3 locations in the right rear (when viewing
the unit from the front). For the left side pan-
el, make marks in the same locations, eliminating
the 3 spots in the right rear
Using a drill with a 13/64” drill bit, drill holes in the locations just marked.
Step 1. Grab Bar Mounting Locations
32-1/4”
30-1/4”
ASSEMBLY INSTRUCTIONS
Step 2. Grab Bar Installation
On the inside of the right side panel, mea-
sure and position the bottom of the grab
bar at 26” up from the top of the base sur-
round. If installing the grab bars with the
sink, simply insert the straight end of the
grab bar into the corresponding slot of teh
sink surround and level the grab bar. With
one person holding the grab bar in place
on the inside of the unit, have another per-
son drill
13/64” diameter holes through the holes
drilled in the previous step.
Be sure to drill through only one wall of the
grab bar.
Place PC-000106 Back-Up Washers on
PC-000105 rivets, and rivet the grab bar in
place. Repeat this step for the rear and
left panel grab bars.
26”
PH04 Comfort XLT Grab Bar - June 2019
Page 3 of 3
We highly recommend membership in the Portable Sanitation Association International (PSAI); the world-
wide authority on portable sanitation services. The PSAI, “Portable Sanitation Industry Certication Program”
manual contains a wealth of information of standards and service procedures. For more information contact
the PSAI:
PORTABLE SANITATION ASSOCIATION INTERNATIONAL
7800 METRO PARKWAY, SUITE 104
BLOOMINGTON, MINNESOTA 55425 USA
800-822-3020 / 612-854-8300 (FAX: 612-854-7560)
www.psai.org
PolyJohn Enterprises Corporation publishes a series of technical manuals of guides for the Portable Sanita-
tion Association International. Contact your area sales representative for further details.
For a source of cleaning, deodorizing, and paper products contact:
POLYJOHN
2500 GASPAR AVE.
WHITING, IN 46394-2175
800-292-1305
“PolyJohn is a family owned, state of the art, plastics manufacturing company dedicated to providing its
employees with a work environment committed to excellence, and its customers with innovative products,
services and technology that meet or exceed their requirements.”
OUR MISSION STATEMENT
Look for us on the Web @ www.PolyJohn.com
THANK YOU FOR PURCHASING POLYJOHN PRODUCTS!
• Use a mild soap to clean all surfaces and component parts.
• Minor scratches and abrasions can be lightly sanded or scrubbed with a mild abrasive cleaner (such as
“Soft Scrub”) that contains calcium carbonate, hypochlorate bleach, and detergents. Be sure to follow the
cleaning product directions since these ingredients may cause hazardous gases when mixed with other
chemicals. Rinse the cleaned areas and buff with a conventional wax.
• Some light scratches may also be hidden by using an industrial hot air gun.
CLEANING AND MAINTENANCE
• To keep the interior smelling fresh, spray with a deodorant spray.

Other manuals for Comfort XLT PH04

1

Other PolyJohn Toilet manuals

PolyJohn PJP4 Series Instruction sheet

PolyJohn

PolyJohn PJP4 Series Instruction sheet

PolyJohn FLEET Series Instruction sheet

PolyJohn

PolyJohn FLEET Series Instruction sheet

PolyJohn Comfort Inn PH03 User manual

PolyJohn

PolyJohn Comfort Inn PH03 User manual

PolyJohn Comfort XLT PH04 Parts list manual

PolyJohn

PolyJohn Comfort XLT PH04 Parts list manual

PolyJohn PolyLift PL01-1000 User manual

PolyJohn

PolyJohn PolyLift PL01-1000 User manual

PolyJohn MINI-FLUSH MF02-1000 Instruction sheet

PolyJohn

PolyJohn MINI-FLUSH MF02-1000 Instruction sheet

PolyJohn PH04 COMFORT XLT Series Instruction sheet

PolyJohn

PolyJohn PH04 COMFORT XLT Series Instruction sheet

PolyJohn PJN3 Series Instruction sheet

PolyJohn

PolyJohn PJN3 Series Instruction sheet

PolyJohn Comfort XLT FLUSH Series Instruction sheet

PolyJohn

PolyJohn Comfort XLT FLUSH Series Instruction sheet

PolyJohn Comfort XLT Series Instruction sheet
PolyJohn

PolyJohn Comfort XLT Series Instruction sheet

Popular Toilet manuals by other brands

Swiss Madison SM-2T130 installation instructions

Swiss Madison

Swiss Madison SM-2T130 installation instructions

Kohler Revival K-3360 Homeowner's guide

Kohler

Kohler Revival K-3360 Homeowner's guide

Sanela SLW 54 manual

Sanela

Sanela SLW 54 manual

AM.PM BLISS SCANDI C518607WH manual

AM.PM

AM.PM BLISS SCANDI C518607WH manual

Porcelanosa N3301512843 manual

Porcelanosa

Porcelanosa N3301512843 manual

Drive DeVilbiss Healthcare TSE 150 Instructions for use

Drive DeVilbiss Healthcare

Drive DeVilbiss Healthcare TSE 150 Instructions for use

American Standard COMPACT CODIE TF-2407 installation manual

American Standard

American Standard COMPACT CODIE TF-2407 installation manual

Toto G500 instruction manual

Toto

Toto G500 instruction manual

Wilo HiSewlift 3 manual

Wilo

Wilo HiSewlift 3 manual

Dometic 970 SERIES instruction manual

Dometic

Dometic 970 SERIES instruction manual

JABSCO 37010-4092 manual

JABSCO

JABSCO 37010-4092 manual

Kekkilä EKO 230L Installation

Kekkilä

Kekkilä EKO 230L Installation

Drive Ticco 2G operating instructions

Drive

Drive Ticco 2G operating instructions

Grohe Sensia Arena 39354SH1 quick start guide

Grohe

Grohe Sensia Arena 39354SH1 quick start guide

URIMAT ceramic C2 NRV 12401 Installation instruction

URIMAT

URIMAT ceramic C2 NRV 12401 Installation instruction

closomat Lima Vita Installation & user guide

closomat

closomat Lima Vita Installation & user guide

Franke HDTX0020 Installation and operating instructions

Franke

Franke HDTX0020 Installation and operating instructions

Xylem Jabsco Lite Flush Step-by-step guide

Xylem

Xylem Jabsco Lite Flush Step-by-step guide

manuals.online logo
manuals.online logoBrands
  • About & Mission
  • Contact us
  • Privacy Policy
  • Terms and Conditions

Copyright 2025 Manuals.Online. All Rights Reserved.