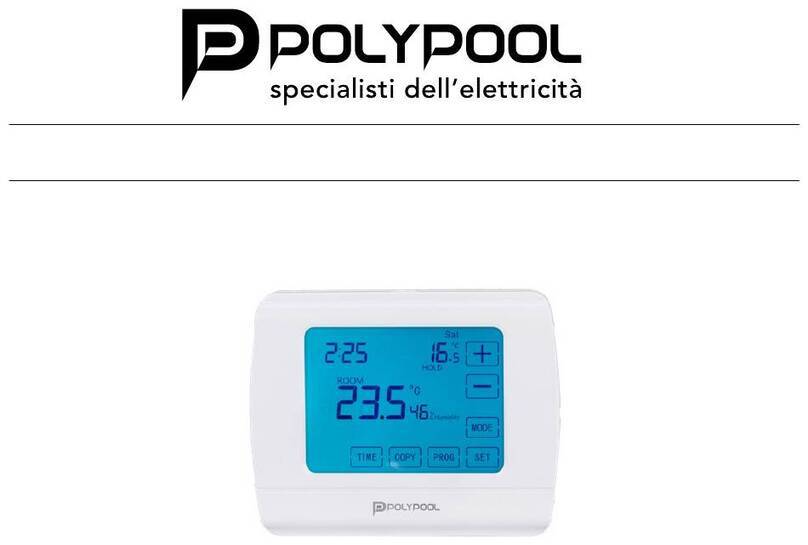
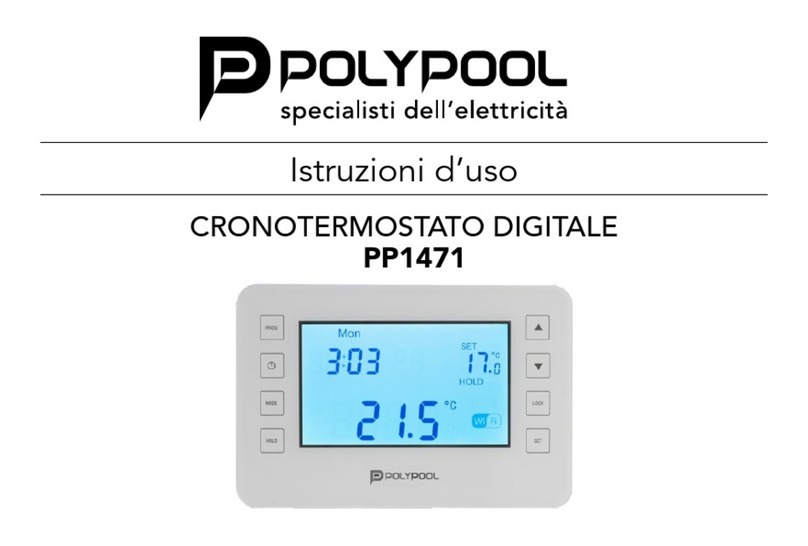
POLYPOOL PP1465 User manual

self-service electricity
PP1465
User instructions
“EASY” DIGITAL CHRONOTHERMOSTAT

Thermostat buttons
GENERAL WARNINGS
This type of relay ambient thermostat is suitable for
regulating many models of available boilers. It can
be easily connected to any boiler or air conditioner
that has a two-wire connector, regardless of the 24V
or 230V supply.
The chronothermostat has 6 separate and independent
daily temperature programs (intervals) that can be set
for each day of the week. Ignition times can be set at
10 minute intervals and temperatures can be adjusted
in 0.5°C increments.
The device can be programmed to suit your needs
so that the heating/cooling system heats/cools your
residence or oce to the desired temperature, on
the days and at the times specied by you, to reduce
energy costs while maintaining comfort.

Temperature
set
Flat
battery
Boiler
operational
Clock
Manual
control
indicator
Program
number set
Ambient
temperature
The thermostat ignition sensitivity can be
selected: ± 0.2°C (factory setting, recommended
for heating systems with radiator) or + 0/-0.2°C (this
setting is recommended for underoor heating).
This conguration represents the temperature
dierence between the adjusted value and the actual
temperature measured during the ignition process.
For example, if the factory setting is 20°C on the
thermostat, the device turns on the boiler at 19.8°C
or below this level and goes o at 20.2°C or above.
(Please refer to section 3.3 for the change of ignition
sensitivity from factory default of ± 0.2°C).
The thermostat is equipped with a pump protection
function which, in order to prevent the pump
from blocking, turns on the boiler for one minute
at 24 every day if the pump has not turned on in a
programmed way for more than 24 hours (for example
, outside the heating season). See the activation of the
pump protection function in Section 3.4.
Information shown on the LCD
display of the thermostat:
Manual
timer
control
indicator
Days
week

1.
POSITION
OF THE THERMOSTAT
Position the thermostat in a position protected from
temperature changes or extreme heat (e.g., direct
sunlight, refrigerator, replace, etc.). The optimum
installation position is approximately 1.5 m above
oor level.
IMPORTANT WARNING!
If the radiator valves in your apartment are equipped
with a thermostatic head, replace the thermostatic
radiator valve head with a manual control handle or
adjust it to the maximum temperature in the room
where the thermostat is to be positioned, otherwise the
thermostatic head can interfere with the temperature
control of the apartment.
2.
THERMOSTAT
INSTALLATION
• Pressing the lever on the upper side of the
thermostat housing, remove the rear base of the
thermostat as shown in the gure.
• Using the supplied plugs, x the rear panel of the
device to the wall.
• Open the protection door of the connection
terminals using a small screwdriver.
• The thermostat relay output has three zero potential
connection points, i.e. 1(NO: normally open);
2(COM: common) and 3(NC: normally closed).
To check the heating, connect the two cables of the
device to be connected to terminals 1(NO) and 2
(COM), to check the cooling system connect the
cables to terminals 2 2(COM) and 3(NC).
• Close the terminals protection door

Opening lever
Press the back
to release
after the assembly process has been completed.
ATTENTION! The device must be installed
by a qualied installer. Always follow the
manufacturer's instructions when connecting the
thermostat to any heating or cooling device.

3.
BASIC SETTING
3.1 Inserting the batteries
Pressing the lever on the upper side of the
thermostat, remove the rear base of the thermostat
as shown in the gure above.
The battery compartment is located on the inner
side of the front panel. Insert 2 AA alkaline
batteries (type LR6) as indicated in the seat of
the same batteries and replace the front part of
the thermostat on the base with snap closure.
After inserting the batteries, the day, time and
program number will ash on the display as will
the measured and regulated temperatures. (If this
information does not appear on the display, press
the "RESET" button with a ne-tipped object.
To press the button, do not use any electrically
conductive material.
3.2 Set current date and time
Press the "SET" button to start the setting process.
Press the "DAY ” " button. The day number ashes
on the display, press the (-) or (+) buttons to set the
number of the current day (Monday 1; Tuesday 2;
Wednesday 3, etc.).
Press the “DAY button again to conrm the day set;
the hour number ashes on the display, press the (-) or
(+) buttons to set the current time.
Press the “DAY " button again to conrm the time set;
the number of minutes ashes on the display, press the
(-) or (+) buttons to set the minutes and conrm by
pressing the “DAY ” button.
To change the settings, press the “D AY”button again
to return to the initial settings. To end the settings,
conrm them by pressing the SETbutton. At this point
the adjusted data is stored and the device returns to
the main screen. (After approximately 10 seconds, the
settings are automatically conrmed and the device
returns to the main screen).

3.3 Set ignition sensitivity
Based on the factory settings, the sensitivity of the
ignition is ± 0.2°C (the display indicates this setting
with the symbol "S:1") which can be changed to +
0/-0.2°C (the display indicates this setting with the
symbol "S:2"). The required ignition sensitivity can
be set by pressing the "DAY", "COPY" buttons one
after the other and the (-) or (+) buttons; return to the
main screen by pressing the "SET" button.
The setting "S:1" (± 0.2°C of ignition sensitivity) or
"S:2" (+ 0/-0.2°C of ignition sensitivity) is conrmed
by pressing the “SET”button. (After approximately
10 seconds, the settings are automatically conrmed
and the device returns to the main screen). By
pressing the "RESET" button the ignition sensitivity
is reset to the factory settings, i.e. to the level ± 0.2°C
("S:1").
The ignition sensitivity of ± 0.2°C ensured by the
factory settings (the display shows the “S:1” symbol
for this setting) is mainly recommended for radiator-
based central heating systems. (for example where
at radiators are installed) with low thermal inertia,
while the ignition sensitivity of + 0/-0.2°C (the
display shows the symbol "S:2" for this setting) is
recommended for the control of heating systems with
high thermal inertia (for example underoor heating).
3.4 Activation of the pump
protection function
With the factory settings, the pump protection
function is inactive. It can be activated or deactivated
by pressing the "DAY", "PROG" buttons one after
the other and the (-) or (+) buttons; return to the
main screen by pressing the "SET" button. The "HP:
OFF" (o) or "HP: ON" (on) setting is conrmed by
pressing the "SET" button. (After approximately 10
seconds the settings are automatically conrmed and
the device returns to the main screen). By pressing the
"RESET" button, the pump protection function is reset
to the factory settings

(“HP:OFF”). To prevent the pump from blocking, the
pump protection function turns on the boiler for one
minute at 24 every day outside the heating season.
The pump protection works if the boiler is also on
during the summer. It is reasonable to set a low
temperature level on the thermostat during this
period, for example +10°C, to prevent unnecessary
starts to the boiler when the weather becomes
temporarily cold).

P1
P2
P3
P4
P5
P6
7:00
09:00
12:30
15:00
17:30
23:00
20°C
17°C
20°C
19°C
22°C
17°C
4.
PROGRAMMING THE
THERMOSTAT
Thermostat programming allows setting of the
switch-on hours and selection of the desired
temperatures for each programming band. The
thermostat can be programmed in daily/weekly
mode and can manage 6 daily schedules and two
temperature levels. The temperature set for a specic
time interval is valid until the next time interval is
activated. For example, the thermostat keeps the
programmed temperature for the switch-on time P1
until the switch-on time P2 is activated.
Note! The thermostat software recognises only
increasing consecutive progressions to be set, based
on the series number (P1; P2; etc.) of the ignitions.
For example, P3 cannot have a lower time than the
one associated with P2
With the factory settings the thermostat operates with
the following programming for all the days of the week:
The following diagram shows the temperature pattern
based on the factory settings for 24 hours a day.

Temperature
Time
The programming scheme can, of course, be freely
modied so that the ideal temperature is available for
each day of the week.
4.1 Program settings:
1. Press the button “ SET”
2. Press the “SET" button again and keep it
pressed while also pressing the "PROG" button.
The numbers indicating the days of the week
(1 2 3 4 5 6 7) ash on the display.
3. Press the (-) or (+) buttons to select the day to be
programmed or all the days of the week. To use
the same program for all the days of the week,
select the solution (1 2 3 4 5 6 7).
4. Press the "PROG" button again to set the P1
program; the display ashes.
5. Press the (-) or (+) buttons to set the P1 program
switch on time (The time can be set at 10 minute
intervals).
6. Press the “PROG" button to conrm the time;
on the display the temperature ashes.
7. Press the (-) or (+) buttons to set the temperature to
be combined with program P1 (The temperature
can be set in increments/decrements of 0.5°C).
8. Press the “PROG" button again to conrm and
go on to the next program scheduling (P2) in the
same way (points 4 to 7).
9. Similarly to the previous steps, using the
"PROG" button and the (-) and/or (+) buttons,
perform the settings until the time and
temperature of all 6 ranges are set.

10. After programming all the values, press the
"SET" button to conrm the programmed
values and to return to the main screen. (After
approximately 10 seconds the programmed
values will be automatically conrmed and the
display will return to the main screen).
11. It is possible to press the “PROG” button
repeatedly to view the programs set.
12. The set programs can be freely modied at
any time by repeating the programming steps
(points 1 to 7).
To set a dierent program for each day, the
programming must be performed separately for each
day of the week, selecting the days one by one. (If
there are days for which it is intended to create the
same program, simply create the program only once,
because it can be easily applied to every other day
via the "COPY" button as described in section 4.2).
If not all six daily ranges are required, it is possible
to omit the adjustment of certain programs by
pressing the “DAY ”button during programming
on the unwanted program. The display shows this
process through lines (- - - -), which appear on the time
and temperature segments. The ignition omitted can
be restored or activated at any time by repeating the
programming steps (points 1 to 7) and pressing "DAY"
on the previously reset program.
4.2 "COPY" function
The "COPY" function is used to copy a one-day
program to another day or to dierent days.
• Press the “SET” button.
• Press the “COPY” button for approximately 5
secondsto activate the “COPY” function that appears
on the display; day 1 of the week (Monday) ashes
and it is possible to proceed to the copy operations.
• Press the buttons (-) or (+) to select the day from
which to copy the program.

• Press the "COPY" button to copy the selected
day's program. The copy stops the number from
flashing indicating that the copy has been made
• Press the (-) or (+) buttons to select the day on
which to "paste" the program of the day copied
rst. After selecting the day, press the "COPY"
button to copy the selected day's program.
•After copying the program, press the "SET"
button to return to the main screen. (After
approximately10 seconds the copied program will
be automatically conrmed and the device will
return to the main screen).
4.3 Inspection of the program
• Press the "PROG" button. The series number
indicating the day (days), the P1 ignition symbol
and the P1 time and temperature level program
will appear on the display. (None of the valueswill
ash). Repeatedly press the "PROG" button to
check the values of the P2, P3 ignitions, etc.
• After checking the program, it is possible to return
to the main screen by pressing the "SET" button.
(After approximately 10 seconds, the device will
automatically return to the main screen).
4.4 Program cancellation
Press the "RESET" button to delete all the programs.
Press the "RESET" button to reset the device to
factory settings.

5.
FACTORYVALUES COMBINED
WITH THE BUTTONS
(-) AND (+)
The temperature values 18°C and 22°C are assigned
to the buttons (-) and (+) in the factory, with which
it is possible to manually and temporarily modify
the program in operation (section 5.1).
These two factory values can be changed as follows:
Temperature button (-):press the button “SET”, hold
it down and then press the (-) button once and then,
using the (-) and/or (+),buttons, set the temperature
to be combined with the (-)button. After setting the
temperature, press the "SET" button again to conrm
the temperature value and to return to the main screen.
(After approximately 10 seconds the adjustment just
completed will be automatically conrmed and the
thermostat will return to the main screen).
Button temperature (+):press the “SET”, button,
hold it down and then press the (+) button once
and then, using the(-) and/or (+), buttons, set the
temperature to be combined with the (+) button.
After setting the temperature, press the "SET" button
again to conrm the temperature value and return to
the main screen. (After approximately 10 seconds
the adjustment just completed will be automatically
conrmed and the thermostat will return to the main
screen).
To operate the thermostat so that it diers temporarily
from the program set (for example during holidays or
at certain times of the day), it is possible to choose
from the following options:
5.1 Changing the temperature
until the next ignition program
It is possible to manually force the program into
operation by pressing the (-) or (+) buttons. On the

Press theDAY button to set the desired forcing hours
(from 1 to 9 hours). The thermostat will maintain the
modied temperature for the period of time set. After
this time has elapsed, the symbol disappears and
the thermostat returns to the program that was set. The
"Party" function can be interrupted by returning to the
set program by pressing the “SET” button.
5.3 Temperature change for 1-99
days (holiday program)
Set the desired temperature by pressing the (-) or (+)
buttons. Press the “HOLD” button and keep it pressed
for at least 2 seconds.
The icon appears on the display, together with ashing
d:01 which indicates the number of days to be set.
Press the (-) or (+) buttons to set the number of days
subject to forcing (from 1 to 99 days). The display
alternately shows the time and the number of days
remaining until the "Holidays" function expires. After
this time has elapsed, the symbol disappears and
the thermostat returns to the program that was set. The
display the symbol appears and the thermostat
will temporarily control the boiler based on the value
set until the next program intervenes.
The segments indicating the time on the display
alternately show the exact time and the time
remaining to manual control (for example, 1H02, that
is, 1 hour 2 minutes).
After this time has elapsed, the symbol
disappears and the thermostat returns to the program
that was set. Manual temporary forcing can be
interrupted by returning to the set program by
pressing the “SET”button.
5.2 Temperature change for 1-9
hours (party program)
Set the desired temperature by pressing the (-) or
(+) buttons and then press the "DAY" button. The
symbol appears on the display together with the
number 1, which indicates the duration of the change
(in hours).

"Holiday" function can be interrupted by returning to
the set program by pressing the “SET” button.
5.4 Changing the temper-ature
untilthe next manualinterference
Set the desired temperature by pressing the (-) or (+)
buttons and press the "HOLD" button.
In addition to the temperature display, the key symbol
appears. The temperature value can be arbitrarily
changed with the (-) or (+) button at any time without
limiting manual control. Manual forcing can be
interrupted by returning to the set program by pressing
the "SET" button.
6.
TURN ON THE BACK-
GROUND LIGHT
Press the "LIGHT" button to activate the display
background light which will light up for 10 seconds.
If other buttons are pressed while the backlight is on,
it will go o 10 seconds after the last button has been
pressed.

7.
CHANGING THE BATTERY
The average battery life is 1 year, but frequent use
of the background light can considerably reduce this
time. If the symbol on the display shows a low
battery charge, replace the batteries (see Section 2).
After replacing the batteries, proceed to set the day,
hour and minutes again, while the set programs
remain stored and it is therefore not necessary to
reprogram the thermostat. The "RESET" button
cancels all the programs and returns the thermostat to
the factory settings.

TECHNICAL SPECIFICATIONS
Contacts rating: 8A (2A inductive charge)
Temperature measurement range: 0 to 35°C (with 0.1°C increase)
Temperature regulation eld: 7 at 35°C (with 0.5°C increase)
Sensitivity: ±0.5°C
Selectable activation sensitivity: ± 0.2°C (for radiator heating systems)
+ 0/-0.2°C (for underoor heating)
Programming: Daily, Weekly
Minimum programming range: 10 minutes
Power supply: 2x1.5V AA alkaline batteries (type LR6)
Energy consumption: 1.3mW
Isolation class: Isolated in class II


self-service electricity
Poly Pool S.p.A.
via Sottocorna, 21/B
24020 Parre (BG) - Italy
Tel. 035 4104000
www.polypool.it
Appliance compliant with the Electromagnetic Compatibility Directives, RoHS, Low
Voltage subject to technical modications.
Information to users: pursuant to art. 26 ofItalian Legislative Decree 14 March 2014, no. 49 "Implementation
of Directive 2012/19/EU on waste electrical and electronic equipment (WEEE)" The symbol of the
crossed-out wheelie bin reported on the equipment or on its packaging indicates that the product at
the end of its useful life must be collected separately from other waste. Therefore, the user must deliver
the equipment at the end of its life to the appropriate municipal centres for the separate collection of
electro-technical and electronic waste. As an alternative to autonomous management, it is possible
to deliver the equipment to be disposed of to the retailer, when purchasing a new equivalent type of
equipment. It is also possible to deliver electronic products to be disposed of, smaller than 25 cm, free of charge, to
retailers of electronic products with a sales area of at least 400 m2. Adequate separate collection for subsequent
recycling, treatment and environmentally compatible disposal contributes to avoiding possible negative eects on
the environment and on health and encourages reuse and/or recycling of the materials of which it is composed.
Table of contents
Other POLYPOOL Thermostat manuals
Popular Thermostat manuals by other brands

HAI
HAI RC-1000 installation instructions

Baxi
Baxi RD-1200 user guide

BENKISER
BENKISER METRIX Installation and maintenance guide

Honeywell
Honeywell T8000 Hardware installation

ICM Controls
ICM Controls SC 2000 Installation, operation & application guide

Honeywell
Honeywell RTH1100 series Quick installation guide