manuals.online logo
Brands
  1. Home
  2. •
  3. Brands
  4. •
  5. Populas
  6. •
  7. Indoor Furnishing
  8. •
  9. Populas ACCELLA User manual

Populas ACCELLA User manual

HARDWARE BAG WITH:
2720 West Idaho Street Boise, ID 83702 Toll Free 800-957-2720 Fax 208-362-8009 www.populasfurniture.com
ASSEMBLY INSTRUCTIONS
TABLE PACKAGE:
(1) Main Work Surface
(1) Long Cross Brace
G
I
TOOLS NEEDED:
Phillips Screwdriver
7/16” Open Ended
Wrench
3/16” Hex Key Wrench
K (3) 1/2" Retaining Washer
L (12) M8 Flat Head Fasteners
N (28) Clamps: (20 Small, 8 Large)
O (28) #8 x 1/2" Phillips Fasteners
U (3) Curved Connector Caps
T (3) 1/4"- 20 x 2" Hex Head Cap Fasteners
S (4) 1/4"- 20 Nylon Insert Stop Nuts
V (4) Connector Plates
W (6) Levelers (Or Optional Casters)
P (3) #8 x 2 1/2" Phillips Fasteners
Y (2) Allen Key
B
C
G
H
A
PARTS INCLUDED:
LEG PACKAGE:
(3) Telescoping Legs
A
B
C
D
E
(1) Hand-Crank Assembly
(3) Feet
F
(3) Table Support Brace
(1) Mending Plate
ACCELLA L-SHAPE DESK
Workstations, desks, and tables with hand-crank adjustment
(1) Hardware Bag
H(1) Return Work Surface
(1) Short Cross Brace
JQ (1) 1/4"- 20 x 3/4" Hex Head Cap Fasteners
R (1) 1/4" x 3/4" Flat Washer
X (2) Draw Bolt Assembly
M (52) #10 x 1" Phillips Fasteners
Step 1: Preparation
Unpack and identify all parts. Place Table Top
(G and H) upside down on padded surface and
identify front edge.
Be careful not to damage the hydraulic hose
Piston Head
Retaining
Washer
Telescoping Legs
Cross Braces
Feet
Table Braces
Piston
Table Brace
Hand-Crank Assembly
A
B
C
D
H
G
D
K
Top Side
pg 2
Main Work Surface
Return
Work Surface
J
I
Front Edge
Mending
Plate
E
Step 3: Piston Attachment
Insert hydraulic piston into the bottom center hole
of the Table Support Brace (D).
Secure with 1/2" Retaining Washer (K) by pressing
and snapping into piston groove. Retaining Washer
may need to be flipped in order to snap in.
Repeat with each piston .
Retaining Washer
Table Support Brace (D) has a top and bottom.
The top has 7 beveled or counter sunk holes.
K
Step 2: Work Surface Attachment
In "Unlock" position (as indicated by arrow), place
Draw Bolt Assembly (X) into keyholes of Main and
Return Work Surfaces (G and H). Use
appropriately sized Allen Key (Y) to turn Draw Bolt
Assembly (X) until tight (arrow should be between
12 and 2).
Attach Table Mending Plate (E) to Work Surfaces
(G and H) using sixteen #10 x 1" Phillips Fasteners
(M) as shown.
12
2
Unlock
Locked
XM
keyhole
E
Y
G
H
(1) Long Hose
(2) Short Hoses
Step 6: Table Support Brace
Attachment
G
A
M
Step 5: Hand-Crank
Assembly Positioning
and Attachment
Place Hand-Crank Assembly (B)
on table as shown. Align to three
pre-drilled holes and attach using three
#8 x 2 1/2" Phillips Fasteners (P).
Route hoses through Small Clamps (N)
and secure using #8 x 1/2" Phillips
Fasteners (O). Use Large Hose
Clamps (N) to coil excess hoses and
secure in the same fashion.
Place Table Support Brace(s) (D)
on underside of table.
Align Table Support Brace (D) to guide holes and
attach using 36 #10 x 1" Phillips Fasteners (M).
Tighten using Phillips screw driver.
Do not over-tighten or strip
Slotted groove on telescoping legs face in
D
B
G
A
pg 3
Step 4: Telescoping Leg
Attachment L M8 Flat Head Fasteners
Insert piston rectangular foot into center of Telescoping
Leg (A). Piston hose must route through "mouse hole"
of Telescoping Leg (A). Align Telescoping Leg (A) with
hose port facing center. Attach using two
M8 Flat Head Fasteners (L) and Allen Key (Y)
Tighten using Allen Key (Y).
D Table Brace
Piston Hose Piston
Mouse Hole
A Telescoping Leg
Keep hose routed through mouse hole to
avoid pinch points
D
H
N
O
Leg with Long Hose goes to
Return Work Surface (H)
Long Hose
H
Step 7: Cross Brace
Attachment
Cross Brace Hardware is shipped
attached. Insert Hex Head of 1/4" - 20 x
2" Fastener (T) of Long Cross Brace (I)
into rear slotted grove of Telescoping
Legs (A) of Main Work Surface (G).
Long Cross Brace (I) sits flat to the
underside of the Main Work surface (G).
Tighten Using 7/16" wrench. Cover with
Connector Plates (V).
With Short Cross Brace (J), Insert one
1/4" - 20 x 2" Hex Head Cap Fastener
(T) into rear slotted groove of
Telescoping Leg (A) on Return Work
Surface (H). Insert 1/4" -20 x 3/4" Hex
Head Cap Fastener (S) into the open
slotted grove the shared leg (as
pictured). Short Cross Brace (J) sits flat
to the underside of the Return Work
surface (H). Tighten Using 7/16" wrench.
Cover with Connector Plates (V).
Step 8: Feet Attachment W
Attach Feet (C) to Telescoping Legs
(A) using two M8 Flat Head
Fasteners (L) and tighten with Allen Key (Y)
for each Telescoping leg (A), with Fastener
heads recessed inside Foot (C).
Attach Floor Levelers (W). Optional Casters
attach using 3/8” button head fasteners.
A
Step 9: Operation And Use
Gently turn table over using at least two
people and adjust levelers if required.
Table adjusts up and down using the Hand-Crank.
Clean with soft cloth and mild cleaners suitable for
furniture.
C
L
IJ
G
H
Q,R,SS,T,U
pg 4

Other Populas Indoor Furnishing manuals
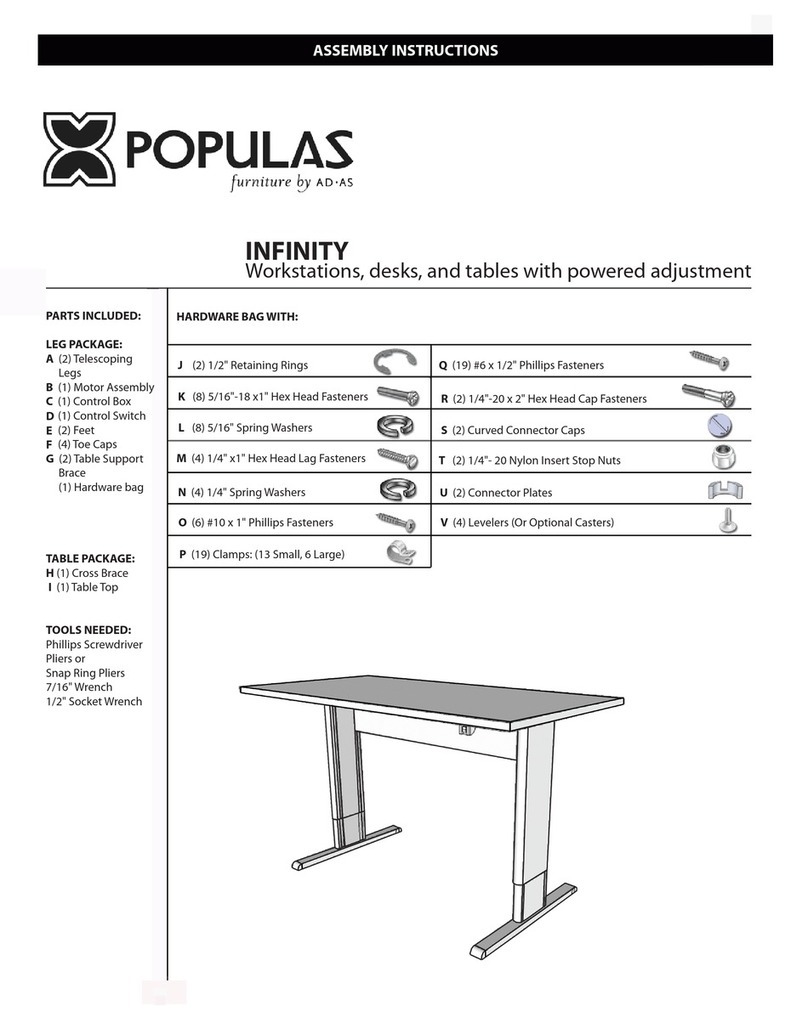
Populas ACCELLA User manual

Populas

Populas ACCELLA User manual

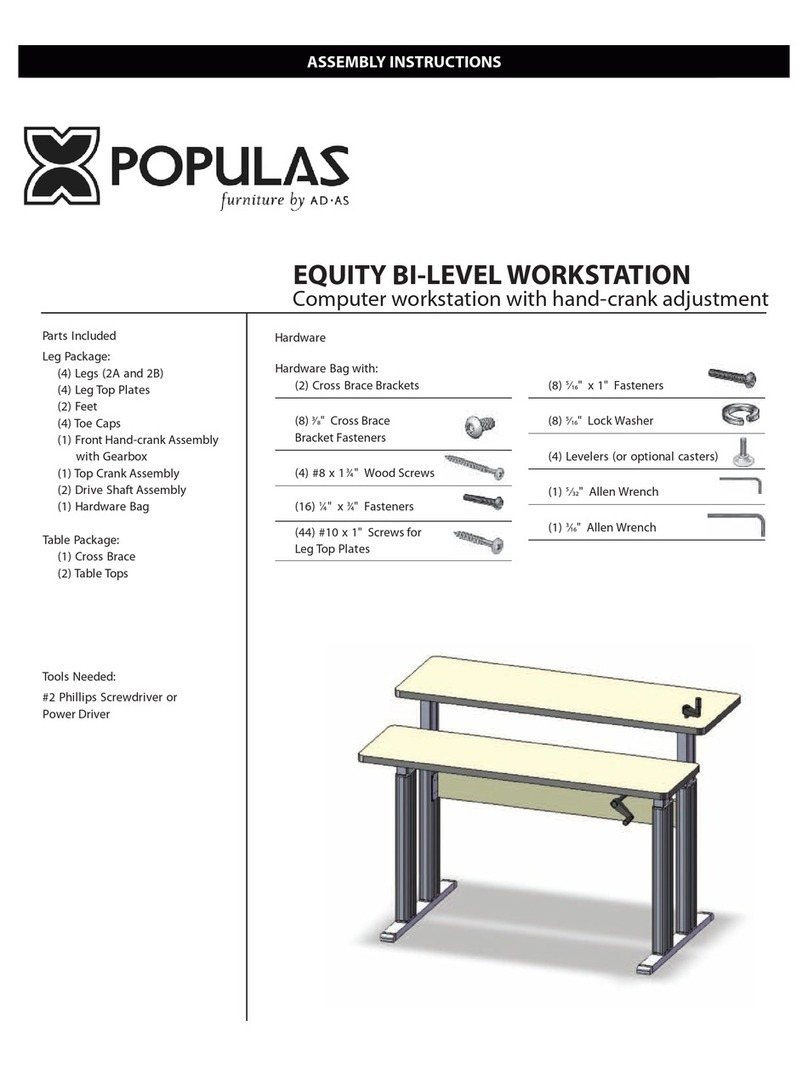
Populas EQUITY BI-LEVEL WORKSTATION User manual

Populas

Populas EQUITY BI-LEVEL WORKSTATION User manual

Populas Infinity 4836GT User manual

Populas

Populas Infinity 4836GT User manual
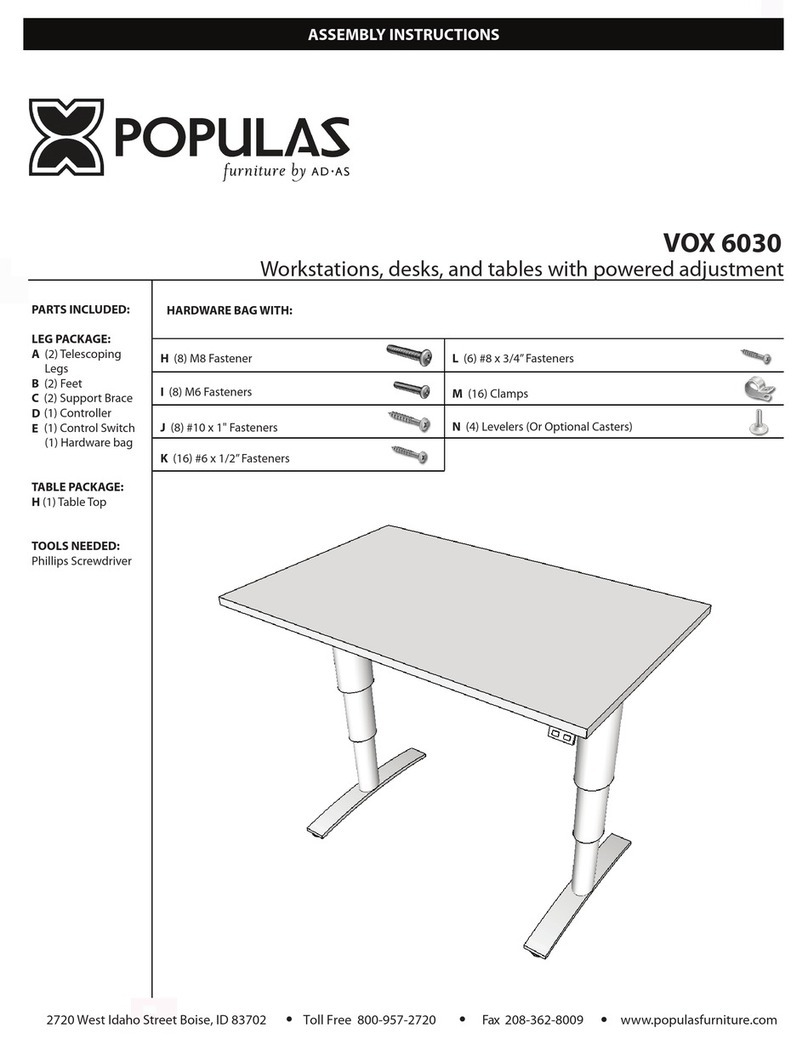
Populas VOX 6030 User manual

Populas

Populas VOX 6030 User manual
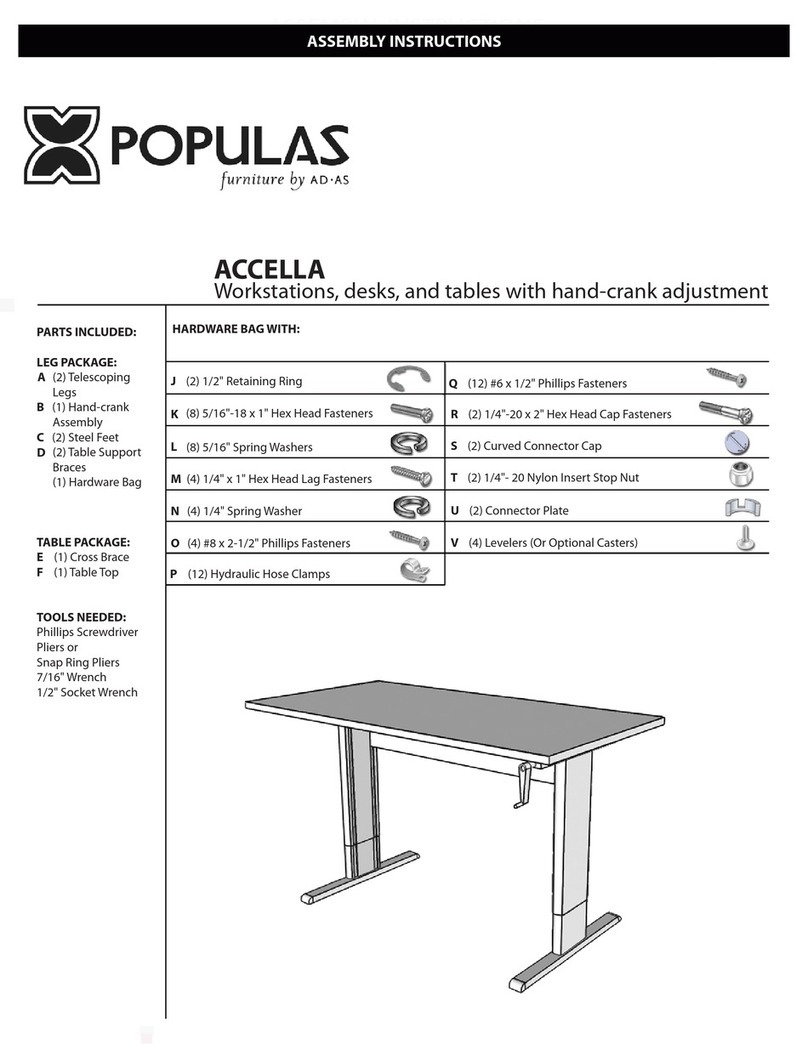
Populas VOX L-SHAPE DESK User manual

Populas

Populas VOX L-SHAPE DESK User manual

Populas Equity Workstation EQ 361416 KBL User manual

Populas

Populas Equity Workstation EQ 361416 KBL User manual

Populas INFINITY User manual

Populas

Populas INFINITY User manual

Popular Indoor Furnishing manuals by other brands

Crate&Barrel Hayes Series Assembly manual

Crate&Barrel

Crate&Barrel Hayes Series Assembly manual

Teknion district WBP installation guide

Teknion

Teknion district WBP installation guide

Bontempi Casa CRUZ 01.80 Assembly instructions

Bontempi Casa

Bontempi Casa CRUZ 01.80 Assembly instructions

Second Story Home PRAGUE instructions

Second Story Home

Second Story Home PRAGUE instructions

Argos Islington Assembly & instruction manual

Argos

Argos Islington Assembly & instruction manual

Hailey Home ST0090 Assembly instructions

Hailey Home

Hailey Home ST0090 Assembly instructions

GFW CHICAGO Assembly instructions

GFW

GFW CHICAGO Assembly instructions

John Lewis Curve chair 811/ 12085 instructions

John Lewis

John Lewis Curve chair 811/ 12085 instructions

Liberty Furniture 384-BR15HF Assembly instruction

Liberty Furniture

Liberty Furniture 384-BR15HF Assembly instruction

Dru SAXO SL Instructions for installation

Dru

Dru SAXO SL Instructions for installation

Allseating LEVO Disassembly instructions

Allseating

Allseating LEVO Disassembly instructions

BADEN HAUS BELLAGIO 50212 manual

BADEN HAUS

BADEN HAUS BELLAGIO 50212 manual

BRW ROYAL II MEGA LUX 3DL Assembly instructions

BRW

BRW ROYAL II MEGA LUX 3DL Assembly instructions

Hewi 800 Series installation instructions

Hewi

Hewi 800 Series installation instructions

Whalen WSLW30IFV Quikstart guide

Whalen

Whalen WSLW30IFV Quikstart guide

Next AMELIA 129380 Assembly instructions

Next

Next AMELIA 129380 Assembly instructions

American Standard Heritage 6801F15.000 Specification sheet

American Standard

American Standard Heritage 6801F15.000 Specification sheet

physa PHY-M T-6 quick start guide

physa

physa PHY-M T-6 quick start guide

manuals.online logo
manuals.online logoBrands
  • About & Mission
  • Contact us
  • Privacy Policy
  • Terms and Conditions

Copyright 2025 Manuals.Online. All Rights Reserved.