PORTMAN P2 hexaline User manual

© Portman Lights sp. z o.o. Designed and made in oland, EU
P2 hexaline
USER MANUAL
portmanlights.com
/PortmanLights

USER MANUAL –Portman P2 hexaline | Welcome!
2/16
Welcome!
Dear User,
Thank you for choosing our P2 Hexaline. We are proud of delivering you the highest
quality, the greatest design and the real passion with our product. Each fixture in
Portman P range is different, but all of them ensure you the best performance and
support your creativity.
If you have any questions, suggestions or require additional information contact us at:
FOR YOUR OWN SAFETY, PLEASE READ THIS USER MANUAL
CAREFULLY BEFORE YOUR INITIAL START-UP!
© 2016-2019 Portman Lights Sp. z o. o. All rights reserved.
The information and specifications are subject to change without notice. Portman
Lights Sp. z o. o. disclaims liability for any injury, damage, direct or indirect loss,
consequential or economic loss or any other loss occasioned by the use of, inability to
use or reliance on the information contained in this user manual.

USER MANUAL –Portman P2 hexaline | Table of contents
P2 hexaline v2.0
3/16
Table of contents
Welcome!..................................................................................................................................................................................................2
Table of contents.............................................................................................................................................................................. 3
Safety information ........................................................................................................................................................................... 4
Technical specification................................................................................................................................................................6
Fixture Overview .................................................................................................................................................................................7
Preparation for use..........................................................................................................................................................................9
Lamp and fuse replacement................................................................................................................................................11
Operation modes.............................................................................................................................................................................11
Menu...........................................................................................................................................................................................................13

USER MANUAL –Portman P2 hexaline | Safety information
4/16
Safety information
WARNING This product is for professional use only! It is not for household use.
P2 Hexaline presents risk of lethal or severe injury due to heat, electric
shock, fire or falls. Intense and flashing light could trigger epileptic seizures.
Read this manual before your initial start-up and follow the safety
information in this manual and engraved on the fixture.
Every person involved with the installation, operation and maintenance of
this device has to be qualified.
Before your initial start-up, please make sure that there is no damage
caused by transportation. Should there be any, consult your dealer and do
not use the device.
Please consider that damages caused by manual modifications to the
device are not subject to warranty.
CAUTION! Keep this device away from rain and moisture!
CAUTION! Be careful with your operations! With a dangerous voltage you
can suffer an electrical shock when touching the fixture and wires!
CAUTION! During the operation the fixture surface becomes very hot. Allow
the device to cool approximately 30 minutes prior to manipulating with it.
Keep a minimum 1 meter distance from flammable materials to all exterior
surfaces of the fixture.
CAUTION! Avoid looking directly into the light source (meant especially for
epileptics)!
CAUTION! Unplug mains lead before opening the housing, installing the
lamp or the fuse. Allow the device to cool approximately 1 hour prior to
manipulating with it.

USER MANUAL –Portman P2 hexaline | Safety information
P2 hexaline v2.0
5/16
Protection against electrical shock
•Disconnect the fixture from AC power when not in use.
•Disconnect the fixture from AC power before any operation.
•Do not remove the rear cover. There are no user-serviceable parts inside.
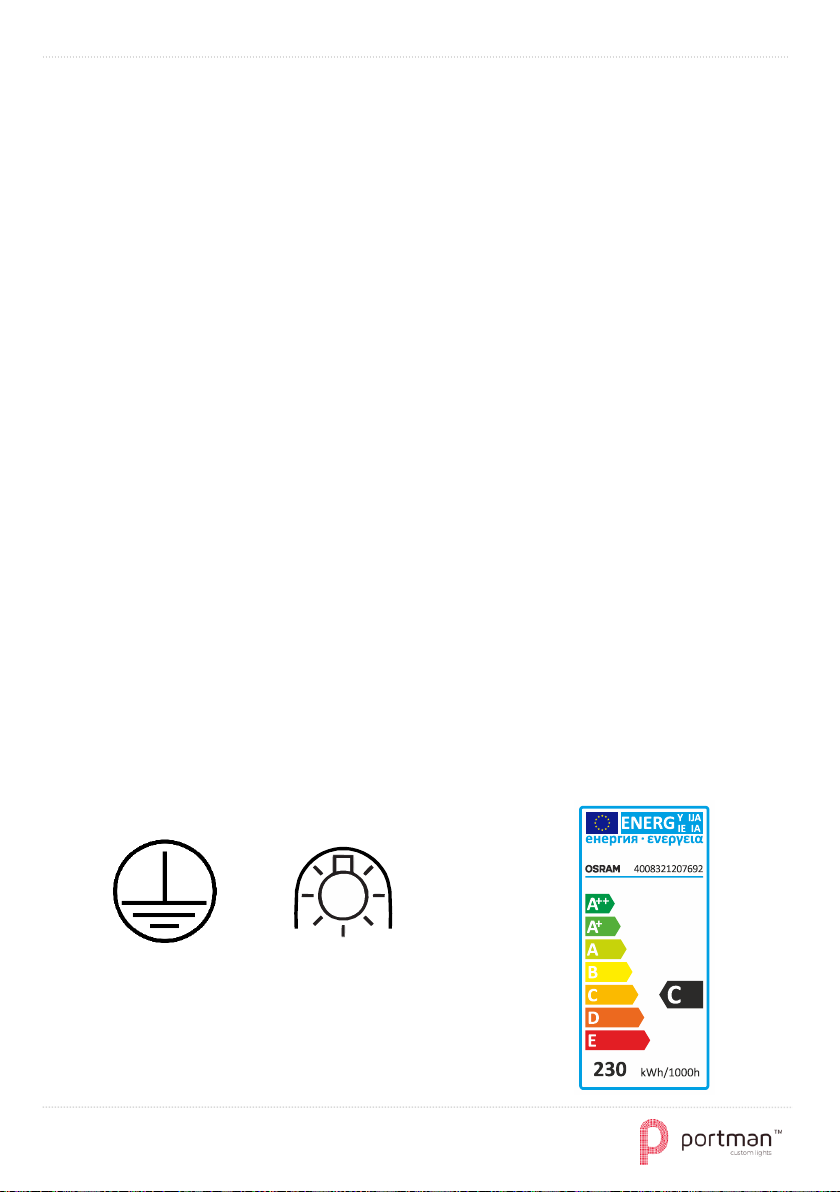
•Always ground the fixture electrically.
•Use only the wires attached to the kit.
•Use only a source of AC power that complies with local building and electrical
codes and has both overload and ground-fault protection.
•Do not expose the fixture to rain or moisture.
•Replace the lamp or fuse only as described.
Protection against burns and fire
•Never operate when the fixture is damaged or some part is missing.
•Do not touch surface when the fixture is in operation. The exterior of the fixture can
reach temperatures up to 100°C (212°F). Allow the fixture to cool approximately 30
minutes before any operation.
•Replace the lamp when it becomes defective or worn out.
•Never attempt to bypass the fuse. Always replace defective fuses with ones of the
specified type and rating.
•Keep all combustible and flammable materials (for example fabric, wood, paper)
at a distance of at least 1 meter away from the fixture. Do not cover the fixture when
in operation and when it is hot.
•Do not modify the fixture.
•Do not operate the fixture if the ambient air temperature exceeds 45°C (113°F).
•Do not operate the fixture after extreme change of surrounding environment
temperature. Allow the fixture to acclimate for at least an hour before operating.
Protection against falls
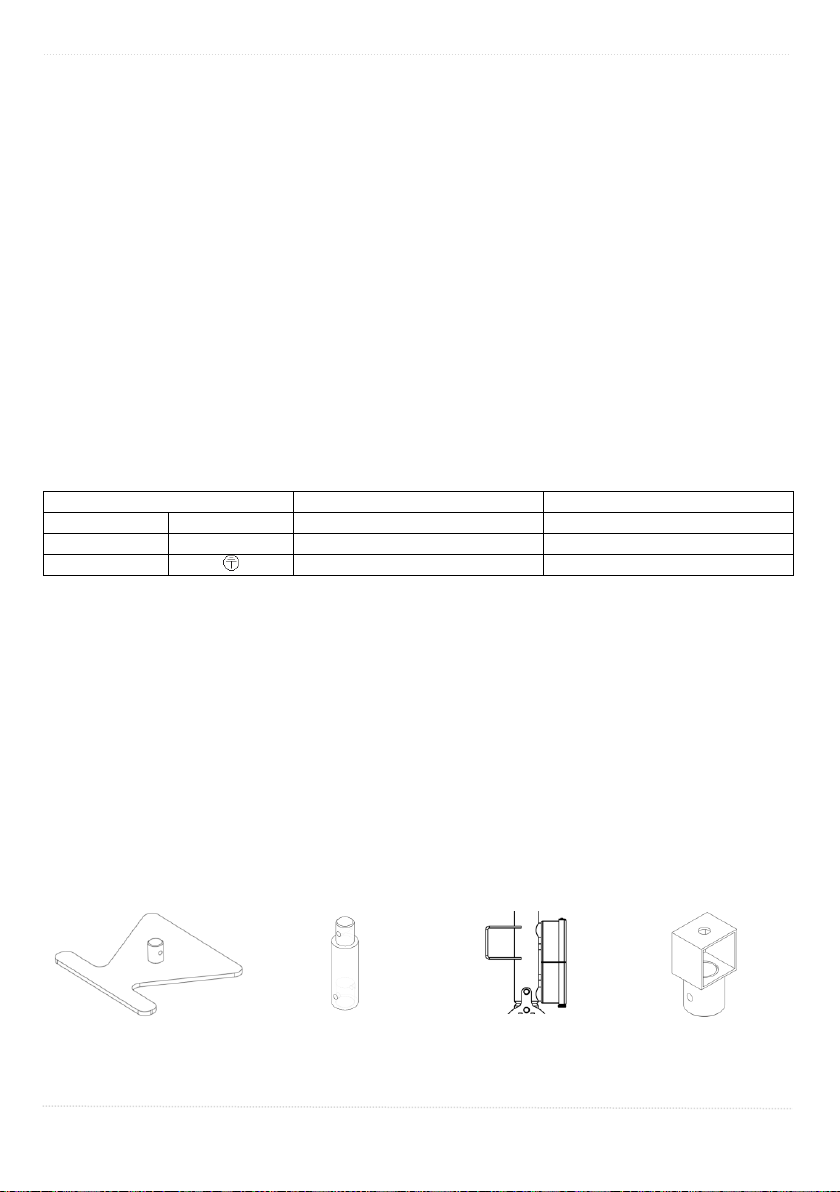
•Use only attached base and addons to mount the fixture and always use attached
spigot and cotters
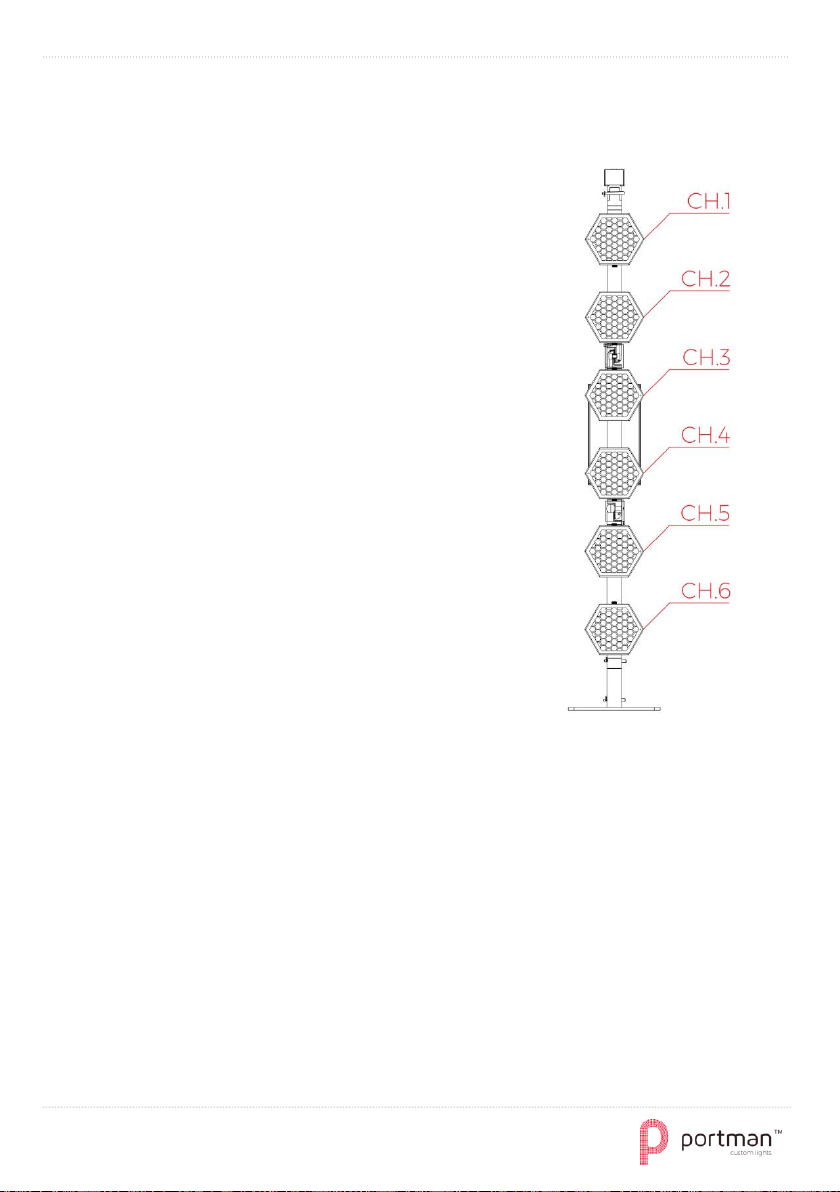
•Never use more than one unit on base or on hanging clamp without additional
safety support
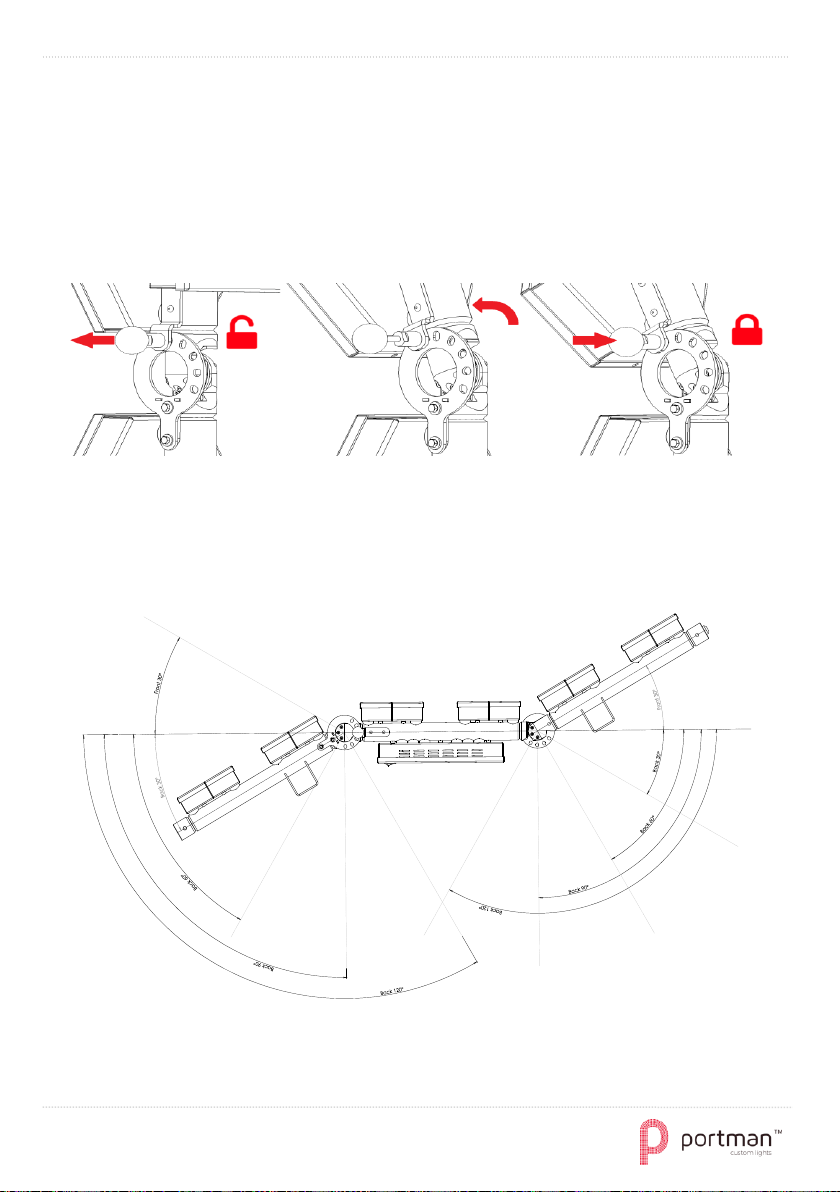
•Never change position of hinges without additional safety support.
•Ensure that the structure can hold at least 10 times the weight of all installed
devices..
•Ensure that all fixtures are attached correctly to the structure, after having checked
that the housing is firmly closed and all screws are tightly fastened and use an
approved means of secondary attachment such as a safety cable.
•Block access below the work area whenever installing or removing the fixture.
Protection against eyesight damage and epileptic seizure
•Do not stare directly into the light. Never look at an exposed lamp while it is lit.
•Provide advance notice that flash light is in use.
•Avoid long cycles of rapid flashing light.

USER MANUAL –Portman P2 hexaline | Technical specification
6/16
Technical specification
dimensions
1910 x 205 x 170 mm
(height with hanging clamp and height adapter)
weight
9 kg + 3kg (base)
input voltage
240V 50Hz/60Hz
power
consumptio
n
max 1 900 W
light source
230W R7s 118mm
(max 300W)
color
temperature
2900 K
DMX
channels
6
connectors
2 x 3pin DMX
2 x 5pin DMX
1 x AC powerCON TRUE 1
other
features
built-in dimmers
built-in display and buttons
RDM
Wireless Solution W-DMX ready (W-DMX module not included)
IP20
Appliance class I

USER MANUAL –Portman P2 hexaline | Fixture Overview
P2 hexaline v2.0
7/16
Fixture Overview
Dimensions
Fuses
Power Switch
Backlit LCD Display
Backlit Buttons
3pin DMX IN
3pin DMX OUT
powerCON
5pin DMX OUT
5pin DMX IN

USER MANUAL –Portman P2 hexaline | Fixture Overview
8/16
DMX chart
DMX
channel
DMX
VALUE
function
CH.1
0 –255
0 - 100% smooth dimming
CH.2
0 –255
0 - 100% smooth dimming
CH.3
0 –255
0 - 100% smooth dimming
CH.4
0 –255
0 - 100% smooth dimming
CH.5
0 –255
0 - 100% smooth dimming
CH.6
0 –255
0 - 100% smooth dimming
Kit contents
•1 x Portman P2 hexaline
•1 x base
•1 x height adaptor
•1 x hanging adaptor
•3 x spigots with cotters
•1 x spare bulb
•1 x AC power wire (powerCON TRUE1)
•1 x USER MANUAL

USER MANUAL –Portman P2 hexaline | Preparation for use
P2 hexaline v2.0
9/16
Preparation for use
AC power connection
The Portman Lights P2 Hexaline must be installed at 200-240V and 50/60Hz. Fixture
automatically detects the alternating current frequency. To power the fixture simply
plug in the powerCon TRUE1 and set the switch to “ON”. Use only high quality 2.5 mm
diameter or larger power feed cables. Make sure you are always connecting the fixtures
to a protected circuit with appropriate electrical ground. Do never connect the fixture
to a dimmer plug, even if it supplies proper current.
Only qualified electricians in accordance with all known electrical regulations can install
the fixtures.
The P2 comes with power input cord terminated with powerCON TRUE1 on one end
and Uni - Schuko plug on the other end (for European market). If your cord has got no
Uni –Shuko plug, or you want to change the plug follow the rules from table below:
Connection
EU wires
US wires
Live
L
Brown
Black
Neutral
N
Blue
White
Earth
Green/Yellow
Green or Green/Yellow
REMEMBER! Only qualified person can change or install the plug!
Installation
Before mounting the fixture read and follow the safety recommendations indicated in
the Safety Information.
The Portman P2 Hexaline may be installed on attached base (also using the size
adaptor), hang on 2 points on the back of the fixture using rigging clamps or hang using
hanging adaptor. The fixture and the hanging adaptor have 15 mm hole for spigot or
rigging clamp. Before rigging operations make sure, that the structure onto which you
are mounting the fixtures can withstand the weight of all of the fixtures. Check if there
is enough room for ventilation, configuration and maintenance in a location where you
want to place the fixture. You must secure every hanged fixture with appropriate safety
wire.
base
height adaptor
mounting point
on the back
hanging adaptor

USER MANUAL –Portman P2 hexaline | Preparation for use
10/16
REMEMBER! Always use attached spigots and cotters to install or hang the fixture using
base, height adaptor or hanging adaptor.
REMEMBER! Never use more than one unit on base or on hanging clamp without
additional safety support.
To change the angle of the fixture’s hinge, use the rounded spigot. Always hold both
parts of the fixture!
•Pull the rounded spigot,
•change the position,
•lock the spigot in the right hole,
•check the lock.
Each arm can be moved from -30deg to +120deg.
REMEMBER! Never change position of hinges without additional safety
support.

USER MANUAL –Portman P2 hexaline | Lamp and fuse replacement
P2 hexaline v2.0
11/16
Lamp and fuse replacement
To replace the lamp:
•Disconnect the fixture from AC power.
•Make sure the fixture and lamps are cool.
•Open the front cover by releasing a screw located on top of the front cover.
•Gently push the lamp towards one of the mounting brackets and remove the
used lamp by pulling it up.
•Put the new lamp onto the mounting brackets.
•Do not touch the new lamp with bare hands. Use gloves or a cloth to hold the
lamp.
•Close the front cover and fasten the screw before applying power.
REMEMBER! Always use safety glasses to protect your eyes when changing a lamp!
Inspect the front covers and the front cover safety mesh before you use the fixture. If
you will notice any damages, holes in the mesh, or if the mesh will get loose, do not use
the fixture and immediately swap the front cover for a new one.
To replace the fuse:
•Disconnect the fixture from AC power.
•Make sure the fixture is cool.
•Fuses are located on the back cover of the fixture.
•To unscrew the fuse holder use “flat-blade” screwdriver. First gently push the
cover of the fuse holder and rotate it a quarter turn clockwise.
•After you unlock cover of the fuse holder pull it up and replace the fuse.
•Put the cover with new fuse back to the fuse holder, gently push it with
screwdriver in the proper orientation and rotate it a quarter turn
counterclockwise.
Operation modes

USER MANUAL –Portman P2 hexaline | Operation modes
12/16
The Portman P3 PIX3L can work in three operation modes: Wired DMX mode, Wireless
DMX mode (if the WDMX card is installed) and standalone mode. You can link The P3
PIX3L to a DMX controller using a 5 pin DMX wires, or Wireless Solution Sweden
hardware (if WDMX card is installed). You can control each channel individually whether
with a DMX controller or a manual control build in the fixture. The P3 PIX3L has got only
one 3-channel DMX personality and it does support RDM.
RDM
RDM (Remote Device Management) is an enhancement of DMX 512 protocol and
allows the bi-directional communication between DMX consoles and fixtures. It works
simultaneously with DMX 512 and on the same lines and wires. RDM is not affecting
non-RDM devices in a line, however non-RDM devices can disrupt communication with
console. RDM allows you to change the fixtures options (such as DMX address) without
even touching neither ladder or fixture’s buttons. P3 PIX3L fully supports the RDM
standards.
Standalone mode
The fixture works in standalone mode when it’s not receiving DMX signal whether wired
or wireless. You can adjust the brightness of all light sources at once, or you can control
each source individually from the “MANUAL CONTROL” option in the menu (refer to the
“Menu” chapter to learn how to manually control halogens). To enter menu simply hold
enter for 2 seconds.
DMX 512 modes
The fixture automatically switches into DMX mode after receiving DMX data. To learn
how to change the DMX address or signal source (wired or wireless) refer to the “Menu”
chapter. When the fixture works in the wired DMX mode You can daisy chain fixtures
using 5 pin DMX wires. When daisy chaining remember, that you can connect up to 32
devices per DMX 512 universe. Always terminate the DMX 512 line, put the terminator
into last device’s DMX OUT XLR socket. When the fixture works in the wireless mode
(only when WDMX card is installed) it is receiving DMX 512 signal from Wireless Solution
Sweden transmitters and can send the signal throughout the 5 pin DMX OUT XLR
socket. You can put the fixture with WDMX card installed as a first fixture in a line and
use it as a WDMX receiver. The P3 PIX3L supports bi - directional WDMX TRX module. It
means, that the fixture supports RDM in wireless mode too. To link P3 with W-DMX
transmitter first use “UPAIR ALL WDMX DEVICES” option from menu, than turn the
scanning mode in the transmitter. Transmitter will link with all unlinked devices. For
more detailed information please refer to your transmitter’s user manual.

USER MANUAL –Portman P2 hexaline | Menu
P2 hexaline v2.0
13/16
Menu
Navigation buttons are located under the LCD display on the back panel. To enter the
menu hold enter button for 2 seconds. To navigate the menu use the “+” and “-“ buttons.
To exit the menu from any level hold enter for 2 seconds or use the exit function. For
confirming simply push the enter button.
Menu map
Main section
Level 1
Description
ADDRESS
1 - 509
Sets up the DMX start address.
DMX INPUT
WIRED
Changes the DMX input to wired (default). In this
mode fixture is receiving DMX signal from the
DMX IN 5 pin XLR socket.
WIRELESS
Changes the DMX input to wireless. This mode
works only when WDMX card is installed. Fixture
is receiving DMX data from WDMX card.
RDM INFO
MANUFACTURER
Shows the name of the fixture’s manufacturer.
DEVICE NAME
Shows the fixture’s name given by manufacturer.
DDEVICE LABEL
Shows the fixture’s name given by user.
RDM ID
Shows the fixture’s RDM unique ID number.
UNPAIR
WDMX
Unlinks all linked Wireless Solution Sweden
WDMX transmitters.
MANUAL
CONTROL
ALL CHAN:
0-100%
Controls the intensity of all channels at once.
CHAN. 1
0-100%
Individually controls the intensity of selected
channel.
CHAN. 2
0-100%
CHAN. 3
0-100%
EXIT
Exits from main section of the menu to main
screen.

USER MANUAL –Portman P2 hexaline | Menu
14/16

USER MANUAL –Portman P2 hexaline | Menu
P2 hexaline v2.0
15/16

USER MANUAL –Portman P2 hexaline | Menu
16/16
Portman Lights Sp. z o.o.
Al. Zwycięstwa 96/98,
81-451 Gdynia, Poland
+48 58 766 49 49
portmanlights.com
/PortmanLights
Help preserve the environment! Ensure that this product is
recycled at the end of its life. Your supplier can give details of
local arrangements for the disposal of Portman products.
Other manuals for P2 hexaline
1
Table of contents
Other PORTMAN Lighting Equipment manuals