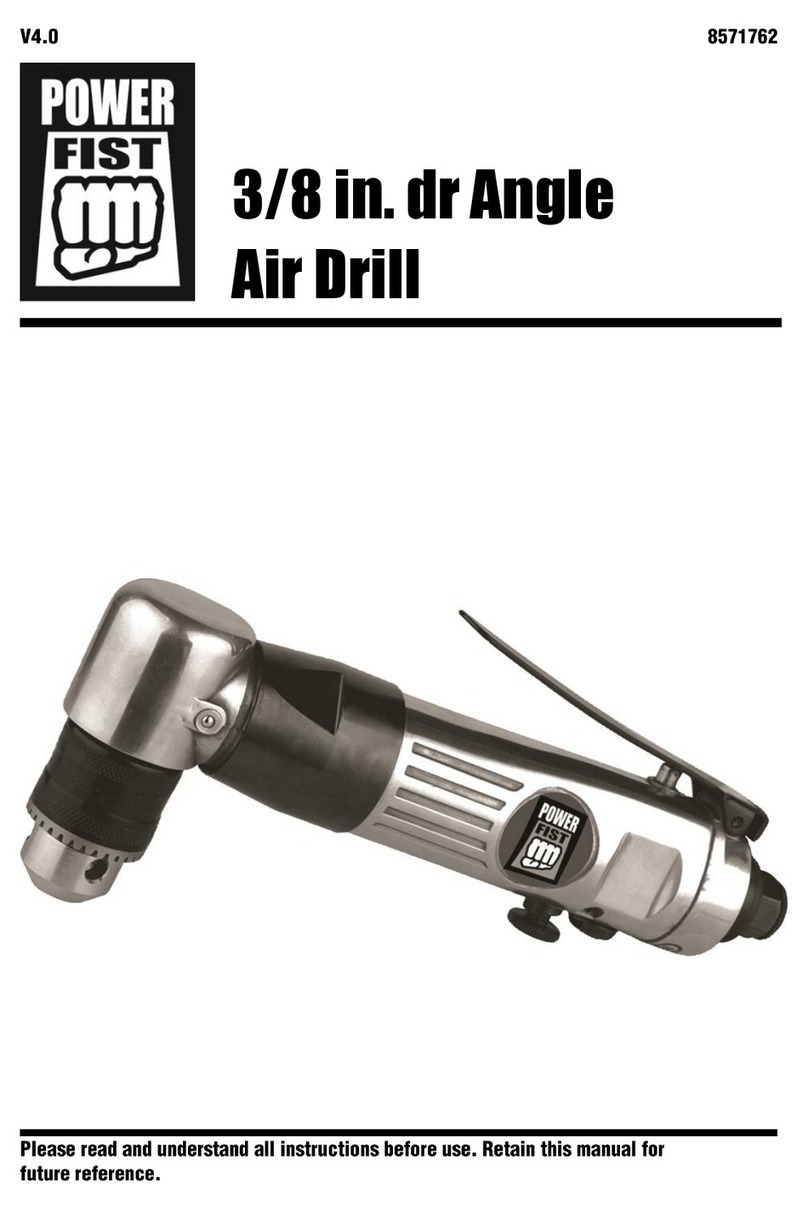
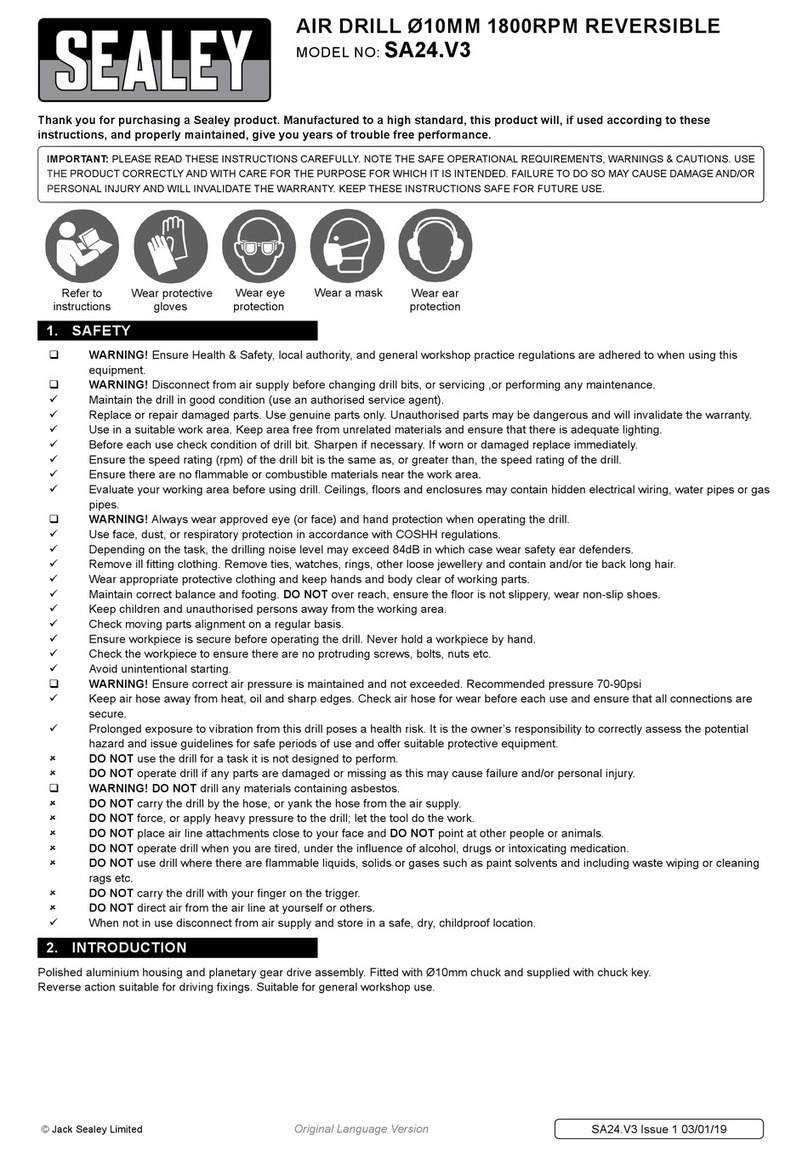
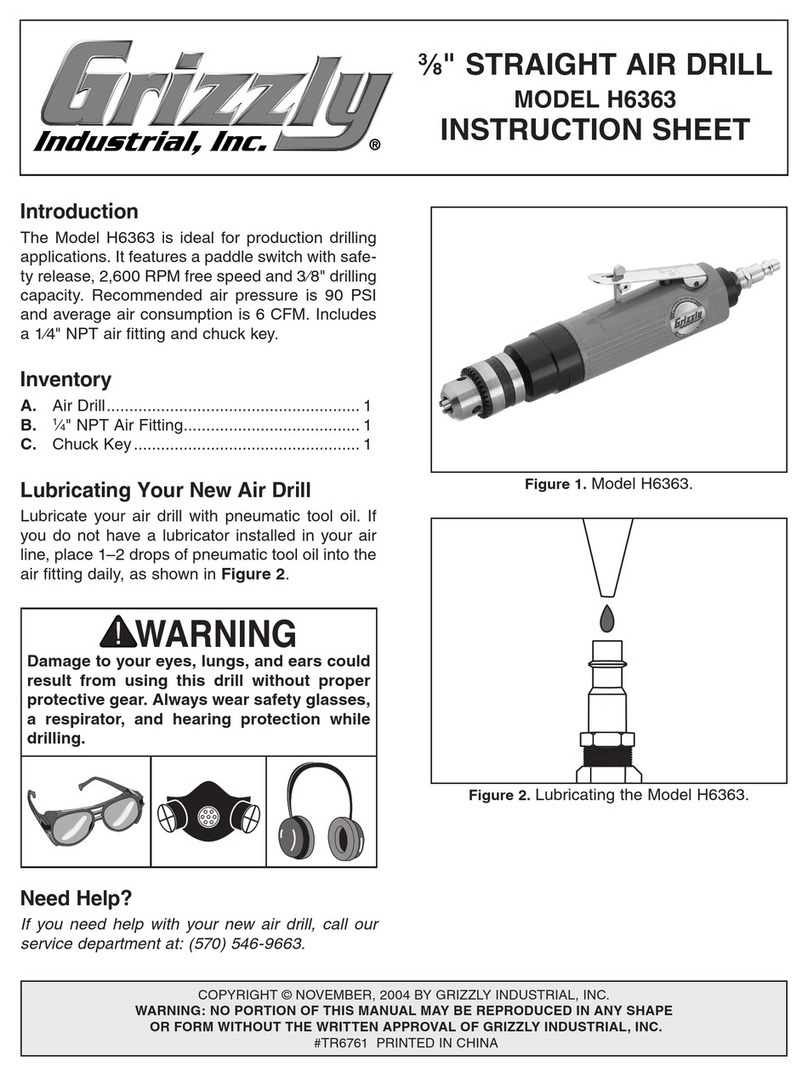
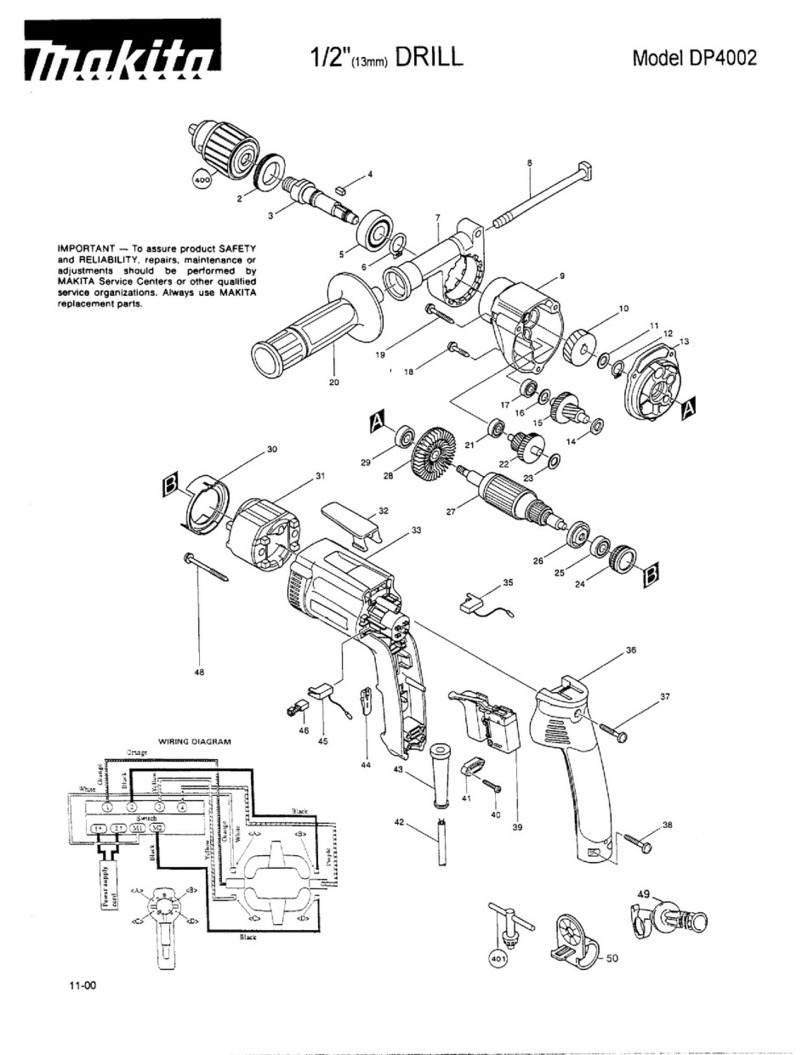
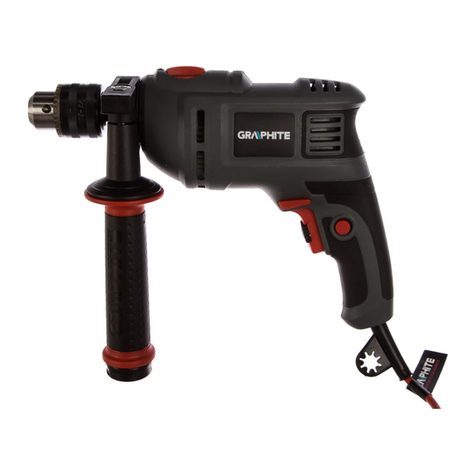
Power Fist 8011796 User manual

1
8011796V 2.7
Visit www.princessauto.com for more information
3/8 in. Right
Angle Air Drill


3
8011796V 2.7
Visit www.princessauto.com for more information
3/8 in. Right
Angle Air Drill
SPECIFICATIONS
Chuck Size 3/8 in.
Chuck Type Keyed
Air Consumption 3.7 CFM @ 90 PSI
Max. Torque 4 ft-lb
No Load Speed 1,800 RPM
Spindle Thread 3/8 x 24
Exhaust Style Rear
Housing Material Aluminum
Max. Pressure 90 PSI
Min. Hose Size Required (I.D.) 3/8 in.
Air Inlet 1/4 in. NPT
SAFETY
IMPORTANT SAFETY PRECAUTIONS
WARNING! Read and understand all instructions before using this tool. The operator must follow basic
precautions to reduce the risk of personal injury and/or damage to the equipment.
NOTE: Keep this manual for safety warnings, precautions, operating, inspection and
maintenance instructions.
3/8 in. x 24 UNF

3/8 in. Right Angle Air Drill
4For technical questions call: 1-800-665-8685
8011796V 2.7
WORK AREA
1. Operate in a safe work environment. Keep your work area clean and well lit.
2. Keep anyone not wearing the appropriate safety equipment away from the work area.
3. Minimize distractions in the work environment. Distractions can cause you to lose control of
the tool.
4. Store tools properly in a safe and dry location to prevent rust or damage.
5. Always lock up tools and keep them out of the reach of children.
PERSONAL SAFETY
CAUTION! Wear protective equipment approved by the Canadian Standards Association (CSA) or
American National Standards Institute (ANSI) when using the tool.
1. Head Protection
a. Always wear impact safety goggles that provide front and side protection for the eyes.
b. Wear the appropriate rated dust mask or respirator.
c. Wear earplugs if the power tool or work environment is noisy.
d. Wear a full-face shield if your work creates metal filings or wood chips.
2. Gloves
a. The gloves should provide protection based on the work materials.
b. Wear suitable gloves to reduce the effects of vibration.
3. Foot Protection
a. Wear steel toe footwear or steel toe caps to prevent injury from falling objects.
b. Non-skid footwear is recommended to maintain footing and balance.
4. Control the tool, personal movement and the work environment to avoid personal injury or
damage to tool.
a. Keep articles of clothing, jewelry, hair, etc., away from moving parts to avoid entanglement
with a tool.
b. Do not operate any tool when tired or under the influence of drugs, alcohol or medications.
c. Do not overreach when operating a tool. Proper footing and balance enables better control
of a tool in unexpected situations.
d. Use clamps or other practical ways to support or secure the workpiece to a stable
platform. Holding the workpiece by hand or against your body is not stable and may lead
to loss of control and injury.

3/8 in. Right Angle Air Drill
5
Visit www.princessauto.com for more information
8011796 V 2.7
VIBRATION PRECAUTIONS
1. This tool vibrates during use. Repeated or long-term exposure to vibration may cause
temporary or permanent physical injury, particularly to the hands, arms and shoulders.
2. Anyone using vibrating tools regularly or for an extended period should first be examined by
a doctor and then have regular medical check ups to ensure medical problems are not being
caused by or worsened from tool use.
3. If you feel any medical symptoms related to vibrations (such as tingling, numbness, and white
or blue fingers), seek medical attention as soon as possible.
4. DO NOT use this tool if one of the following applies:
a. Pregnant
b. Impaired blood circulation to the hands
c. Past hand injuries
d. Nervous system disorders
e. Diabetes
f. Raynaud’s Disease
5. Do not smoke while operating the tool. Nicotine reduces the blood flow to the hands and
fingers, increasing the risk of vibration-related injury.
6. Wear suitable gloves to reduce the effects of vibration.
7. Use the tool with the least amount of vibration, when there is a choice between
different processes.
8. Do not use for extended periods. Take frequent breaks when using this tool.
9. Let the tool do the work. Grip the tool as lightly as possible (while still keeping safe control
of it).
10. To reduce vibrations, maintain the tool as explained in this manual. If abnormal vibrations
occur, stop using this tool immediately.
SPECIFIC SAFETY PRECAUTIONS
1. Before using this tool, make sure you know the area/material you are working in/on. Make sure
you do not accidentally puncture pipes, pressurized containers or electrical cables.

3/8 in. Right Angle Air Drill
6For technical questions call: 1-800-665-8685
8011796V 2.7
USE AND CARE OF TOOL
1. Use the correct tool for the job. Do not force a tool or attachment to do the work of a larger
industrial tool. Maximize tool performance and safety by using the tool for its intended task.
2. This tool was designed for a specific function. Do not modify or alter this tool or use it for an
unintended purpose.
3. Securely hold this tool using both hands. Using a tool with only one hand can result in loss
of control.
4. Maintain tools with care (see Maintenance).
5. Remove adjusting keys and wrenches from the tool before operation or connecting it to a power
source. A wrench or key that is left attached to a rotating part of the tool increases the risk of
personal injury.
6. Avoid unintentional starts. Be sure that the trigger is in the neutral or OFF position when not in
use and before connecting it to any air source.
7. Do not carry the tool with fingers near or on the trigger.
AIR SOURCE INSTALLATION
WARNING! Never use pure oxygen, carbon dioxide, combustible gases or any bottled gas as an air
source for a tool. Such gases are capable of causing an explosion and serious injury to persons.
1. Set the air pressure regulator on the air compressor to the recommended PSI level (see
Specifications). Do not exceed the tool recommended air pressure. Excess pressure could
result in damage to the tool, to your workpiece or serious injury.
2. Prepare a standard 1/4 in. air connector for use with your tool. Wrap the threaded portion of
the air connector with thread tape. Wrap in a clockwise direction so it will not unravel when
attaching to a quick connector. Attach it to the tool air inlet and tighten.
3. Attach a standard quick connector to the air source’s hose. Attach the air hose to the tool’s
air connector.
4. Check the air line and its connections for air leaks. Do not use the tool until you have repaired
all air leaks.
DISCONNECTING AIR SOURCE
WARNING! Failure to follow these steps could result in severe injury, tool or property damage.
Disconnect tool from air source before cleaning, servicing, changing parts/accessories or when not
in use.
1. Turn the air regulator to the OFF or L position.
2. Turn off the air compressor.
3. Disconnect the air pressure hose.

3/8 in. Right Angle Air Drill
7
Visit www.princessauto.com for more information
8011796 V 2.7
UNPACKING
1. Carefully remove the parts and accessories from the box. Retain packaging material until you
have carefully inspected and satisfactorily installed or operated the tool.
2. Make sure that all items in the parts list are included.
3. Inspect the parts carefully to make sure the tools and accessories were not damaged
while shipping.
WARNING! Do not operate the tool if any part is missing. Replace the missing part before operating.
Failure to do so could result in a malfunction and serious personal injury.
INSTALLATION
CAUTION! Disconnect the tool from its air source and discharge any residual air before attaching or
changing bits or accessories.
Do not attempt to tighten any accessory by gripping the front of the chuck and turning the tool on. When
removing the bit from the tool, avoid contact with skin and use proper protective gloves when grasping
the bit or accessory. Accessories may be hot after prolonged use.
1. Rotate the chuck sleeve counter-clockwise to open the chuck.
2. Insert the shank of the accessory into the chuck. Make sure it stays in the center of the jaws.
3. Close the chuck by rotating the chuck sleeve clockwise and securely tighten by hand.

3/8 in. Right Angle Air Drill
8For technical questions call: 1-800-665-8685
8011796V 2.7
OPERATION
Always check the direction of the cordless drill’s rotation before use.
1. Ensure the material to be drilled is anchored or clamped firmly. If drilling thin material, use a
“back-up” block to prevent damage to the material.
2. Always apply pressure in a straight line with the bit. Use enough pressure to keep the bit biting,
but do not push hard enough to stall the motor or to deflect or bend the drill bit.
3. Hold the tool firmly to control the twisting action of the drill.
4. If drill stalls, it is usually because it is being overloaded. Release trigger immediately, remove
drill bit from work, and determine cause of stalling. Do not click trigger on and off in an attempt
to start a stalled drill. This can damage the drill.
5. To minimize stalling when breaking through the material, reduce pressure on drill and ease the
bit through the last part of the hole.
6. Keep the motor running when pulling the bit back out of a drilled hole. This will help
prevent jamming.
7. When drilling, start the hole slowly, allowing the bit to drill deep enough to prevent slipping at
higher speeds.
8. Never try to start a stalled drill by pressing and releasing the trigger. This can damage the tool.
9. To reduce jamming, always keep the drill running when pulling the bit out of a finished hole.
DRIVING SCREWS
For best results:
1. Change the speed setting to low on the body of the drill.
2. Always start slowly and gradually increase the speed of the drill.
3. Always keep the driver bit straight to prevent damage to the screw.
DRILLING METAL
For best results:
1. For metal, use high speed steel (HSS) twist drill bits or hole saws.
2. Apply a lubricant, such as cutting oil, to the tip of the bit when drilling metals other than cast
iron, aluminum, copper and brass.
3. Use HSS drill bits when drilling metal.
4. Start with a small hole, then enlarge to the required size. Make sure the bit is actually cutting
and not spinning in the hole as this will dull the edges of the bit.
5. Keep enough pressure on the bit to keep it drilling through the material.

3/8 in. Right Angle Air Drill
9
Visit www.princessauto.com for more information
8011796 V 2.7
DRILLING MASONRY
For best results:
1. For masonry, such as brick, cement, cinder block, etc., use carbide-tipped bits.
2. Masonry can be brittle, so be careful not to apply too much pressure. This may crack
the material.
3. Apply enough pressure to keep the bit cutting and not spinning in the hole, as this will dull the
edges of the bit.
4. Bricks and similar soft materials will require less pressure, concrete will require much more.
5. Use masonry bits when drilling in soft masonry.
DRILLING WOOD
For best results:
1. For wood, use twist drill bits, spade bits, power auger bits, or hole saws. Pull the bits out of the
hole frequently to clear chips from the flutes as an overburdened bit may overheat.
2. Use a block of wood to back up work pieces that may splinter.
3. Use spade bits when drilling large diameter holes in wood.
4. To prevent wood from splitting, drill pilot holes into the wood before driving in the screws.
MAINTENANCE
1. Maintain the tool with care. A tool in good condition is efficient, easier to control and will
prevent unnecessary problems.
2. Keep the tool handles clean, dry and free from oil/grease at all times.
3. Follow instructions for lubricating and changing accessories.
4. Inspect the tool’s fittings, alignment and hoses periodically. Have damaged or worn
components repaired or replaced by an authorized technician.
5. Sharp tools are safer than dull tools. Applying excessive force while using a dull tool can lead to
slips and cause damage to your work piece or personal injury.
CAUTION! Only qualified service personnel should repair the tool.

3/8 in. Right Angle Air Drill
10 For technical questions call: 1-800-665-8685
8011796V 2.7
AIR TOOL LUBRICATION
CAUTION! Never use a penetrating oil to lubricate the tool. Penetrating oil may act as a solvent that
will break down the grease and cause the tool to seize up.
1. All air tools are packed in grease to prevent corrosion of internal parts during shipping and
storage. We recommend you clean this out for optimum tool performance. Add a generous
amount of air tool oil in the air inlet, and then run the tool under no load until exhaust is clear to
remove packing grease.
2. It is very important that the tool is lubricated. Without lubrication, the tool will not work
properly and parts will wear prematurely. Manually adding a drop or two of air tool oil into the
tool’s male connector once a day is better than using an automatic in-line lubricator. In-line
lubricators should only be required when there are multiple users of the same tool.
3. Air tool oil is the only recommended lubricant for use in all air tools. Do not use other types
of lubricants to oil your tools. Using the wrong lubricant will cause premature tool failure
and/or loss of power. Substitutes may harm the rubber compounds in the tool’s O-rings and
other seals.
4. If using an in-line lubricator, keep it filled and correctly adjusted. The in-line lubricator should
be regularly checked and filled with air tool oil. Proper adjustment of the in-line lubricator is
performed by placing a sheet of paper next to the exhaust ports and holding the throttle open
approximately 30 seconds. The lubricator is properly set when a light stain of oil collects on the
paper. Excessive amounts of oil should be avoided.
5. Avoid adding too much air tool oil during normal use. Too much oil can cause premature power
loss and eventual tool failure. The tool will need to be taken apart by a qualified technician and
cleaned of excess oil.
6. In the event that it becomes necessary to store the tool for an extended period of time
(overnight, weekend, etc.), it should receive a generous amount of lubrication at that time.
The tool should be run for approximately 30 seconds to ensure oil has been evenly distributed
throughout the tool. The tool should be stored in a clean and dry environment.
STORAGE
When not in use for an extended period, apply a thin coat of lubricant to the steel parts to avoid rust.
Remove the lubricant before using the tool again.
DISPOSING OF TOOL
If your tool has become damaged beyond repair, do not throw it out. Bring it to the appropriate
recycling facility.

3/8 in. Right Angle Air Drill
11
Visit www.princessauto.com for more information
8011796 V 2.7
TROUBLESHOOTING
If the tool does not function properly or if it is missing parts, contact Princess Auto Ltd. for a solution. If
unable to do so, have a qualified technician service the tool.
Problem(s) Possible cause(s) Suggested solution(s)
Tool runs at normal speed but
loses power under load.
Motor parts worn. Have a qualified technician
replace worn parts.
Lack of air tool oil. Pour air tool oil into air inlet
per instructions.
Tool runs slowly. Air flows
slightly from exhaust.
Motor parts jammed with
dirt particles.
OR
Air flow blocked by dirt.
1. Check air inlet filter
for blockage.
2. Pour air tool oil into air inlet
as per instructions.
3. Operate tool in short bursts.
4. Disconnect air supply.
Free motor by rotating
drive shank manually
where applicable.
5. Repeat above as needed.
If this fails, bring to
Princess Auto Ltd. or to a
qualified technician.
Excessive air tool oil in tool. Run tool under no load for
short periods of time until
exhaust clears.
Buildup of shipping grease. See Removing Packing
Grease section.
Air Flow Regulator is in the
closed position
Open regulator to
correct position

3/8 in. Right Angle Air Drill
12 For technical questions call: 1-800-665-8685
8011796V 2.7
Problem(s) Possible cause(s) Suggested solution(s)
Tool will not run. Air flows freely
from exhaust.
O-rings throttle valve dislodged
from seat inlet valve.
Have a qualified technician
replace the O-ring.
Damage or excessive wearing of
internal parts.
Bring to Princess Auto Ltd. or a
qualified technician.
Material buildup impeding
motor vanes.
Clean internal mechanism.
Tool will not shut off. O-rings throttle valve dislodged
from seat inlet valve.
Bring to Princess Auto Ltd. or a
qualified technician.
Loss of power or erratic
performance.
Excessive drain on the air line.
Moisture or restriction in the air
hose. Incorrect size or type of
hose connectors.
Check the air supply. Ensure tool
is connected to a 3/8 in. I.D. or
larger air hose with no kinks or
restrictions and that the fittings
are connected properly.
Air compressor has
insufficient flow.
Ensure tool is connected to a
compressor with a rated flow
that matches the tool.

3/8 in. Right Angle Air Drill
13
Visit www.princessauto.com for more information
8011796 V 2.7
PARTS BREAKDOWN

3/8 in. Right Angle Air Drill
14 For technical questions call: 1-800-665-8685
8011796V 2.7
PARTS LIST
No. DESCRIPTION QTY.
1. Screw 1
2. O-Ring (P12) 1
3. O-Ring (P8) 2
4. Air Regulator 1
5. Spring 1
6. Valve Stem Bushing 1
7. Valve Stem 1
8. O-Ring (3.5x1.4) 1
9. Air Inlet 1
10. Exhaust Sleeve 1
11. O-Ring (26.7x1.78) 1
12. Spring Pin (3x24) 1
13. Lever 1
14. Rubber Sleeve 1
15. Housing 1
16. Bearing (696ZZ) 1
17. Rear Plate 1
18. Pin (2.5x6) 2
19. Rotor Blade 4
20. Rotor (9T) 1
21. Cylinder 1
22. Cone Muffler 1
23. Front Plate 1
No. DESCRIPTION QTY.
24. Bearing (608ZZ) 1
25. Washer 1
26. Ring Gear 1
27. Idler Gear 2
28. Idler Gear Pin 2
29. Idler Gear Plate 1
30. Clamp Nut 1
31. Bearing Bushing 1
32. Bearing (6000ZZ) 2
33. Bearing (6001Z) 2
34. Bevel Gear 1
35. Angle Housing 1
36. Ball Bearing (626) 1
37. Shaft 1
38. Bevel Gear (30T) 1
39. Key 1
40. Bearing Bushing 1
41. Retainer Ring 1
42 Washer 1
43. 3/8 in. chuck 1
44. Oil Cup 1
45. Bearing 1

8011796
Manuel d'utilisateur
Vous devez lire et comprendre toutes les instructions avant d'utiliser l'appareil.
Conservez ce manuel afin de pouvoir le consulter plus tard.
V 2,7
Perceuse
pneumatique
coudée de 3/8 po


3Visitez www.princessauto.com pour plus d'informations
8011796
Perceuse
pneumatique
coudée de 3/8 po
V 2,7
SPÉCIFICATIONS
Taille du mandrin 3/8 po
Type de mandrin À clé
Consommation d’air 3,7 pi cubes/min à 90 lb/po carré
Couple max. 4 pi-lb
Vitesse à vide 1 800 tr/min
Filetage de broche 3/8 x 24
Type d’échappement Arrière
Matériau du boîtier Aluminium
Pression max. 90 lb/po carré
Diamètre min. de tuyau requis 3/8 po
Entrée d’air 1/4 po NPT
SÉCURITÉ
CONSIGNES DE SÉCURITÉ IMPORTANTES
AVERTISSEMENT ! Lisez et assurez-vous de comprendre toutes les instructions avant d’utiliser cet
outil. L’utilisateur doit respecter les précautions de base afin de réduire le risque de blessure et/ou de
dommage à l’équipement.
REMARQUE : Conservez ce manuel qui contient les avertissements de sécurité, les précautions, les
instructions de fonctionnement, d’inspection et d’entretien.
3/8 po x 24 UNF

Perceuse pneumatique coudée de 3/8 po
4En cas de questions techniques, appelez le 1-800-665-8685
8011796
V 2,7
AIRE DE TRAVAIL
1. Travaillez dans un environnement de travail sécuritaire. Gardez votre aire de travail propre et
bien éclairée.
2. Assurez-vous que les personnes qui ne portent pas l’équipement de sécurité approprié ne se
trouvent pas à proximité de l’aire de travail.
3. Minimisez les distractions au sein de l’environnement de travail. Les distractions peuvent
causer une perte de contrôle de l’outil.
4. Rangez les outils correctement dans un lieu sécurisé et sec pour empêcher la rouille ou les
dommages.
5. Gardez toujours les outils dans un endroit verrouillé et hors de la portée des enfants.
SÉCURITÉ PERSONNELLE
ATTENTION ! Portez de l’équipement de protection homologué par l’Association canadienne de
normalisation (CSA) ou l’American National Standards Institute (ANSI) quand vous utilisez l’outil.
1. Protection de la tête
a. Portez toujours des lunettes antiprojections qui offrent une protection frontale et latérale
pour les yeux.
b. Portez un masque antipoussières ou un appareil respiratoire nominal approprié lorsque
vous travaillez où il y a des poussières ou des vapeurs provenant du métal, du bois ou de
produits chimiques.
c. Portez des bouchons d’oreilles si l’outil électrique ou l’environnement de travail
est bruyant.
d. Portez un écran facial panoramique si votre travail produit des limailles ou des copeaux
de bois.
2. Gants
a. Les gants doivent protéger en fonction des matériaux travaillés.
b. Portez des gants appropriés pour réduire les effets des vibrations.
3. Protection des pieds
a. Portez des chaussures à embout d’acier ou à coquilles d’acier pour éviter les blessures
dues à la chute d’objets.
b. Les chaussures antidérapantes sont recommandées pour maintenir la stabilité
et l’équilibre.
4. Gardez le contrôle de l’outil, de vos mouvements et de l’environnement de travail pour éviter les
blessures ou le bris de l’outil.
a. Tenez les vêtements, les bijoux, les cheveux, etc. à l’écart des pièces mobiles pour éviter
de les faire coincer par l’outil.
b. N’utilisez pas d’appareils ou d’outils si vous êtes fatigué ou sous l’effet de drogues,
d’alcool ou de médicaments.
c. N’utilisez pas l’outil si vous devez étirer les bras pour vous en servir. Une stabilité et un
équilibre appropriés sont nécessaires afin d’avoir un meilleur contrôle de l’outil en cas de
situations inattendues.
d. Utilisez des brides ou autres moyens pratiques pour fixer la pièce à travailler sur une plate-
forme stable. Une pièce à travailler tenue dans les mains ou appuyée contre le corps n'est
pas stable et risque d'entraîner une perte de contrôle et des blessures.

Perceuse pneumatique coudée de 3/8 po
5
Visitez www.princessauto.com pour plus d'informations
8011796 V 2,7
PRÉCAUTIONS RELATIVES AUX VIBRATIONS
1. Cet outil vibre pendant son usage. Une exposition répétitive ou prolongée aux vibrations peut
causer des blessures temporaires ou permanentes, surtout aux mains, aux bras et aux épaules.
2. Toute personne qui utilise des outils vibrateurs sur une base régulière ou durant des périodes
prolongées doit d’abord consulter un médecin et se prêter régulièrement à des examens de
santé pour s’assurer que des problèmes médicaux ne sont pas causés ou aggravés par l’usage
de tels outils.
3. Si vous ressentez des symptômes reliés aux vibrations (comme un fourmillement, une perte de
sensibilité, des doigts blancs ou bleus), consultez un médecin le plus tôt possible.
4. N’utilisez PAS cet outil si vous avez une des conditions suivantes :
a. Grossesse
b. Mauvaise circulation sanguine aux mains
c. Blessures antérieures aux mains
d. Troubles neurologiques
e. Diabète
f. Maladie de Raynaud
5. Ne fumez pas pendant que vous utilisez cet outil. La nicotine réduit la circulation sanguine vers
les mains et les doigts et augmente le risque de blessure reliée aux vibrations.
6. Portez des gants appropriés pour réduire les effets des vibrations.
7. Utilisez les outils qui produisent le moins de vibration possible si vous pouvez choisir entre
différents processus.
8. N’utilisez pas l’outil pendant des périodes prolongées. Prenez souvent des pauses lorsque vous
utilisez cet outil.
9. Laissez l’outil faire le travail. Tenez l’outil le moins serré possible (tout en le contrôlant de
manière sécuritaire).
10. Pour réduire les vibrations, entretenez l’outil selon les directives figurant dans ce manuel. En
cas de vibrations anormales, cessez d’utiliser cet outil immédiatement.
CONSIGNES SPÉCIFIQUES DE SÉCURITÉ
1. Avant d’utiliser cet outil, assurez-vous que vous connaissez bien la pièce de travail. Assurez-
vous que vous ne percerez pas accidentellement une pipe ou que vous viendrez en contact avec
une source d’électricité.

Perceuse pneumatique coudée de 3/8 po
6En cas de questions techniques, appelez le 1-800-665-8685
8011796
V 2,7
SOIN ET UTILISATION DE L’OUTIL
1. Utilisez le bon outil pour la tâche à effectuer. Ne forcez pas un outil ou un accessoire pour
effectuer le travail d’un outil industriel plus gros. Maximisez la performance de l’outil et la
sécurité en utilisant l’outil pour des travaux pour lesquels il a été conçu.
2. Cet outil a été conçu pour une utilisation spécifique. Évitez de modifier ou d’altérer cet outil ou
de l’utiliser à une fin autre que celle pour laquelle il a été conçu.
3. Tenez cet outil solidement des deux mains. L’utilisation de l’outil d’une seule main peut causer
une perte de maîtrise.
4. Entretenez les outils avec soin (consultez la section Entretien).
5. Avant de mettre l’outil en marche, retirez les clés et les clavettes de réglage, s’il y a lieu.
Toute clé ou clavette qu’on laisse attachée à une pièce rotative de l’outil pose un risque de
blessures corporelles.
6. Évitez les mises en marche involontaires. Assurez-vous que la gâchette est en position neutre
ou ARRÊT lorsque l’outil n’est pas utilisé et avant de le brancher à une source d’air.
7. Ne transportez pas l’outil avec les doigts sur la gâchette ou à proximité de ceux-ci.
INSTALLATION DE LA SOURCE D’AIR
AVERTISSEMENT ! N’utilisez jamais d’oxygène pur, de dioxyde de carbone, de gaz combustibles ou
de gaz en bouteille comme source d’air pour un outil. De tels gaz peuvent causer une explosion et des
blessures graves.
1. Réglez le régulateur de pression d’air sur le compresseur d’air à la pression (lb/po carré)
recommandée pour l’outil (voir Spécifications). Ne dépassez pas la pression d’air recommandée
de l’outil. Une pression excessive pourrait endommager l’outil ou votre pièce à travailler, ou
vous causer de sérieuses blessures.
2. Préparez un raccord pneumatique standard de 1/4 po convenant à votre outil. Enveloppez la
partie filetée du raccord pneumatique à l’aide d’un ruban d’étanchéité pour filetage. Enveloppez
en sens horaire de façon qu’il ne se déroule pas lors du raccordement à un raccord rapide.
Attachez le raccord à l’entrée d’air de l’outil et serrez.
3. Raccordez le tuyau de la source d’air à un raccord rapide standard. Raccordez le tuyau à air au
raccord pneumatique de l’outil.
4. Vérifiez s’il y a des fuites dans le circuit d’air et les connections. N’utilisez pas l’outil avant
d’avoir réparé toutes les fuites d’air.
DÉCONNEXION DE LA SOURCE D’AIR
AVERTISSEMENT ! Le non-respect de cet avertissement pourrait entraîner des blessures graves ou
des dommages à l’outil ou au matériel.
Déconnectez l’outil de la source d’air avant le nettoyage, l’entretien ou le remplacement de pièces ou
d’accessoires et lorsqu’il n’est pas utilisé.
1. Amenez le régulateur pneumatique à la position ARRÊT ou L.
2. Éteignez le compresseur d’air.
3. Déconnectez le tuyau pneumatique.
Table of contents
Languages:
Other Power Fist Drill manuals

Power Fist
Power Fist 8384513 User manual

Power Fist
Power Fist 8069676 User manual

Power Fist
Power Fist 8001260 User manual

Power Fist
Power Fist 18v Ni-Cd 3/8 in. Cordless Drill User manual

Power Fist
Power Fist 8416331 User manual

Power Fist
Power Fist 8390270 User manual

Power Fist
Power Fist 9054685 User manual

Power Fist
Power Fist 8548588 User manual

Power Fist
Power Fist 8344525 User manual

Power Fist
Power Fist 8039521 User manual