Power Fist 8032693 User manual
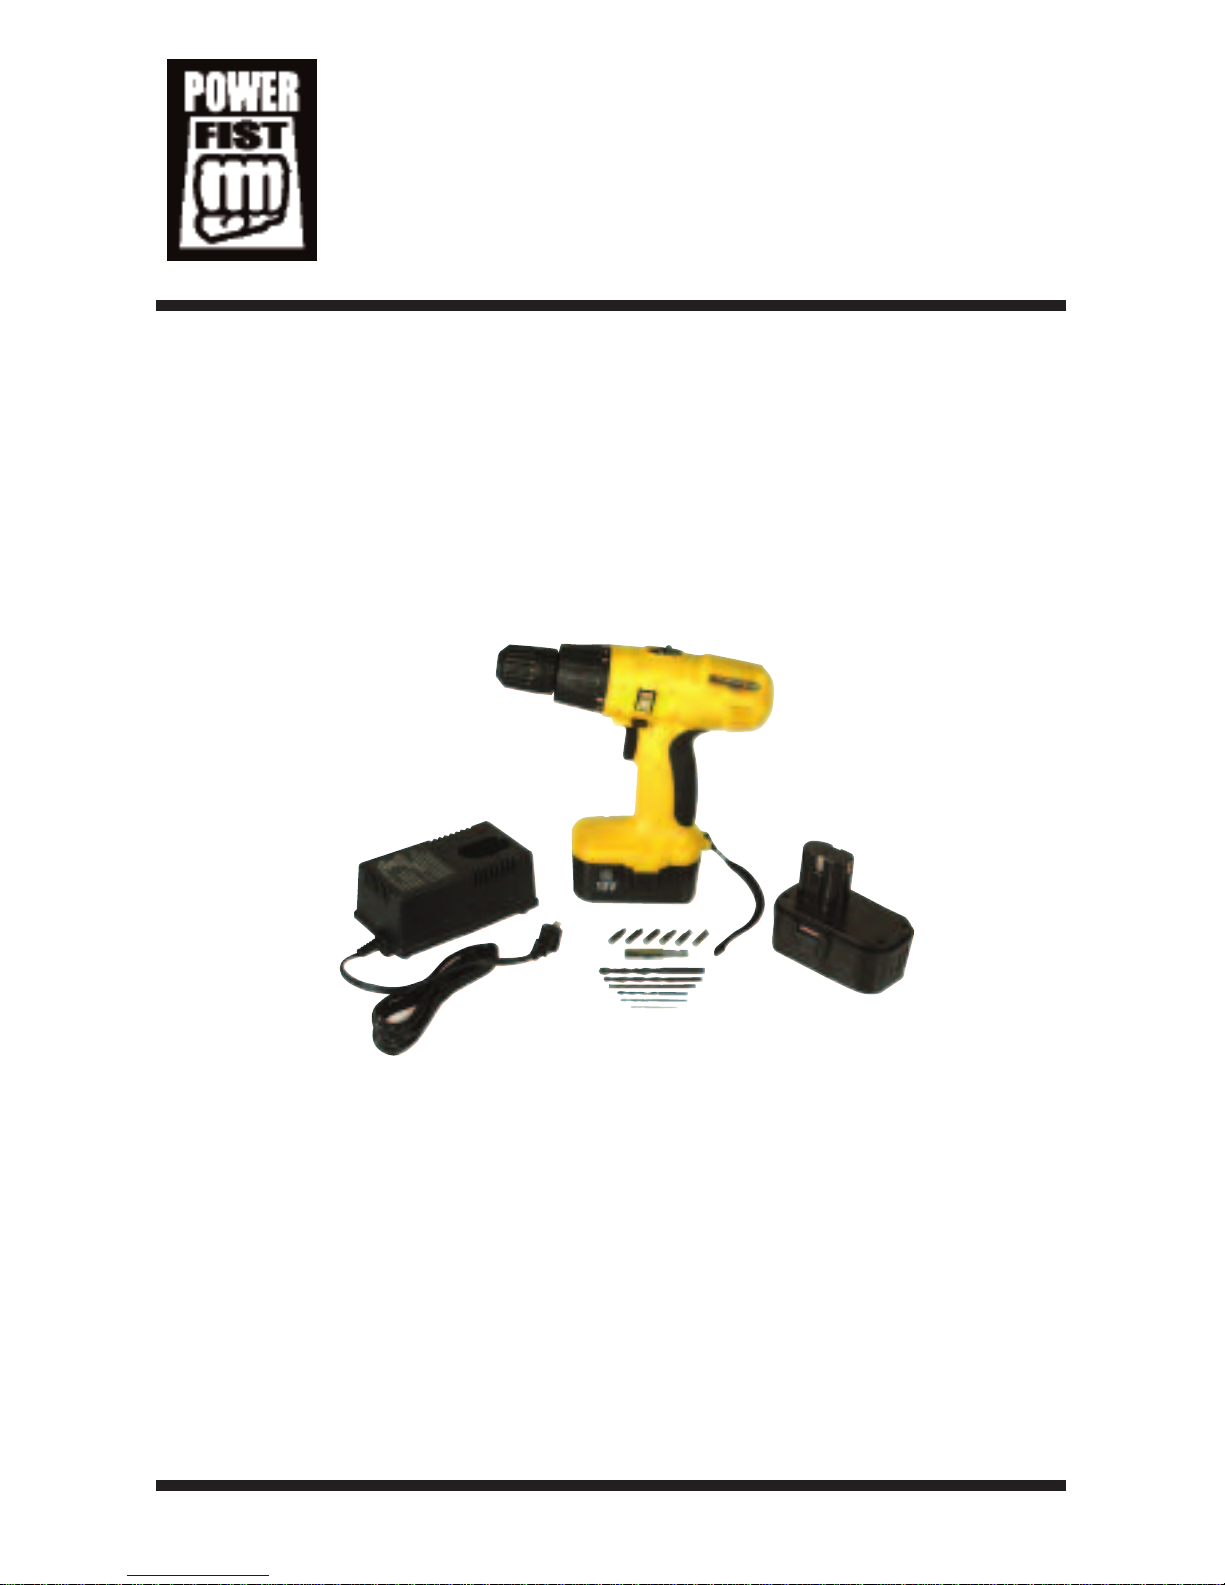
18Volt
CordlessDrill
8
80
03
32
26
69
93
3
Owner's Manual
This cordless drill has been manufactured in accordance with the
applicable standards and equipment safety legislation. When using
electrical appliances, it is important to take some safety precautions in
order to avoid possible injury and damage. Read and keep these
instructions so that this information is available at all times.
Warning: Do not dispose of Ni-Cd batteries in household waste.
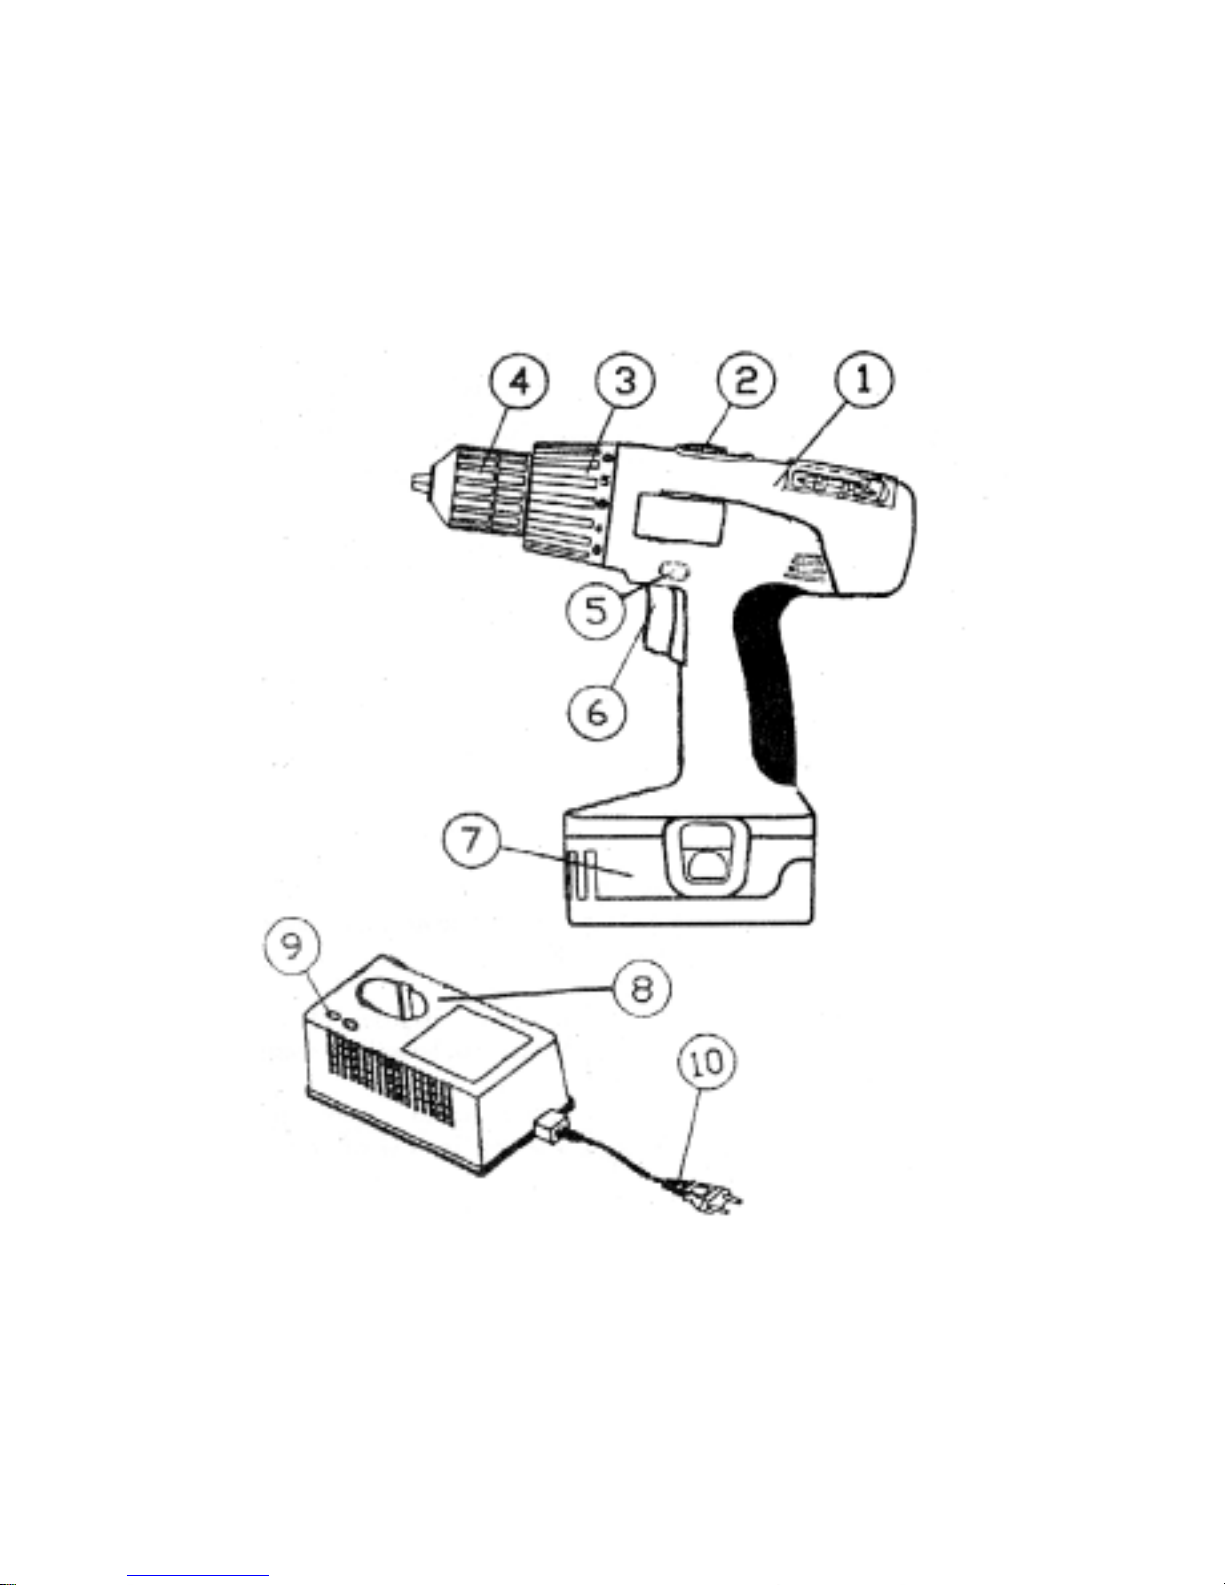
Parts
1. Cordless Drill
2. Speed regulator button
3. 17 stage torque setter
4. Quick-clamp drill chuck
5. Reverse switch
6. ON/OFF switch
7. Battery pack
8. Charger base
9. Indicator
10. Plug (AC)

TechnicalSpecifications
• Model: 8032693
• Voltage: 18 VDC
• Fits drill bit diameters: 1.5 mm to 10 mm
• 1 to 1-1/2 hours charge time
SafetyInstructions
Caution: When using power tools, attention must be paid to the
following basic safety measures as protection against electric shock,
risk of injury and burns. Read and observe these instruction before
use of the tool.
1. Keep the work area tidy. Disorder in the work area increases the
risk of accidents.
2. Work in a safe environment. Never expose power tools to rain or
moisture and do not use power tools in a moist or wet
environment. Ensure that there is ample light. Do not use power
tools in the vicinity of combustible liquids or gases.
3. Protect yourself from electric shock. Avoid bodily contact with
grounded parts such as pipes, radiators and stoves.
4. Keep power tools away from children. Do not permit others to
touch the tool or the cable, and keep visitors out of the working
area.
5. Store tools in a safe place. Unused tools should be stored in a dry,
locked room out of reach of children.
6. Do not overload the tool. Equipment will work better and more
safely in the specified performance range.
7. Use the correct tool. Do not use tools or attachments that are too
weak for the task required. Do not use tools for a purpose for
which they are not intended.
8. Dress appropriately. Avoid loose clothing or jewelry that could get
caught in moving parts. Tie back long hair. Rubber gloves and non-
slip footwear are recommended for outdoor work.
9. Use safety glasses. A respirator or dust mask should be worn for
any work that generates dust.
10. Secure the workpiece. Use clamps or a vice in order to hold the
workpiece in a secure position. It is safer than using the hands,
and allows both hands to remain free to operate the tool.

11. Do not over reach. Avoid awkward postures. Ensure that you are
standing securely and keep your balance at all times.
12. Maintain tools with care. Keep tools clean and sharp in order to
have them ready for operation. Follow the maintenance schedules
and instructions for tool changes. Check the plug and cable
regularly, and if these are damaged have them replaced by an
electrician.
13. Keep tools unplugged when not in use.
14. Remove tool keys. Before switching tools on, check that keys and
setting tools have been removed.
15. Avoid unintentional operation or start up of the device. Do not
place your finger on the switch when carrying tools. Make sure
that the switch has been switched off before connecting to a
power supply.
16. Always pay attention. Observe your work. Proceed sensibly. Do
not use the drill if you are tired.
17. Check your drill for damage. Before use, inspect the drill to
ensure all parts and protective devices are working properly.
Check whether the function of moving parts is in order, whether
they stick and whether parts are damaged. All the parts must be
correctly assembled in order to guarantee problem-free operation
of the drill.
18. Damaged protective devices and parts should be properly repaired
or replaced by a qualified service technician, unless otherwise
indicated in the operating instructions. Damaged switches must
also be replaced. Never use tools which can not be turned on or
off with the switch.
19. Use only accessories and additional devices which are specified in
the operating instructions or are recommended by the tool
manufacturer. The use of any insert tools or accessories other than
those recommended in the operating instructions may create a risk
of injury.

Special safety instructions for battery pack and charger
If under extreme conditions any electrolyte should escape from the
battery, avoid contact with the skin. If it does contact skin, rinse it off
with water. If the electrolyte contacts the eyes, consult a doctor
immediately.
1. During the charge process, the current used should match that of
the current of the battery charger.
2. Never let moisture, rain or water reach the charging location.
3. The ambient temperature must not exceed 40°C (104°F). Never
expose device to direct sunlight.
4. Storage battery packs that are defective or damaged, or can no
longer be recharged, must be disposed of as hazardous waste.
Deposit them at a special collection point for recycling. Do not
throw away unstable battery packs into domestic waste, fire or
water.
5. Have all repairs carried out by an qualified service technician.
6. Only use battery packs that have been produced by the original
manufacturer.
7. Always keep the surface of the charger free from dust and dirt.
8. Insert the battery packet into the charger. Follow the guidelines
provided concerning polarity.
9. Always remove the battery pack before performing maintenance on
the drill.
10. When the battery packet is outside the drill, cover the contacts to
avoid short circuits from other tools.
11. Keep Ni-Cd batteries away from water and fire to avoid a risk of
explosion.
12. Protect the battery pack from impact. Do not open the battery
pack.
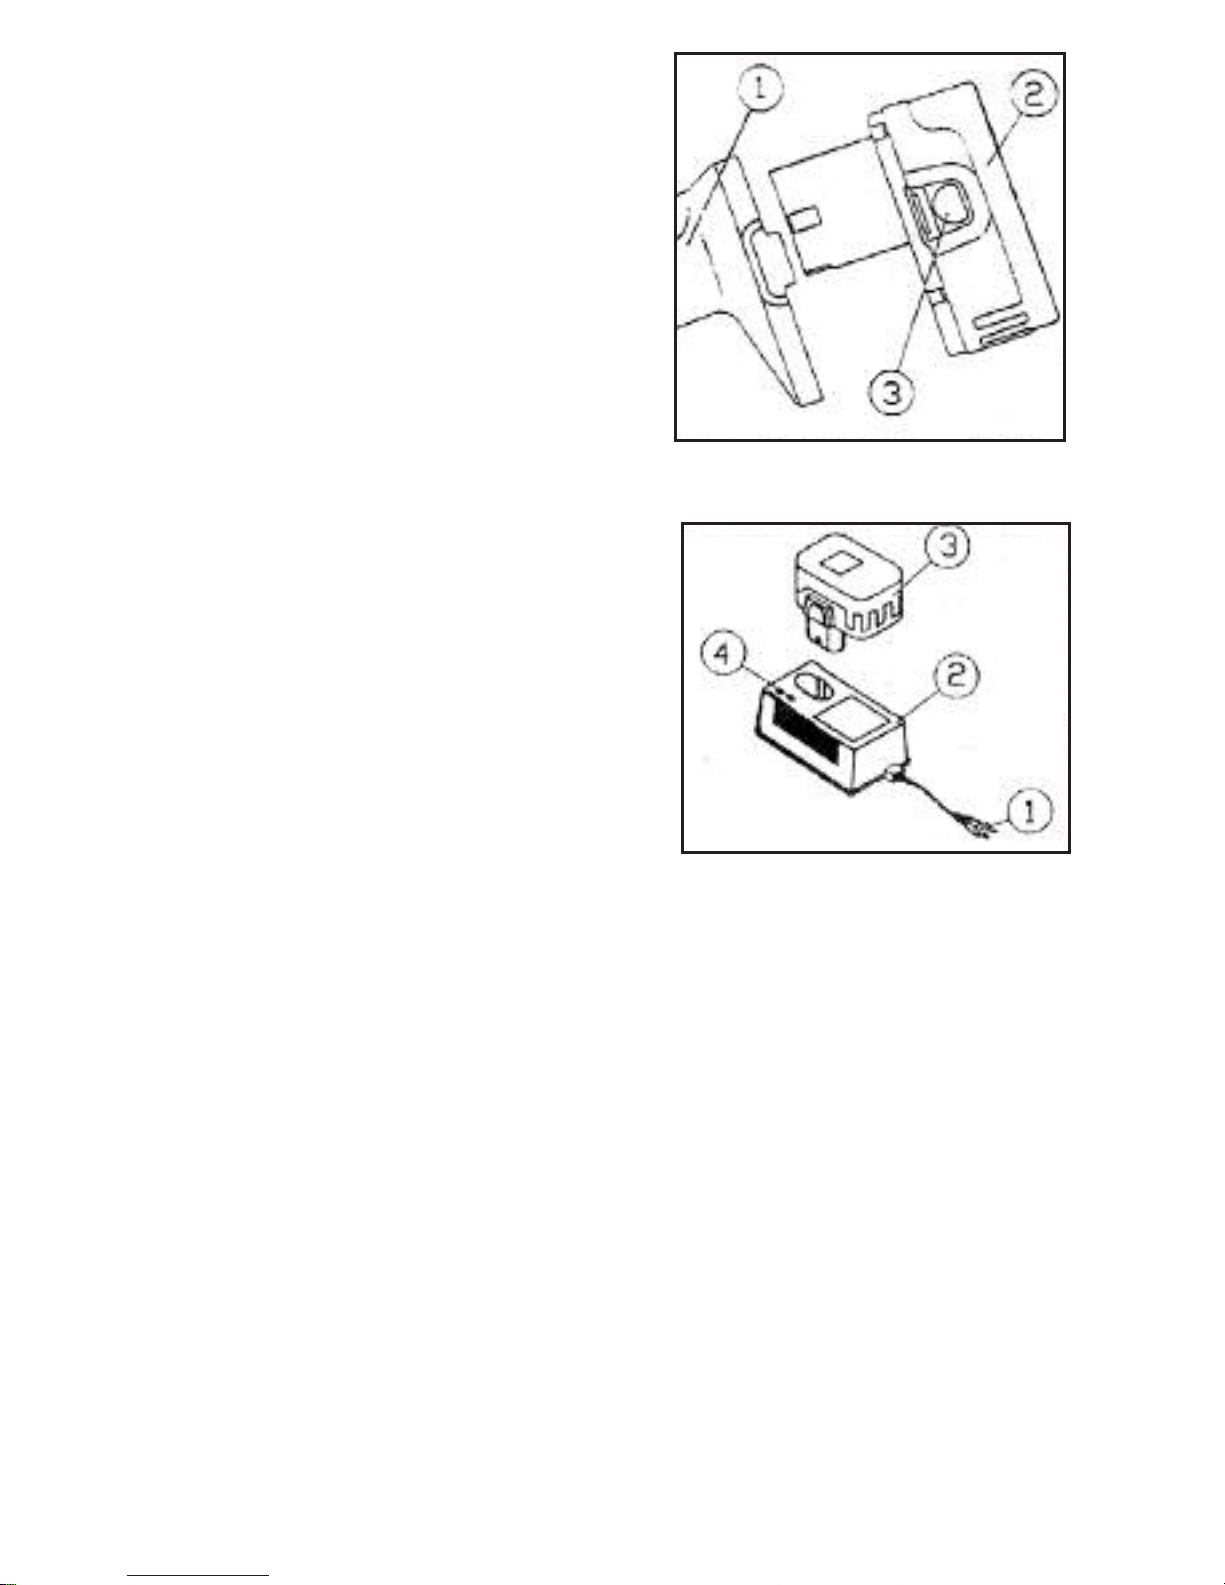
InitialOperation
(See figure 2)
1. Insert the charged battery (2) in the
handle of the drill (1) and secure
with the release button (3). The
spring must snap into place.
2. Separate the battery from the tool by
pressing the release button below the
machine handle.
Chargeprocess
(See figure 3)
1. Insert the power plug (1) of the
charger into a power outlet (up to
120V). The green indicator (4)
should light up.
2. Carefully insert the battery pack (3)
into the base of the charger (2) in the
correct direction. Do not insert the
battery pack the wrong way around.
3. The red indicator (5) will then light
up, indicating that the battery pack is
charging. This process will take 1 to 1-1/2 hours.
4. When the red indicator switches off and the green indicator is lit
again, the battery pack is fully charged. Remove the power plug
from the outlet, and the battery pack from the charger. The battery
pack can be used immediately.
Caution:
• The battery pack needs to be charged before you first use your
machine. It reaches its full capacity after several charges.
• Avoid repeated consecutive rapid charges of the battery. Do not
recharge after using only briefly, such as after 15 minutes of use.
• The battery pack and charger will become warm during the charging
process. This is not a malfunction.
FFiigguurree22
FFiigguurree33

InsertingBits
(See figure 4)
1. In order to insert a drill bit or
screwdriver bit, grasp the back
section of the chuck (2) and rotate
the front section of the chuck (1)
until the bit fits.
2. Insert the bit (or screwdriver bit
holder) as far as it will go into the
drill chuck opening.
3. Clamp in the screwdriver bits using
the bit-holder.
4. Select screwdriver bits appropriate
to the screw head in order to avoid
damage to the screws.
5. Firmly tighten the chuck by hand.
Check whether the tool is firmly
seated in the drill chuck.
SwitchingOnandOff
(See figure 5)
Set rotating direction switch (1) to the
desired position. Press ON/OFF switch
(2) to turn on the drill. Release the
ON/OFF switch to turn off the drill.
ForwardandReversingSwitch
The rotation direction can be changed from clockwise to counter
clockwise with the rotation direction switch. This switch is locked
when the tool is operating. The counter clockwise direction is useful
for removing screws and nuts.
Caution: Check the direction of rotation before use. The rotation
direction can only be changed when the drill is not in
operation.
Note: Extended periods of drilling at the lowest speed increases the
danger of overheating the motor. Every 15 minutes, allow the
motor some time to cool.
FFiigguurree44
FFiigguurree55

SpeedRegulation
(See figure 6)
The rotation speed can be
increased by pushing the
speed button forward to
position 2.
Decrease the speed by
pushing it backward to
position 1.
VariableSpeed
Simply apply pressure to the ON/OFF switch by squeezing it in, this
will increase the speed. Gradually releasing the pressure will decrease
the speed.
TorqueAdjustment
(See figure 7)
This relates to the tightening power of
your drill. Depending on the
application, various levels of driving
power are required. Generally, the
larger the screw diameter, the higher
the torque power that is required to
drive the screw until it is properly
seated.
• 1-2: For small screws
• 3-4: For driving screws into soft materials or plastics
• 5-7: For driving screws into soft woods.
• 11-14: For driving screws into medium/hard woods.
• 15-16: For powerful screw driving, drilling metal, or using spade
(hole) bits.
Caution: Always start drilling on the lowest setting. If the correct
setting has been chosen, an override clutch opens after the screw has
been turned flush into the material. When removing screws, select a
higher setting, or set to the drill symbol. The proper settings are best
determined on a test piece.
FFiigguurree66
FFiigguurree77

To drill metal, punch the drilling position first if possible to prevent
the drill bit from skating away.
The noise output of the drill may exceed 85 dB at the workplace. Use
of ear protection is recommended.
Maintenance
Before doing any work on the drill itself, remove the battery pack.
Clean the appliance with a moist cloth and some lubricating soap. Do
not use solvents or cleaning agents which could damage the plastic
parts of the drill. Keep the surface of the drill free from dust and dirt.
Table of contents
Other Power Fist Drill manuals

Power Fist
Power Fist 8001260 User manual

Power Fist
Power Fist 8384513 User manual

Power Fist
Power Fist 8390270 User manual

Power Fist
Power Fist 18v Ni-Cd 3/8 in. Cordless Drill User manual

Power Fist
Power Fist 8039067 User manual

Power Fist
Power Fist 8344525 User manual

Power Fist
Power Fist 18v Ni-Cd 3/8 in. Cordless Drill User manual

Power Fist
Power Fist 9054685 User manual

Power Fist
Power Fist 8571762 User manual

Power Fist
Power Fist 8548588 User manual


