manuals.online logo
Brands
  1. Home
  2. •
  3. Brands
  4. •
  5. PREMIER POLYSTEEL
  6. •
  7. Indoor Furnishing
  8. •
  9. PREMIER POLYSTEEL 971-102 User manual

PREMIER POLYSTEEL 971-102 User manual

50 7/8"
10"
30"
18"
5"
CONCRETE
GROUND LEVEL
2
1
ITEM NO.
PART NUMBER
DESCRIPTION
QTY.
1
625-001
Flat Rib Sheet
1
2
733-212
Grand Contour Tube Frame DB
1
3
516-033
3/8"x4" SS Button Head Cap Screw
4
4
516-023
3/8" SS Flat Washer
8
5
516-028
3/8" SS Nylock Nut
4
X.01
971-102
4' Laser Grand Contour With Back Direct Bury
SHEET 1 OF 3
REV.
A
SIZE
21 5/8"
2
1
A
B
DETAIL A
SCALE 1 : 8
3
4
DETAIL B
SCALE 1 : 8
3
5
4
X.01
971-102
4' Laser Grand Contour With Back Direct Bury
SHEET 2 OF 3
REV.
A
SIZE
Drill plastic out of the mounting holes on the seat using a 7/16" diameter drill bit.
1.
Bolt the seat to the legs and tighten up.
2.
Mark out the holes for the legs on the ground in the desired location. Drill 10" diameter
3.
holes at each location to a minimum depth of 30". You need to be below the frost line
in your area.
Place the seat into the holes and support at the desired height. Level the seat.
4.
Fill the holes with concrete and crown the top so that water will run off. Let stand for
5.
24 hours before removing the supports.
Periodic check of bolts tightness reccommended
Tools List
7/16" Drill bit
•
9/16" Socket
•
9/16" Wrench
•
Level
•
Imapct Gun (Optional)
•
Drill
•
X.01
971-102
SHEET 3 OF 3
REV.
A
SIZE
In accordance to California law: WARNING - This product contains a chemical known to the
State of California to cause cancer and birth defects or other reproductive harm.
30"
8" 8"
50 7/8"
1
2
3
18"
8" 8"
21 5/8"
3
4
5
X.01
974-102
4' Grand Contour Bench, Direct Bury Expanded Metal
SHEET 1 OF 2
REV.
A
SIZE
A
DETAIL A
SCALE 1 : 4
5
4
3
4
Drill plastic out of the mounting holes on the seat and stands using a 7/16” dia. drill bit.
1.
Fasten the seat to the stands.
2.
Position the bench where desired and drill holes in the ground accordingly. The holes should
3.
go below the frost line in your area.
Place the stands into the holes and support the bench at the desired height.
4.
Make sure the bench is level end to end and the top of the stands are level front to back.
5.
Fill holes with concrete and let cure before removing supports.
6.
ITEM NO.
PART NUMBER
DESCRIPTION
QTY.
1
733-212
Grand Contour Tube Frame DB
2
2
623-014
4' Grand Contour Expanded Metal Seat
1
3
516-033
3/8"x4" SS Button Head Cap Screw
4
4
516-023
3/8" SS Flat Washer
8
5
516-028
3/8" SS Nylock Nut
4
X.01
974-102
4' Grand Contour Bench, Direct Bury Expanded Metal
SHEET 2 OF 2
REV.
A
SIZE
In accordance to California law: WARNING - This product contains a chemical known to the
State of California to cause cancer and birth defects or other reproductive harm.
Part No. Description Qty.
623-015 6’ Grand Contour Exp Seat 1
733-212 Grand Contour Stand 2
516-033 3/8” X 4” SS Btn Skt Cap 4
516-028 3/8” SS Nylock Nut 4
516-023 3/8” SS Washer 8
974-302
1Drill plastic out of the mounting holes on the seat and stands using a 7/16” dia. drill bit.
2Fasten the seat to the stands.
3Tighten all of the bolts.
4Position bench where desired and drill holes in the ground accordingly.
5Put legs into holes and support the bench so that it’s level end to end and the top of the stands are
level front to back.
Periodic check of bolt tightness recommended.
In Accordance to California law: WARNING This product contains a chemical known to the State of
California to cause cancer and birth defects or other reproductive harm.
Part No. Description Qty.
623-004 4’ Grand Contour Seat 1
733-013 Grand Contour Stand 2
631-313 Brace 2
516-033 3/8”x4” SS Button Socket Cap 4
516-058 3/8” X 1-1/2” SS Hex Bolt 4
516-028 3/8” SS Nylock Nuts 8
516-023 3/8” SS Flat Washer 16
939-103
1Drill plastic out of the mounting holes on the seat, braces and stands using a 7/16” dia. drill bit.
2Fasten the seat to the stands, then attach the braces to the seat and stands.
3Make sure stands, seat and braces are aligned, then tighten all of the bolts.
4Position bench where desired and mount to surface.
501
2
17
23
Periodic check of bolt tightness is recommended.
In Accordance to California law: WARNING This product contains a chemical known to the State of California to cause cancer and birth defects or
other reproductive harm.
Part No. Description Qty.
623-005 6’ Grand Contour Seat 1
733-013 Grand Contour Stand 2
631-313 Brace 2
516-033 3/8”x4” SS Button Socket Cap 4
516-058 3/8”x1-1/2” SS Hex Bolt 4
516-028 3/8” SS Nylock Nuts 8
516-023 3/8” SS Flat Washer 16
939-303
1Drill plastic out of the mounting holes on the seat, stands and braces using a 7/16” dia. drill bit.
2Fasten the seat to the stands loosely.
3Align the stands vertically and tighten the bolts.
4Position bench where desired and mount to surface.
Periodic check of bolt tightness recommended.
In Accordance to California law: WARNING This product contains a chemical known to the State of California to cause cancer and birth defects or
other reproductive harm.
53 3/4"
31 1/4"
27 3/4"
17"
X.01
971-103
4' Grand Contour Laser Bench, Free Standing
SHEET 1 OF 2
REV.
A
SIZE
1
3
6
7
5
2
4
Drill plastic out of the mounting holes on the seat, braces and stands using a 7/16” dia. drill bit.
1.
Fasten the seat to the stands loosely, then attach the braces to the seat and stands loosely.
2.
Make sure stands, seat and braces are aligned, then tighten all of the bolts.
3.
Position bench where desired and mount to surface if desired.
4.
ITEM NO.
PART NUMBER
DESCRIPTION
QTY.
1
733-013
Grand Contour Free Standing Bench Stand
2
2
625-004
4' Grand Contour Laser Bench
1
3
631-313
Brace for FS Bench
2
4
516-058
3/8"x1-1/2" SS Hex Bolt
4
5
516-033
3/8"x4" SS Button Head Cap Screw
4
6
516-023
3/8" SS Flat Washer
16
7
516-028
3/8" SS Nylock Nut
8
X.01
971-103
4' Grand Contour Laser Bench, Free Standing
SHEET 2 OF 2
REV.
A
SIZE
In Accordance to California law: WARNING This product contains a chemical known to the State of
California to cause cancer and birth defects or other reproductive harm.
Part No. Description Qty.
625-005 6’ Contour FlatRib Seat 1
733-013 Grand Contour Stand 2
631-313 Contour Bench Brace 2
516-033 3/8”x4” SS Button Socket Cap 4
516-058 3/8”x1-1/2” SS Hex Bolt 4
516-028 3/8” SS Nylock Nuts 8
516-023 3/8” SS Flat Washer 16
971-303
1Drill plastic out of the mounting holes on the seat, braces and stands using a 7/16” dia. drill bit.
2Fasten the seat to the stands loosely and then fasten the brace to the stands and seat.
3Make sure the bench is level and tighten all of the bolts.
Periodic check of bolt tightness recommended.
In Accordance to California law: WARNING This product contains a chemical known to the State of California to
cause cancer and birth defects or other reproductive harm.
53 3/4"
27 1/2"
1
2
3
5
31"
16 1/2"
4
4
5
6
7
Drill plastic out of the mounting holes on the seat, braces and stands using a 7/16” dia. drill bit.
1.
Fasten the seat to the stands loosely and then fasten the brace to the stands and seat.
2.
Make sure the bench is level and tighten all the bolts.
3.
Position bench where desired and anchor to the floor.
4.
ITEM NO.
PART NUMBER
DESCRIPTION
QTY.
1
733-013
Grand Contour Free Standing Bench Stand
2
2
623-014
4' Grand Contour Expanded Metal Seat
1
3
631-313
Brace for FS Bench
2
4
516-058
3/8"x1-1/2" SS Hex Bolt
4
5
516-033
3/8"x4" SS Button Head Cap Screw
4
6
516-023
3/8" SS Flat Washer
16
7
516-028
3/8" SS Nylock Nut
8
X.01
974-103
4' Grand Contour Bench, Free Standing Expanded Metal
SHEET 1 OF 1
REV.
A
SIZE
In Accordance to California law: WARNING This product contains a chemical known to the State of
California to cause cancer and birth defects or other reproductive harm.
Part No. Description Qty.
623-015 6’ Grand Contour Exp Seat 1
733-013Grand Contour Stand 2
631-313 Contour Bench Brace 2
516-033 3/8” X 4” SS Btn Skt Cap 4
516-058 3/8” X 1-1/2” SS Hex Bolt 4
516-028 3/8” SS Nylock Nut 8
516-023 3/8” SS Washer 16
974-303
1Drill plastic out of the mounting holes on the seat, braces and stands using a 7/16” dia. drill bit.
2Fasten the seat to the stands loosely and then fasten the brace to the stands and seat.
3Tighten all of the bolts.
4Make sure the bench is level and tighten all the bolts.
5Position bench where desired and anchor to the floor.
Periodic check of bolt tightness recommended.
741
2
23
17
In Accordance to California law: WARNING This product contains a chemical known to the State of California to cause cancer and birth defects or
other reproductive harm.

Other PREMIER POLYSTEEL Indoor Furnishing manuals

PREMIER POLYSTEEL 955-101 User manual

PREMIER POLYSTEEL

PREMIER POLYSTEEL 955-101 User manual

PREMIER POLYSTEEL Champion 924-507 User manual

PREMIER POLYSTEEL

PREMIER POLYSTEEL Champion 924-507 User manual

PREMIER POLYSTEEL 935-101 User manual

PREMIER POLYSTEEL

PREMIER POLYSTEEL 935-101 User manual

PREMIER POLYSTEEL 939-D11 User manual

PREMIER POLYSTEEL

PREMIER POLYSTEEL 939-D11 User manual
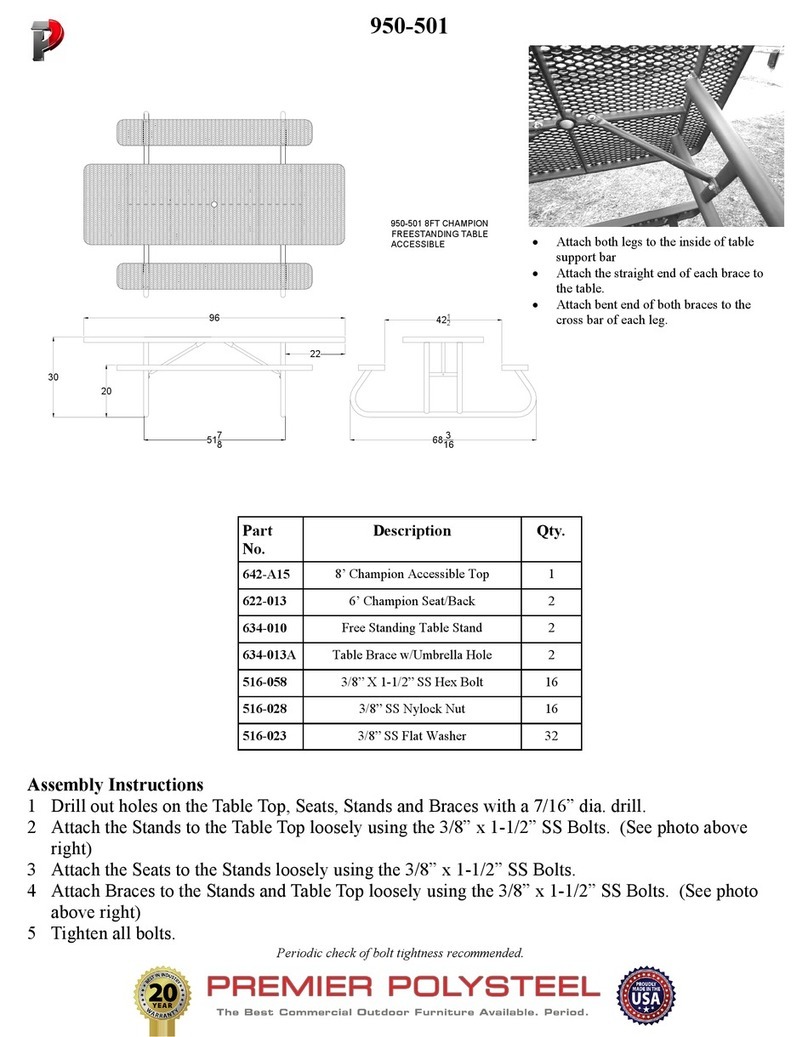
PREMIER POLYSTEEL 950-501 User manual

PREMIER POLYSTEEL

PREMIER POLYSTEEL 950-501 User manual
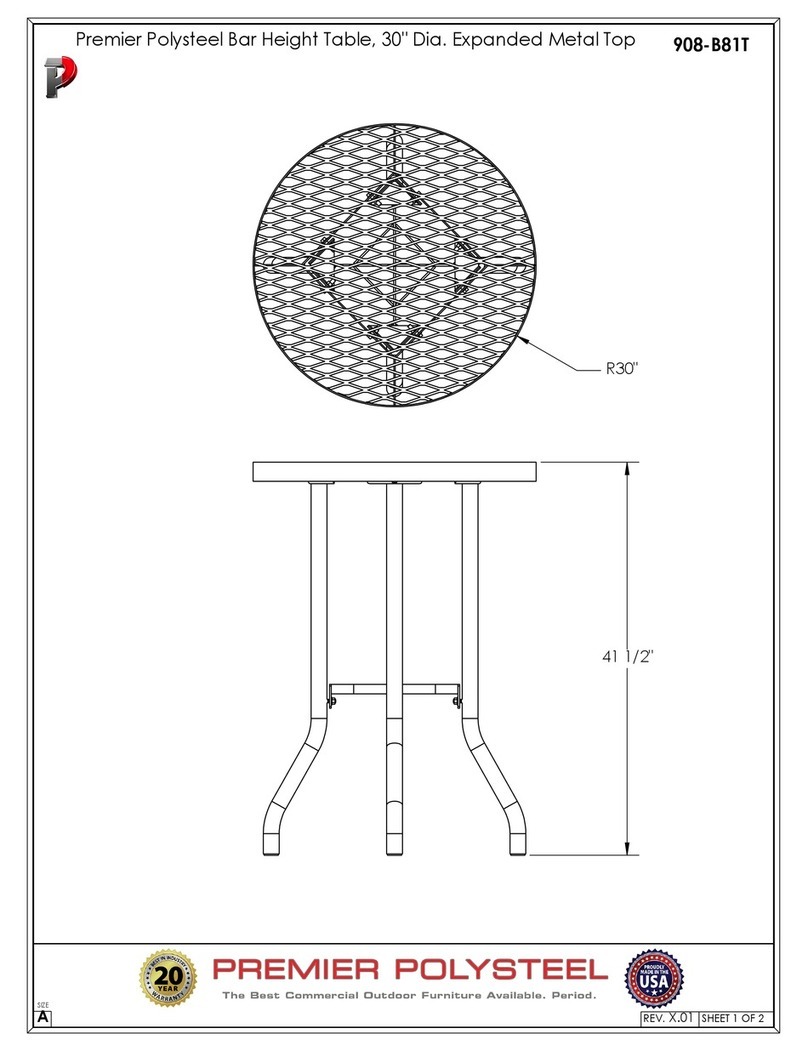
PREMIER POLYSTEEL 908-B81T User manual

PREMIER POLYSTEEL

PREMIER POLYSTEEL 908-B81T User manual

PREMIER POLYSTEEL 937-301 User manual

PREMIER POLYSTEEL

PREMIER POLYSTEEL 937-301 User manual
PREMIER POLYSTEEL 924-101 User manual

PREMIER POLYSTEEL

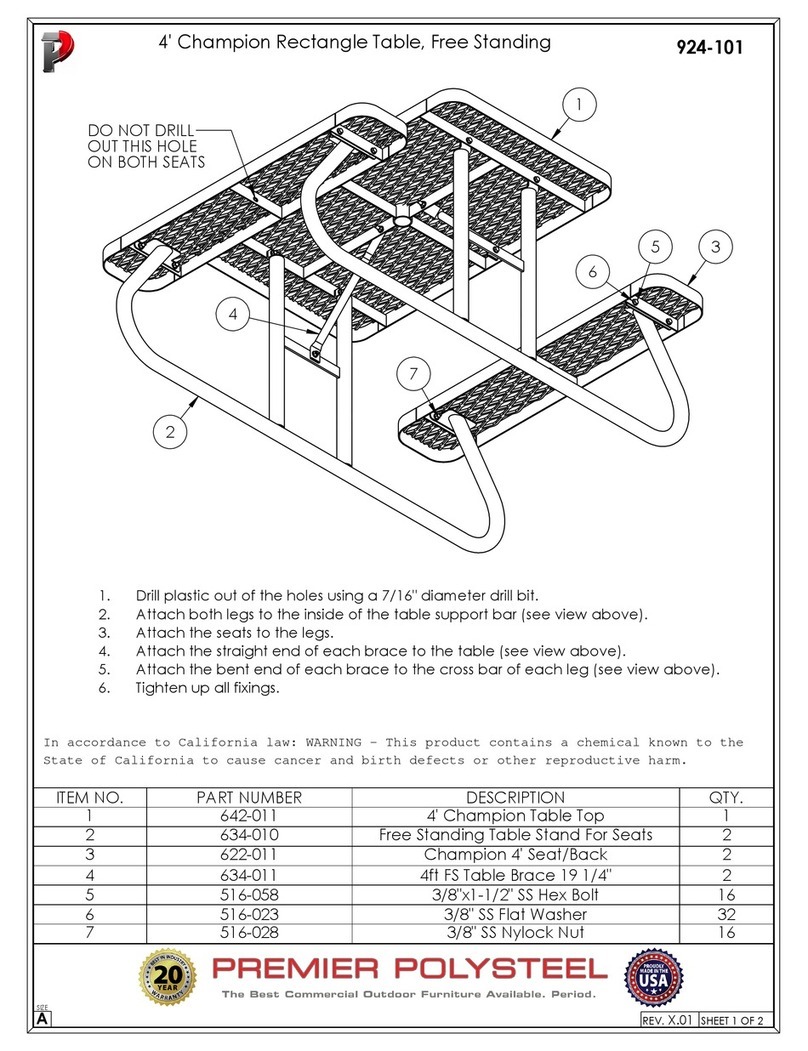
PREMIER POLYSTEEL 924-101 User manual

PREMIER POLYSTEEL 924-101 User manual

PREMIER POLYSTEEL

PREMIER POLYSTEEL 924-101 User manual

PREMIER POLYSTEEL Champion 924-301 User manual

PREMIER POLYSTEEL

PREMIER POLYSTEEL Champion 924-301 User manual

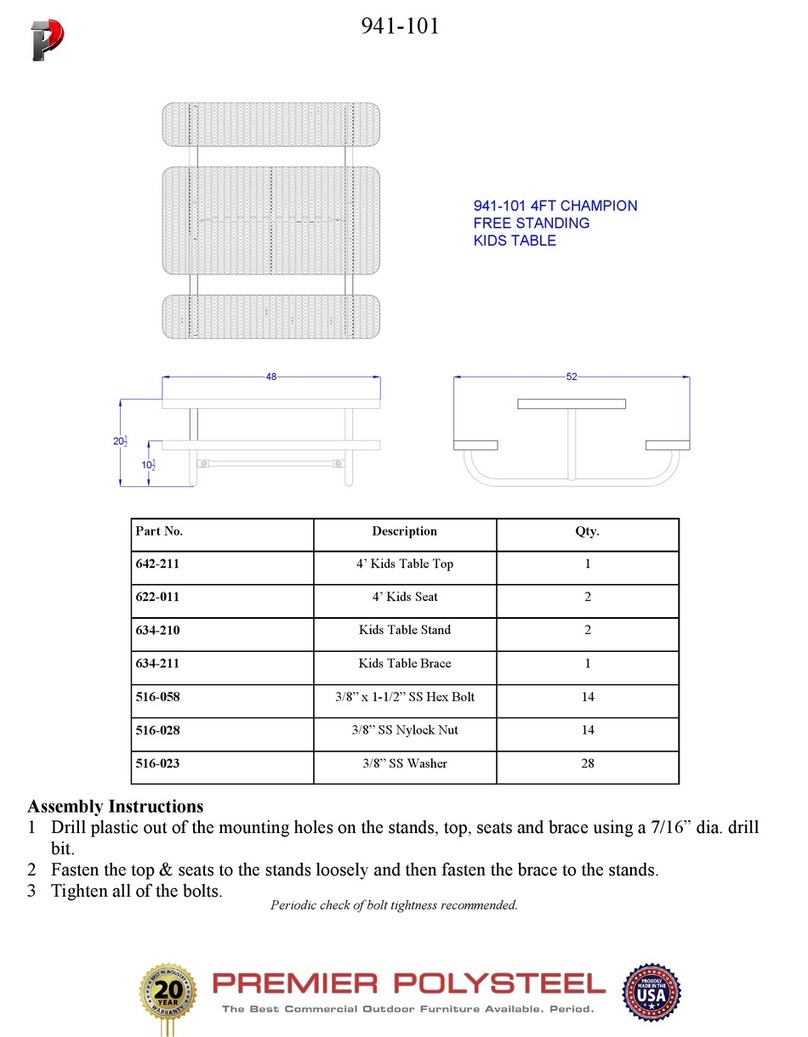
PREMIER POLYSTEEL 941-101 User manual

PREMIER POLYSTEEL

PREMIER POLYSTEEL 941-101 User manual

Popular Indoor Furnishing manuals by other brands

TOPSKY TS500030GRA Assembly instructions

TOPSKY

TOPSKY TS500030GRA Assembly instructions

Neutral Posture 1000 Series quick start guide

Neutral Posture

Neutral Posture 1000 Series quick start guide

Otto KSMK231 Assembling Instruction

Otto

Otto KSMK231 Assembling Instruction

PATIO TIME CD003 instruction manual

PATIO TIME

PATIO TIME CD003 instruction manual

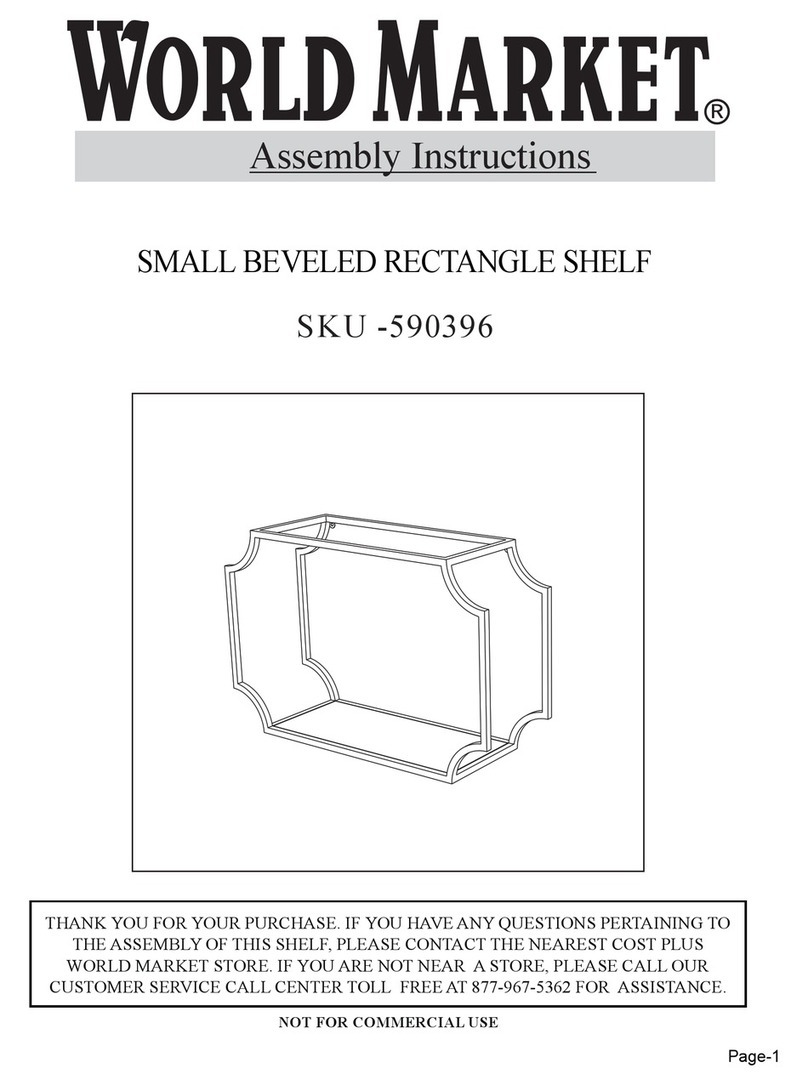
World Market 590396 Assembly instructions

World Market

World Market 590396 Assembly instructions

BROSA Elizabeth Nesting Tables Assembly guide

BROSA

BROSA Elizabeth Nesting Tables Assembly guide

Coopers Alabama 10789 Instructions for use
Coopers

Coopers Alabama 10789 Instructions for use

Backyard Creations Denali DEN-SWCH-2PK owner's manual
Backyard Creations

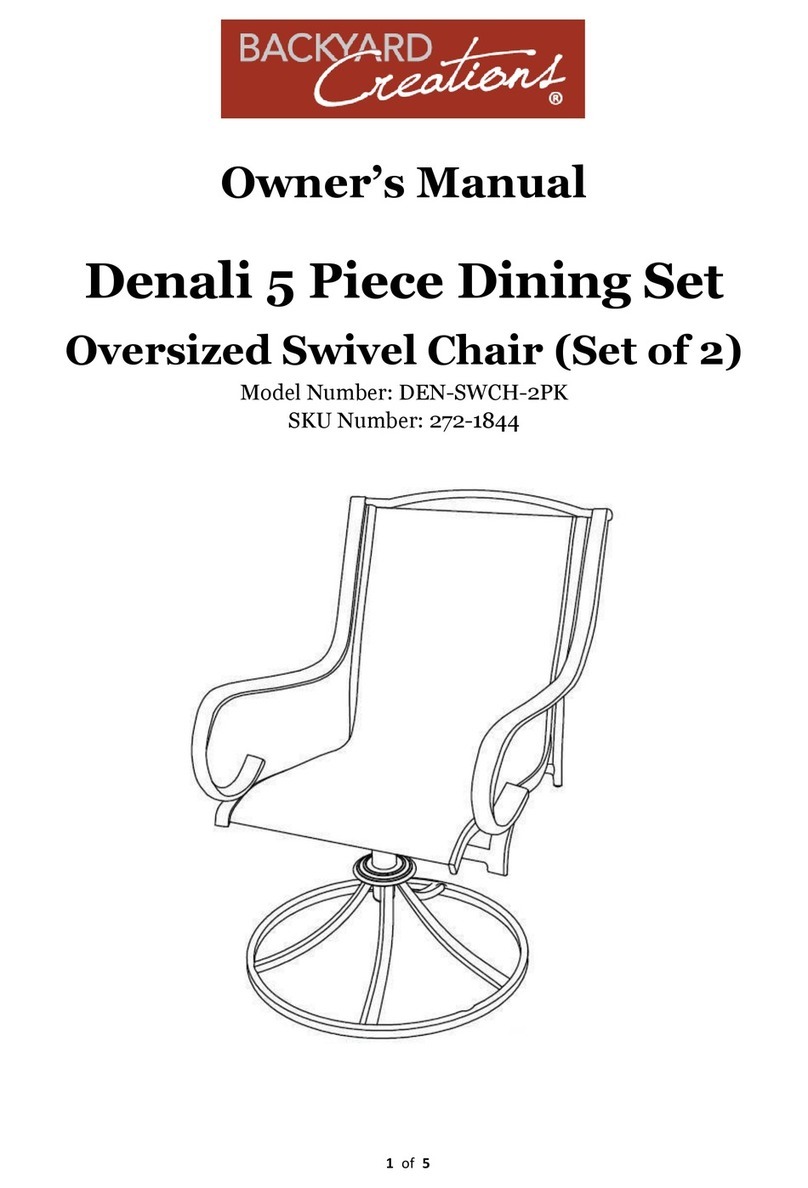
Backyard Creations Denali DEN-SWCH-2PK owner's manual

Criterion BANKSIA BC1200OAK Assembly & instruction manual

Criterion

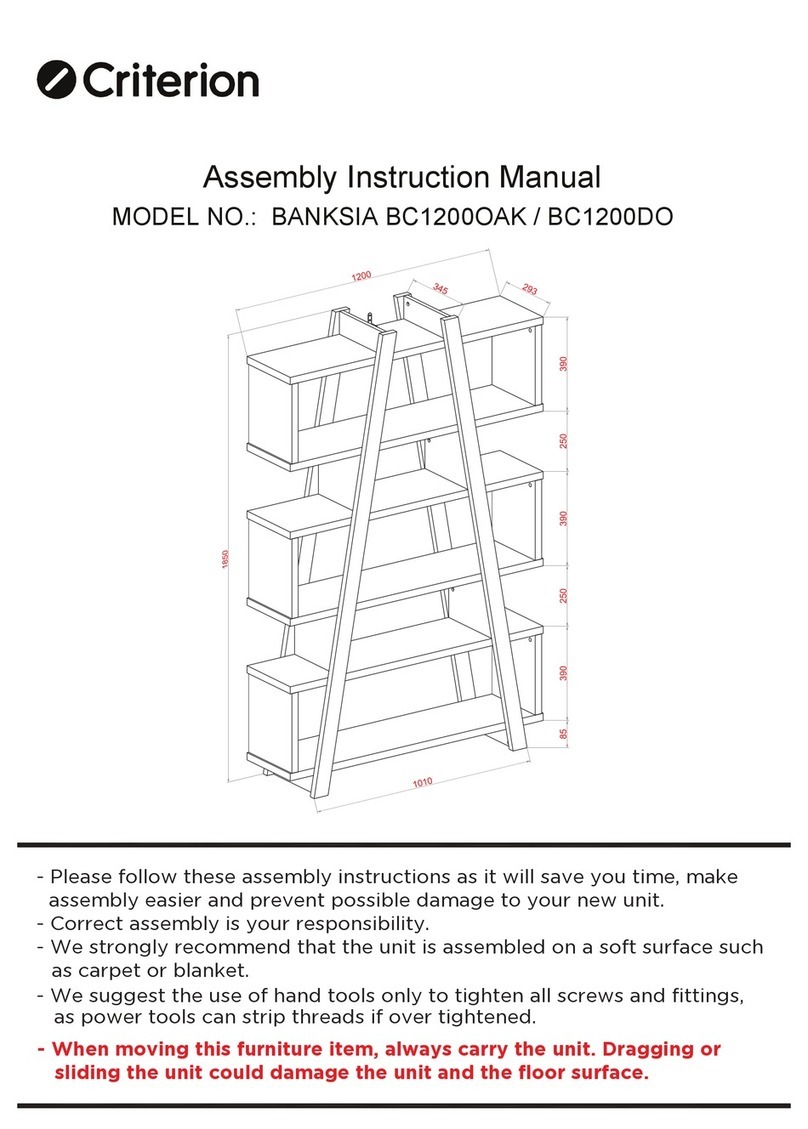
Criterion BANKSIA BC1200OAK Assembly & instruction manual

Philips 151043 operating instructions

Philips

Philips 151043 operating instructions
Novatel MULTIPURPOSE NT 2055 Assembly instructions
Novatel

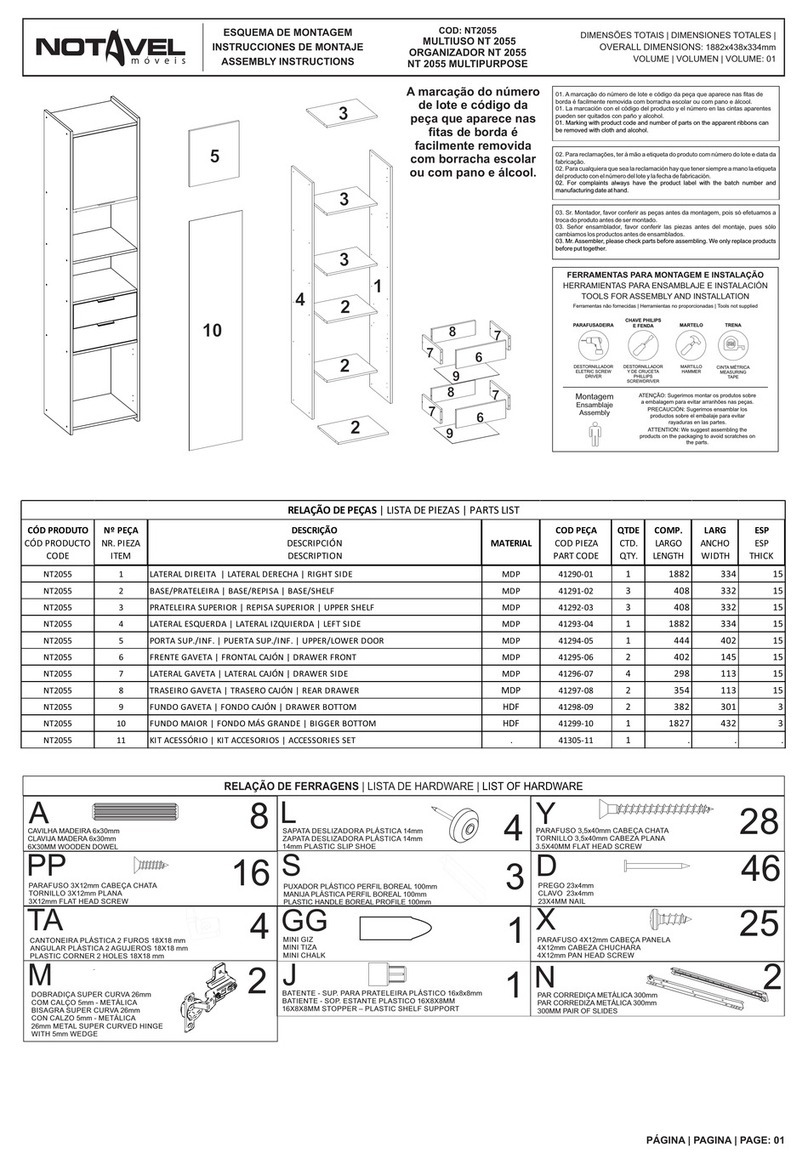
Novatel MULTIPURPOSE NT 2055 Assembly instructions

INTER LINK SAS TIROL 30500140 Assembling Instruction

INTER LINK SAS

INTER LINK SAS TIROL 30500140 Assembling Instruction

Form Mixxit quick start guide

Form

Form Mixxit quick start guide

Allen + Roth BROOKVIEW 1789MR-28-201 Assembly instructions

Allen + Roth

Allen + Roth BROOKVIEW 1789MR-28-201 Assembly instructions

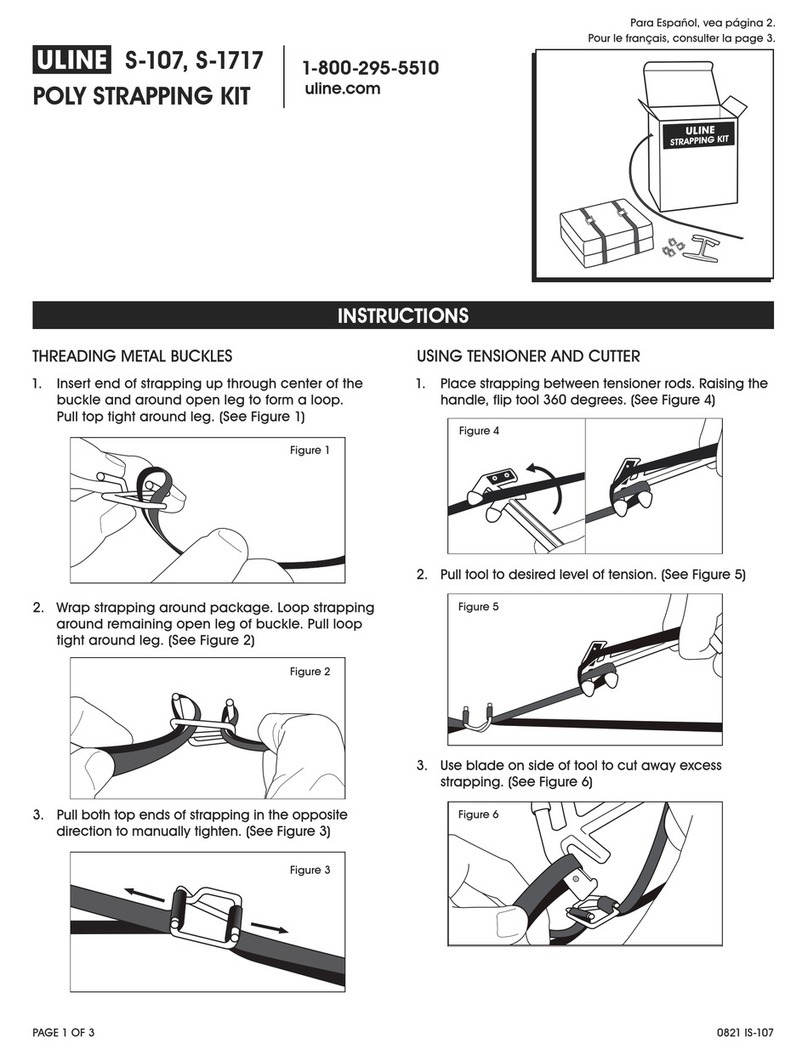
U-Line S-107 instructions

U-Line

U-Line S-107 instructions

Next NOAH 960642 Assembly instructions

Next

Next NOAH 960642 Assembly instructions

LDI Spaces Safco 5288 Assembly instructions

LDI Spaces

LDI Spaces Safco 5288 Assembly instructions

Wren TOWER UNIT 2070 Assembly guide

Wren

Wren TOWER UNIT 2070 Assembly guide

manuals.online logo
manuals.online logoBrands
  • About & Mission
  • Contact us
  • Privacy Policy
  • Terms and Conditions

Copyright 2025 Manuals.Online. All Rights Reserved.