Pretorian Slimline User manual

Pack Contents
Carefully check the contents
of the box, which are:
Slimline Joystick
T-Bar and Soft Ball handles
This manual
INSTRUCTIONS
Slimline Joystick
Perfect for smaller hands, the Slimline Joystick has both a small footprint and a low profile,
allowing it to be used comfortably for extended periods by younger users. Four cursor speed
settings allow the unit to be configured for the user’s precise needs. Each of the two touch
sensitive buttons may be programmed to be left click, right click, double-click or drag-lock and
two sockets allow external switches to replace the touch buttons where required. Includes
audible feedback for the touch buttons, which may be turned off if not required.
Product Description
Your Slimline Joystick has no user serviceable parts. If repair becomes necessary the unit should be
returned to Pretorian Technologies or an authorised distributor.
Maintenance
Your Slimline Joystick is warranted for 24 months from the date of purchase against defects in
manufacture or component failure. The unit is designed for domestic, educational and commercial
applications. Use outside these areas will invalidate the warranty.
Unauthorised repair or modification, mechanical abuse, immersion in any liquid or connection to
any equipment other than a host computer will also invalidate the warranty.
Warranty
Unit 37 Corringham Road Industrial Estate
Gainsborough Lincolnshire DN21 1QB United Kingdom
Tel +44 (0) 1427 678990 Fax +44 (0) 1427 678992
www.pretorianuk.com
S040115: Issue 1
For use with firmware 77.0 onwards
Double Click
Double clicking can be especially difficult for some users, so we have provided the facility to double
click just by pressing a button or switch once. The unit emits two beeps in rapid succession
whenever a button or switch is pressed that is set to Double-Click, provided the buzzer is enabled.
Disabling the Touch Buttons
The touch buttons are a great benefit for many users who have little forearm strength and who have
difficulty in pressing conventional buttons and switches. However they can, in some circumstances,
be a hindrance- for example if the user needs to lean across them to access the joystick.
If the user finds the touch buttons problematic for any reason, they may be disabled on an individual
basis simply by plugging any wired switch into the corresponding socket [4] or [6] and pressing it for
the first time. The unit will recognise the first press of the external switch and disable the
corresponding touch button. It will remain disabled until the user enters Learn Mode or the unit is
powered off by unplugging it or turning off the computer.
Drag Lock
Drag Lock is a feature which latches the left button on after the button is released, allowing you to
move icons around on screen or select multiple items by ‘lassoing’ them. Where a touch button (or
its associated external switch) is programmed to function as Drag Lock, the first press of the
button/switch turns on the drag feature and the Drag LED [3] lights. The unit also emits a beep if the
buzzer is enabled. To release the Drag Lock, press any button or switch.
Button functions

The Slimline Joystick is compatible with all computers with a USB interface including Personal
Computers (PCs), Apple Macintosh (Macs) and Chromebooks. It will also work with larger tablet
devices which have full-sized USB ports. This product will also work with PS/2 ports which are
available on some PCs but requires an adaptor plug (available on request). USB is the
recommended connection method.
Compatibility
For USB connection, simply plug your Slimline Joystick into any available USB port on your computer.
You can do this whether or not the computer is powered on. Your computer will automatically configure
itself and is ready for use within a few seconds.
If you are using a PS/2 interface via the adaptor plug, you must ensure the computer is fully turned off
before first installation, not just in standby.
Regardless of the method of connection, Slimline Joystick never requires any driver files to be installed.
Installation
Slimline Joystick has four speed settings to optimise the speed of the cursor according to
individual user’s needs. To change the speed, press the Feature button [5] on the rear of the unit
briefly. Each time it is pressed, the unit will emit between one and four beeps to indicate the speed,
with four beeps being the fastest.
The speed setting is retained in memory and is automatically recalled whenever the unit is plugged
in or the computer powered on.
Speed Setting
There are a number of additional settings that allow you to configure your Slimline Joystick to your
exact needs. These are accessed via Learn Mode and are also stored in internal non-volatile memory
to be automatically recalled whenever you use the unit, even if you swap computers.
Learn Mode
Features
• Very small footprint.
• Height of palm rest from desk 18mm.
• USB connection- compatible with PC, Mac, Chromebook and tablet devices that
support external mice. PS/2 Connection via adapter available on request.
• Does not require any driver software to be loaded onto host computer- ideal for
managed computer systems often used in schools.
• Speed settings and button functions retained if the unit is unplugged or
powered down.
• Ships with T-bar handle and large diameter sponge ball.
• Dimensions 145 x 90 x 80mm.
1 2
34
5
6
To make changes to these settings, you must first go into Learn Mode. Press and hold the Feature
button [5] until you hear a warbling beep. The unit is now in Learn Mode and will accept changes to
the settings, as follows:
Left touch button setting
The left touch button [1] may be set to left click, right click, drag or double click. While in Learn
Mode, touch the left button and the unit will emit between one and four beeps to indicate its setting,
according to Table 1. Press the left touch button until you hear the relevant number of beeps for the
setting you would like.
Note that the switch socket adjacent to the left button [6] adopts the same function as the left
touch button.
Right touch button setting
The right touch button [2] may also be set to left click, right click,
drag or double click. While in Learn Mode, touch the right button and
the unit will emit between one and four beeps to indicate its setting,
according to Table 1. Press the right touch button until you hear the
relevant number of beeps for the setting you would like.
Note that the switch socket adjacent to the right button [4] adopts
the same function as the right touch button.
Entering Learn Mode
Setting No. Beeps
Left Click 1
Double Click 2
Drag Lock 3
Right Click 4
Table 1- Button/Switch Settings
Slimline Joystick is fitted with a buzzer which gives an audible indication of operations such as drag
lock and unlock, double click, entering Learn Mode etc. When Slimline Joystick is used in a
classroom setting, where there may be many units in close proximity, it may be beneficial to turn off
the buzzer. To achieve this, press the Feature button [5] briefly while in Learn Mode. Two long beeps
are heard with the second of a lower note than the first, indicating that the buzzer is now disabled
(although it will still operate while in Learn Mode). Repeating the above operation will re-enable the
buzzer, indicated by two long beeps with the second note being higher than the first.
Buzzer On/Off
When all the above settings have been changed to meet your requirements, exit Learn Mode by
pressing and holding the Feature button [5]. A warbling beep is emitted (whether the buzzer is on or
off) and any changes to the settings become effective. They are also stored in the non-volatile
memory for subsequent recall.
Note that the unit automatically leaves Learn Mode, and any changes are discarded, if the settings
remain unchanged for more than a minute.
Exiting Learn Mode

Pack Contents
Carefully check the contents
of the box, which are:
Slimline Joystick
T-Bar and Soft Ball handles
This manual
INSTRUCTIONS
Slimline Joystick
Perfect for smaller hands, the Slimline Joystick has both a small footprint and a low profile,
allowing it to be used comfortably for extended periods by younger users. Four cursor speed
settings allow the unit to be configured for the user’s precise needs. Each of the two touch
sensitive buttons may be programmed to be left click, right click, double-click or drag-lock and
two sockets allow external switches to replace the touch buttons where required. Includes
audible feedback for the touch buttons, which may be turned off if not required.
Product Description
Your Slimline Joystick has no user serviceable parts. If repair becomes necessary the unit should be
returned to Pretorian Technologies or an authorised distributor.
Maintenance
Your Slimline Joystick is warranted for 24 months from the date of purchase against defects in
manufacture or component failure. The unit is designed for domestic, educational and commercial
applications. Use outside these areas will invalidate the warranty.
Unauthorised repair or modification, mechanical abuse, immersion in any liquid or connection to
any equipment other than a host computer will also invalidate the warranty.
Warranty
Unit 37 Corringham Road Industrial Estate
Gainsborough Lincolnshire DN21 1QB United Kingdom
Tel +44 (0) 1427 678990 Fax +44 (0) 1427 678992
www.pretorianuk.com
S040115: Issue 1
For use with firmware 77.0 onwards
Double Click
Double clicking can be especially difficult for some users, so we have provided the facility to double
click just by pressing a button or switch once. The unit emits two beeps in rapid succession
whenever a button or switch is pressed that is set to Double-Click, provided the buzzer is enabled.
Disabling the Touch Buttons
The touch buttons are a great benefit for many users who have little forearm strength and who have
difficulty in pressing conventional buttons and switches. However they can, in some circumstances,
be a hindrance- for example if the user needs to lean across them to access the joystick.
If the user finds the touch buttons problematic for any reason, they may be disabled on an individual
basis simply by plugging any wired switch into the corresponding socket [4] or [6] and pressing it for
the first time. The unit will recognise the first press of the external switch and disable the
corresponding touch button. It will remain disabled until the user enters Learn Mode or the unit is
powered off by unplugging it or turning off the computer.
Drag Lock
Drag Lock is a feature which latches the left button on after the button is released, allowing you to
move icons around on screen or select multiple items by ‘lassoing’ them. Where a touch button (or
its associated external switch) is programmed to function as Drag Lock, the first press of the
button/switch turns on the drag feature and the Drag LED [3] lights. The unit also emits a beep if the
buzzer is enabled. To release the Drag Lock, press any button or switch.
Button functions
Table of contents
Other Pretorian Video Game Controllers manuals
Pretorian
Pretorian Optimax Joystick User manual
Pretorian
Pretorian OPTIMA User manual
Pretorian
Pretorian n-ABLER PRO User manual
Pretorian
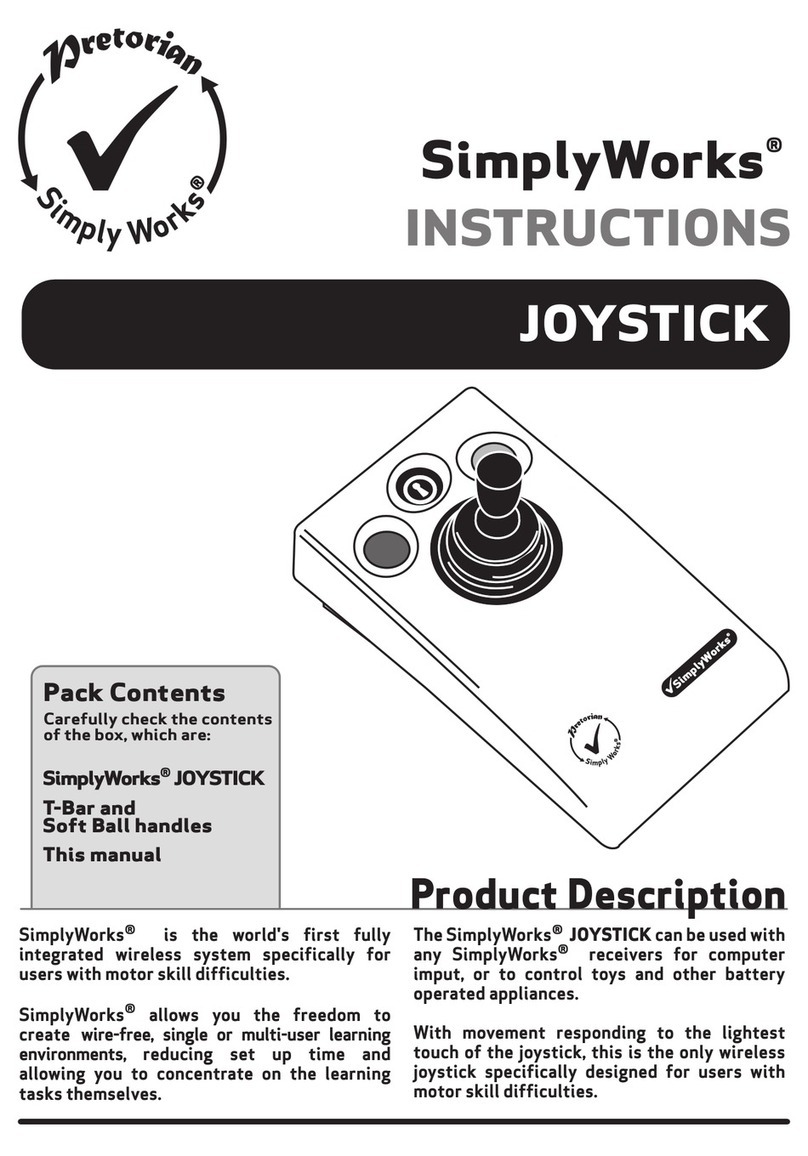
Pretorian SimplyWorks JOYSTICK User manual

Pretorian
Pretorian OPTIMAX JOYSTICK User manual
Pretorian
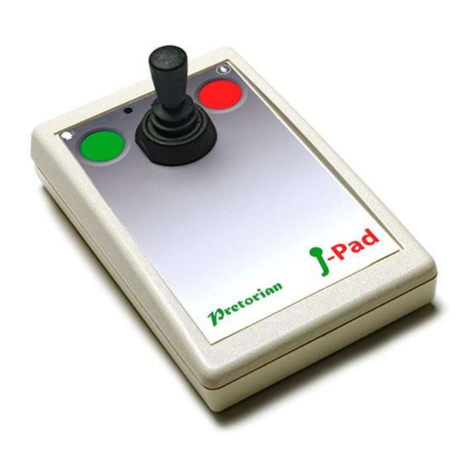
Pretorian J-Pad User manual
Pretorian
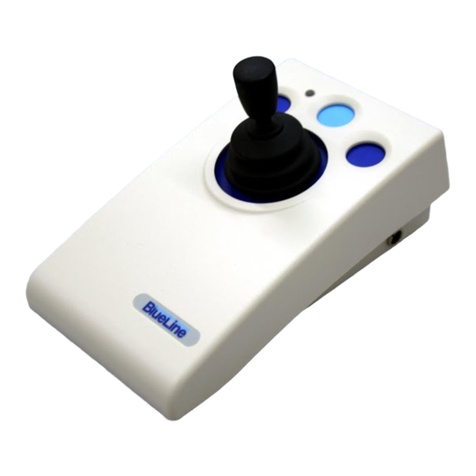
Pretorian BLUELINE User manual
Pretorian
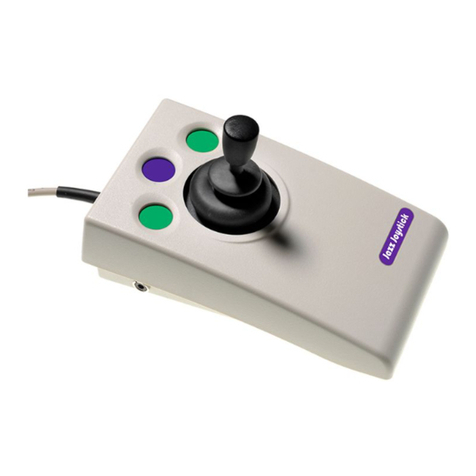
Pretorian JAZZ Joystick User manual

