Pretorian J-Pad User manual

Pack Contents
Carefully check the contents of
the box, which are:
J-Pad unit
USB charging cable
These instructions
INSTRUCTIONS
J-Pad Access Device for iPad, iPhone and iPod
Product Description
J-Pad is a highly intuitive joystick
access device for the iPad/iPhone/iPod,
providing comprehensive access to all
iPad functions. Specifically designed
around a wide variety of users’ needs,
J-Pad is simple to set up and use, but
loaded with features to cater for all
requirements. Although simple to
operate, to ensure you get the maximum
benefit from J-Pad, please take time to
read this booklet.

Features
• Wireless connection to the iPad using Bluetooth 2.1
• Intuitive joystick operation
• Supports Voiceover and Switch Control features
• Touch sensor buttons or, optionally, plug-in up to two external switches
• Unique line by line scanning facility
• Access to Apps, music and media, still and video photography and
on-screen keyboard
• Fully supports Siri and iBooks page turning
• Integral rechargeable lithium-ion battery; charged from any USB socket
• Approximately 30 hours battery life between charges
• 30 metres operating range
A
B
FH D E G J
C
Compatibility
Throughout these instructions all references
to iPad are applicable to any of these Apple
products.
iPad (all versions)
iPod Touch 3rd Generation and later
iPhone 3GS and later
Note: Throughout these instructions all
references to iPad are applicable to any of the
above Apple products.
J-Pad is not suitable for use with Android tablets,
Apple Macs or personal computers. Please
refer to the Pretorian Technologies website for
products which are suitable for these platforms.

Charging your J-Pad
Before using your J-Pad ensure the battery is fully charged by plugging the charging cable into
the charging socket [F] and the USB connector into a computer USB port. The charging LED [E] will
illuminate (green) to show charging is taking place. Once charged the LED is extinguished.
Bluetooth Connections
Once connected with a specific iPad yourJ-Pad will no longer be visible (‘discoverable’) to other iPads.
If you turn off your iPad, disable Bluetooth, or go out of range of the J-Pad the connection between
the two devices is automatically re-established when you next power-on, turn on Bluetooth or go back
into range.
To connect to a different iPad please refer to the ‘Connecting your J-Pad to a different iPad’ section
in the manual.
Connecting to your iPad
Wake up J-Pad by moving the joystick in any direction. The status LED [D] will flash rapidly to indicate
that it is not yet paired with an iPad. If the LED does not flash rapidly, please refer to the ‘Connecting
your J-Pad to a different iPad’ section of these instructions.
Go to the Bluetooth menu on your iPad (Settings Bluetooth). Ensure Bluetooth is turned on using
the slider at the top of the screen.
After a few seconds J-Pad should appear as a ‘discoverable’ device which will appear as something
similar to:
Pretorian-V56.1-ABC1
Tap on the name and the pairing process will begin. Typically it takes around 20 seconds to connect,
after which the iPad will state the device is ‘connected’.
Changing Mode Settings
To establish the current Mode setting, or to change it, first put the unit into Programming Mode by
pressing the Feature Button [G] for approximately 2 seconds. The unit emits a warbling beep as it
enters Programming Mode and the status LED [D] lights.
While in Programming Mode, move the joystick [A] downwards and listen to the number of beeps that
are emitted from the unit. This tells you the current setting without making any changes, according
to the following table:
Once the current Mode setting has been established, should you wish to make a change, simply move
the stick downwards a number of times until the correct number of beeps are emitted. Once you are
happy with the setting, press the Feature button [G] briefly and the unit emits a warbling beep once
again to indicate it is leaving Programming Mode and storing the new settings.
Note that this table is also shown on
the rear of J-Pad for easy reference.
1 Beep Mode 1
2 Beeps Mode 2
3 beeps Mode 3
4 Beeps Mode 4
5 Beeps Mode 5

General Operating Guide
Modes 1 to 4 are configured for use with Voiceover mode. For further details on how to use J-Pad in
these modes, please refer to Section 2.
Mode 5 is configured for use with Switch Control mode. Please refer to Section 3 when using J-Pad in
this mode.
On-Screen Keyboard
Because J-Pad appears to the iPad as a keyboard, the iPad automatically turns off the on-screen pop-up
keyboard. It is highly likely that you will need the keyboard to be enabled so that its keys may be scanned.
J-Pad allows you to deploy the on-screen keyboard any time you are in a text box simply by pressing the
feature button [G] briefly. To turn it off again, press the feature button briefly once more.
Note that the iPad only allows the on-screen keyboard to be deployed when a text input box is selected.
It is automatically hidden when the text box is deselected but will pop up again automatically when
another is selected.
Connecting your J-Pad to a different iPad
If, when waking up your J-Pad, the
status LED [D] does not continue
to flash rapidly, this indicates
that it is already connected to
another iPad in the vicinity. In
this case you will need to ‘forget’
this connection before you can
reconnect with another iPad.
Go to the Bluetooth menu on the
iPad to which J-Pad is currently
connected (Settings Bluetooth)
and tap the blue tab adjacent to
the unit name, for example:
Pretorian-V56.1-ABC1
Then tap on ‘Forget this device’.
At this point the unit is no longer
connected to any iPad and will
appear as ‘discoverable’ on all
iPads in the vicinity. You can now
reconnect with a different iPad
simply by tapping on the unit
name in the Bluetooth menu.
Note that if an iPad to which the
unit is connected is removed
from the vicinity of the J-Pad,
the connection will automatically
be lost and again the J-Pad will
become ‘discoverable’ to all other
iPads in the vicinity.
Automatic Sleep Mode
To conserve battery life, J-Pad automatically enters a low power sleep mode if it remains unused for one
hour. Moving the joystick in any direction instantly wakes the unit again. While asleep, the connection with
iPad is lost but is automatically re-established within a few seconds of wake-up.
If the unit remains unconnected to an iPad for a period of more than 5 minutes, it will also enter sleep mode
Note that the green and red buttons are disabled while in sleep mode to conserve power, so these will not
wake the unit.

Disabling Extended Press Features
Users who take an extended time to release when touching the red and green buttons [B and C], or to release
the external switches, may find that Siri and Voice Prompt deploy accidentally.
To disable (or re-enable) the extended press facilities, first put the unit into Programming Mode by pressing
the Feature Button [G] for approximately 2 seconds. The unit emits a warbling beep as it enters Programming
Mode and the status LED [D] lights.
While in Programming Mode, move the joystick [A] upwards and listen to the number of beeps that are
emitted from the unit. This tells you the current setting without making any changes, according to the
following table:
Once the current setting has been established, should you wish to make a change, simply move the stick
upwards a number of times until the correct number of beeps are emitted. Once you are happy with the
setting, press the Feature button [G] briefly and the unit emits a warbling beep once again to indicate it is
leaving Programming Mode and storing the new settings.
1 Beep Allow extended press features (default setting)
2 Beeps Disable extended press features
Note that this table is also
shown on the rear of J-Pad for
easy reference.
Using External Switches
If, due to limited motor skills, the user needs to lean on the red and green touch sensitive buttons to gain
access to the joystick, the buttons will operate inadvertently. To avoid this situation, plug external switches
into sockets [H] and/or [J]. Doing so disables the touch sensitive buttons and they cease to function until the
external switch is unplugged.
Note that disabling the touch sensitive buttons is done on an individual basis, so if you need to disable
the green button [B], plug a switch into socket [H]. Similarly, to disable the red button [C], plug an external
switch into socket [J].
Accessing Siri
More recent iPads and iPhones contain a voice
recognition feature named Siri. This can be quite
useful for users who would benefit from J-Pad. To
gain access to Siri on an iPad, the user presses and
holds the Home button for two seconds. This may
prove difficult for some.
Therefore, a facility has been included in J-Pad
where pressing the red button [C] for two seconds
also launches Siri. A further, brief, press hides Siri.
Users who find it difficult to release a button
quickly may find that Siri deploys inadvertently. To
avoid this, please refer to the following section:
Battery Life and Battery Charging
A fully charged battery gives
approximately 30 hours of use.
When the battery is getting low,
the charging LED [E] begins to blink
red. This is an indication that you
should charge the battery soon.
Plug the charging cable into the
charging socket [F] and then into a
USB socket on a computer. Ensure
the computer is turned on.
While charging, the charging
LED will be illuminated green.
Once charging is complete (a
matter of around 2 hours if fully
discharged) the charging LED will
be extinguished. You can then
unplug the cable. Note that you
can carry on using the J-Pad while
it is charging.
J-Pad plugs into a computer USB
port for charging purposes only-
it does not give any functional
connection this way).
J-Pad can also be charged via the
charger plug supplied with iPad-
simply plug the USB cable into
this instead of a PC.

Turning on Voiceover mode
Go to the Voiceover menu on your iPad (Settings
General Accessibility Voiceover) and
slide the Voiceover switch to ‘On’. Provided the
volume is turned sufficiently high you will hear a
message stating that Voiceover is turned on.
It can sometimes be useful to have the facility to
turn Voiceover on and off quickly, for example if
a teacher or carer needs to gain occasional access
to the iPad. It is possible to set the iPad so that a
triple-click of the Home button turns Voiceover
on and off.
To enable this feature in iPad, go to the Triple-
click menu on your iPad (Settings General
Accessibility Accessibility Shortcut) and
ensure Voiceover is ticked .
Using J-Pad with Voiceover
SECTION 2
In modes 1 to 4, J-Pad makes use of the Voiceover feature built into iPad. Voiceover must be enabled
on your iPad to take advantage of the features that modes 1 to 4 offer. This section describes how to
choose the mode which is most suitable to your needs and how to use J-Pad in your chosen mode.
Choosing the right Voiceover mode
There are a variety of operating modes which may be selected according to the user’s needs.
To select a mode, please refer to the Mode Settings section of these instructions.
It is difficult to generalise about which mode suits particular situations or individuals. However, the
following points should help in choosing between them:
• If iBooks page turning is important -
consider Mode 1 or Mode 2 with the buttons
(or external switches) set to iBooks Page
Forward and Page Back (see section entitled
“Changing Mode Settings”).
• If the user cannot easily use switches,
consider Mode 2
• If the user engages in large amounts of
navigation of the home screen and/or
browses many web pages, consider Modes 3
or 4.
• If the user needs to access switch adapted
apps as well as some navigation, use Mode 2.
The following sections list the features of each
mode:
Mode 1 (General Purpose Navigation)
In Mode 1, the J-Pad functions as follows:
Joystick Up = Move up one block, or Page
Forward in iBooks
Joystick Down= Move down one block, or
Page Back in iBooks
Joystick Left= Scan one item to the left
Joystick Right= Scan one item to the right
Green button [B]= Select item
Red button [C]= Close item (equivalent to
pressing home button on iPad).
Mode 1 is a general purpose mode and is
suitable for a wide variety of users. The iBooks
accessibility is attractive to many, although this
mode does require sufficient dexterity to be
able to operate the touch sensitive buttons (or
to use external switches if plugged in).
When the joystick is moved up or down, the exact
function carried out by iPad is decided by the
Voiceover Rotor. By default, iPad has the Rotor
set to “Characters” which means that up and
down movements of the joystick will spell out
the name of the highlighted icon.
This is a useful facility when using Voiceover
for visual impairments but of little use for
navigation. You may therefore wish to change
the Rotor settings.
To achieve this, with Voiceover turned on, place
two fingers on the touch screen and rotate them
in either a clockwise or anticlockwise direction.
As you do so, you will see a rotor dial appear on
screen. You can select any setting you feel is
appropriate, although Pretorian recommends
“Containers” for use with J-Pad.
For more information on using the Voiceover
Rotor, please refer to the iPad user guide by
launching Safari, selecting the iPad User Guide
from the favourites list then navigating to
Settings Accessibility Using Voiceover
rotor control.


Mode 2 (Stick Only with optional switch
access)
In Mode 2, the J-Pad functions as follows:
Joystick Up = Select item
Joystick Down= Close item
Joystick Left= Scan one item to the left
Joystick Right= Scan one item to the right
Mode 2 is intended for users who do not have
the dexterity to easily operate either J-Pad’s
touch sensitive buttons or external switches. In
this mode, all navigation is achieved using the
joystick.
Although the red and green touch sensitive
buttons [B & C] are not used for general
navigation, they can be configured (in Mode
2 only) to become access switches for switch
adapted apps. Please refer to the section
entitled ‘Switch Adapted App Access’ for more
information.
Mode 3 (Line scanning mode- Portrait)
In this mode, the J-Pad functions as follows:
Joystick Up = Scan one line up with iPad in
portrait mode
Joystick Down= Scan one line down with
iPad in portrait mode
Joystick Left= Scan one item to the left
Joystick Right= Scan one item to the right
Green button [B]= Select item
Red button [C]= Close item (equivalent to
pressing home button on iPad).
Line by line scanning in Voiceover is unique to
J-Pad and allows incredibly efficient navigation
of the home screen, web pages and any screen
where there are many items.
To get the maximum benefit from this
feature, it is useful to know how it functions.
When moving the stick down, for example, J-Pad
sends four ‘forward’ instructions to the iPad. It
is equivalent to quickly moving the stick four
times to the right. Because there are four apps
per line on the Home screen, when the iPad is in
portrait mode it scans a whole row at a time.
If you use this feature to navigate in a web page
for example, it will move four items to the right.
Similarly, if you use it to scan the on-screen
keyboard, it will move four keys to the right, and
so on.
Mode 4 (Line scanning mode- Landscape)
In this mode, the J-Pad functions as follows:
Joystick Up = Scan one line up with iPad in
landscape mode
Joystick Down= Scan one line down with
iPad in landscape mode
Joystick Left= Scan one item to the left
Joystick Right= Scan one item to the right
Green button [B]= Select item
Red button [C]= Close item (equivalent to
pressing home button on iPad).
Line by line scanning in Voiceover is unique to
J-Pad and allows incredibly efficient navigation
of the home screen, web pages and any screen
where there are many items.
To get the maximum benefit from this feature, it
is useful to know how it functions. When moving
the stick down, for example, J-Pad sends five
‘forward’ instructions to the iPad. It is equivalent
to quickly moving the stick five times to the
right. Because (when the iPad is in landscape
mode) there are five apps per line on the Home
screen, this means it scans a whole row at a time.
If you use this feature to navigate in a web page
for example, it will move five items to the right.
Similarly, if you use it to scan the on-screen
keyboard, it will move five keys to the right, and
so on.
Voice Prompts
Although users with visual impairments can
find voice prompts useful, they add little to
the scanning process and can prove to be a
distraction. If you do not want them, press and
hold the green button [B] on J-Pad for three
seconds until the voice announces ‘Speech
Off’. Following this you will hear no more voice
prompts. To re-engage voice prompts, press and
hold the green button [B] once again.
* See also: Disabling Extended Press Features Section

Built-In Auto Scanning
If the user cannot easily hold the joystick off centre for an extended period of time while scanning, the
Auto-Scan mode allows the unit to automatically send repeated scanning commands to the iPad until
the joystick is next operated.
The speed at which the auto scanning takes place can be varied between one step every 2 seconds up
to one step every 0.8 seconds. There is also an ‘escalating’ setting where the speed increases over
time, which can be very useful in scanning large amounts of items.
To enable the Auto-Scanning feature, first put the unit into Programming Mode by pressing the Feature
Button [G] for approximately 2 seconds. The unit emits a warbling beep as it enters Programming
Mode and the status LED [D] lights.
While in Programming Mode, move the joystick [A] to the right and listen to the number of beeps that
are emitted from the unit. This tells you the current setting without making any changes, according
to the following table:
Note that this table is also shown on
the rear of J-Pad for easy reference.
Once the current setting has been
established, should you wish to
make a change, simply move the
stick to the right a number of
times until the correct number of
beeps are emitted. Once you are happy with the setting, press the Feature button [G] briefly and
the unit emits a warbling beep once again to indicate it is leaving Programming Mode and storing
the new settings.
1 Beep Auto-Scanning Off (default setting)
2 Beeps Low scanning speed
3 beeps Medium scanning speed
4 Beeps High scanning speed
5 Beeps Escalating scanning speed
Switch Adapted App Access (available in Mode 2 only)
Mode 2 does not normally make use of the red and
green buttons [B and C], but these may be used for
switch adapted app access if you wish. If external
switches are plugged into J-Pad, these take on the
switch adapted access settings.
Most switch adapted apps use either Space/Enter
or ~1 / ~3 for access. Some apps give you the choice
between these two industry standards.
J-Pad allows you to choose between these two
standards or it can configure the buttons to be Page
Forward and Page Back in iBooks.
To change the switch access settings, first put
the unit into Programming Mode by pressing the
Feature Button [G] for approximately 2 seconds. The
unit emits a warbling beep as it enters Programming
Mode and the status LED [D] lights.
While in Programming Mode, move the joystick [A]
to the left and listen to the number of beeps that
are emitted from the unit. This tells you the current
setting without making any changes, according to
the following table:
Once the current setting has been
established, should you wish to make
a change, simply move the stick to
the left a number of times until the
correct number of beeps are emitted. Once you are happy with the setting, press the Feature button [G]
briefly and the unit emits a warbling beep once again to indicate it is leaving Programming Mode and storing
the new settings.
Note that this table is also shown on
the rear of J-Pad for easy reference.
1 Beep Buttons do not function (default setting)
2 Beeps Space/ Enter
3 beeps ~1 / ~3
4 Beeps iBooks Page Forward and Page Back

Introduction
iOS7 and later operating systems include the Switch Control accessibility feature, allowing the user
to scan apps, menu items and the pop-up keyboard without using the touch screen. In mode 5, J-Pad
may be used as the Bluetooth switch device to allow you to scan and select items and launch and
close apps.
Row Scanning
When the Switch Control cursor first appears on the home screen, a whole row of icons will be
highlighted. Move the joystick downwards to move the cursor from one row to the next. You can
go back up again by moving the joystick upwards. Switch Control contains a wrap feature where a
downward movement when the dock is highlighted sends the cursor to the top of the screen; or an
upward movement when the top row is highlighted moves the cursor down to the dock.
Setting up Switch Control
1. With J-Pad already paired to your iPad, go to
Settings Accessibility Switch Control
and tap on ‘Switches’. Then tap on ‘Add New
Switch’ and ‘External’. You will be asked to
activate your external switch. At this point,
move the joystick to the right. Once your iPad
has recognised the joystick movement, it will
ask you to type in a name for it. Type ‘Joystick
Right’ or similar. Next you will be asked to
assign this movement to a particular task
from a list. Tap on ‘Move to Next Item’.
2. Repeat the above but this time when
prompted to activate the external switch,
move the joystick to the left. Once your iPad
has recognised the joystick movement, it will
ask you to type in a name for it. Type ‘Joystick
Left or similar. Next you will be asked to
assign this movement to a particular task
from a list. Tap on ‘Move to Previous Item’.
3. Repeat the above but this time when
prompted to activate the external switch,
press the green button. Once your iPad has
recognised the joystick movement, it will
ask you to type in a name for it. Type ‘Green
Button’ or similar. Next you will be asked to
assign this movement to a particular task
from a list. Tap on ‘Select Item’.
Please note that the function of the red button
is inherent to iPad and does not need to be
programmed. The names you type for each
function described above are entirely arbitrary
and can be anything you like.
4. Finally return to the Switch Control main
menu and turn on Switch Control using the
slider at the top of the screen.
Please ensure that Auto-Scanning is turned
off. (Due to limitations in the current Switch
Control implementation in iPad, Auto Scanning
does not work with manual scanning devices
such as J-Pad). However, J-Pad’s built-in auto-
scanning feature described in section 2 may be
used instead. Please refer to Section 2, Built-In
Auto-Scanning for more information.
Press the Home button on iPad to return to the
home screen. You should see a highlight around
the top row of icons.
Tutorial videos are available on the
Pretorian Technologies’ website - please visit
www.pretorianuk.com/j-pad and click on Videos.
Using J-Pad with Switch Control
SECTION 3
When set to mode5, J-Pad makes use of the Switch Control feature built into iPad. Switch Control must
be enabled on your iPad to take advantage of the features that mode 5 offers. This section describes
how to set up Switch Control on your iPad and how to use J-Pad in mode 5.

Scanning within a Row
Once the correct line has been arrived at, press the green button on J-Pad. You can now scan the
items on the row by moving the joystick left or right.
Launching an App
Once you have arrived at the app you would like to run, press the green button again and it will launch.
Scanning within the app is much the same as described above.
Closing an App
To close an app at any time, simply press the red button on J-Pad.
Returning to Row Scanning
When scanning with a Row, once the end of the row has been reached, the whole row is highlighted
with a dotted line after the next movement of the joystick. If you click the green button with the
dotted highlight shown, this returns Switch Control to row scanning.
A similar technique is used when scanning a block of menu items, a block of data in the web browser etc.

www.pretorianuk.com
Unit 37 Corringham Road Industrial Estate
Gainsborough Lincolnshire DN21 1QB UK
Tel +44 (0) 1427 678990 Fax +44 (0) 1427 678992
The Apple brand name is used for identification
purposes only and is acknowledged.
Maintenance
Your J-Pad has no user serviceable parts. If repair is
necessary the unit should be returned to Pretorian
Technologies or an authorised distributor.
J-Pad contains a lithium-ion battery that isn’t user
replaceable. Although the unit uses the very latest
battery technology, it may eventually need to be
replaced. Please contact Pretorian Technologies or
your local distributor prior to returning.
Disposal of batteries is often subject to local
laws. Please consult your local authorities for
information relating to your locale. Never dispose
of a battery in fire.
Troubleshooting
If your J-Pad doesn’t operate correctly, please use the following guide to determine the cause.
If, after following this guide, you unit still doesn’t operate, please contact your supplier before returning it.
Warranty
Your J-Pad is warranted against defects in manufacture or component failure. The unit is designed for
domestic and educational applications. Use outside these areas will invalidate the warranty. Unauthorised
repair or modification, mechanical abuse, immersion in any liquid or connection to incompatible equipment
will also invalidate the warranty.
Symptom Possible Cause/ Remedy
J-Pad is not ‘discoverable’ on my
iPad
• Ensure battery is charged.
• Ensure unit is awake by moving joystick
• Unit may be connected to another iPad which is in range. Use ‘forget
this device’ in Bluetooth menu of other iPad to make unit available again
My J-Pad has been connected to this
iPad before but won’t connect now
• Reconnection should be automatic but if necessary, got to the
Bluetooth menu and click the J-Pad entry. If this doesn’t work, try
‘forget this device’ and then re-connect
The green and red buttons don’t work • You may have external switches plugged in
• Unit may have gone to sleep. Move Joystick to wake up
• Unit is in Mode 2 (Stick Only) with switch access set to ‘None’.
Reprogram as required.
The keyboard doesn’t pop up when
I’m in a text entry box
• Press the feature button on the rear of J-Pad [G]. This should re-enable
the pop-up keyboard
S040036 Iss 1
For use with firmware revision 56.1 onwards
SimplyWorks® is a registered
trademark of Pretorian Technologies Ltd
Table of contents
Other Pretorian Video Game Controllers manuals
Pretorian
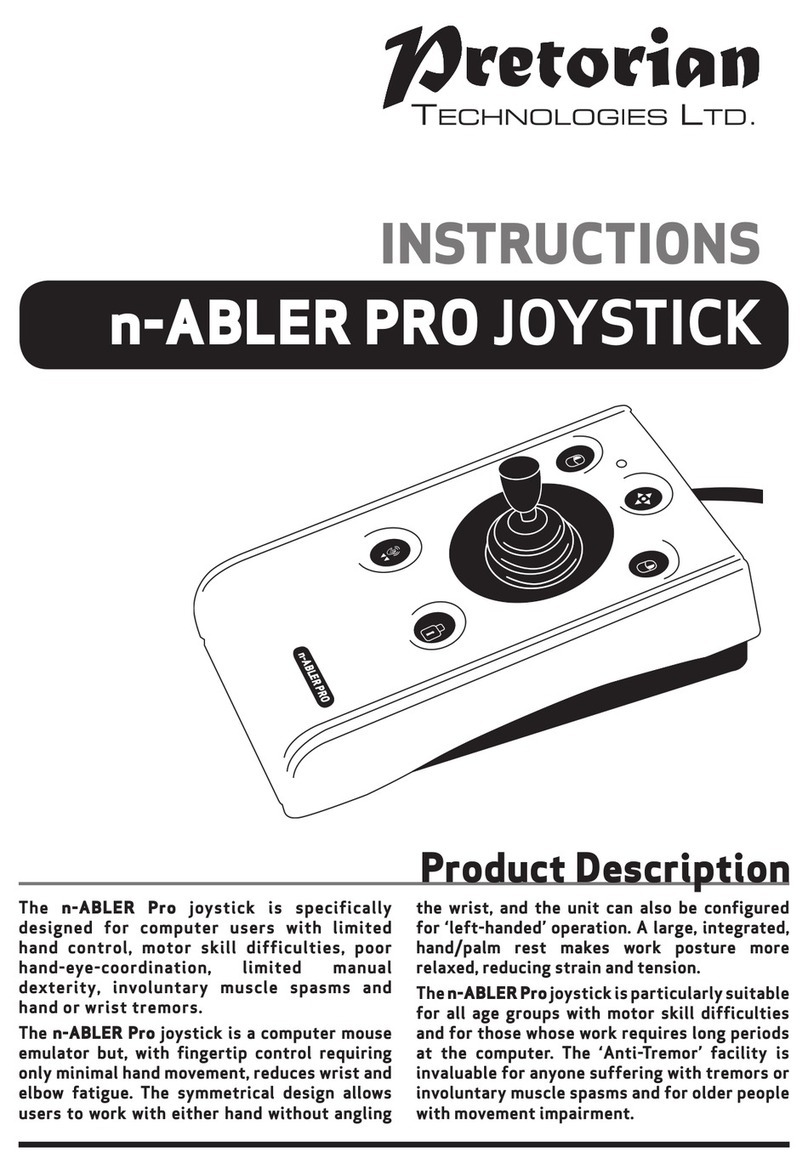
Pretorian n-ABLER PRO User manual
Pretorian
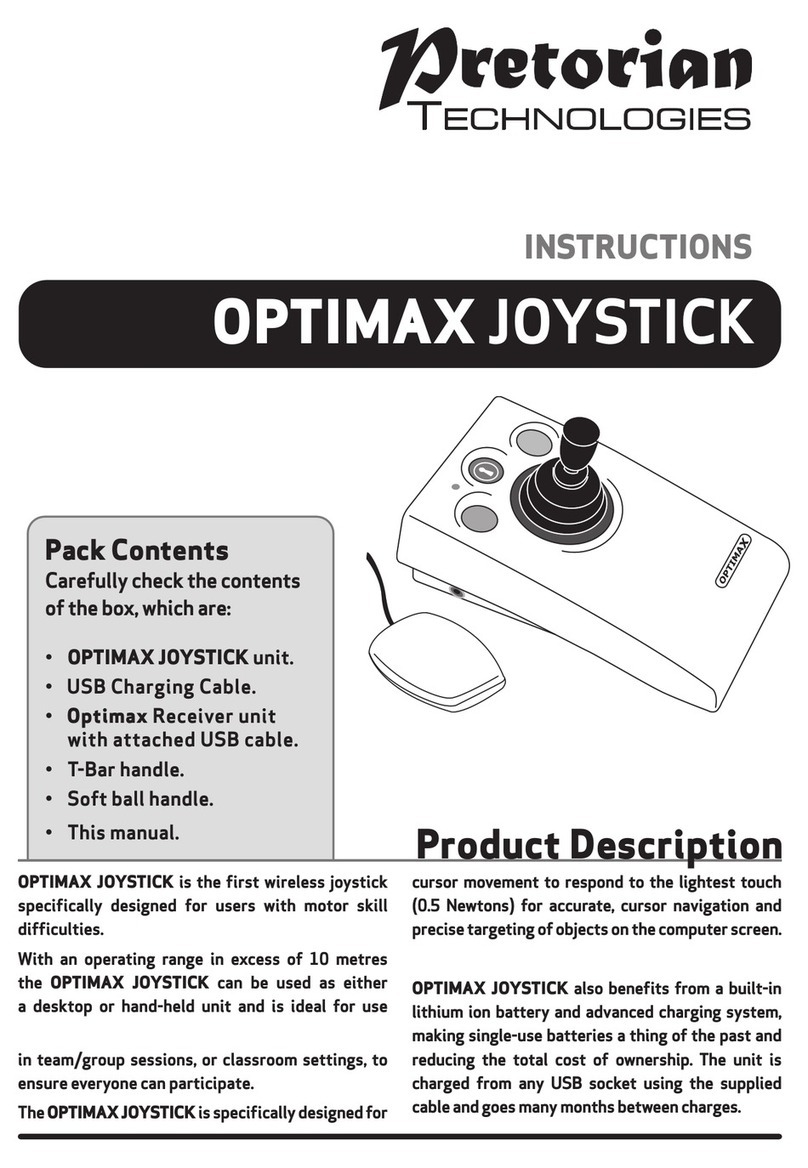
Pretorian OPTIMAX JOYSTICK User manual
Pretorian
Pretorian BLUELINE User manual
Pretorian
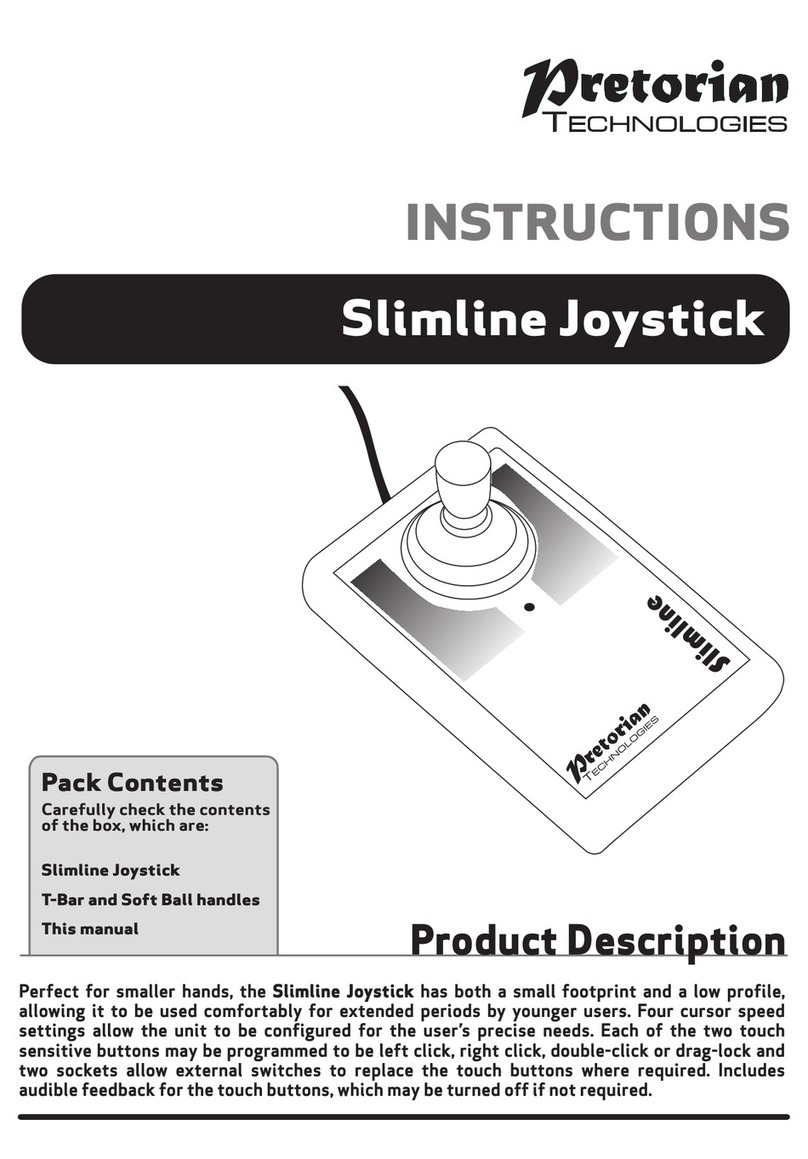
Pretorian Slimline User manual
Pretorian
Pretorian OPTIMA User manual

Pretorian
Pretorian Optimax Joystick User manual
Pretorian
Pretorian SimplyWorks JOYSTICK User manual
Pretorian
Pretorian JAZZ Joystick User manual
