Pretorian OPTIMAX JOYSTICK User manual

Pack Contents
Carefully check the contents
of the box, which are:
• OPTIMAX JOYSTICK unit.
• USB Charging Cable.
• Optimax Receiver unit
with attached USB cable.
• T-Bar handle.
• Soft ball handle.
• This manual.
OPTIMAX JOYSTICK
Product Description
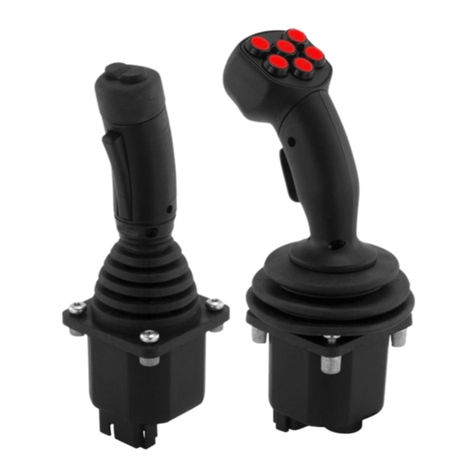
OPTIMAX JOYSTICK is the first wireless joystick
specifically designed for users with motor skill
difficulties.
With an operating range in excess of 10 metres
the OPTIMAX JOYSTICK can be used as either
a desktop or hand-held unit and is ideal for use
in team/group sessions, or classroom settings, to
ensure everyone can participate.
The OPTIMAX JOYSTICK is specifically designed for
cursor movement to respond to the lightest touch
(0.5 Newtons) for accurate, cursor navigation and
precise targeting of objects on the computer screen.
OPTIMAX JOYSTICK also benefits from a built-in
lithium ion battery and advanced charging system,
making single-use batteries a thing of the past and
reducing the total cost of ownership. The unit is
charged from any USB socket using the supplied
cable and goes many months between charges.
INSTRUCTIONS

Compatibility
Optimax Joystick works with USB compatible computers including PCs, Macs, Chromebooks, Apple
phones/tablets (via an adapter cable) and some Android phones/tablets (also via an adapter cable). It
can also work in PS/2 sockets on legacy PCs using an adapter cable which is available from Pretorian
Technologies or any authorised reseller.
Features
• State of the art radio link with an interference free operating range exceeding 10 metres.
• Built-in lithium battery and charger.
• Light touch joystick movement (0.5 Newtons).
• Receiver unit includes two additional left-click and right-click sockets.
• Four cursor speed settings.
• Low profile providing a natural hand-rest for comfortable operation.
• Left/Right and Drag Lock buttons plus optional Double-Click.
• Colour coded buttons mounted slightly below flush to prevent accidental operation.
• Mountable using industry standard mounting plates.
• Easy ‘plug and play’ installation (no additional drivers required).
• PC, Mac and Chromebook compatible, plus iPad/Android using adapter cables.
Installation
Ensure your computer is fully turned-off and not
just in sleep mode.
Locate the relevant PS2 or USB socket on your
computer and plug-in your OPTIMAX Receiver unit
(if you are using the PS2 socket on your computer
you will need the USB/PS2 adaptor supplied).
To optimise the range of the radio link, do not place
the Receiver unit behind your computer or close to
large metal objects or sources of interference such
as wireless network hubs, cellular telephones etc.
1. Ensure the internal battery is charged by
plugging the unit into a USB socket via the
supplied charging cable. The LED on the
Joystick unit lights green during charging
and is extinguished once the battery is fully
charged.
2. Turn on the computer and allow it to fully
boot up. Check that the LED on the Receiver
unit lights for a few seconds and is then
extinguished.
3. Move the Joystick to check for cursor
movement and if observed, your OPTIMAX
is now ready for use. If there is no cursor
movement, Pair the Joystick to the Receiver
by referring to the Pairing section below.
Pairing
Your OPTIMAX JOYSTICK uses a unique addressing system to ensure that there is no interference from
neighbouring units. The Joystick transmits its data along with an address, and the Receiver unit only
responds to that address.
To function correctly, both the Joystick and Receiver unit must use the same address. The process of
negotiating an address is called ‘Pairing’ and once learned, both the Joystick and Receiver units will
retain the information even when powered off or when changing the battery.
YourOPTIMAX JOYSTICK is supplied already paired but it may occasionally be necessary to go through
the process again - for instance if a new Receiver is to be used with an existing Joystick unit or in the
unlikely event that one half ‘forgets’ the address.
To Pair the units, use the following procedure:

Battery Charging
Your Optimax Joystick is fitted with a state-of-the-art lithium ion battery and charger. The unit will
operate for several months with a single charge. When the battery charge is getting low, the LED on the
Joystick unit will flash red every few seconds. This is an indication that it’s time to charge the battery
soon. Locate the supplied charging cable and plug it into the charging port on the rear of the Optimax
Joystick and then into a USB socket on a computer or charging plug. The LED lights green to show that
charging has started and will be extinguished once fully charged.
Charging a battery that is completely flat takes about four hours and you can continue using the
Optimax Joystick throughout the charging period, even from completely flat. Once fully charged, you
may unplug the charging cable.
Should you mislay the charging cable, replacements can be purchased by asking your local electrical
retailer for a camera connection lead. It has a USB type A plug at one end and a mini-USB plug at the
other.
Note that Optimax Joystick plugs into a computer USB port for charging purposes only and no
functional connection is made between the two devices.
Learn Mode
There are a number of settings to allow you to configure Optimax Joystick to your exact requirements.
These are all programmed using Learn Mode and are stored in an internal memory so they are
automatically recalled each time you use the unit, even if you swap computers or if the battery goes
flat. To make changes to the settings, you must first go into Learn Mode. Press and hold the middle
button until a beep is heard. The unit is now in Learn Mode and is able to accept changes to the settings,
as follows:
Cursor Speed
To change the speed setting while in Learn Mode, press the middle button briefly. Each time you do so,
the unit emits a beep and the speed changes immediately, allowing you to experiment until the best
setting is found. There are 4 speed settings and pressing the middle button once the highest speed
has been reached makes the unit begin again at the lowest speed.
Left-Handed Operation
The left and right buttons may be swapped around, which is particularly useful for left-landed users.
To change this setting, press the left button while in Learn Mode. One beep indicates the unit is set to
standard ‘right-handed’ mode, whereas two beeps indicates ‘left-handed’ operation.
Double Click
Right-click may be substituted with Double-Click, which is useful for users who have difficulty in
double-clicking quickly enough for the computer to recognise. To change this setting, press the right
button briefly while in Learn Mode. One beep indicates the unit is set to standard ‘right-click’ mode,
whereas two beeps indicates ‘Double-Click’ operation.
1. Remove the cover on the underside of the unit with a screwdriver.
2. Place the Joystick within one metre (three feet) of the Receiver unit.
3. Press the button on the underside of the Receiver unit.
The LED should flash.
4. Within 10 seconds, briefly press the button inside the battery
compartment. It is not necessary to move the Joystick.
5. After a short period the LED should light steadily for
5 seconds and cursor operation should resume. Replace the cover
on the underside and secure in place with a screwdriver.
6. If the LED stops flashing after around 15 seconds and does not light
steadily, repeat the process from (3). If it is still not successful,
please refer to the Troubleshooting section.

www.pretorianuk.com
Unit 37 Corringham Road Industrial Estate
Gainsborough Lincolnshire DN21 1QB UK
Tel +44 (0) 1427 678990 Fax +44 (0) 1427 678992
SimplyWorks®is a registered
trademark of Pretorian Technologies Ltd
All brand names used for identification purposes
only, are the property of their respective owners
and are acknowledged.
S040189
Troubleshooting
If your OPTIMAX JOYSTICK unit does not operate correctly, please use the following guide to determine
the cause. If, after following this guide, your unit still does not operate, please contact your supplier before
returning it:
Warranty
Your OPTIMAX JOYSTICK is warranted for 24 months from date of purchase against defects in
manufacture or component failure. The unit is designed for domestic, educational, commercial and
light industrial applications. Use outside these areas will invalidate the warranty. Unauthorised
repair or modification, mechanical abuse, immersion in any liquid or connection to any equipment
other than a host computer will invalidate the warranty.
Maintenance
Your OPTIMAX JOYSTICK has no user serviceable parts. If repair is necessary the unit should be returned
to Pretorian Technologies or an authorised Distributor.
Units will not Pair- LED
on Receiver unit is
extinguished after 15
seconds and cursor
does not move.
• Ensure that Joystick is held within one metre (one yard) of Receiver while
Pairing.
• Check battery- charge if flat.
No cursor movement • Units are not Paired. Follow Pairing procedure.
• Battery is flat. Follow charging procedure.
• Check USB or PS/2 connection to computer.
Cursor movement is
erratic or sporadic • Battery may be flat. Follow charging procedure.
• Check USB or PS2 connection to computer.
• Units may not be correctly Paired. Follow procedure in Pairing section.
Symptom Possible Cause/Remedy
All of the above settings may be changed as often as required while in Learn Mode, allowing you
to experiment with the settings until the best configuration is found. Once you are happy with the
settings, they may be stored in the unit’s memory by pressing and holding the middle button once
again, until a beep is heard. Normal operation then resumes.
Note that if both left-handed operation and Double-Click are selected, the buttons will function as
Double-Click, Drag and Left Click, reading from left to right.
Also note that the function of the sockets for external switches reproduces the function of the
internal buttons, according to the above settings.
Other Pretorian Video Game Controllers manuals
Pretorian
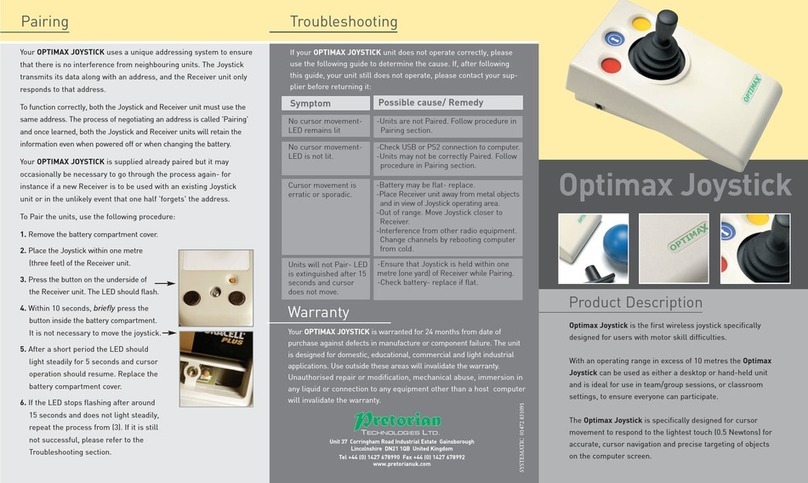
Pretorian Optimax Joystick User manual
Pretorian
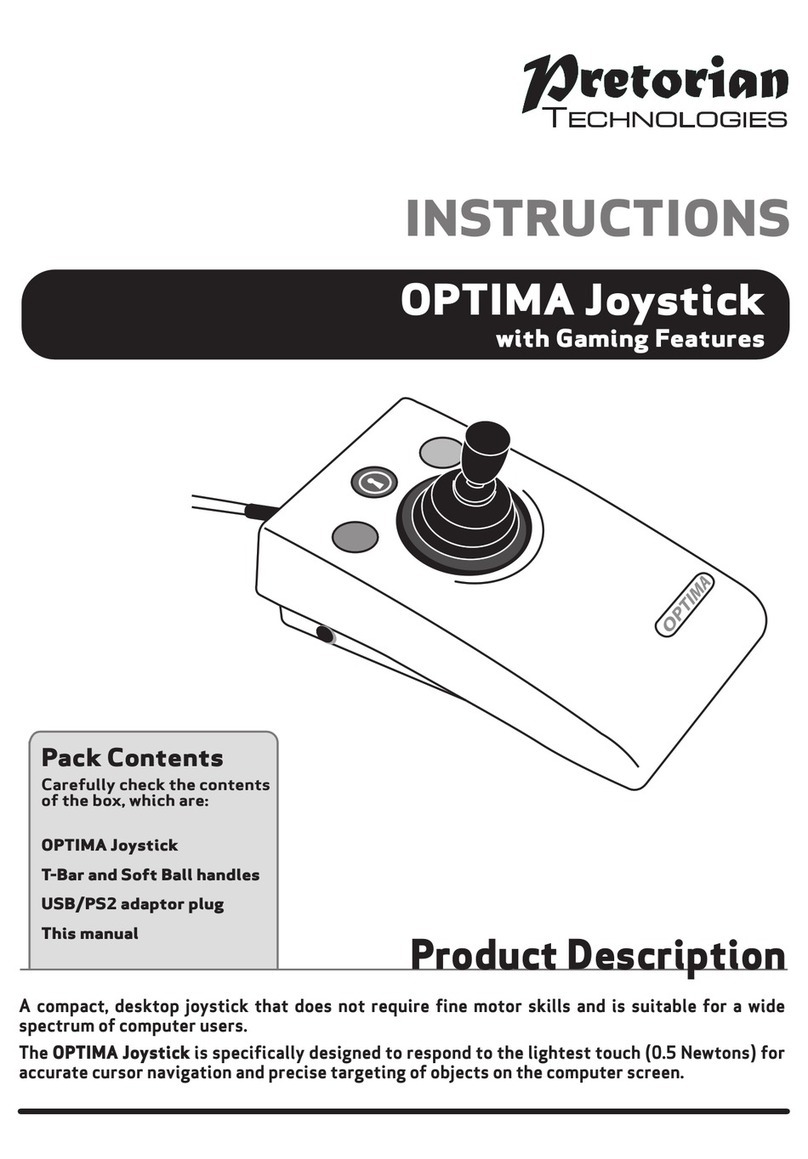
Pretorian OPTIMA User manual
Pretorian
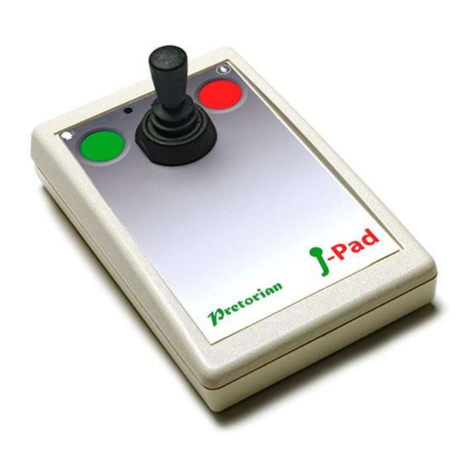
Pretorian J-Pad User manual
Pretorian
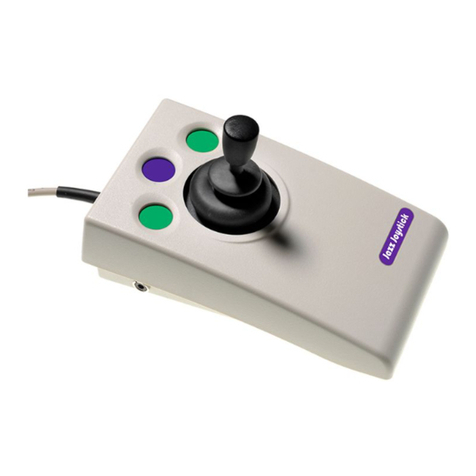
Pretorian JAZZ Joystick User manual
Pretorian
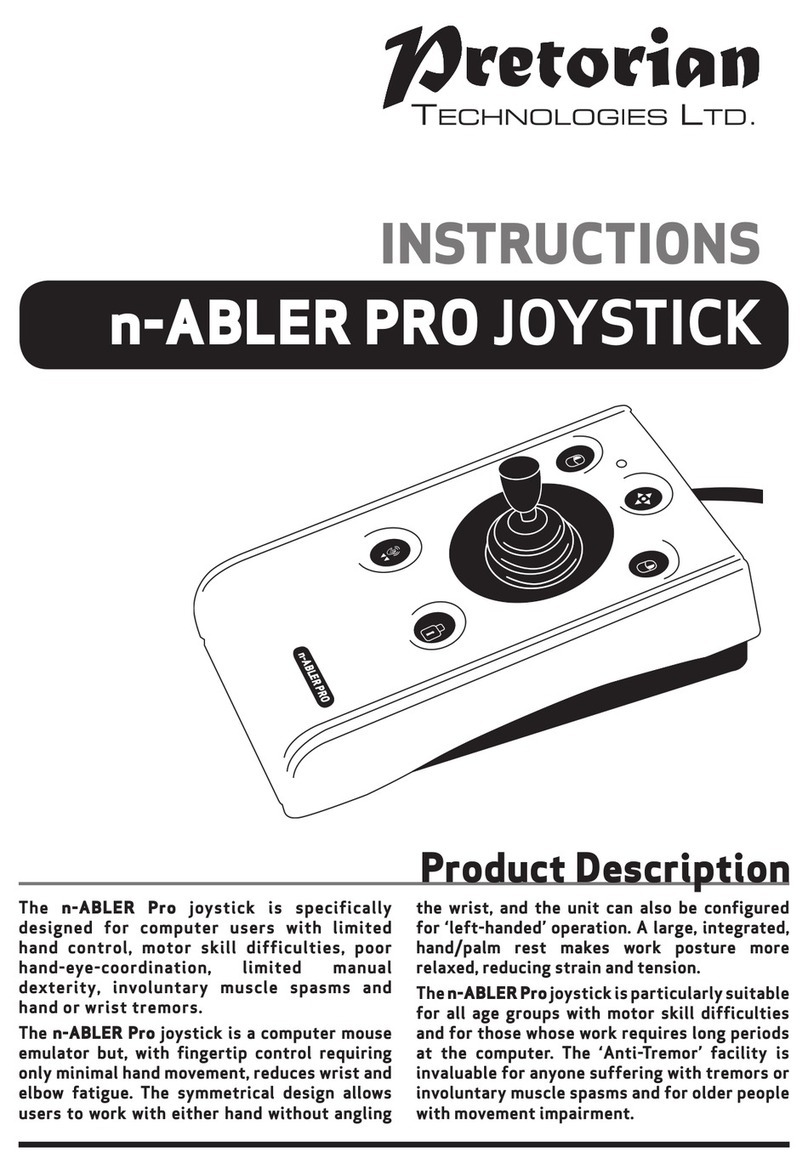
Pretorian n-ABLER PRO User manual
Pretorian
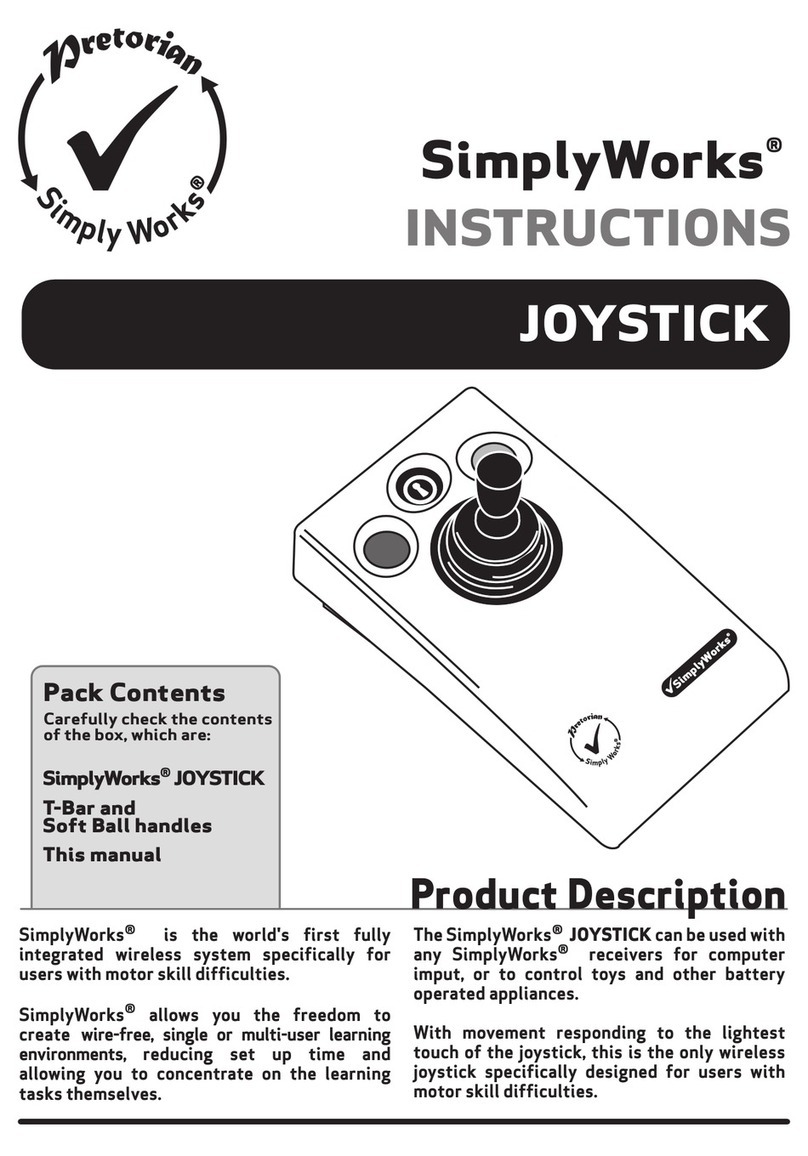
Pretorian SimplyWorks JOYSTICK User manual
Pretorian
Pretorian BLUELINE User manual
Pretorian
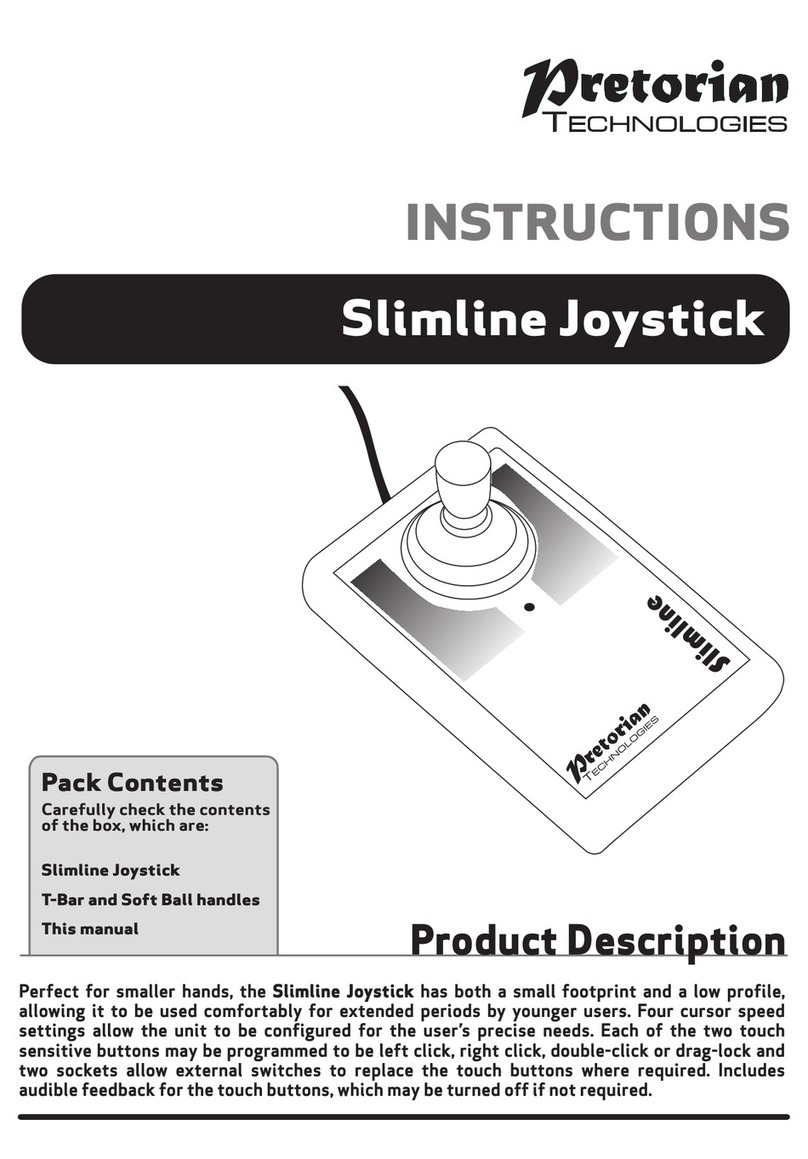
Pretorian Slimline User manual

