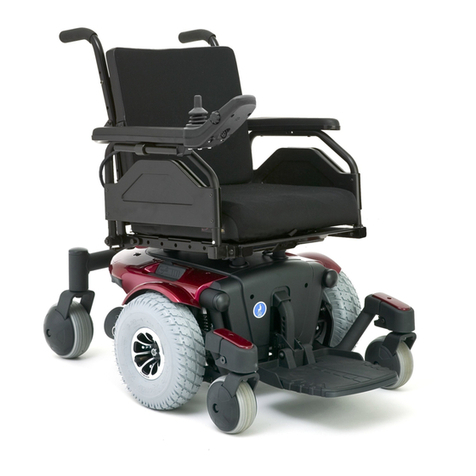
WARNING! The troubleshooting and replacement procedures detailed in this troubleshooting
guide should only be performed by service personnel in accordance with the Provider Stan-
dards of Pride Mobility Products Corporation.
The symbols below are used throughout this troubleshooting guide to identify warnings and important infor-
mation. It is very important for you to read what follows the symbols and understand it completely.
WARNING! Indicates a potentially hazardous condition/situation. Failure to follow designated
procedures can cause either personal injury, component damage, or malfunction. On the
product, this icon is represented as a black symbol on a yellow triangle with a black border.
MANDATORY! These actions should be performed as specified. Failure to perform mandatory
actions can cause personal injury and/or equipment damage. On the product, this icon is
represented as a white symbol on a blue dot with a white border.
PROHIBITED! These actions are prohibited. These actions should not be performed at any
time or in any circumstances. Performing a prohibited action can cause personal injury and/
or equipment damage. On the product, this icon is represented as a black symbol with a red
circle and red slash.
SAFETY GUIDELINES
© Pride Mobility Products Corp. 2011
Rev A/January 2011/INFMANU4104
FLASH CODE PROBABLE CAUSE(S) POSSIBLE SOLUTION
1 Flash The batteries need charging.
There is a bad connection to the batteries.
Check the battery connections. If the battery connections are good, then try charging
the batteries. See “Flash Code #1 - Low Battery Voltage.”
2 Flashes There is a bad connection between the left motor
and the power module.
Check the left motor connections and wiring harnesses. See “Flash Code #2 - Left
Motor Disconnected.”
3 Flashes
There is a bad connection between the left motor
and the brake.
See “Flash Code #3 - Left Motor Wiring Fault.”
4 Flashes
There is a bad connection between the right motor
and the power module.
Check the right motor connections and wiring harnesses. See “Flash Code #4 -Right
Motor Disconnected.”
5 Flashes
There is a bad connection between the right motor
and the brake.
See “Flash Code #5 - Right Motor Wiring Fault.”
Left-to-Right
Ripple of LEDs The charge inhibit has been activated.
Make sure that the battery charger is not connected to the power base. See “Section
2 - Battery Condition Meter Scrolls - Inhibit Active.”
7 Flashes There is a joystick fault. Make sure the joystick is in the center position and then power off and on again. See
“Flash Code #7 - Possible Joystick Fault.”
8 Flashes There is a control system fault. Check power module and joystick module connections and wiring. See “Flash Code
#8 - Possible Controller Fault.”
9 Flashes The park brakes have a bad connection.
Check the left and right motor connections and wiring. See “Flash Code #9 - Solenoid
Brake Fault.”
10 Flashes
An excessive voltage has been applied to the control
system. Check the battery connections. See “Flash Code #10 - High Battery Voltage.”
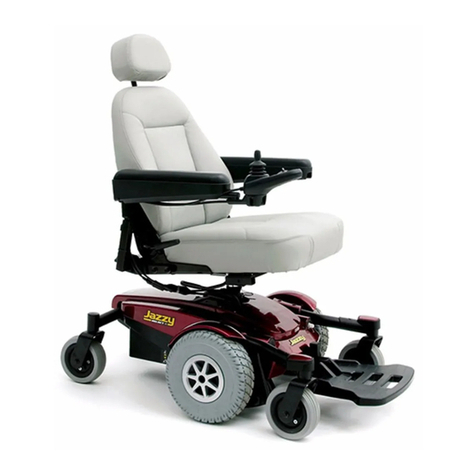
Table 1. Jazzy Select Elite Flash Codes
